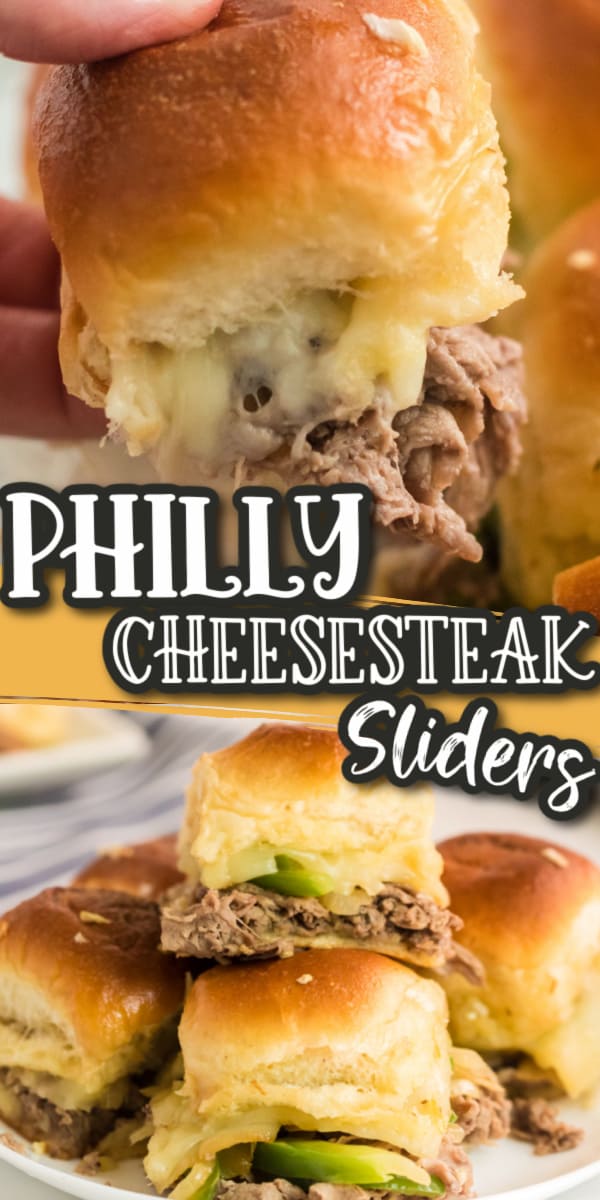
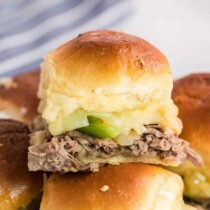
Philly Cheesesteak Sliders are the perfect way to make everyone’s favorite cheesy, beef sandwich in a miniature appetizer form. Thin slices of steak with sauteed onions & peppers and melted provolone cheese all loaded on a sweet bun! The perfect appetizer for a tailgate, game day, pot-luck, or a crowd!
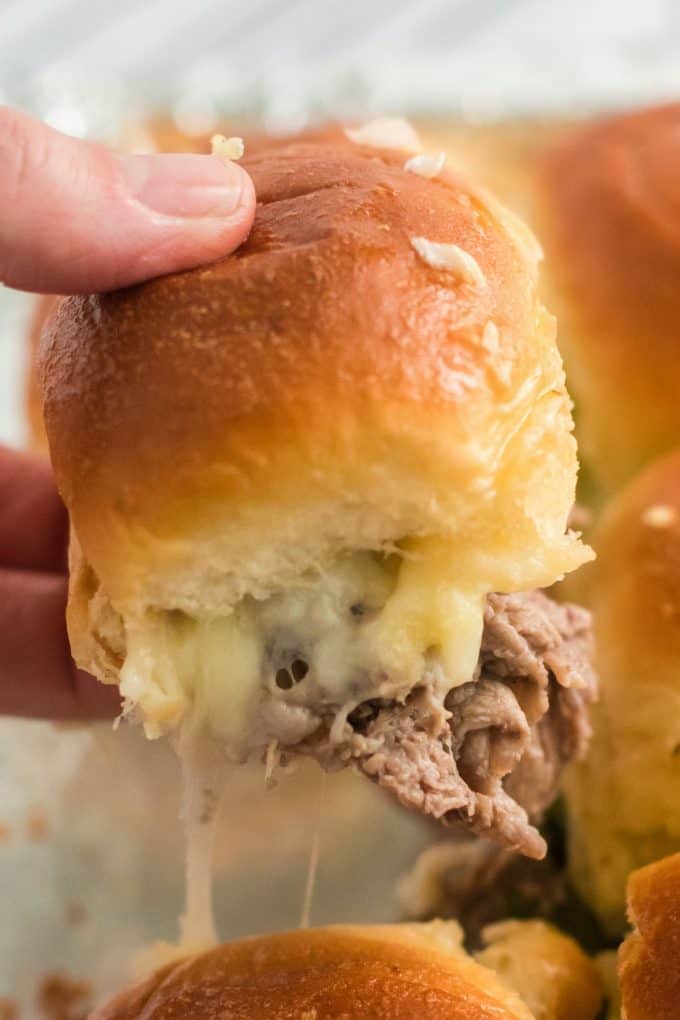
Easy Philly Cheesesteak Sliders for a Crowd!
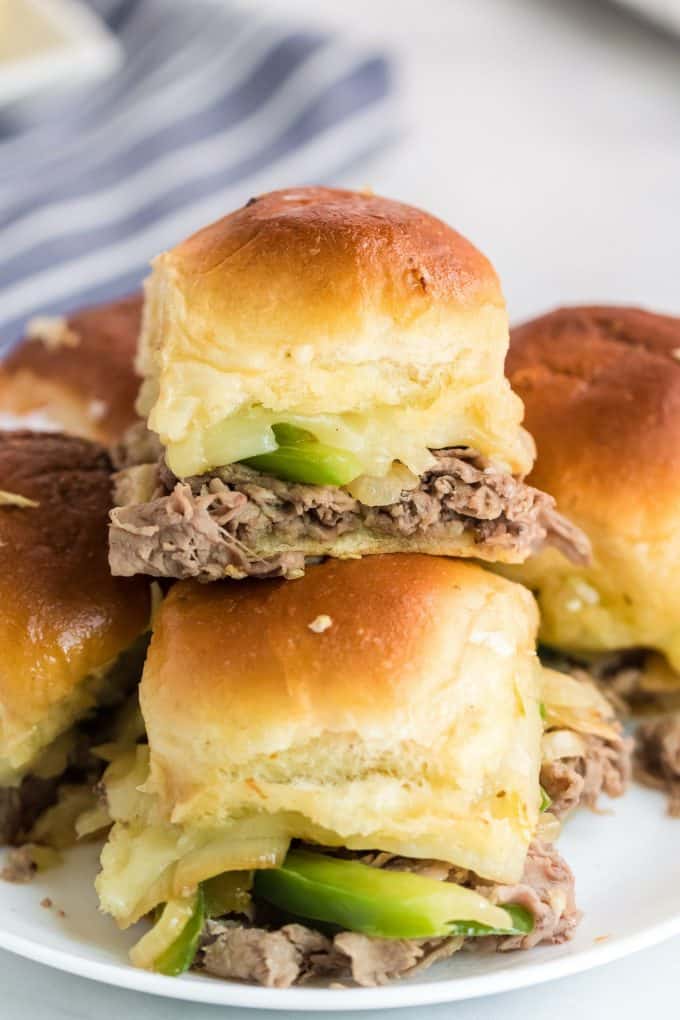
Whether it’s a game day gathering, a potluck with friends, or simply lunchtime at home, I have found these Philly Cheese Steak Sliders to be a hit. They make the perfect mini cheesesteak sandwiches. They are full of flavorful beef, gooey cheese, and yummy vegetables.
Classic cheesesteak sandwiches are so great! But, they can be so messy and they aren’t the best to make for a big group. These sliders are the perfect solution to both these issues.
You’re going to love these for your next appetizer at a party or quick lunch at home. They are so delicious and everyone absolutely loves them. Keep reading to see just how easy it is to make these yummy Philly Cheesesteak Sliders!
What are Philly Cheesesteak Sliders?
Traditional Philly cheese steak sandwiches are made by combining thinly sliced beef steak with gooey melted cheese, veggies such as peppers and onions, and putting it all inside a soft hoagie roll. These sandwiches got their name because they originated in Philadelphia.
They are so delicious, but there wasn’t an easy way to serve them to a big group. Until now. Philly Cheese Steak Sliders take this classic sandwich and make it into a miniature version that can be served as an appetizer for many people to enjoy!
Ingredients
- 1 package of Hawaiian rolls
- 1 tablespoons olive oil
- 1 steak, thinly sliced
- ½ large onion, thinly sliced
- 1 green bell pepper
- 8 slices of provolone cheese
- 3 tablespoons of butter
- 2.5 teaspoons of concentrated beef stock
SEE FULL PRINTABLE RECIPE CARD BELOW
How to Make Philly Cheesesteak Sliders
Slice the rolls in half horizontally to separate the top and bottom, keeping them together as one slab. Do not break them into individual rolls!
Place the bottom half on the baking sheet.
Heat 1 tablespoon of olive oil in the skillet. Season the steak with salt and pepper and cook it over medium heat until done.
Pro-Tip: When shopping for the meat for your sliders, if your grocery store doesn’t carry thinly sliced steak in the meat section, you can ask the butcher to slice it thin for you. If you prefer to slice it yourself at home, place the meat in the freezer. It makes it easier to slice! Just don’t let the meat freeze all the way through.
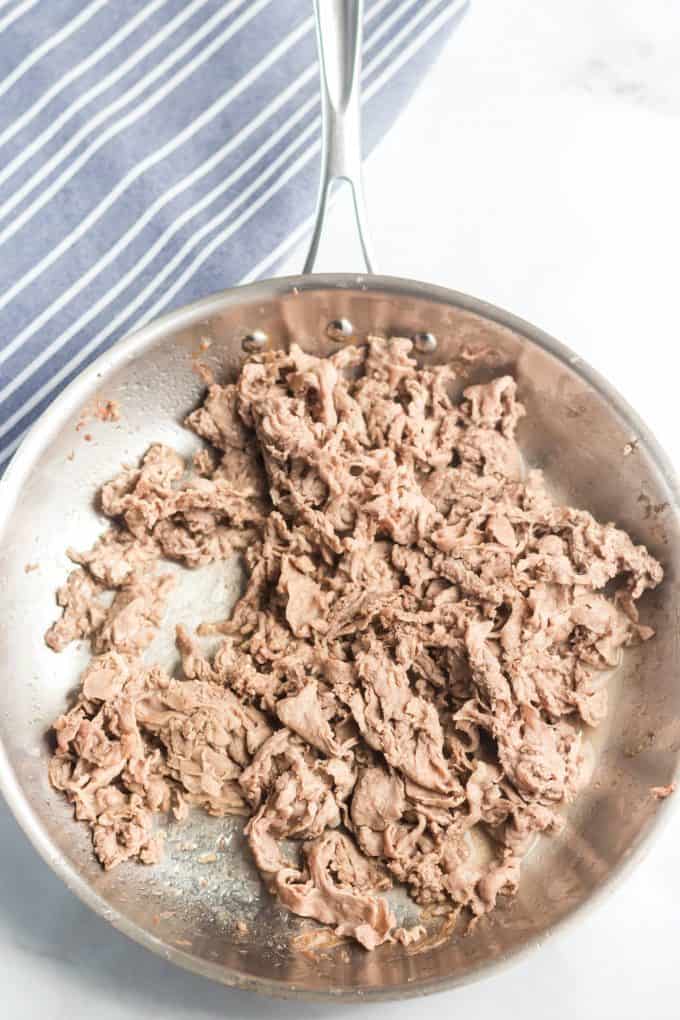
Remove from the skillet and place it on top of the bottom slab of rolls.
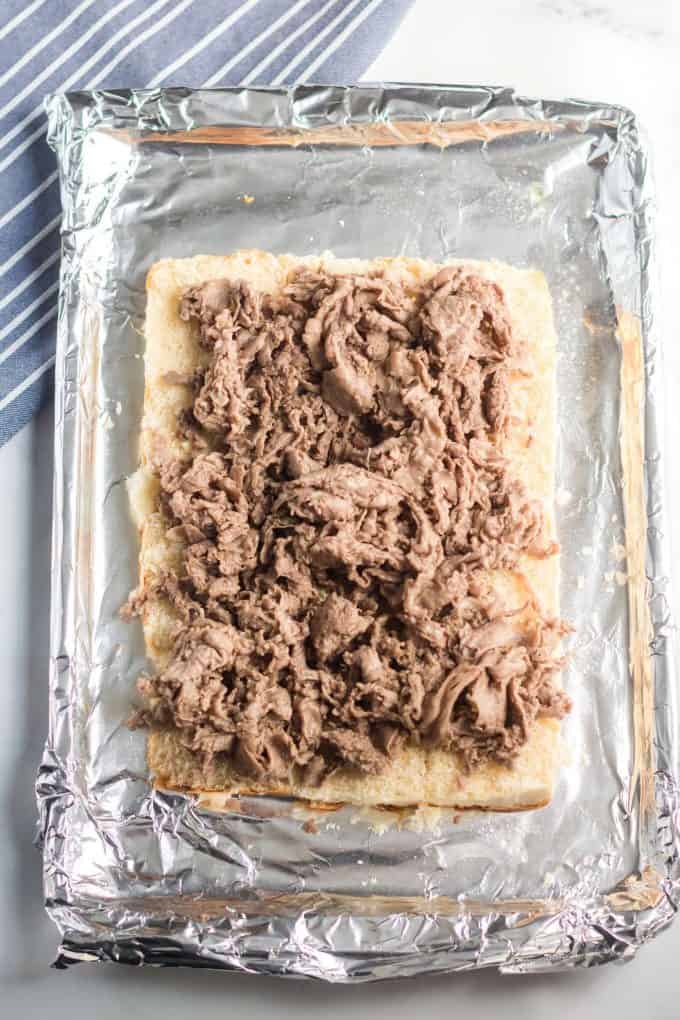
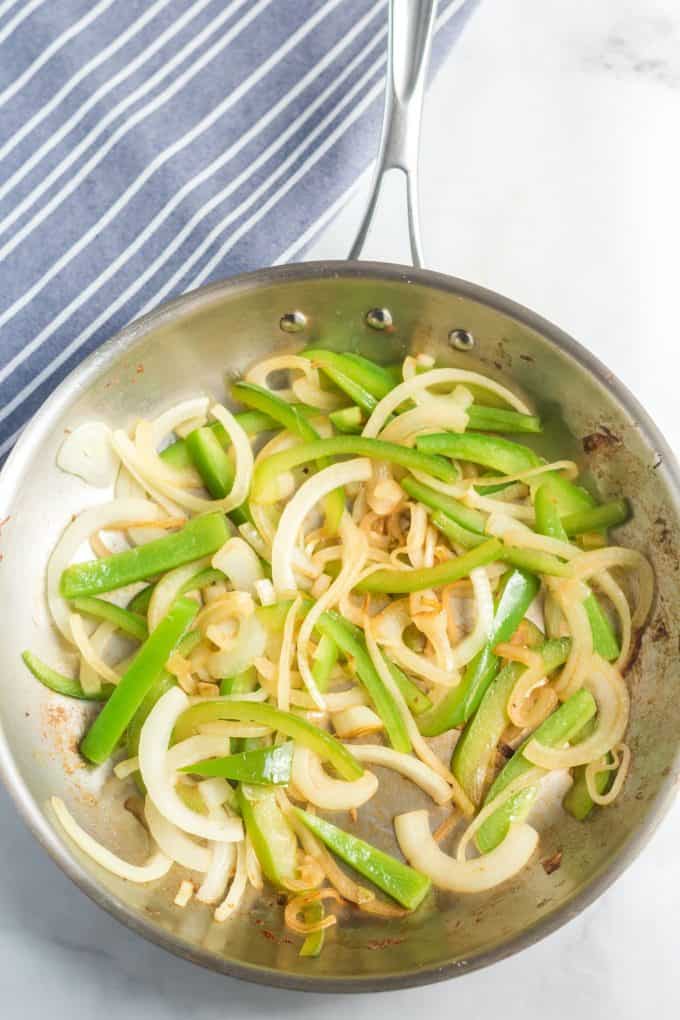
Take about 10 pieces of your sliced onion and set aside. In the same skillet, heat the remaining one tablespoon of olive oil and cook your green pepper and remaining onion together until both are tender.
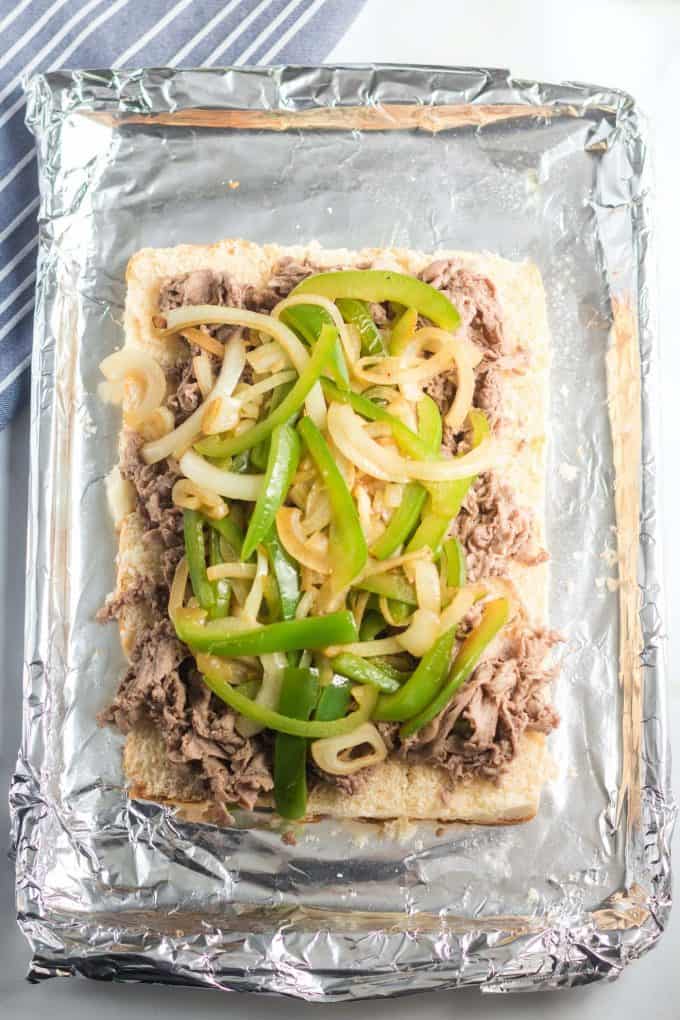
Place the green pepper and onion mixture on top of the steak.
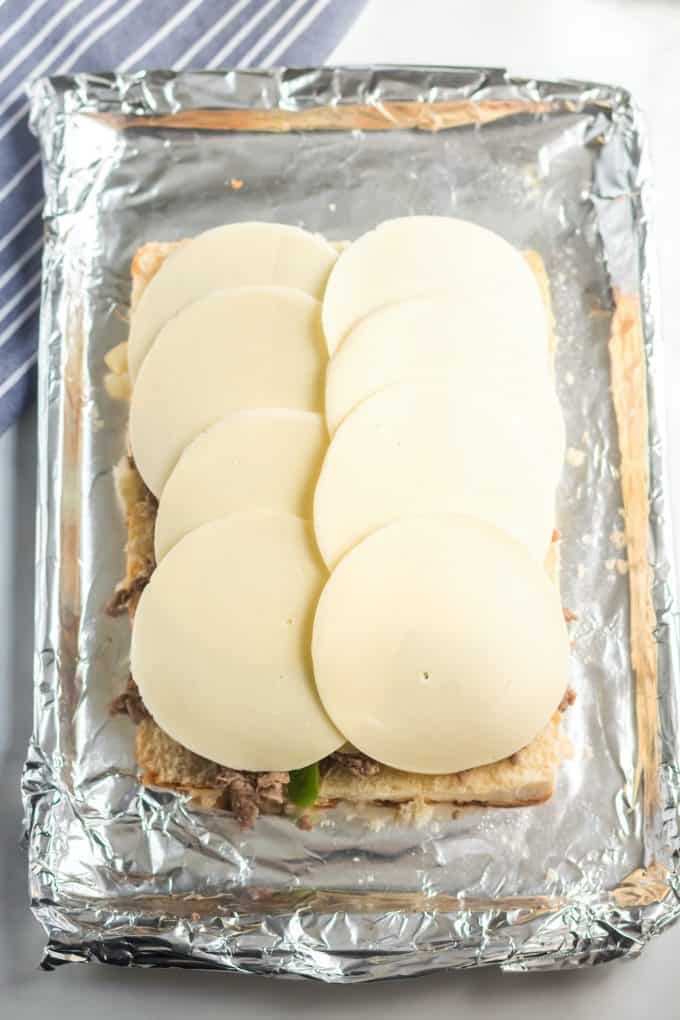
Top everything with 8 slices of provolone cheese.
Place the other half of the rolls on top.
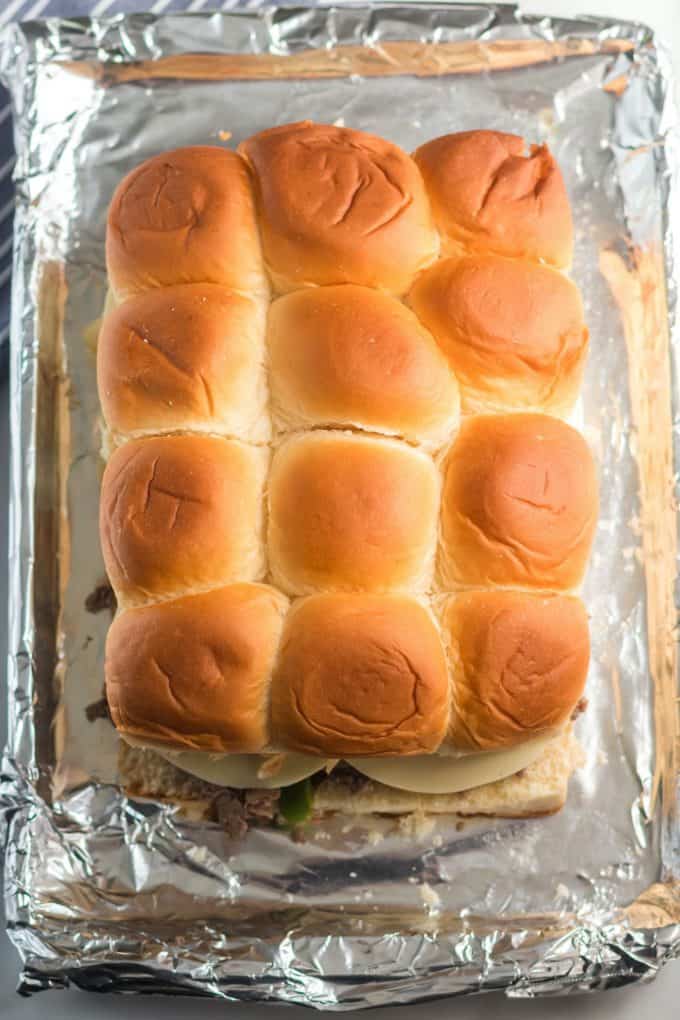
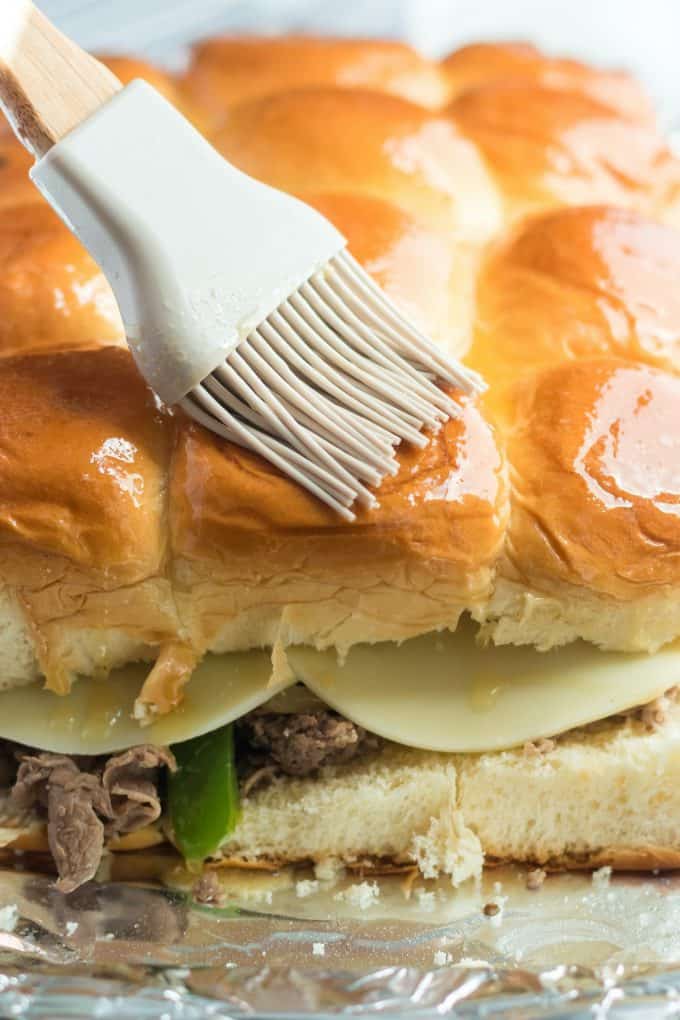
Melt butter and concentrated beef stock together. Stir to combine. Brush the mixture over the top of the rolls.
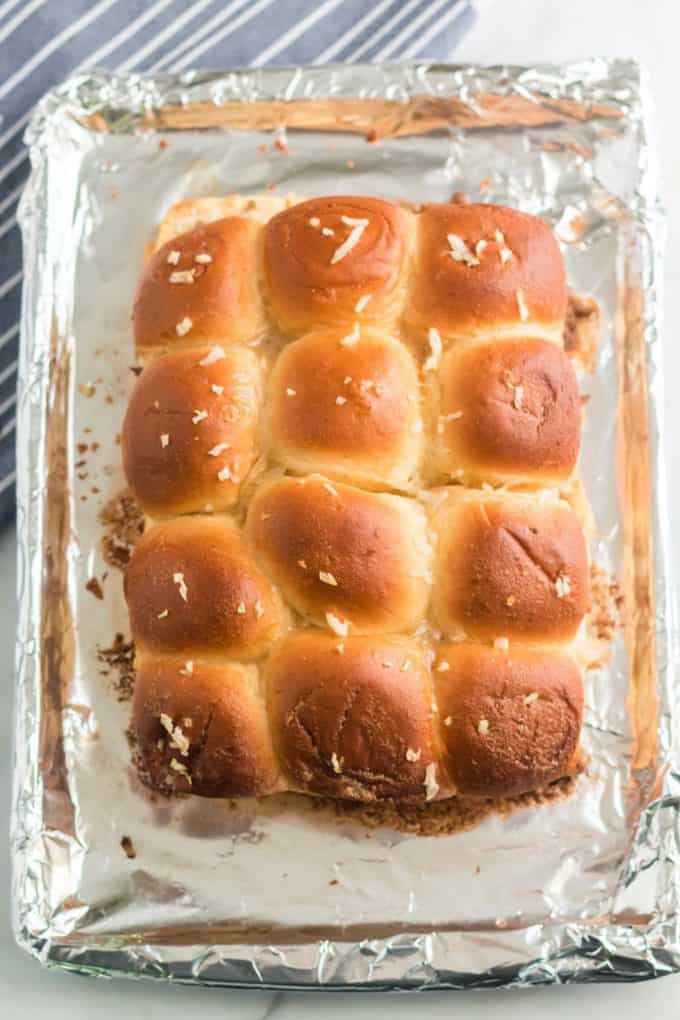
Finely dice the reserved onion slices and sprinkle them over the top of the rolls. Bake in your already preheated oven for 10 minutes, or until the cheese is melted and the tops have started to brown.
Pro-Tip: If you find that the tops of your rolls are cooking too fast you can cover the rolls with aluminium foil to prevent them from browning too much. You can put the foil on for the entire bake time, or add it when you notice them getting a little bit too brown while baking.
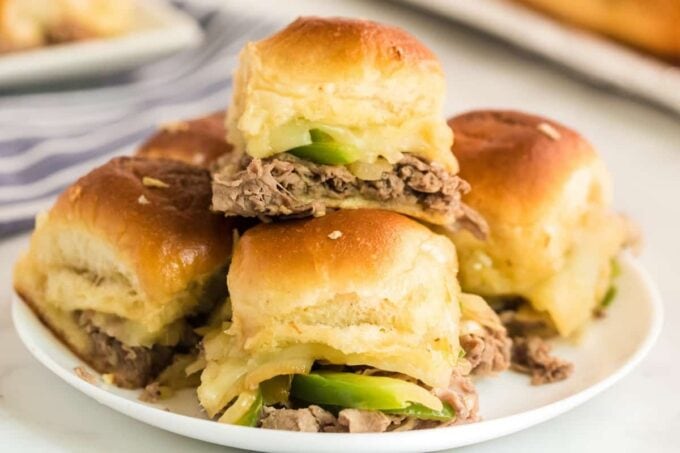
Slice into individual sliders and serve warm.
Ingredient Substitutions
Hawaiian Rolls: I have found that Hawaiian rolls work great when making sliders. This is because they are easy to slice in half without separating the buns, almost as if you have a sheet of bread for the top and bottom of your sliders. You could use any type of buns that come connected like this. Sometimes bakery buns will work as well.
Veggies: A classic philly cheese steak would have green pepper and onion. However, you can leave this out or add in veggies you like. I have added mushrooms and it was delicious!
Cheese: Typically provolone cheese is used in traditional philly cheese steaks, but this could be swapped out for any sliced cheese you prefer. Swiss cheese, mozzarella, colby, or even cheddar would be a tasty substitute.
Steak: If you prefer, you could make what’s known as a “chicken cheese steak” and use sliced chicken in place of the beef. If you’re serving a large group you could even make one pan of each style of cheese steak.
Making Philly Cheesesteak Sliders Ahead of Time
This is such an easy recipe to prep ahead of time for easy cooking when you’re ready to serve. I don’t recommend assembling the sliders completely, until right before you will cook them.
However, You can have all of the ingredients prepped and place them in separate containers in the fridge. Then, when you’re ready to cook your sliders, simply assemble and pop them into the oven! It’s that easy.
Freezing Instructions
These sliders make for a great freezer meal for game day appetizers or an easy lunch on a busy day. To freeze your sliders, simply make them following the instructions above. When you get to the point of baking, you will want to carefully place your giant sandwich you’ve constructed into a freezer container, or wrap it tightly in aluminum foil and place it in a freezer Ziploc bag.
When the day comes that you’re ready to make your sliders, you want to let them thaw out. Then place them in the oven at 350 for about 15-20 minutes or until the cheese is completely melted and the tops of the buns have browned. Keep an eye on them, so that the tops don’t burn.
These sliders are a delicious way to make a classic sandwich into an appetizer for all to enjoy. From the thinly sliced beef to the melty cheese and soft bread, it’s no wonder why these sandwiches are still so popular. This is a yummy lunch or potluck snack that everyone will enjoy.
Other Easy Recipes for a Crowd
Blooming Quesadilla Ring | Pull-Apart Pigs in a Blanket | Buffalo Chicken Pinwheels | Jalapeño Popper Dip | Cheesy Pull-Apart Bread | Crack Chicken Sliders | French Dip Sliders | Chicken And Waffle Sliders
Philly Cheesesteak Sliders
Ingredients
- 1 package Hawaiian rolls
- 2 tbsp olive oil divided
- 1 lb steak thinly sliced
- ½ large onion thinly sliced and divided
- 1 green bell pepper thinly sliced
- 8 slices provolone
- 3 tbsp butter melted
- 2.5 tsp concentrated beef stock
Instructions
- Preheat the oven to 350 degrees. Line a baking sheet with aluminum foil and spray with cooking spray.
- Slice the rolls in half horizontally to separate the top and bottom, keeping them together as one slab. Do not break into individual rolls.
- Place the bottom half on the baking sheet.
- Heat 1 tbsp olive oil in the skillet. Season the steak with salt and pepper and cook over medium heat until done, remove from skillet and place on top of the bottom slab of rolls.
- Take about 10 pieces of your sliced onion and set aside. In the same skillet heat the remaining 1 tbsp olive oil and cook green pepper and remaining onion together until tender.
- Place the green pepper and onion on top of the steak.
- Top everything with 8 slices of provolone cheese. Place the other half of rolls on top.
- Melt butter and concentrated beef stock together. Stir to combine. Brush mixture over top of rolls. Finely dice reserved onion slices and sprinkle over top of rolls.
- Bake in preheated oven for 10 minutes, or until cheese is melted and tops have started to brown. If necessary, cover rolls with aluminum foil to prevent them from browning too much.
- Slice into individual sliders and serve warm.
Jenn’s Notes
- When shopping for the meat for your sliders, if your grocery store doesn’t carry thinly sliced steak in the meat section, you can ask the butcher to slice it thin for you. If you prefer to slice it yourself at home, place the meat in the freezer. It makes it easier to slice! Just don’t let the meat freeze all the way through.
- If you find that the tops of your rolls are cooking too fast you can cover the rolls with aluminum foil to prevent them from browning too much. You can put the foil on for the entire bake time, or add it when you notice them getting a little bit too brown while baking.

