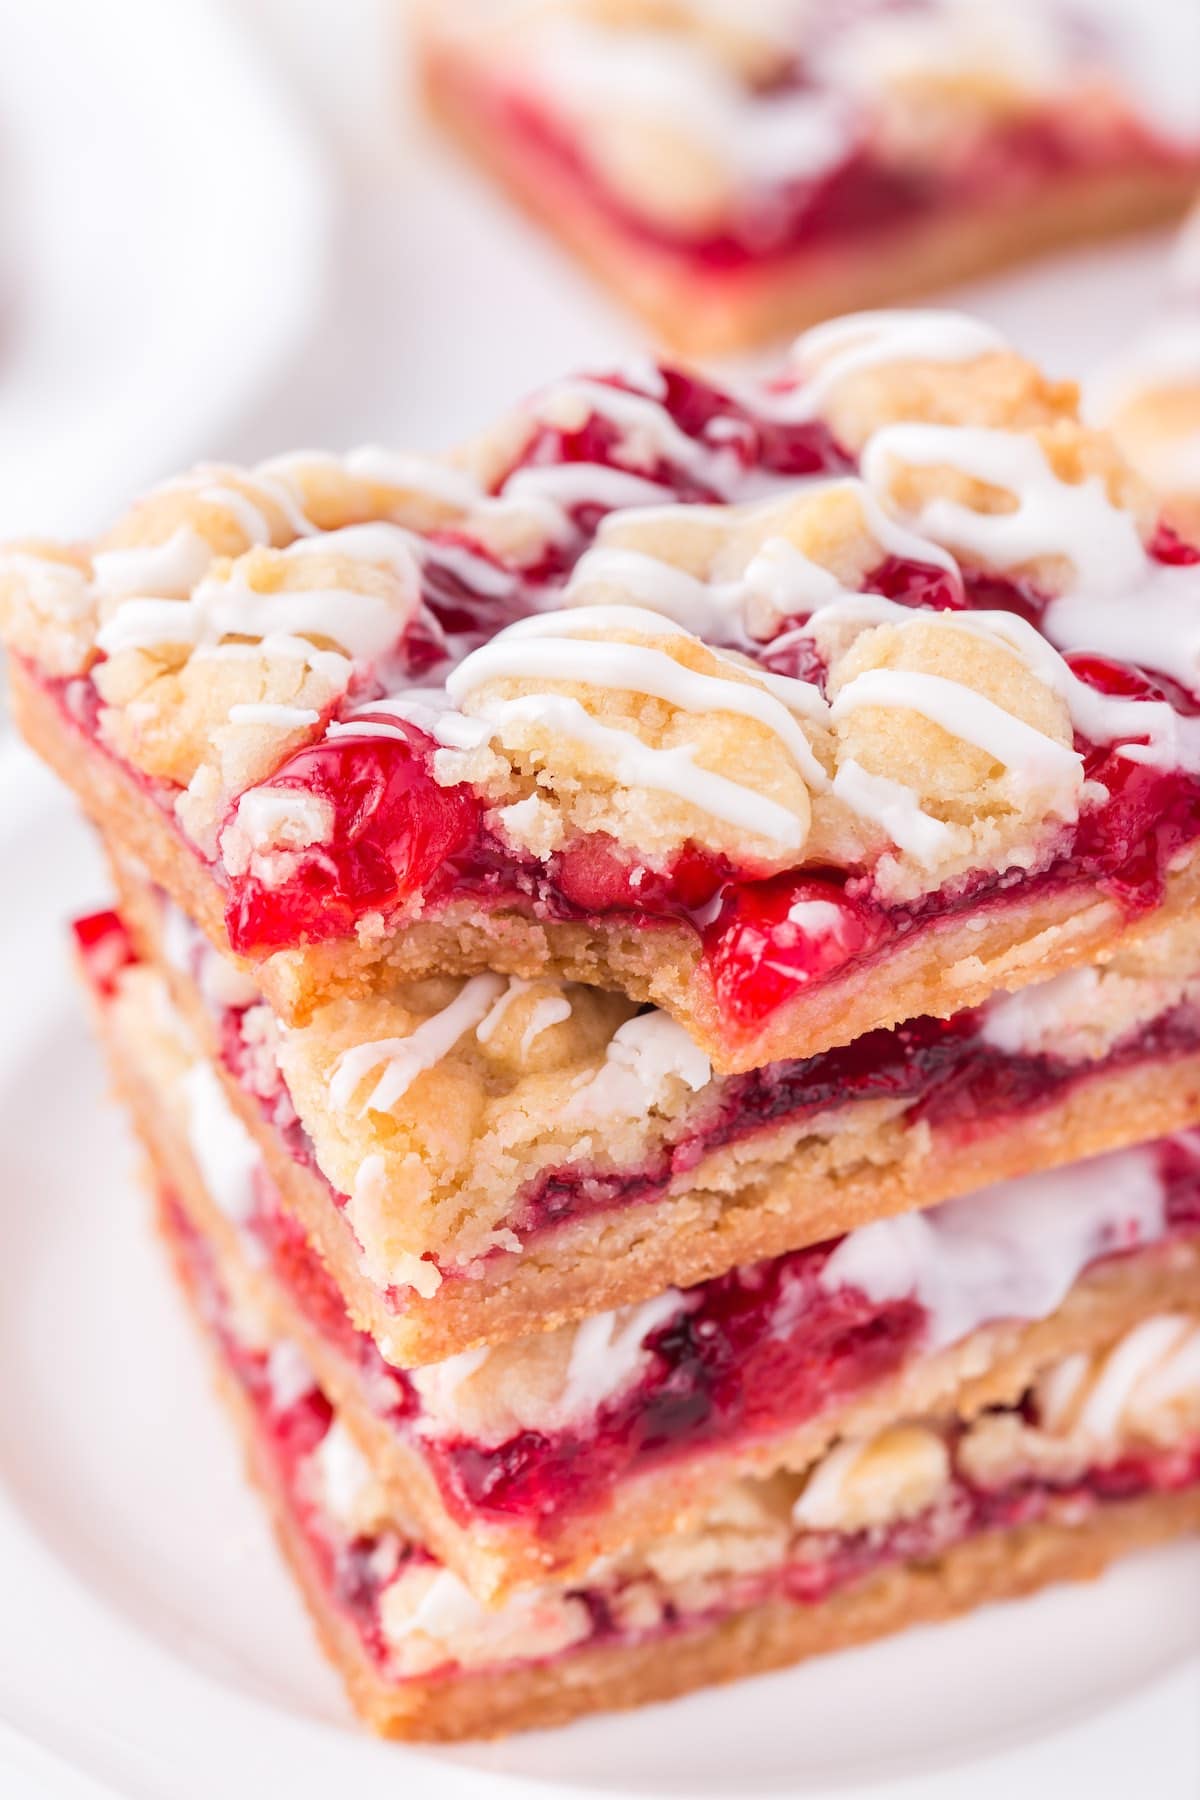
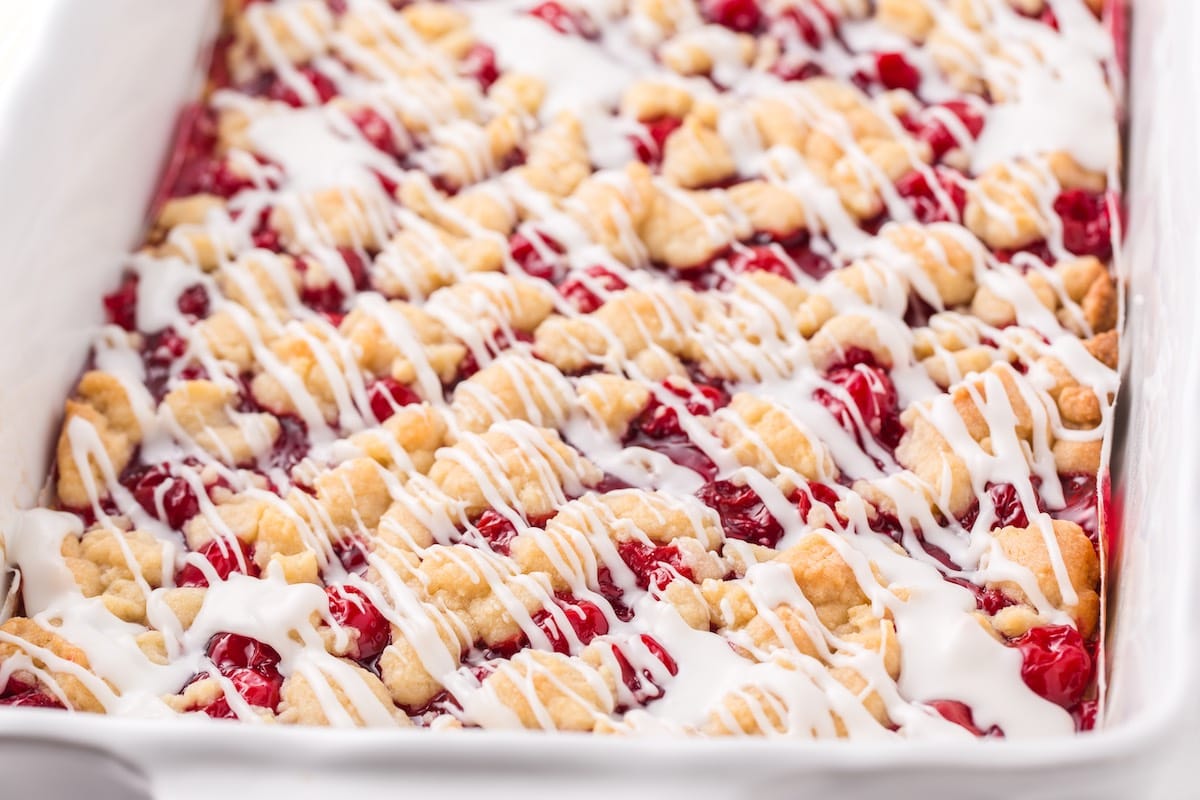
It’s time to retire the standard round pie plate and make bright and colorful Cherry Bars instead! These bars feature cherry pie filling, a double dose of sugar cookie dough, and a sweet drizzle of vanilla glaze to take your slice over the top.
Cherry Pie Bars
Our easy Cherry Bars recipe is a faster, less fussy dessert option that bakes in rectangular form in far less time than its round pie pan counterpart.
No need to roll out a double crust; no crimping or trimming needed – the one bowl sugar cookie dough serves as both the base and the topping for these bars, so they’re much easier to prepare than the popular cherry pie.
Why chop, pit, or peel your fruit when a can of cherries and a package makes this recipe so convenient? Soft and chewy with a delicious homemade cherry pie taste, it’s time you met my much-less-intimidating recipe for cherry bars for a crowd.
Cherry Bars Ingredients
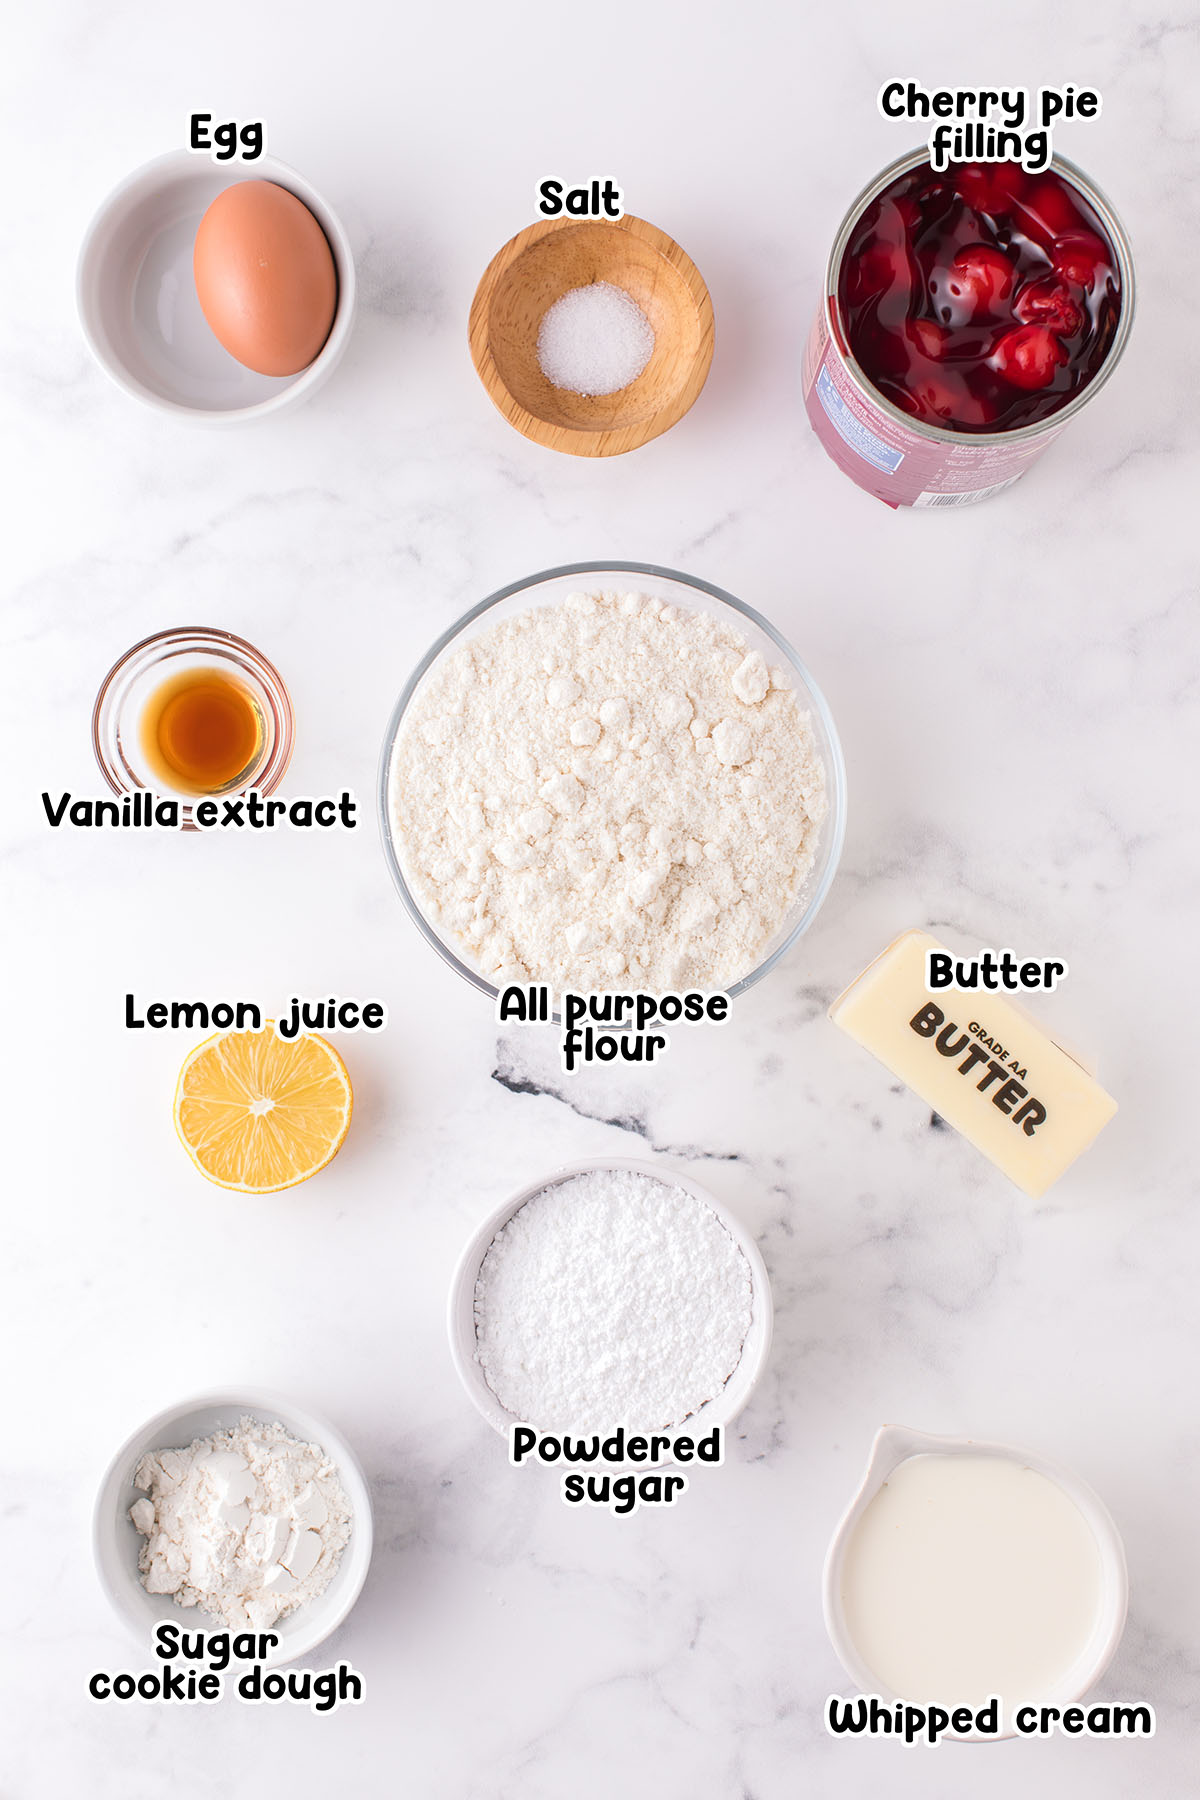
- Sugar cookie dough: This recipe works best with the dry sugar cookie mixture, which can be found in the baking aisle of any grocery store next to the cake mixes. Premixed refrigerated sugar cookie dough doesn’t work as well for this recipe.
- Butter: I used salted butter for this cherry bar recipe. Feel free to use unsalted butter but be sure to add in an additional ¼ teaspoon of salt to the batter.
- Egg: Make sure your egg is room temperature for the best cookie dough texture.
- All purpose flour
- Vanilla extract: Feel free to swap the vanilla extract for almond extract if you prefer.
- Salt
- Cherry pie filling: Feel free to get creative and use your other favorite pie fillings. Apple, blueberry and peach pie filling will also taste delicious.
- Heavy whipping cream: Heavy whipping cream can be replaced with cream or 2% milk.
- Powdered sugar
- Lemon juice: The lemon juice will not make the glaze taste like lemon. It is simply used to cut through some of this sweet glaze and brighten up the flavor just a little bit. The juice can be fresh or from concentrate.
See the recipe card for full information on ingredients and quantities.
How to Make Cherry Bars
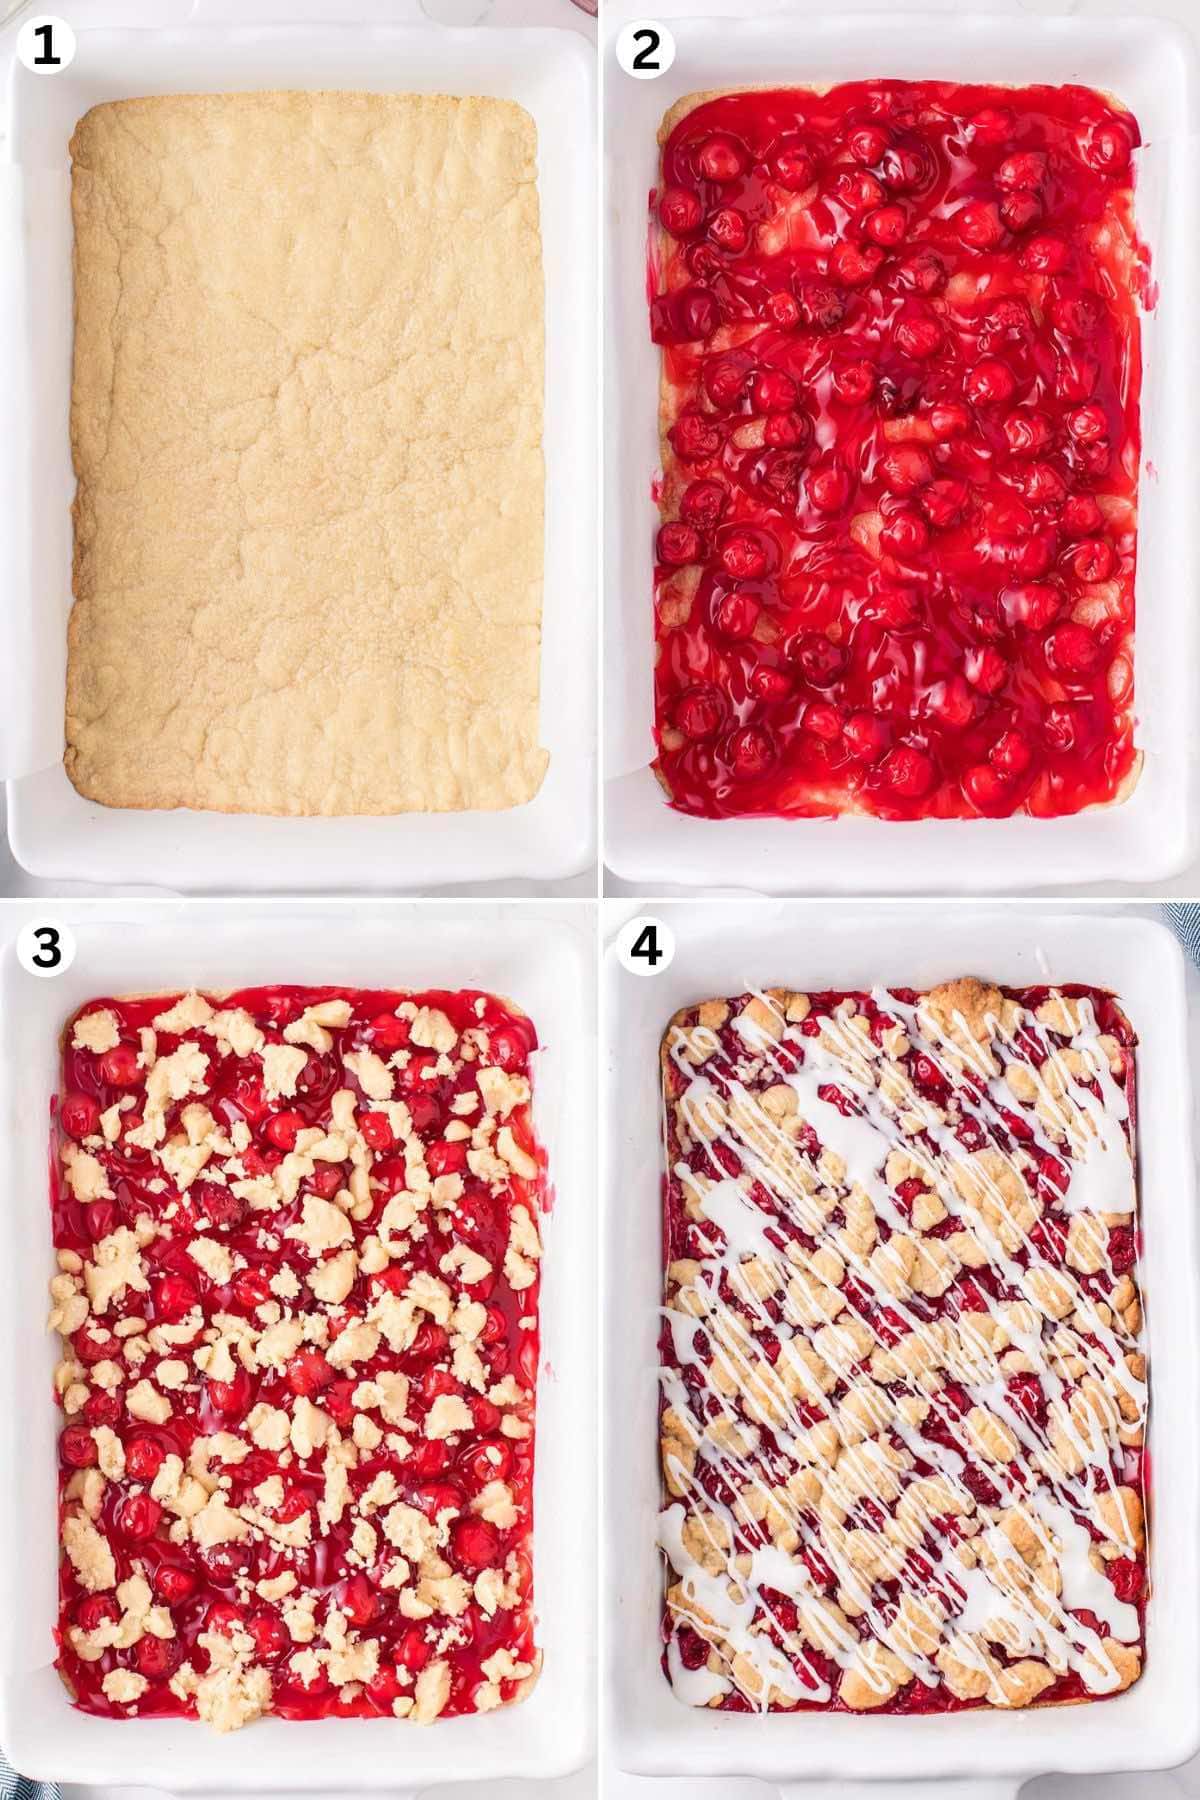
- Make The Dough Mixture: Mix together the packaged sugar cookie dough, butter, egg, flour, vanilla, and salt. Remove ¼ of dough and set aside.
- Bake: Press ¾ of dough into the bottom of the pan and bake at 350 degrees Fahrenheit for 12-15 minutes or until the edges are lightly brown.
- Spread and Sprinkle: Spread the cherry pie filling on top of the baked dough. Sprinkle the last ¼ of dough evenly over the fruit.
- Bake: Bake for 25-30 more minutes, covering loosely with aluminum foil after 25 minutes if needed, until golden brown and the topping has a matte appearance. Cool completely.
- Make The Glaze: Mix together the powdered sugar, lemon juice, and vanilla. Add cream or milk, 1 T. at a time, until it reaches your desired consistency. Drizzle the icing over the top of the cooled dessert bars.
- Slice and Serve: Cut into squares, serve, and enjoy!
Serving Suggestions
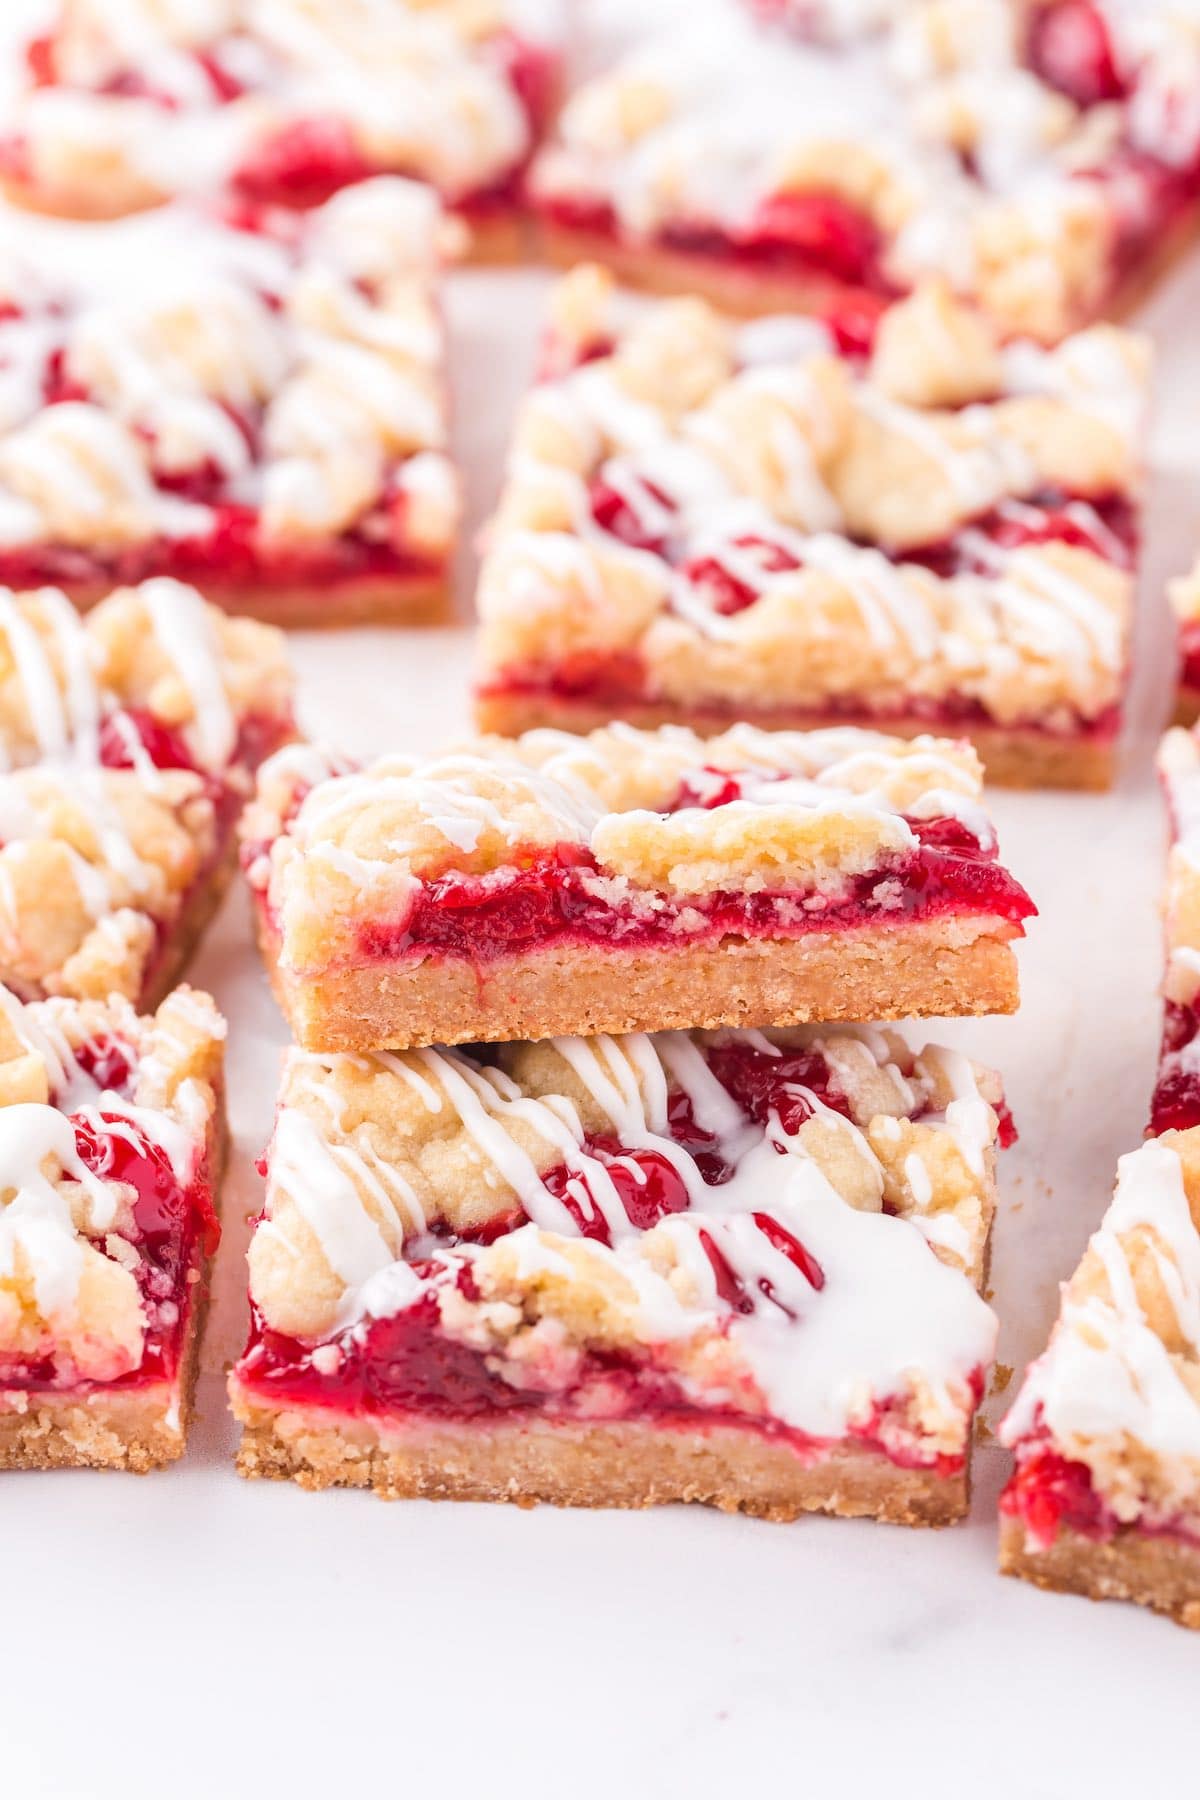
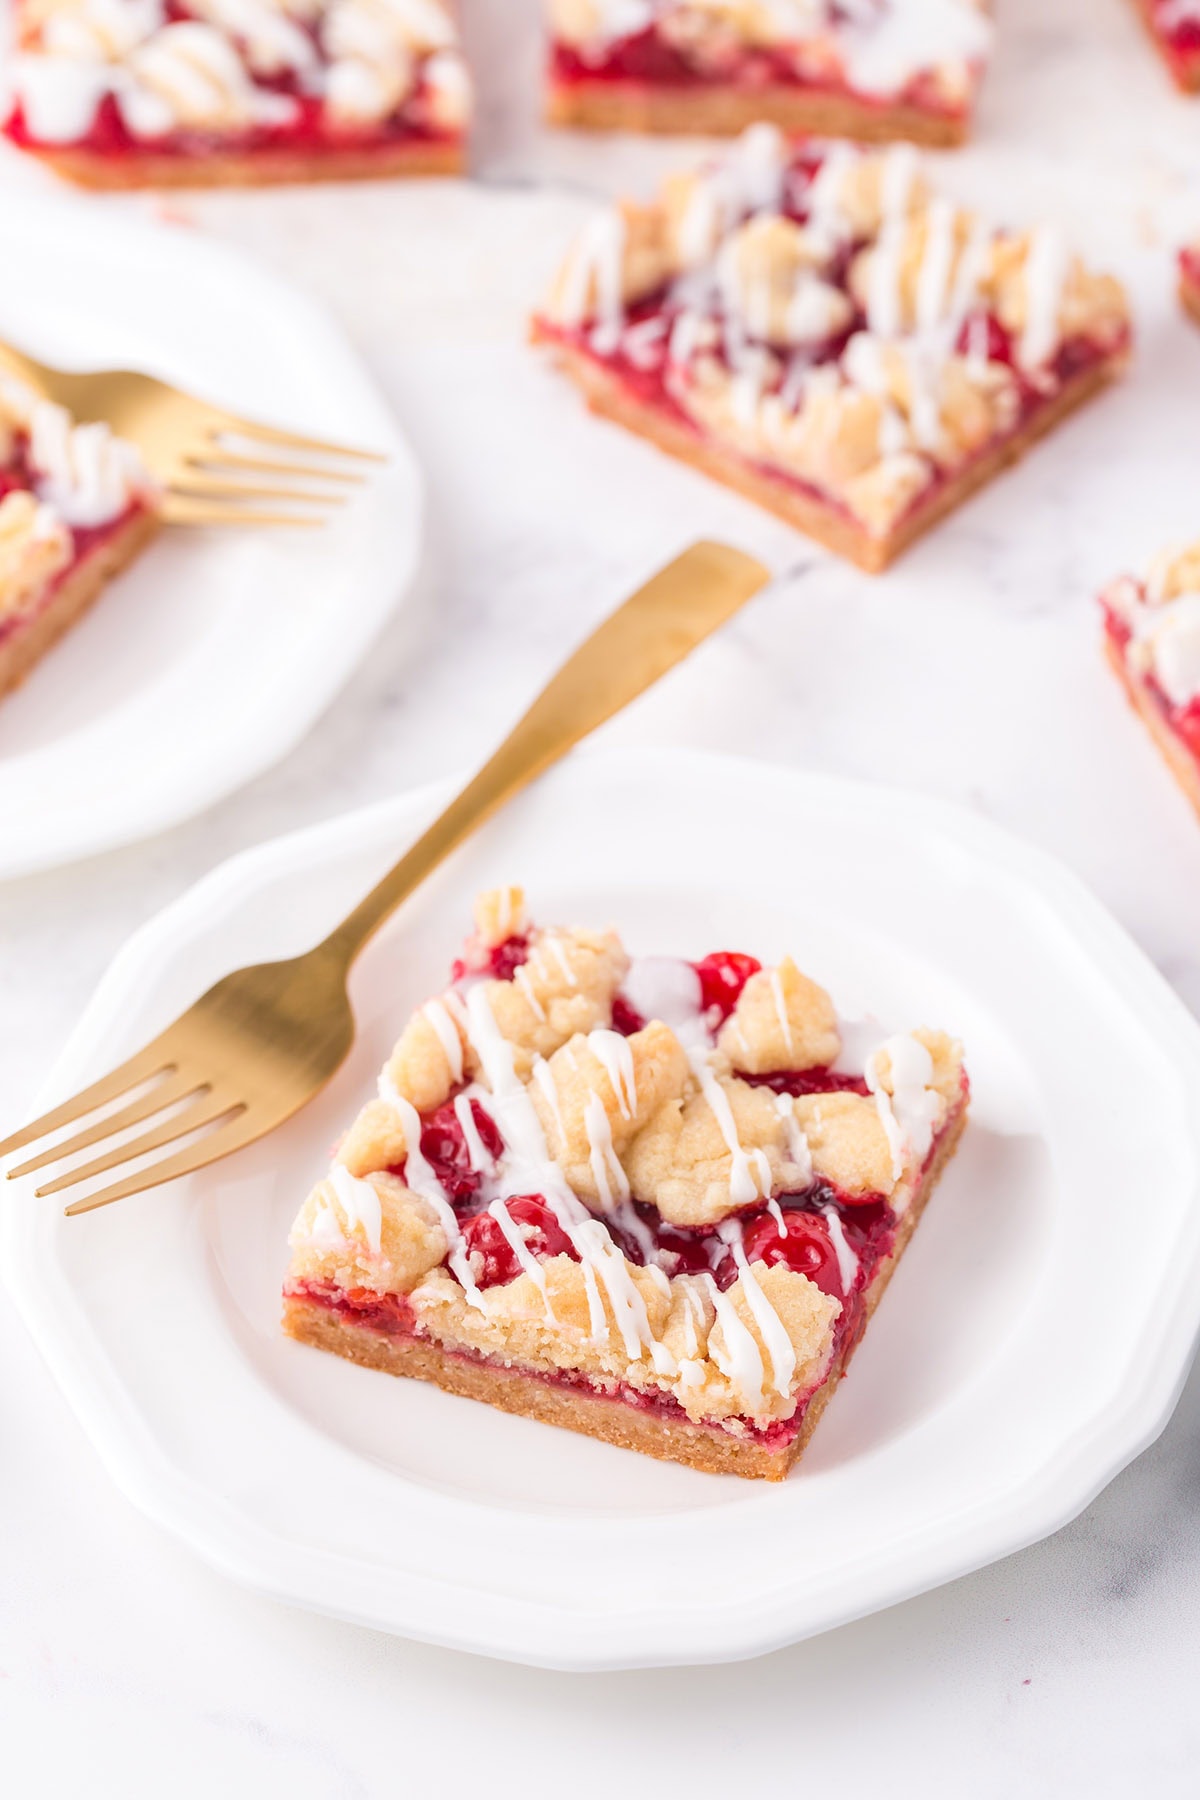
Cherry dessert bars are a perfectly portable treat for family gatherings, potlucks, and picnics. Serve your square alone, or top it off with a scoop of vanilla or Cherry Garcia ice cream!
Tips & Variations
- Don’t Use Refrigerated Dough: Although it would make it a little easier to put these bars together using refrigerated sugar cookie dough, I highly recommend using the unmixed dry cookie dough mixture. I found that refrigerated sugar cookie dough tends to be much sweeter. Because the cookie dough is so sweet, it will make your cherry bars a little too sweet to eat. The refrigerated dough also tends to be a little more on the greasy side as well, which makes it difficult for the bars to hold together.
- Pick A Pan size. You can use a 10×15 jelly roll pan that is 10×15 instead of a 9×13 baking pan. However, the dough will be thinner and will require a shorter baking time.
- Stop the Sticking: To make slicing and serving your cherry dessert bars easy, line your pan with parchment paper. The overhanging parchment paper can then be used to lift the bars out of the pan.
- Bake Other Bars: If you like serving your cherry pie as a square instead of a slice, try my Oreo Chocolate Chip Cheesecake bars, S’mores Cheesecake Bars, Snickerdoodle Cheesecake bars, and so many other cookie bars.
Proper Storage
- To Store: Line an airtight container with paper towels. Store at room temperature for about 4 days or in the refrigerator for up to 7 days. Bring to room temperature before serving.
- To Freeze: Cool completely, arrange in one layer on a flat tray, and freeze for an hour. Transfer to an airtight plastic bag and freeze for up to 6 months.
Other Easy Cherry Recipes
- Boozy Cherry Bombs
- Cherry Cheesecake Brownies
- 7Up Cherry Cobbler
- Cherry Yum Yum
- Chocolate Covered Cherry Brownie Bombs
If you tried this Cherry Bars Recipe or any other recipe on my website, please leave a 🌟 star rating and let me know how it went in the 📝 comments below. Thanks for visiting!!!
Cherry Bars
Ingredients
Cherry bars:
- 17.5 ounce package sugar cookie dough
- ½ cup salted butter melted
- 1 egg
- 3 Tablespoons all-purpose flour
- 1 teaspoon vanilla extract
- ½ teaspoon salt
- 21.5 ounce can cherry pie filling
Glaze:
- 1 cup powdered sugar
- 1 teaspoon lemon juice
- ¼ teaspoon vanilla extract
- 2-3 Tablespoons heavy whipping cream
Instructions
- Preheat the oven to 350 degrees F.
- Grease or line a 9×13 inch baking pan with parchment paper.
- Add the sugar cookie dough mixture, butter, egg, flour, vanilla, and salt to a large bowl and mix until combined.
- Take out ¼ of dough and set aside. Press ¾ of dough into the bottom of your prepared pan until it reaches the edges.
- Bake in oven for 12-15 minutes or until the edges are lightly brown.
- Drop cherry pie filling on top of dough and gently spread to the edges.
- Sprinkle the last ¼ of the dough evenly over the cherry filling. It is going to seem sparse, but it will expand as it cooks.
- Bake for about 25-30 minutes, covering loosely with aluminum foil after 25 minutes if needed, until golden brown. The sugar cookie topping should take on a matte appearance. Cool completely.
Jenn’s Notes
- To Store: Line an airtight container with paper towels. Store in a container at room temperature for about 4 days, or in the refrigerator for up to 7 days. Bring to room temperature before serving.
- To Freeze: Cool completely, arrange in one layer on a flat tray, and freeze for an hour. Transfer to an airtight plastic bag and freeze for up to 6 months.






Everything looks so yummy