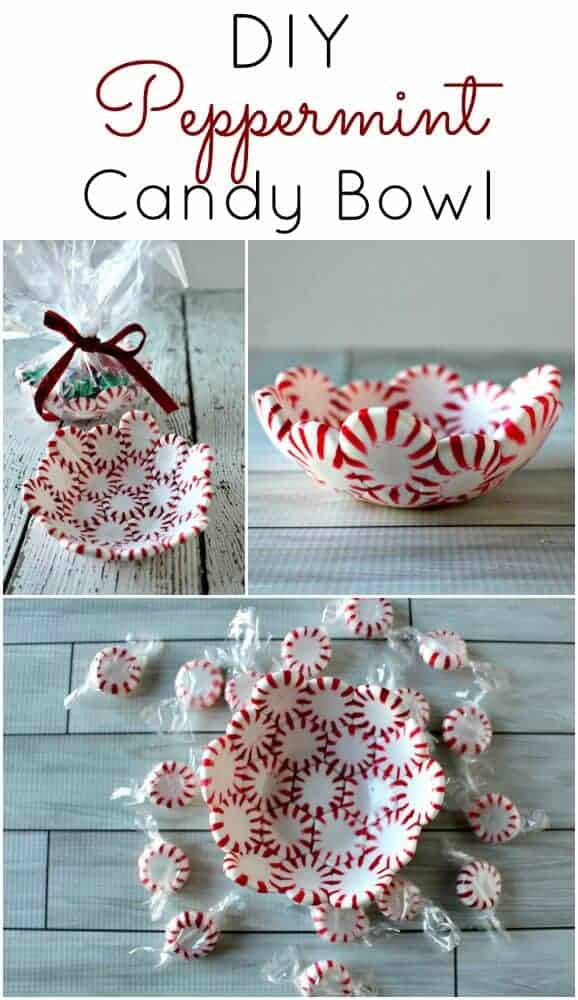
You may have seen my recent post on how to make a Peppermint Candy Bowl.
 Well, let’s just say that since then I have been trying to make anything and everything out of Peppermint candies! My latest is the Peppermint Candy Shot Glass! They came out super cute, but a few caveats…
- Your finger tips could get a little burnt
- You need to make sure there are no little holes in the “glasses” BEFORE pouring anything in
- They are fragile
- You can only use them once
- Pour them right when you are ready to use them…..AND, they still may leak!!
If you agree to these possible conditions…. please read on! (Don’t yell at me in the comments…. you have been warned!)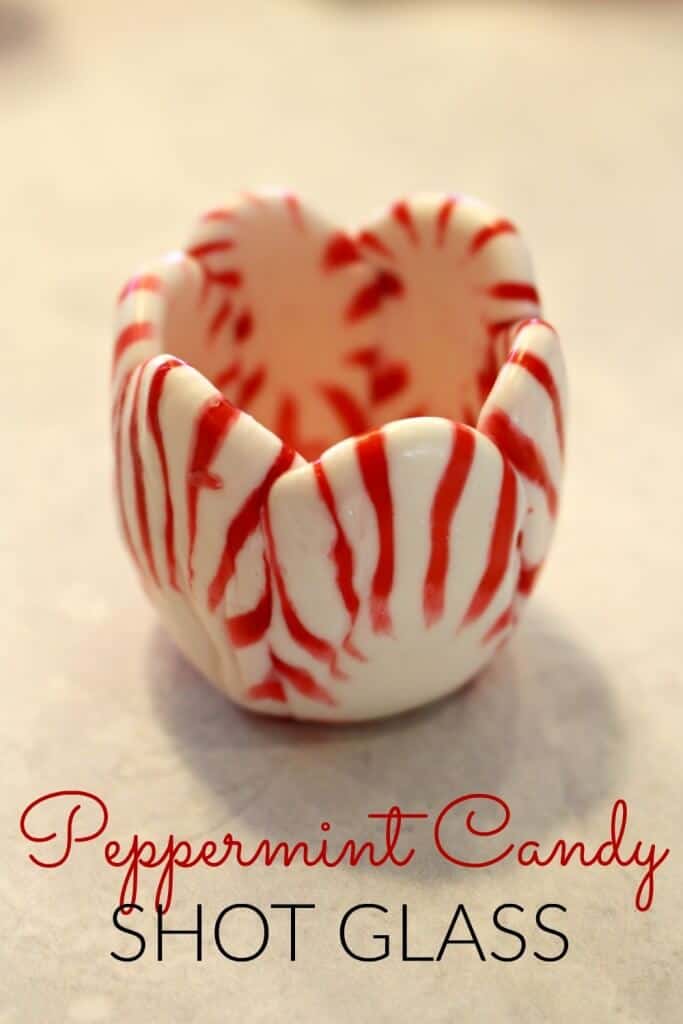
Here is what you need:
- Peppermint Starlight Mints – 7 per glass
- Silicon Baking Liner (or parchment paper)
- Baking Sheet
- A glass shot glass
Here is what you do:
- Pre-heat oven to 300 degrees
- Place silicon baking liner or parchment paper on baking sheet
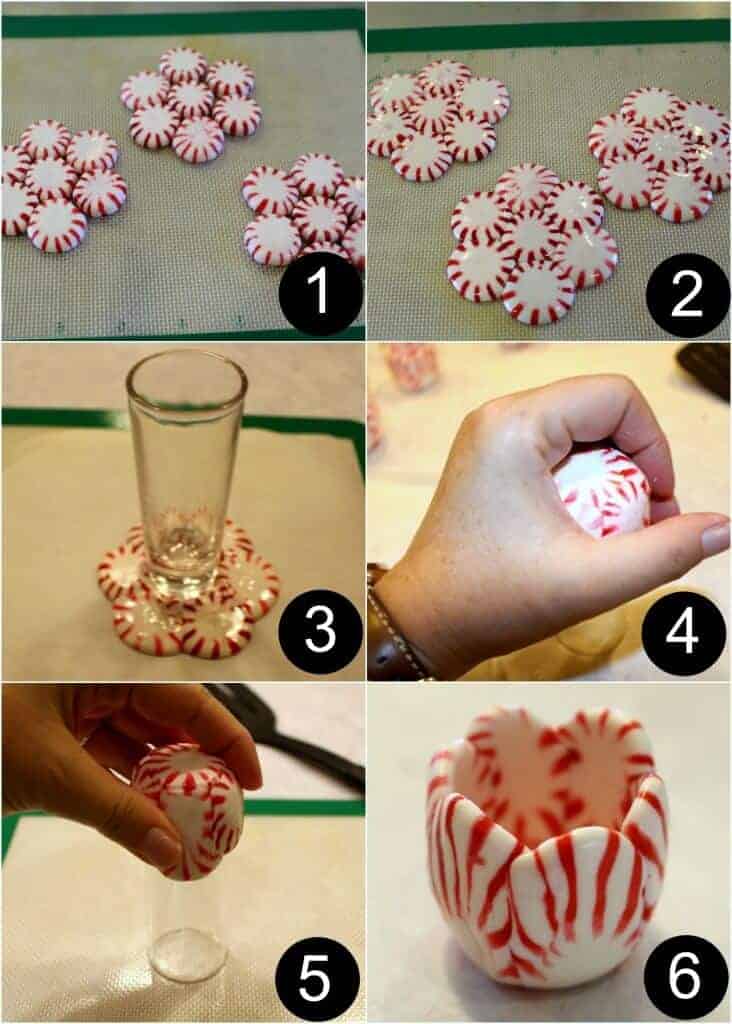
- Lay one mint in the center of the baking liner. Take six more mints and lay the mints around the center mint (making a flower type of shape).
- Place in the oven. Now, this is important because all ovens cook differently. You MUST watch them cook. When they start to get shiny and just begin to spread out and melt – they are done! You do not want them so melted that they are bubbling.
- Have your small glass shot glass upside down and ready to go – you are going to use this to mold the candy glass.
- Take them out and let them sit for about 30 seconds – you want them cool enough to handle, but not too cool that they are set.
- Carefully (very carefully – you may want to use oven mitts because the mints are going to be super hot) flip the silicon liner with the mints in place, on top of the upside down glass. Try to place the center mint as close to the center of the glass as possible. Now use your hand (with oven mitts on) to form the mints to the bowl. You will have under a minute before the mints start to harden again.
- Let it sit on the glass until it sets.
- Remove it from the glass and let cool completely.
- Fill with drink of your choice and enjoy!

Check out my DIY Peppermint Candy Bowl! It makes a great holiday gift!
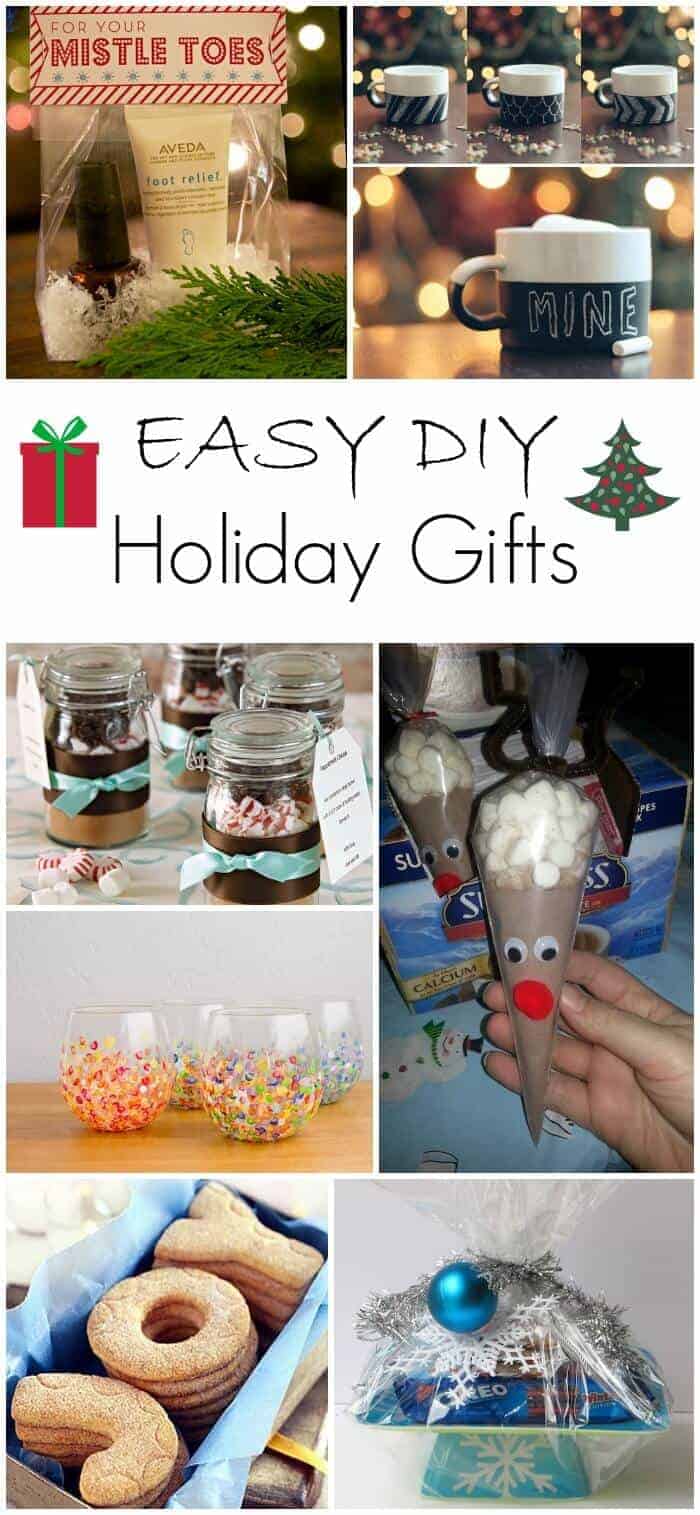
Looking for some other easy DIY gifts – just click on the pictures below:







Made the shot glasses.What should I wrap them with going out of town?Should I refrigerate them?thank you love them😁
Hi – I wouldn’t refrigerate them. Depending on the humidity, they will get sticky (just like opened candy would).
A question for you. Do you use shellac to coat them? Won’t they get sticky if you don’t?
Hi Pat, mine have not gotten sticky, but I only keep them for 1-2 weeks. I live in a non-humid climate, so I don’t have to worry about the humidity.
You can’t look through several ovens;other recipes people like to do 20 to 25 and people can pick any random number and take out with minutes remaining if they where done if they picked a number somewhere in between that time frame!!
Can the mints be microwaved,rather then in the oven?
Hi Roxanne – I have never tried it, but I don’t think it will work well.
Just a thought but have you tried using your silicon shot glass mould to make these you could crush the peppermints like you did for the spoons and fill the moulds, might be a way of getting around the leaking issue. Could be an alternative to using the mints as they are.
can l use any kind of peppermint candy l just bought the rounded candies. Not the flat candies. anymore suggestions..
I used Starlight candy the Target brand
Two questions: 1) what size bowl (inches across top works best) and 2) I was thinking of using those stemless wine glasses that are shaped like a very, very, very large egg. How many more mints would you say to use? Maybe one more row?
Thank you
My shot glass couldn’t have been more than an inch across. I would maybe try one more row with your glass!
How about adding some crushed peppermint candy crumbs to the shot glass mint edges for extra sealing, maybe? I love the bowl, and will make it for our Christmas party with something in it. Thank you.
I can’t get the glass bowl from the candy dish, any suggestions or tis for next time?
Try not cooking them as long and coat with a very very light coat of non-stick spray.
could you coat the inside with chocolate so they wont leak?