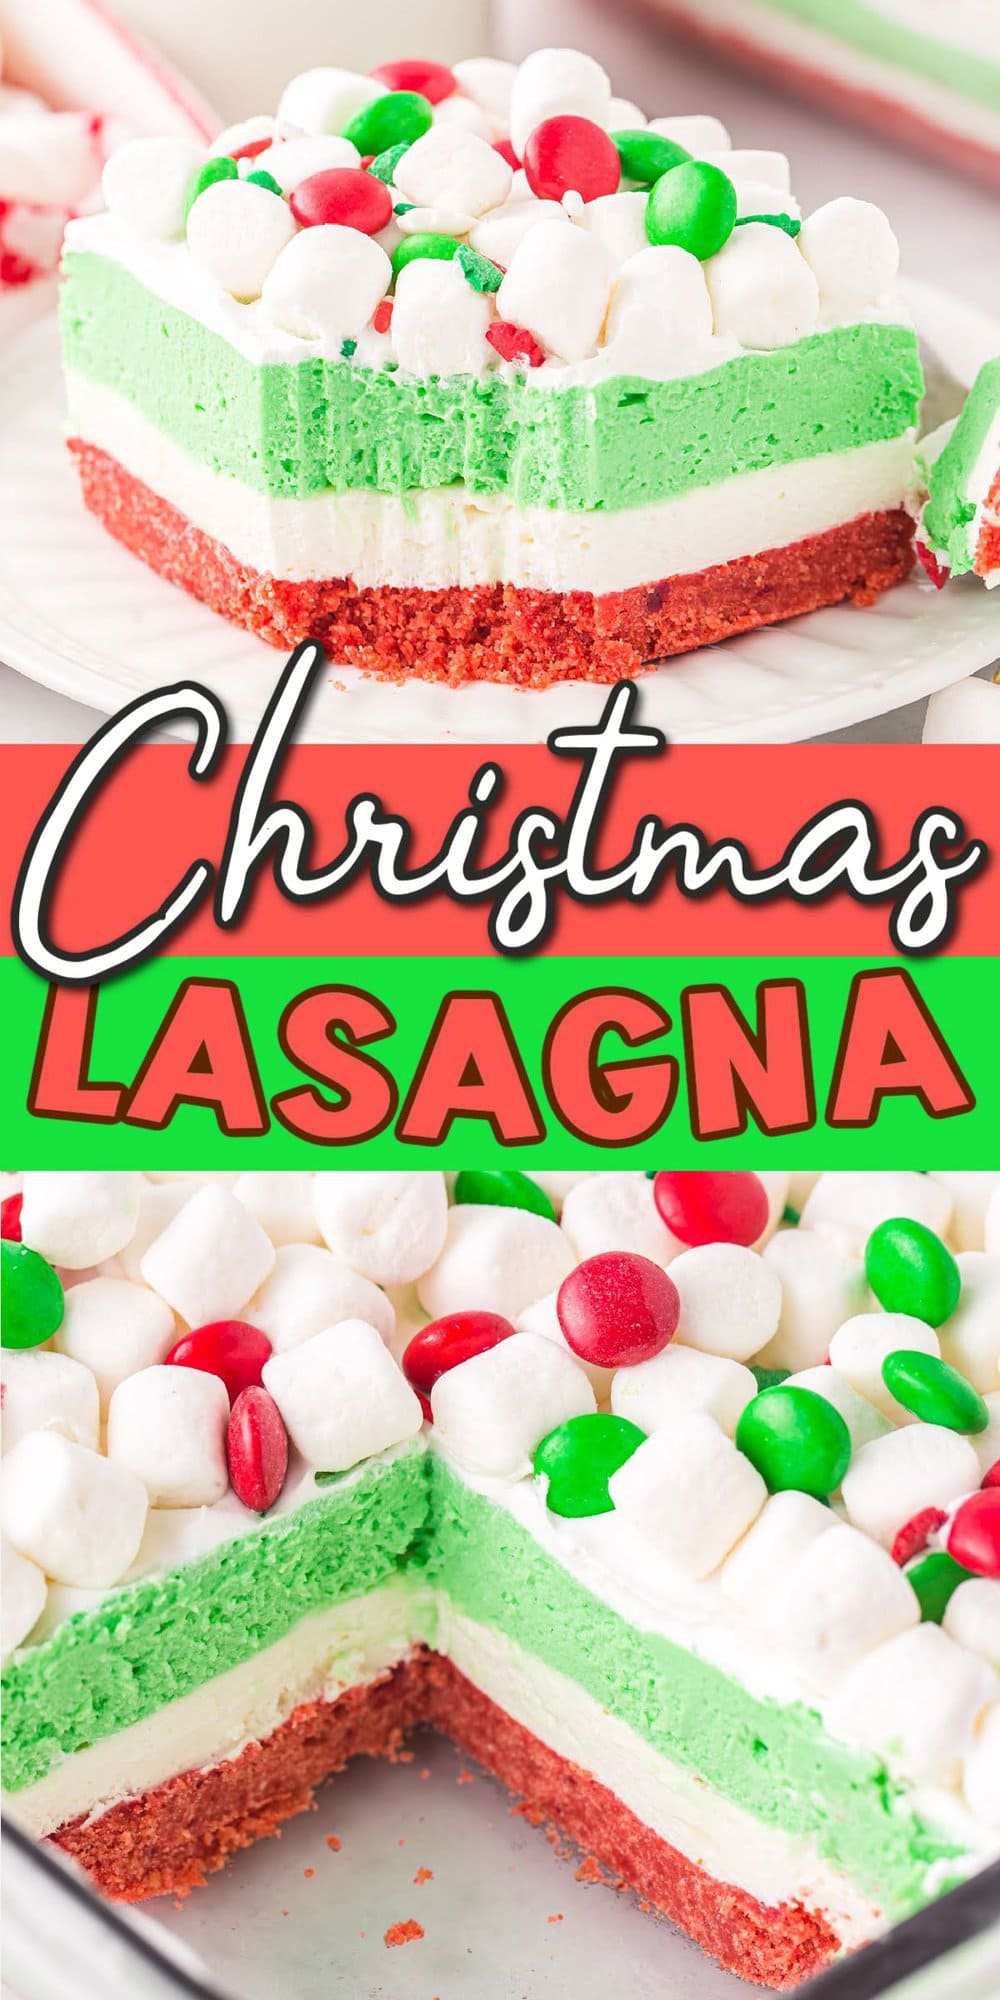
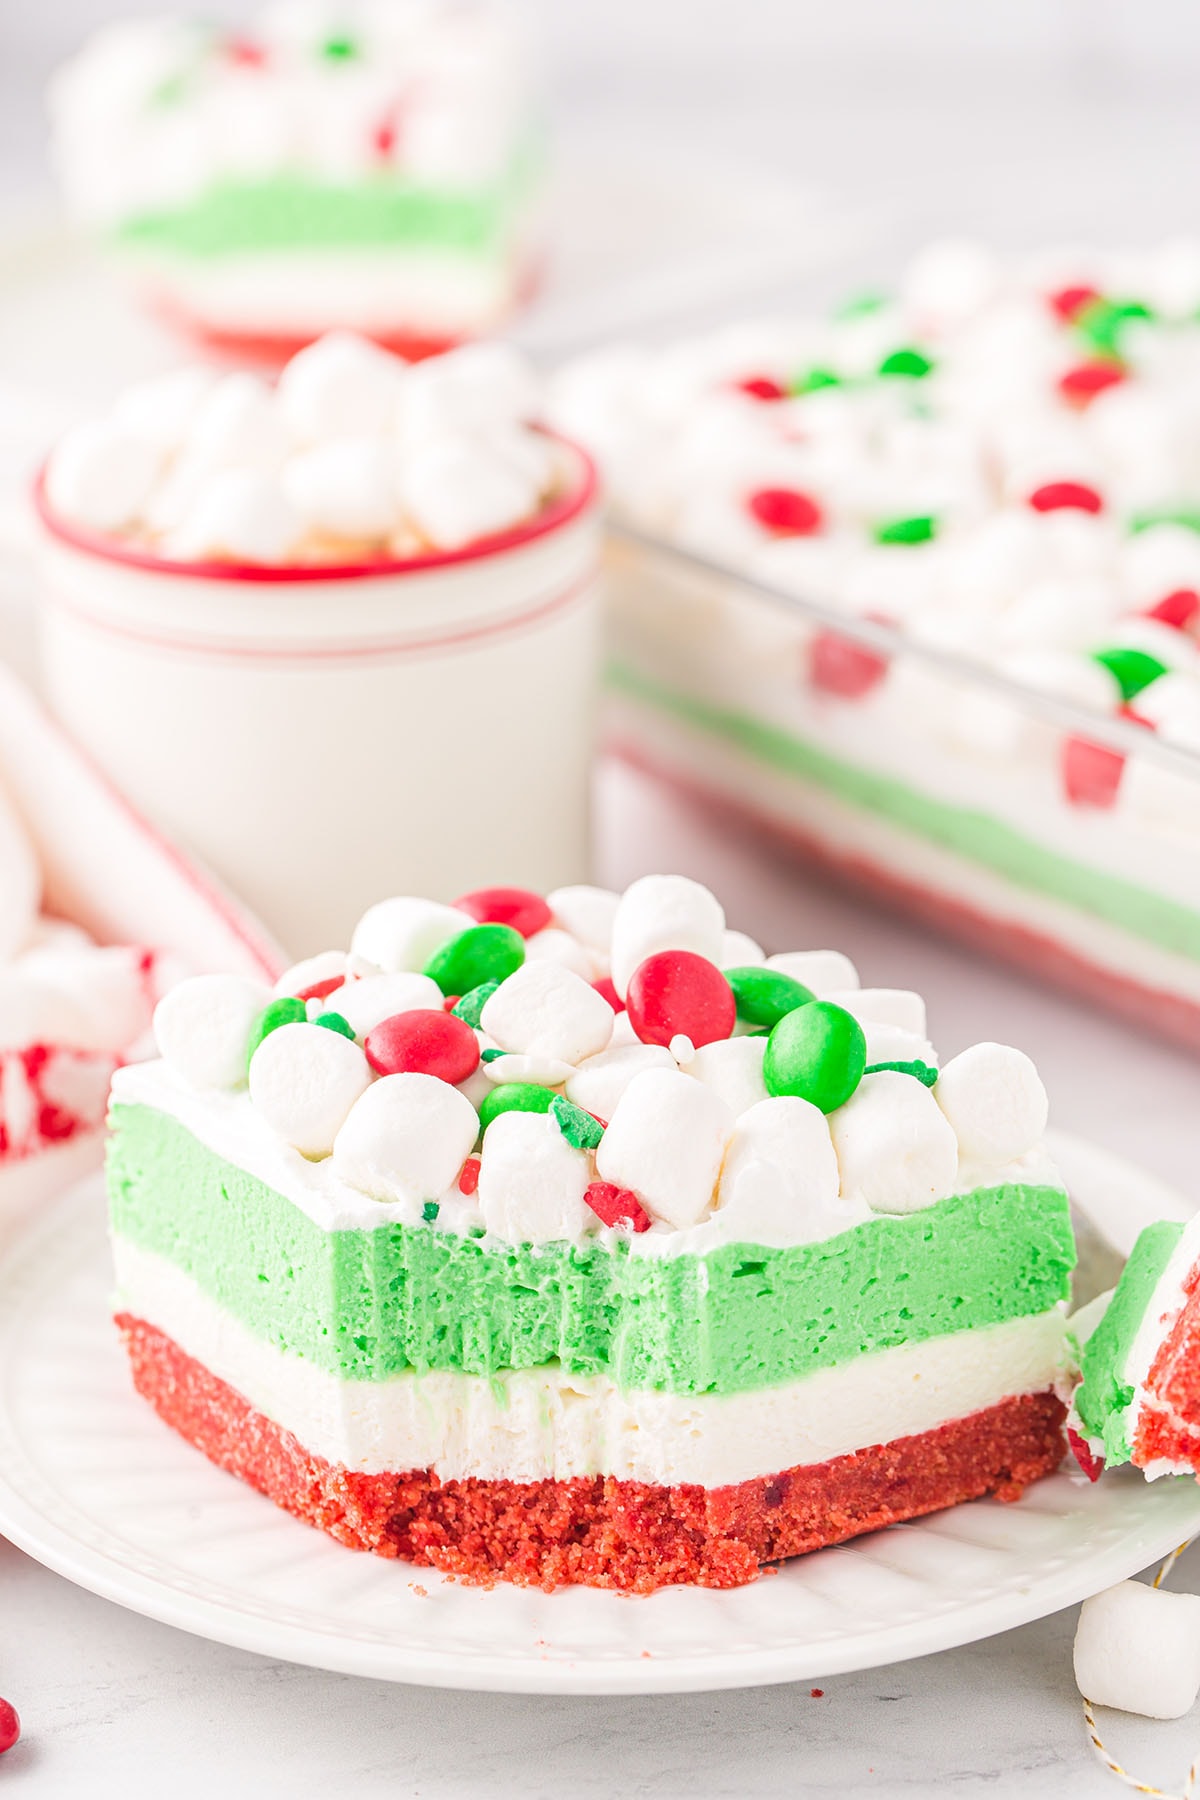
Christmas Lasagna is a creamy, cool Christmas dessert full of light and fluffy layers arranged over a cookie-crumb crust.
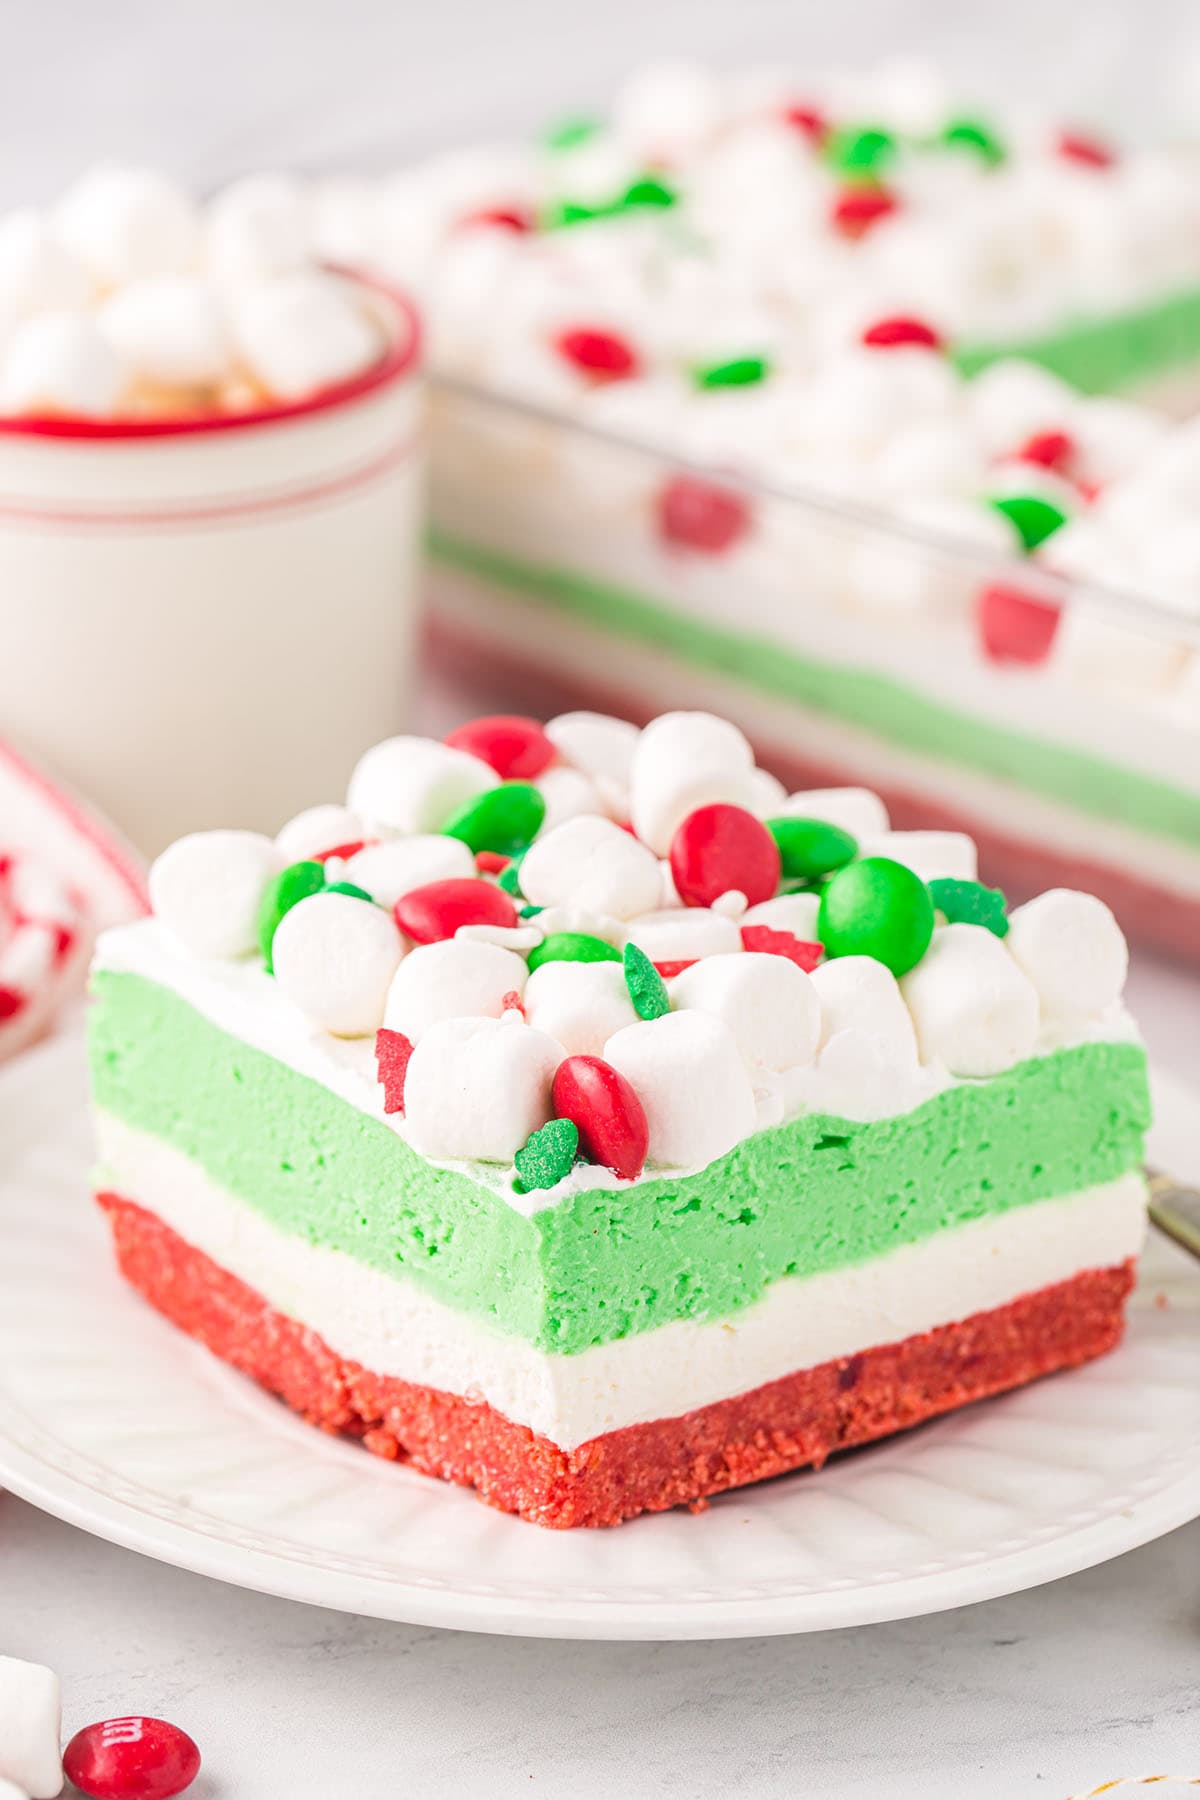
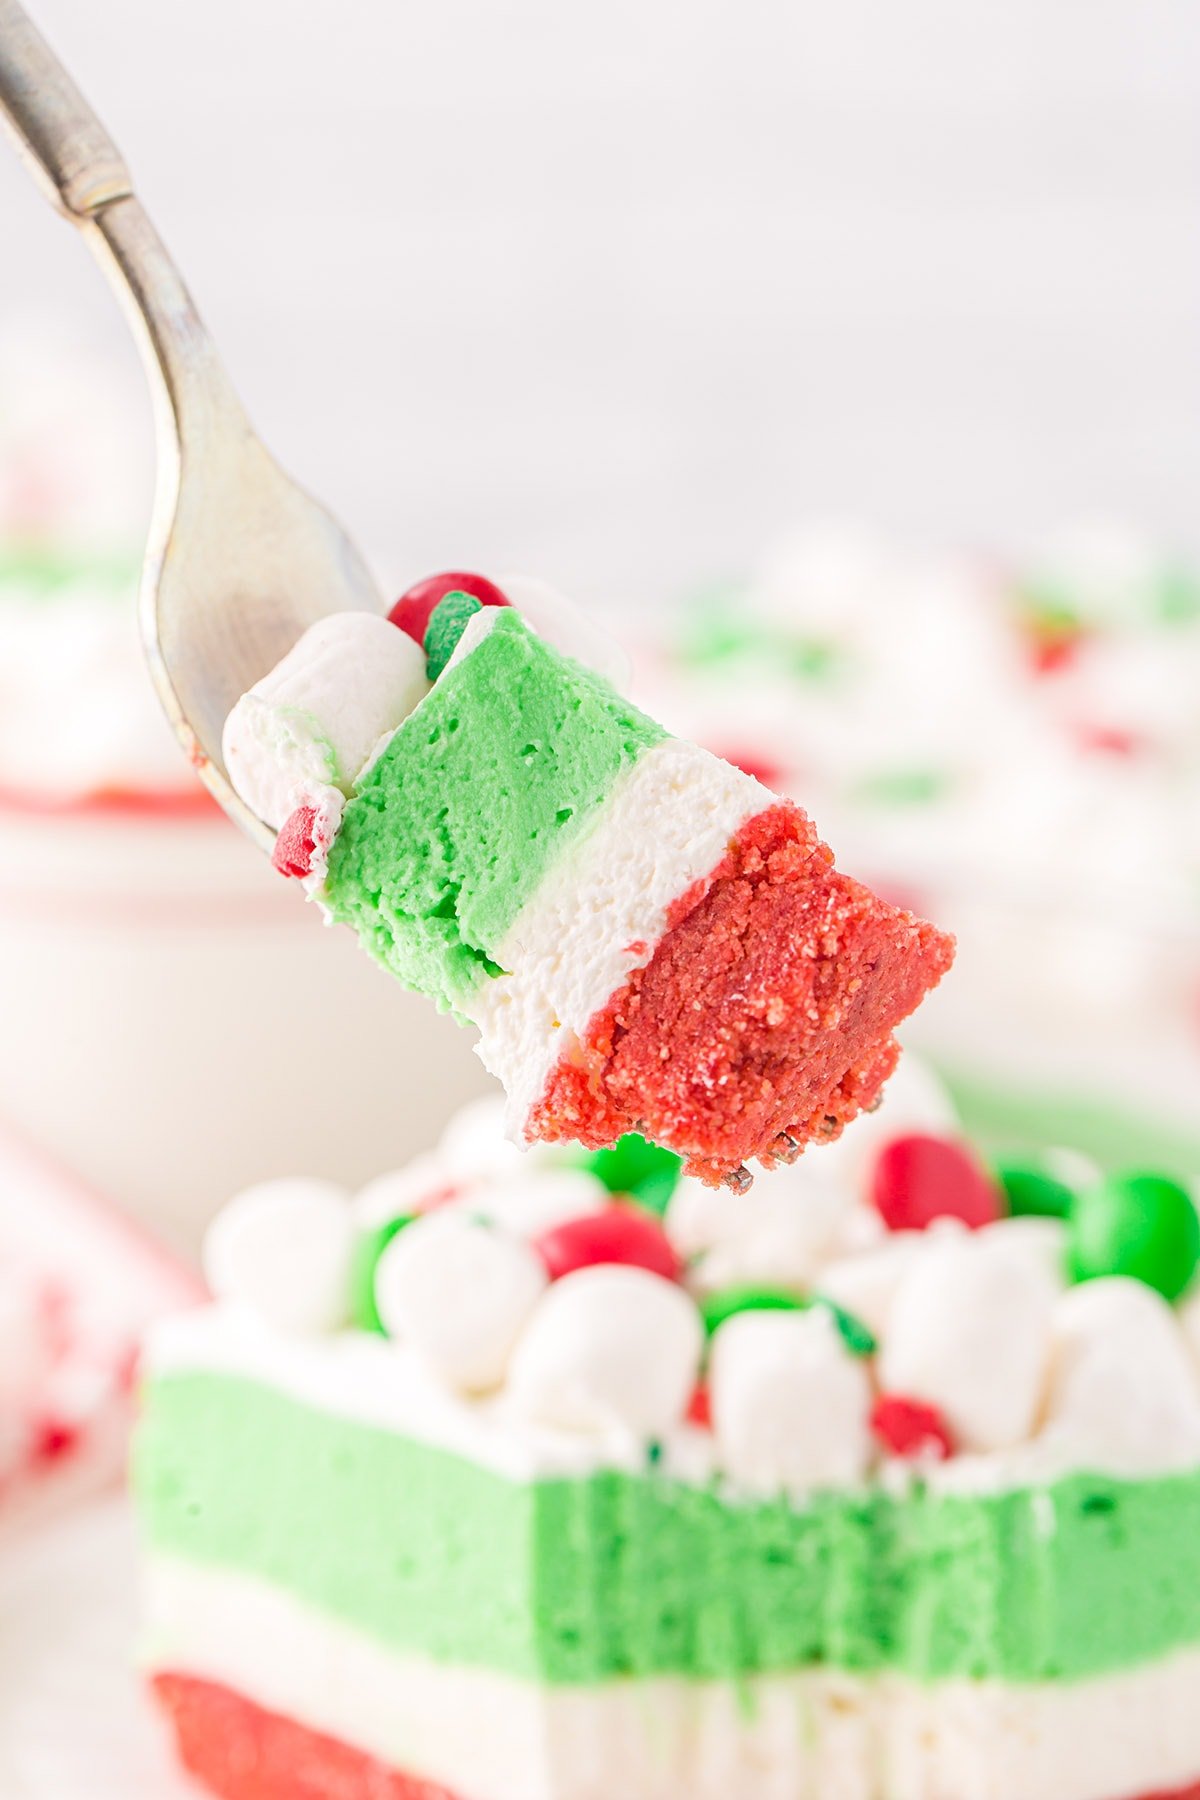
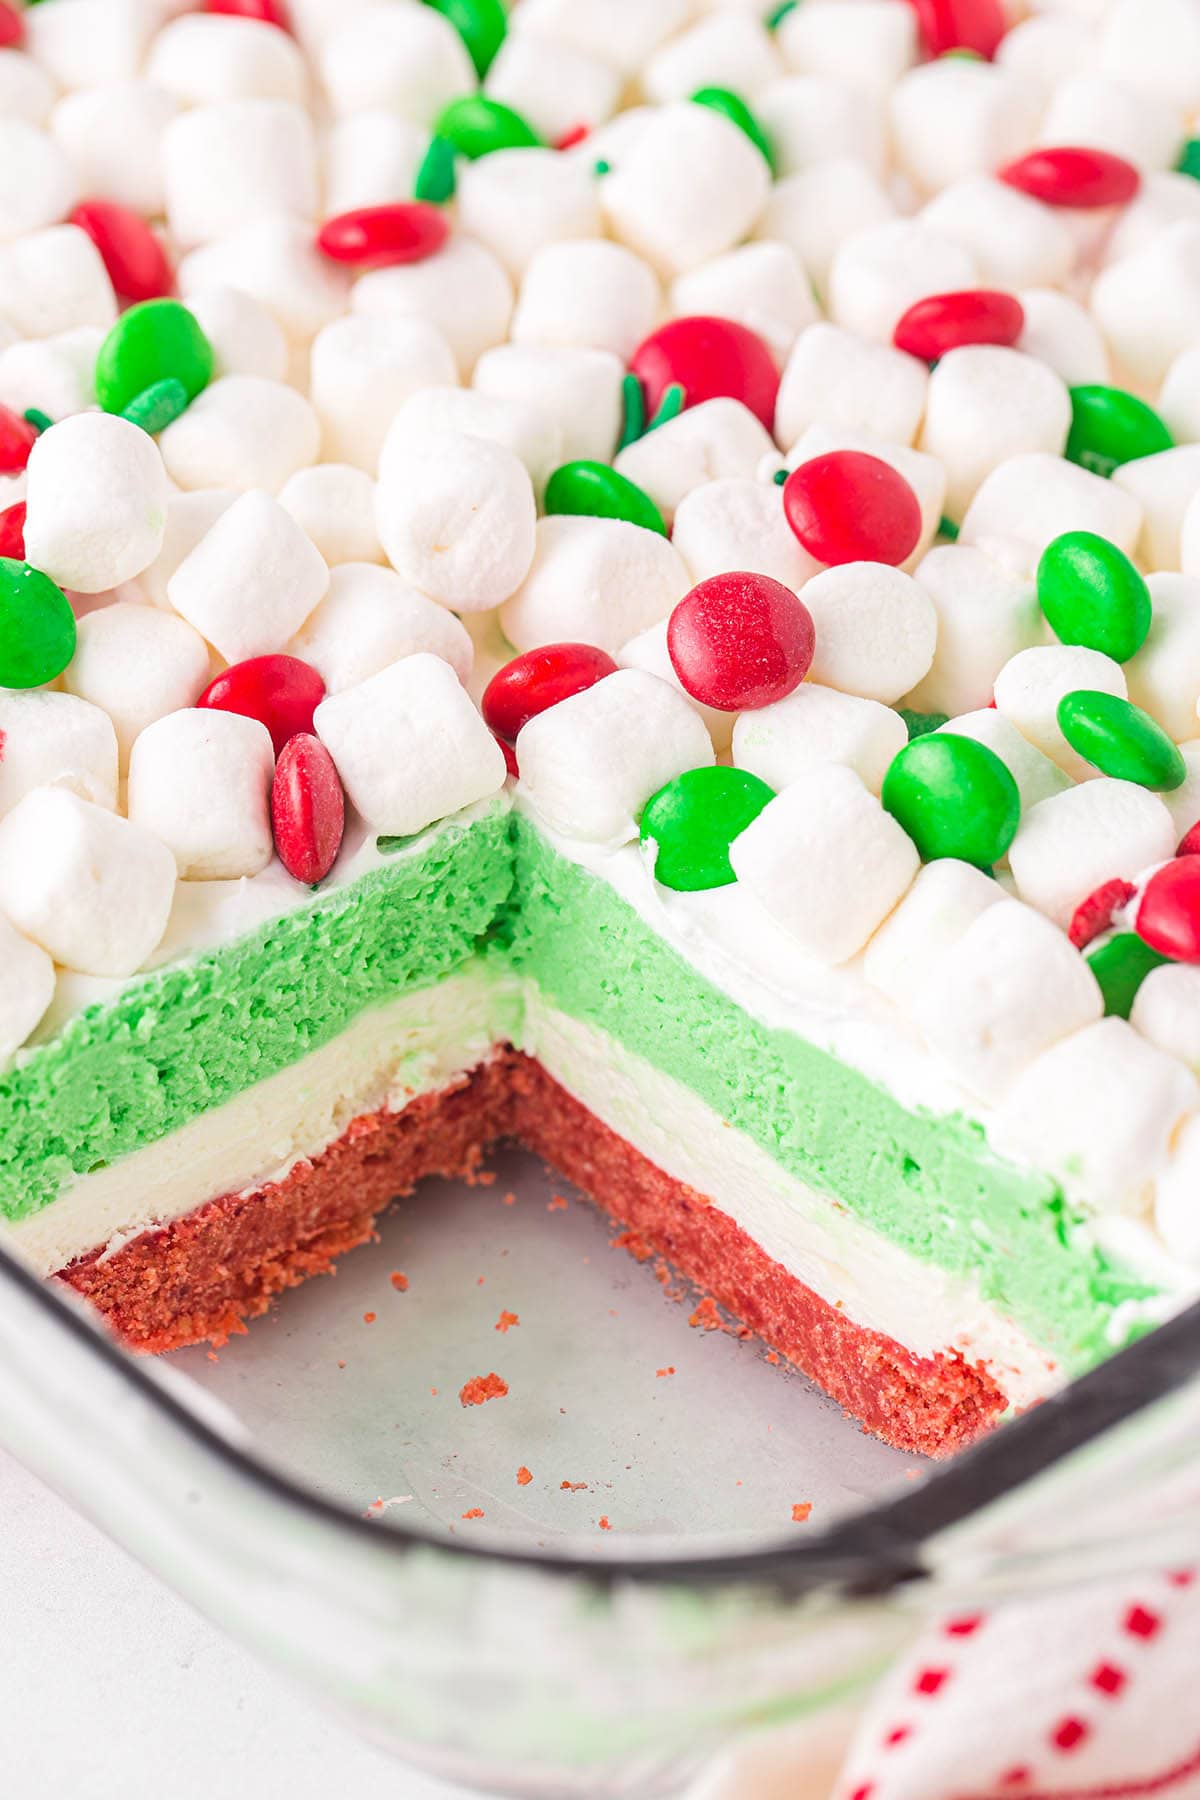
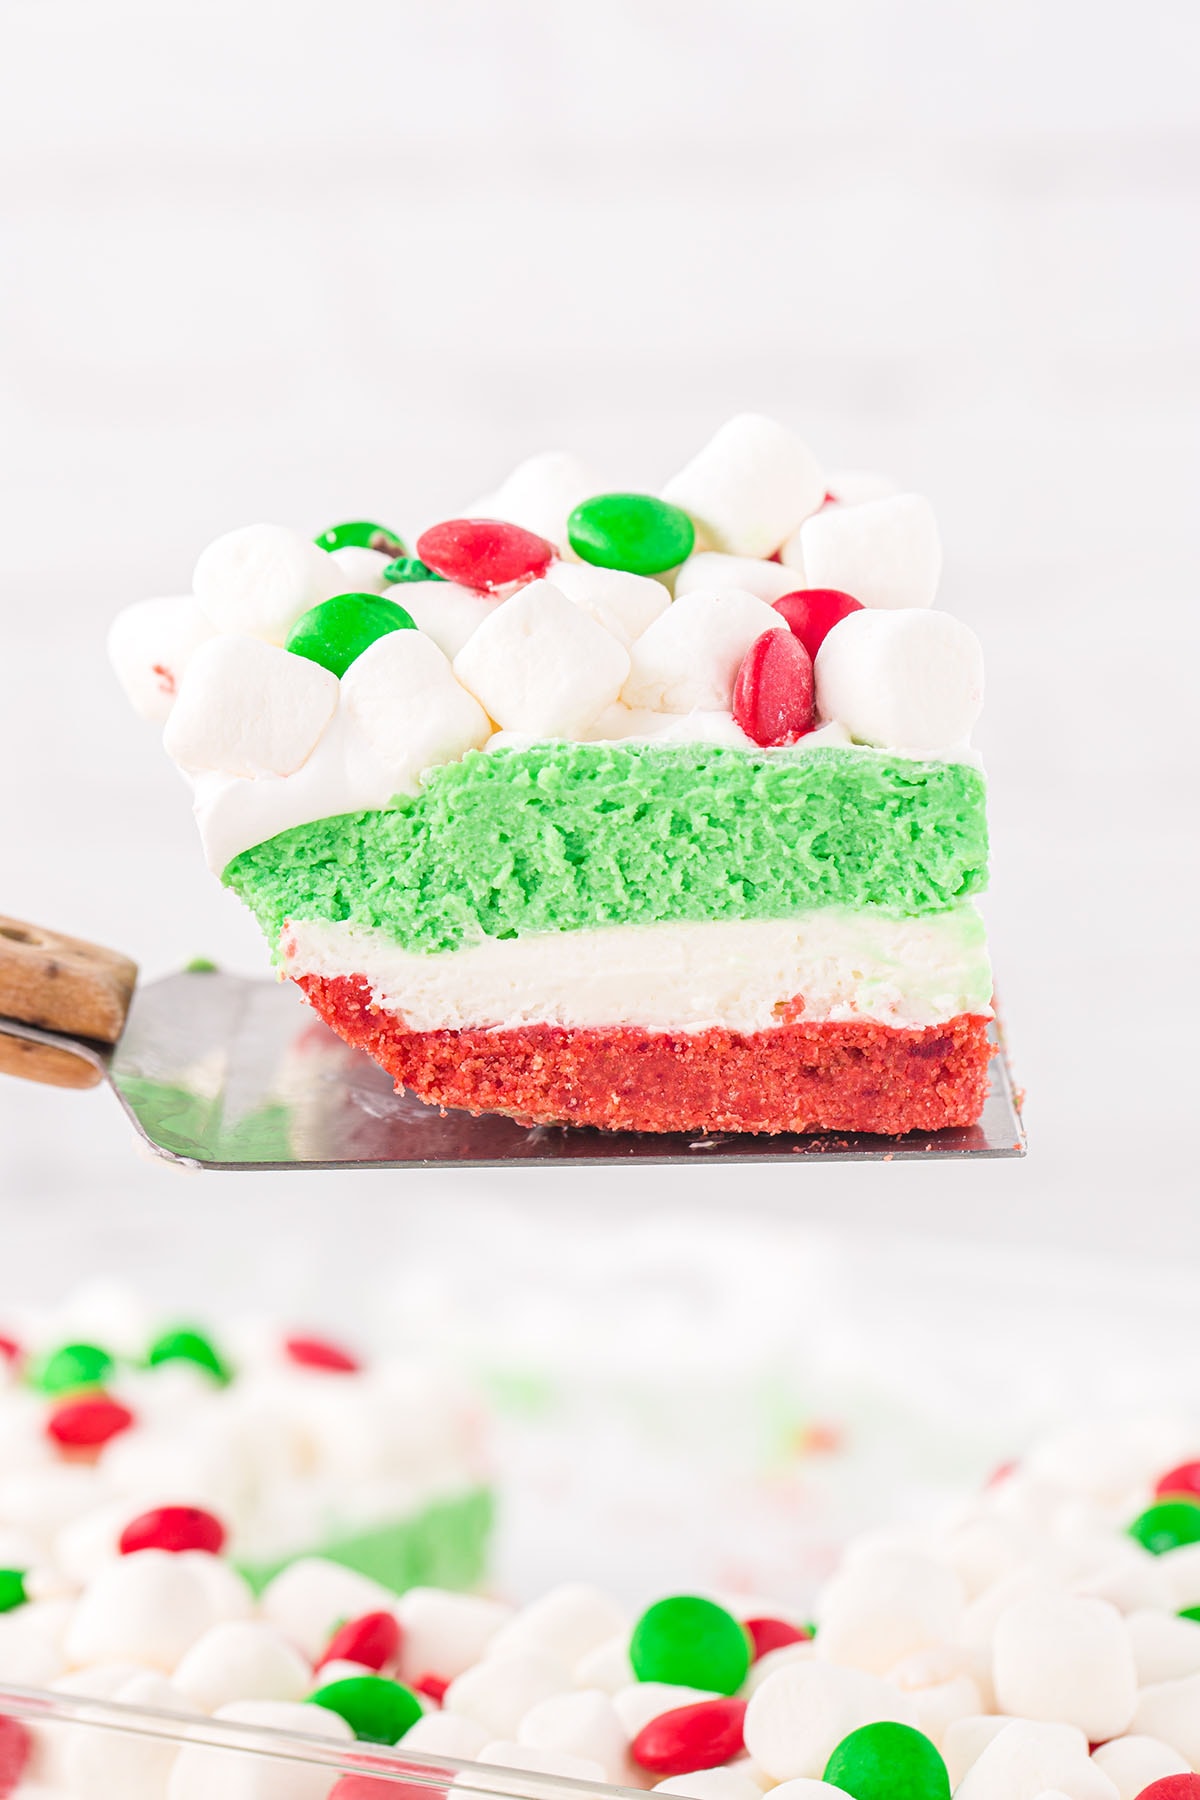
A Christmas themed no-bake layered dessert is so easy to make with a buttery red vanilla wafer base that sits below blankets of white cheesecake, green peppermint pudding, and whipped topping decorated with festive sprinkles, candy, and mini marshmallows.
Christmas Lasagna Dessert
No bake Christmas Lasagna is a whimsical layered dessert easily made with a no-cook red cookie crust, a fluffy cream cheese layer, a minty green pudding layer, and covered with Cool Whip over the top.
While a Christmas dessert lasagna may not be the traditional trifle treat or toffee pudding, this delicious layered Christmas dessert belongs on your sweets table beside the classic sprinkle cookies, candy cane brownies, and Christmas mints.
This dessert lasagna recipe can be made with a red velvet shortbread cookie base or baked with a bottom red velvet cake layer, but why complicate something so easy when my no-cook crust saves time and extra steps?
Red and green desserts are meant to be merry and bright; I’d love to skip supper and dine on a decadent lasagna for dinner!
Why We Love This Christmas Lasagna Dessert Recipe
- Quick and easy to make.
- Uses simple kitchen staple ingredients.
- Layers of Christmas colors look festive for the holidays.
- Sweet switch from the savory Christmas dinner lasagna.
- Perfect for Christmas parties, potlucks, and holiday celebrations.
More Easy Christmas Dessert Recipes
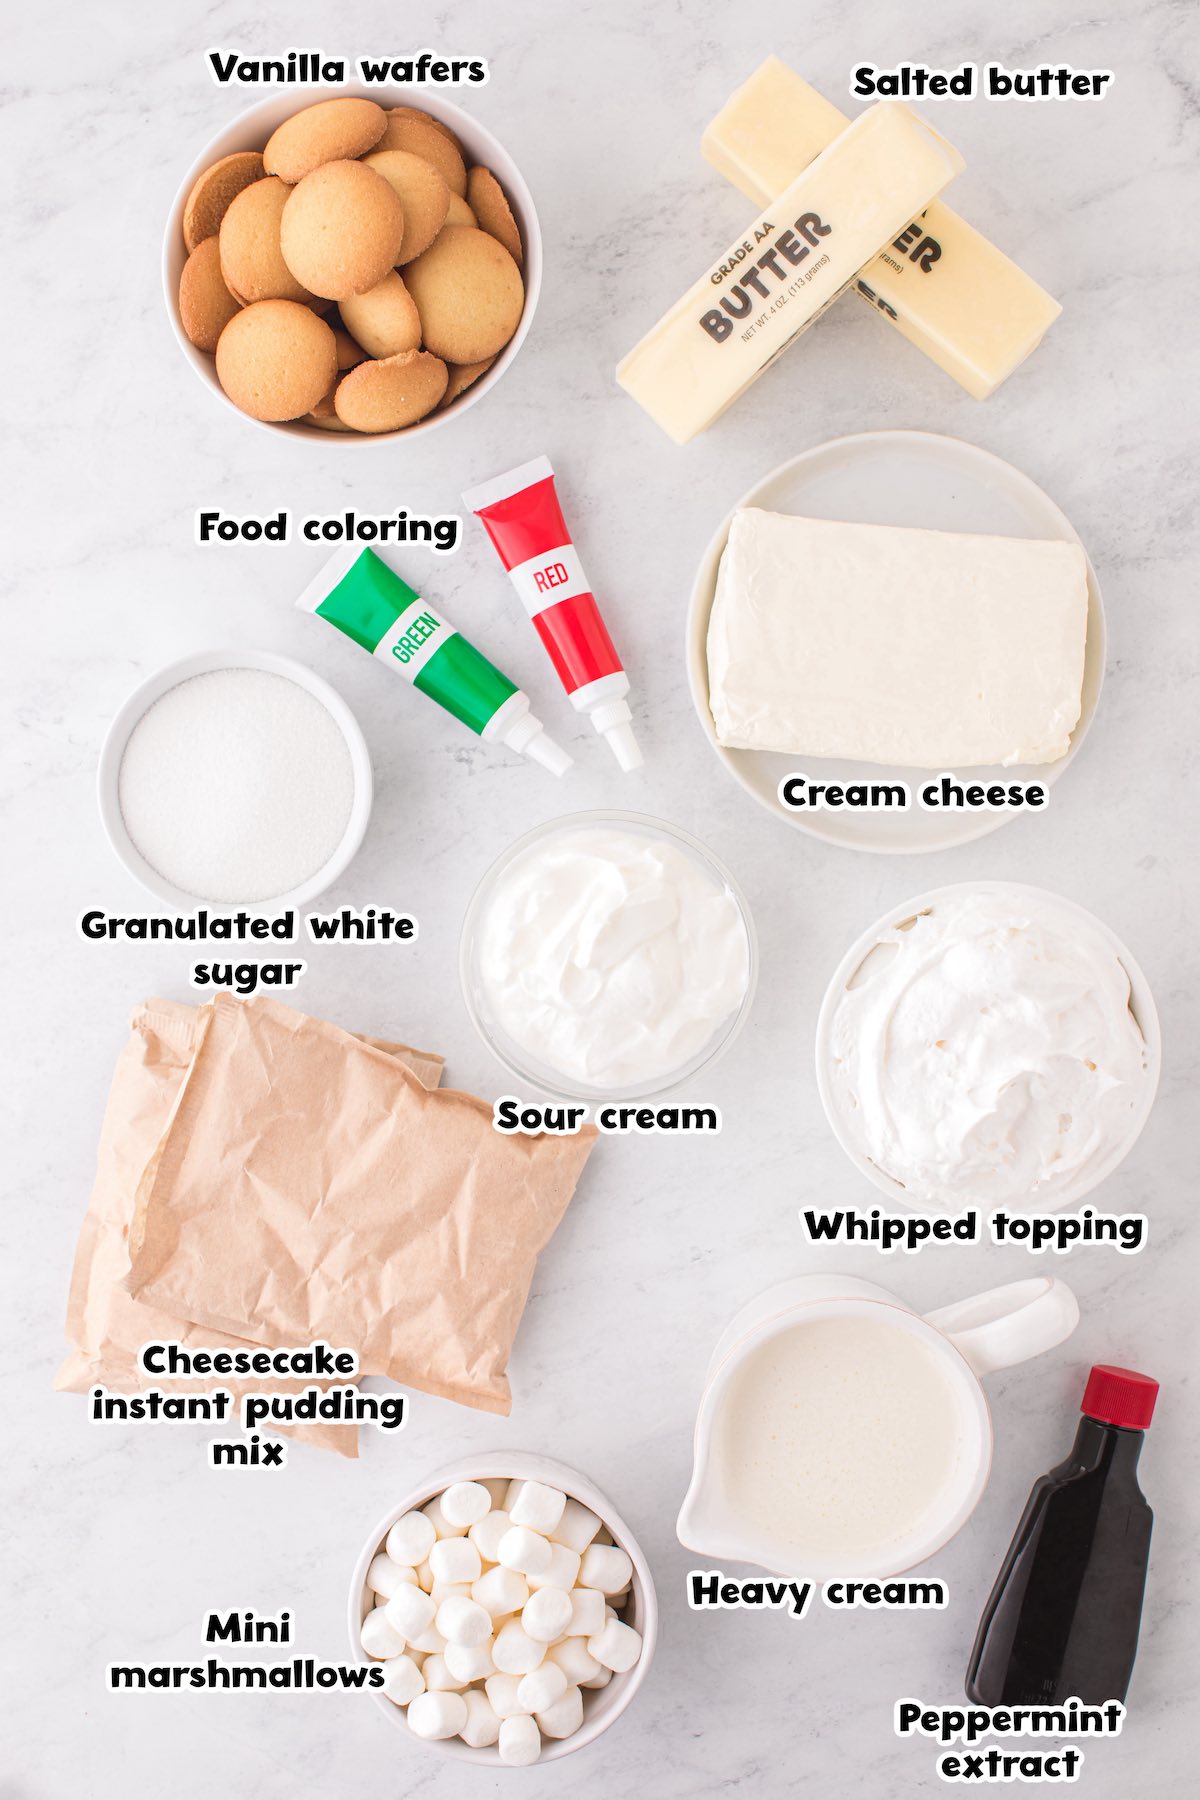
Ingredients for Christmas Lasagna
- Vanilla wafers: You can use mini vanilla wafers if you wish. Graham crackers are also a great substitute.
- Salted butter: You can substitute unsalted butter and a pinch of salt instead.
- Red gel food coloring
- Cream cheese
- Granulated white sugar
- Sour cream: You can substitute plain greek yogurt for a similar result.
- Whipped topping or Cool Whip: I like buying the tubs of pre-made whipped topping for this recipe, however you can make your own homemade whipped cream with powdered sugar and heavy whipping cream if you prefer.
- Heavy cream: You can substitute half and half or whole milk, however your pudding will not end up as thick and you may not get as sharp of layers.
- Peppermint extract: You can omit this if you do not have it and use vanilla extract instead for a mint free, vanilla dessert.
- Cheesecake instant pudding mix
- Green liquid food coloring: You can also use a gel coloring but it may be harder to incorporate into the pudding.
- Mini marshmallows
- Christmas candies, sprinkles, or red & green M&Ms (optional garnish)
Substitutions and Additions
- Create The Crust: Feel free to make a shortbread or red velvet cake crust instead of the cookie crust. You will have to bake and chill the crust completely before you make the lasagna if you go this route.
- Pick Your Pudding: You can use vanilla instant pudding, white chocolate instant pudding, or pistachio instant pudding instead of the cheesecake pudding for a slightly different flavor.
- Fill With Your Favorite Flavor: This Christmas Lasagna has a delightfully light peppermint flavor, however you can certainly change it according to your preference. Feel free to use vanilla, almond, maple or even orange extract instead of peppermint for a slightly different taste. You can also omit the flavoring and opt for a simple cheesecake flavor instead.
- Grab Your Garnish: Use your favorite Christmas garnishes to decorate this dessert! You can keep or omit the marshmallows and use candy canes, Christmas candies, or decorate the top with icing. You can also substitute white chocolate chips or shaved white chocolate instead of marshmallows to keep the snowy appearance but with a different flavor.
- Create Some Crunch: Stir crushed candy cane into the cheesecake filling or the Cool Whip layer on top for a crunch and flavor boost. You can also use crushed candy cane on top of the marshmallows.
Recommended Tools
- Deep 9×13 inch glass baking dish
- Large mixing bowls
- Hand or stand mixer
- Spreading spatula
How to Make Christmas Lasagna
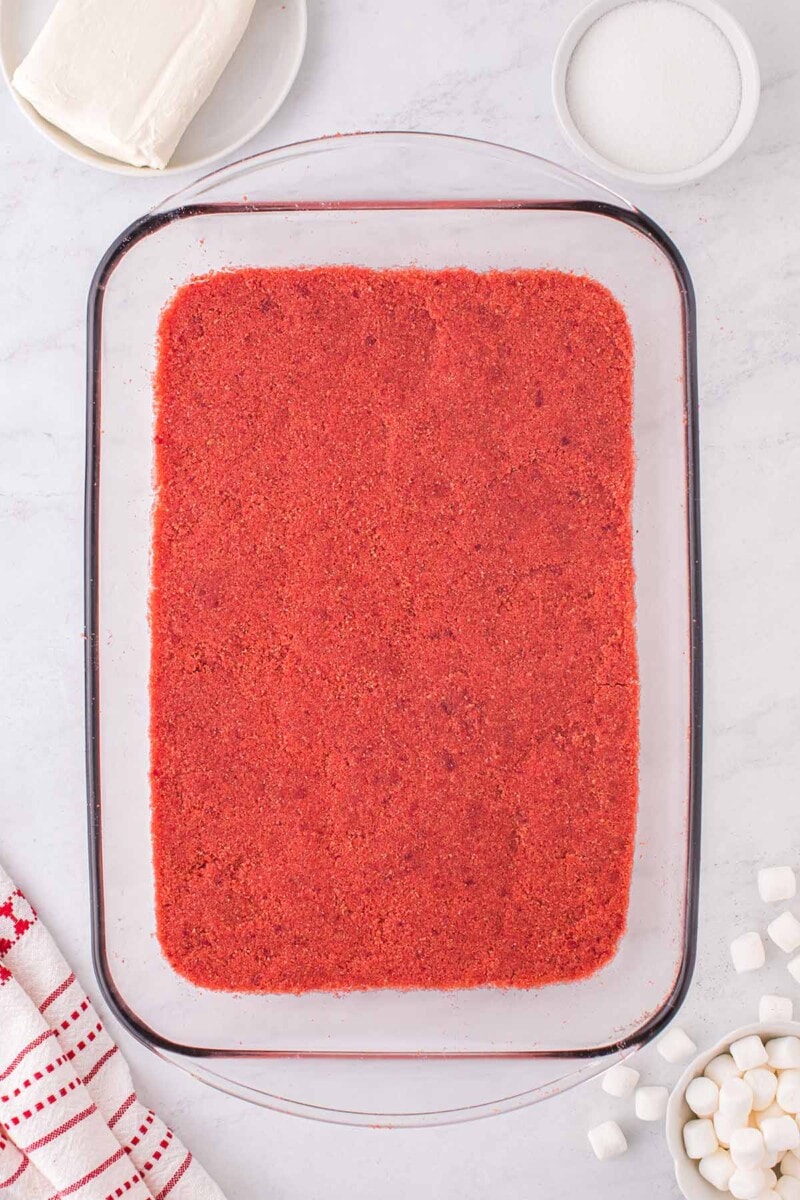
- Create The Crust: Pulse the vanilla wafers into crumbs, add in the red-colored melted butter and continue to pulse until combined. Press the crust into the bottom of a baking dish and place in the freezer.
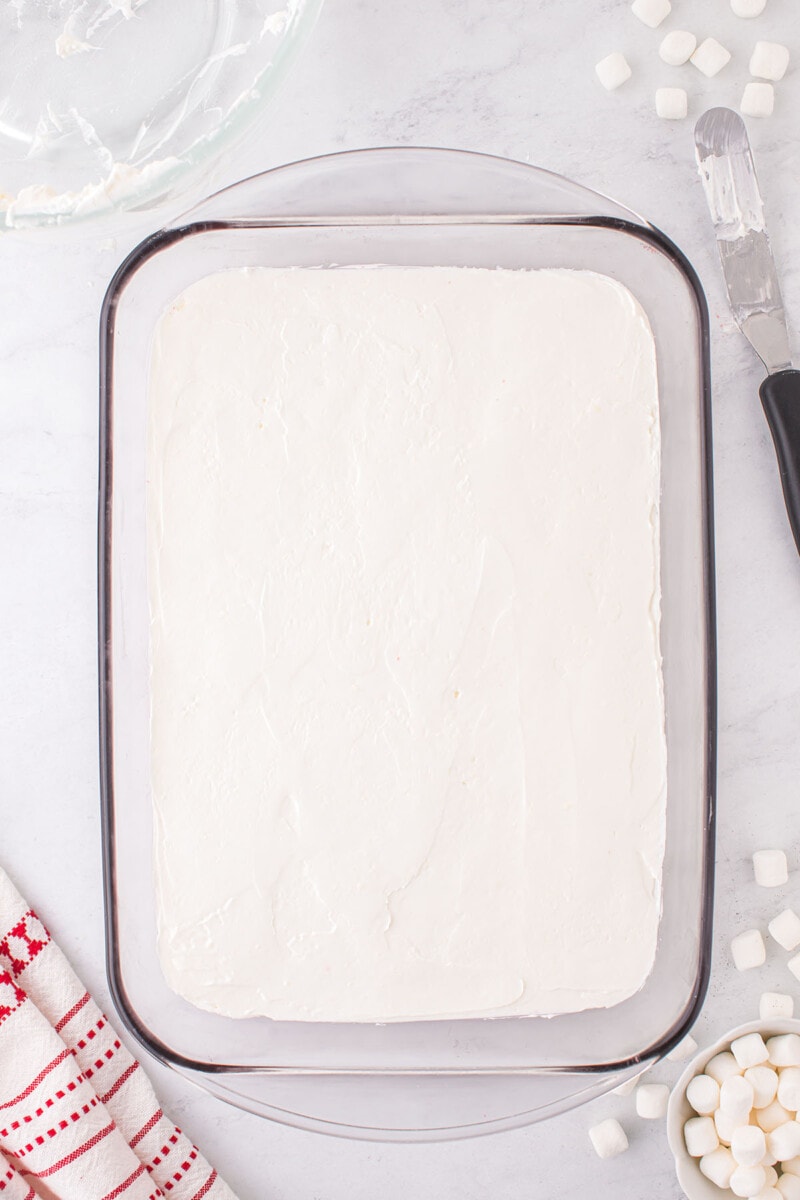
- Make The Cheesecake Mixture: Beat together the cream cheese and sugar until light and fluffy. Beat in the sour cream until smooth and then fold in the whipped topping. Spread evenly onto the frozen cookie crust and return the pan to the freezer.
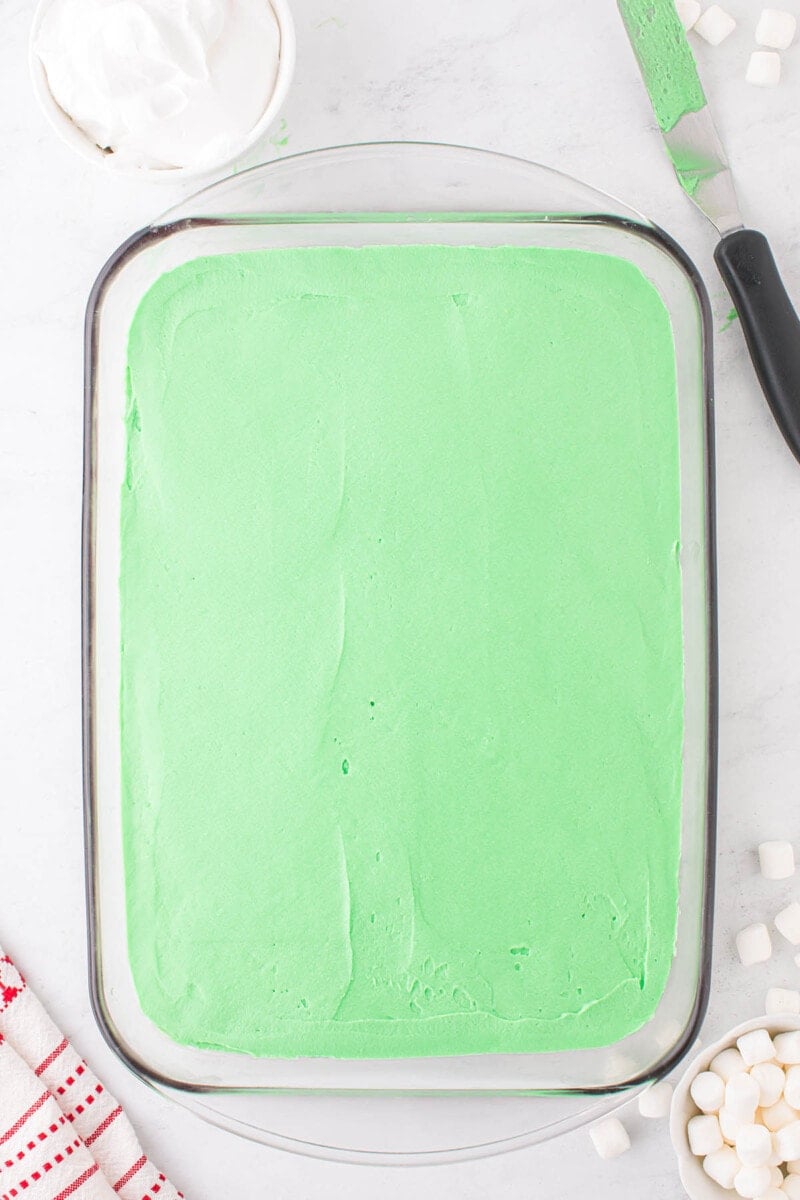
- Prepare The Pudding Mixture: Whisk together the heavy cream, green food coloring, and peppermint extract. Sprinkle in both packets of pudding and beat until smooth and thick. Spread the pudding mixture over the cheesecake layer. Freezer for 5-10 minutes.
- Add The Last Layer: Spread whipped topping over the pudding layer, cover, and freeze for 30 minutes to an hour or place in the refrigerator for at least 3 hours or overnight.
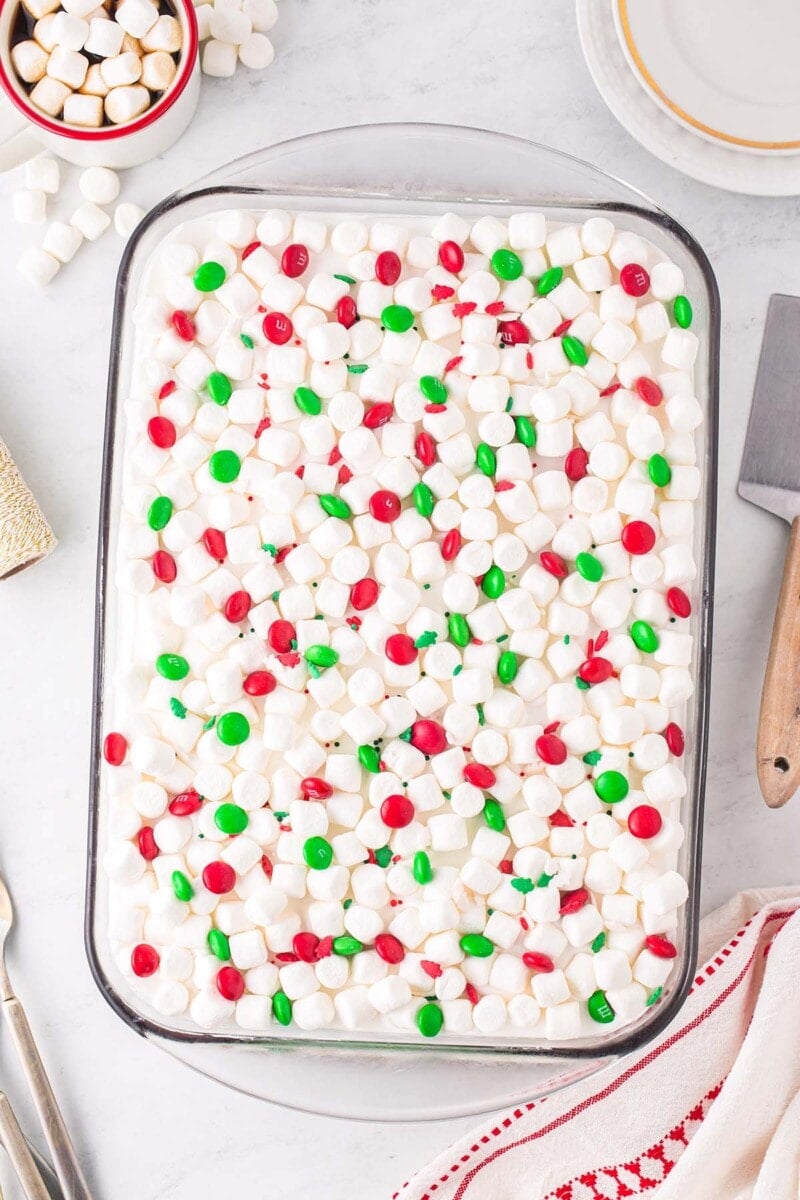
- Serve: Sprinkle with mini marshmallows and top with Christmas candies, sprinkles, and M&Ms. Slice and serve chilled. Enjoy!
Tips for Making Dessert Lasagna
- Be sure to use gel coloring for the crust layer and liquid coloring for the pudding. While you can get away with using a different type, these give the best results.
- Use a hand or stand mixer when you’re making the pudding or it may end up slightly lumpy. Because I use heavy cream in the recipe, the pudding is thick and sets up well. However it can be difficult to whisk well by hand.
- I recommend using a mixer for the cheesecake filling layer.
- Be sure to clean the sides of the pan after you put in each layer. You want to be sure that you have a flat surface for the next layer and that the sides of your pan don’t look messy. This will help you get a beautiful layered look.
- The longer this dessert rests in the refrigerator or freezer, the more the peppermint flavor and the colors of the food coloring intensify. Keep this in mind so that you can make and serve it when it is just right for you.
How to Store Christmas Lasagna
- To Store: Cover and store your Christmas lasagna in the refrigerator for 3-5 days.
- To Freeze: Wrap your Christmas lasagna well and store it in the freezer for up to 3 months.
Other Easy Dessert Lasagna Recipes
- Turtle Lasagna Dessert
- Raspberry Lasagna
- Hot Chocolate Lasagna
- Chocolate Peanut Butter Lasagna
- Chocolate Lasagna Recipe
- Mint Chocolate Lasagna
Christmas Lasagna
Ingredients
Red Crust:
- 22 ounces (2 11-ounce) boxes vanilla wafers
- 1 cup (2 sticks) salted butter melted
- Red food coloring gel
White Cheesecake:
- 8 ounces package cream cheese softened
- ⅓ cup granulated white sugar
- ½ cup sour cream
- 2 cups whipped topping
Green Peppermint Pudding:
- 4 cups heavy cream
- ½ teaspoon peppermint extract
- 6.8 ounces (2 3.4-ounce) boxes cheesecake instant pudding mix
- Green liquid food coloring
Topping:
- 8 ounces tub whipped topping
- 3 cups mini marshmallows
- Christmas candies, sprinkles, or red & green m&ms optional garnish
Instructions
- Place the vanilla wafers into a food processor and crush on high for 1-2 minutes or until they are just crumbs.
- In a small bowl mix together the melted butter and a small scoop of gel red food coloring to get a deep, christmas red color.
- Pour the colored butter into the crumbs and pulse until combined and you have an even red color.
- Press the crust firmly into the bottom of a deep, glass 9×13 inch baking dish and then place in the freezer while you prepare the cheesecake layer.
- To make the cheesecake layer, beat together the cream cheese and granulated white sugar until light and fluffy in a large mixing bowl using a hand or stand mixer. This should take about 1-3 minutes, depending on how much you have softened your cream cheese.
- Beat in the sour cream until smooth and combined, about 1-2 minutes.
- Gently fold in the whipped topping until completely mixed. Be sure to scrape down the sides and bottom of the bowl with a spatula multiple times.
- Spread the cheesecake layer onto the frozen cookie crust and even out with a spreading spatula. Be sure to wipe up any excess cheesecake that gets on the sides of the pan.
- Return the pan to the freezer while you prepare the pudding.
- To make the pudding, whisk together the heavy cream, green food coloring and peppermint extract in a large mixing bowl.
- Sprinkle in both packets of instant pudding and beat well with a hand or stand mixer until smooth and thick, about 1-2 minutes.
- Pour the pudding over the cheesecake layer and even out with a spreading spatula. Again, be sure to clean the sides of your pan if you have pudding on them.
- Return the pan to the freezer for about 5-10 minutes or until the pudding has firmed up.
- Spread the last tub of whipped topping evenly over the top of the pudding and cover, then return the Christmas Lasagna to the freezer for 30 minutes to an hour or place in the refrigerator for at least 3 hours or overnight.
- When you are ready to cut and serve your Christmas lasagna, remove the cover and sprinkle the mini marshmallows all over the top.
- Top with Christmas candies, sprinkles, or m&ms, optional and serve chilled.
Jenn’s Notes
- To Store: Cover and store your Christmas lasagna in the refrigerator for 3-5 days.
- To Freeze: Wrap your Christmas lasagna well and store it in the freezer for up to 3 months
- Be sure to use gel coloring for the crust layer and liquid coloring for the pudding. While you can get away with using a different type, these give the best results.
- Use a hand or stand mixer when you’re making the pudding or it may end up slightly lumpy. Because I use heavy cream in the recipe, the pudding is thick and sets up well. However it can be difficult to whisk well by hand.
- I recommend using a mixer for the cheesecake filling layer.
- Be sure to clean the sides of the pan after you put in each layer. You want to be sure that you have a flat surface for the next layer and that the sides of your pan don’t look messy. This will help you get a beautiful layered look.
- The longer this dessert rests in the refrigerator or freezer, the more the peppermint flavor and the colors of the food coloring intensify. Keep this in mind so that you can make and serve it when it is just right for you.

