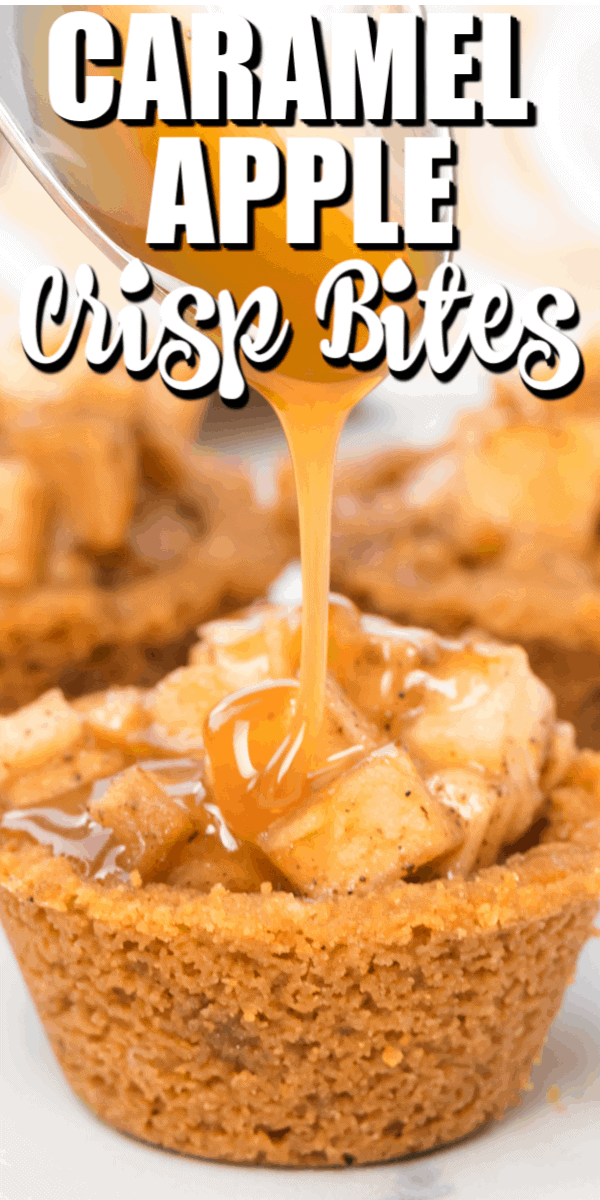
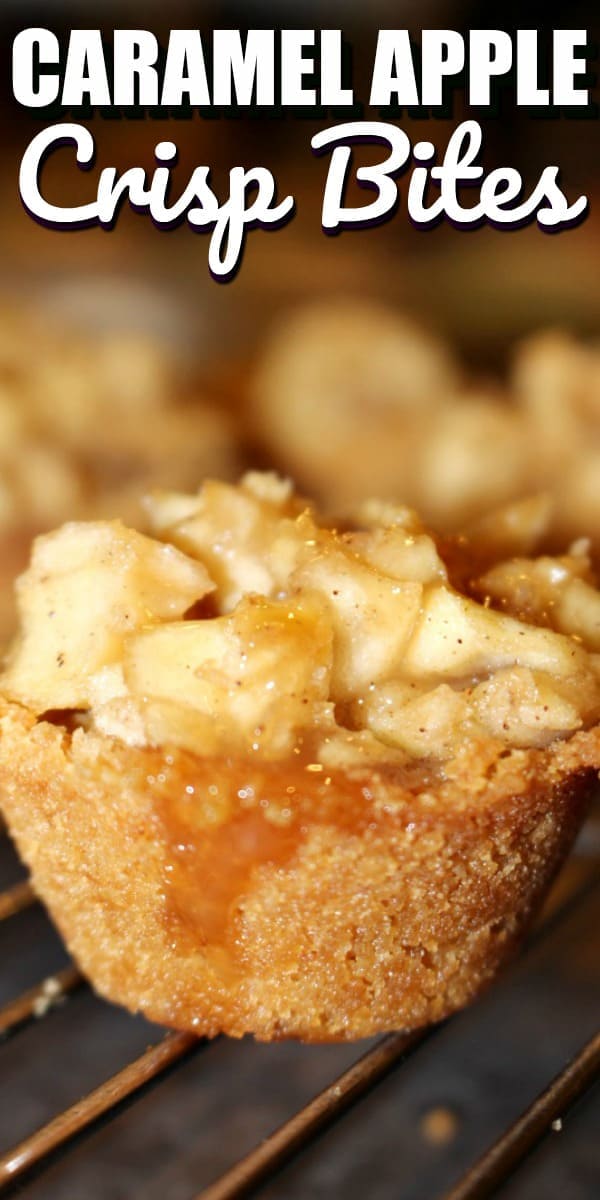
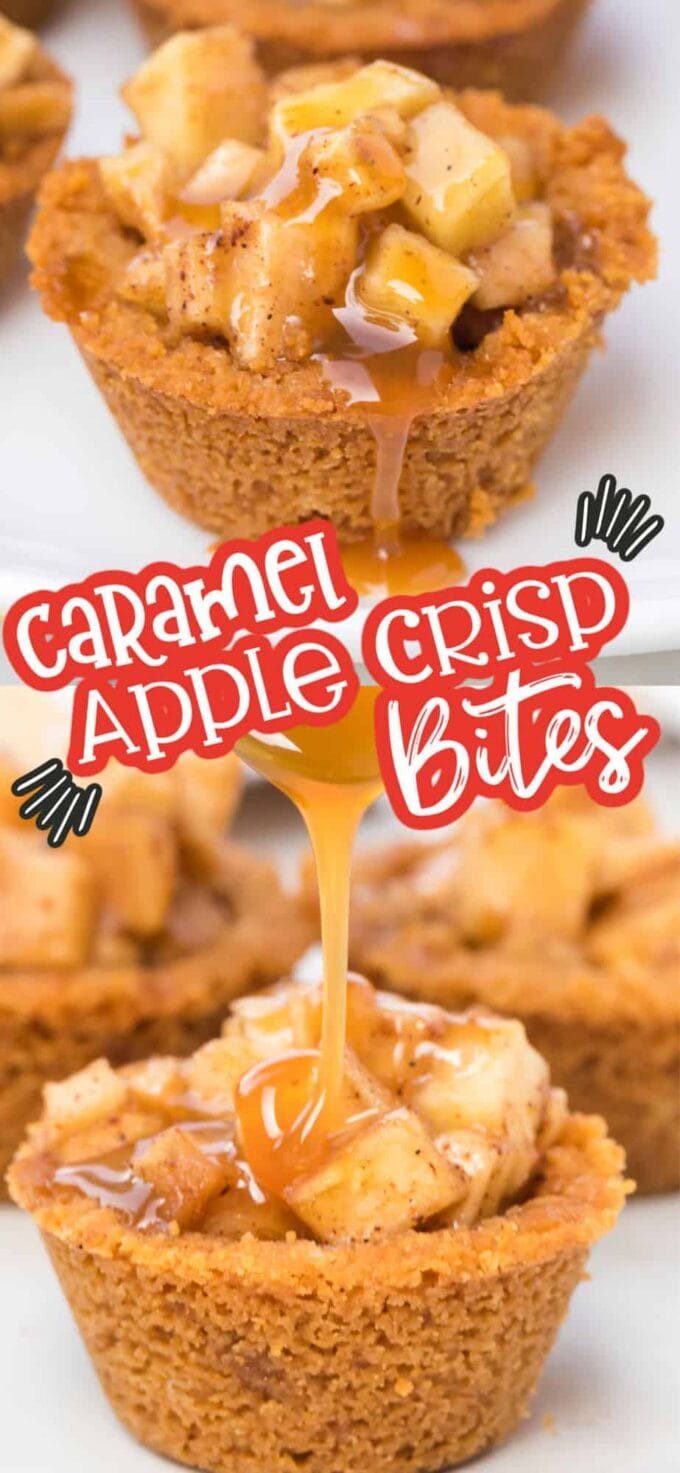
Caramel Apple Crisp Bites bring all of the flavors of fall into one delicious dessert so easily. The apple cinnamon filling and the graham cracker crust will warm your heart and fill your tummy.

Caramel Apple Crisp Bites
These Caramel Apple Crisp Bites are the perfect recipe to make with all of those delicious fresh apples you pick in the fall!
Our family loves going to the apple orchard and picking fresh apples to begin with – the apples good and fresh and crisp taste just burst when they are right off the tree. (our family’s favorite apples are large Golden Delicious apple, right off the tree – what is yours?)
But, what we love even more is what we make once we have all of those delicious apples.
You have heard me cook with my sister, my kids, and my niece… but today was a special treat – I got to cook with my husband!
Adam is my best taste tester and my best critic. When I told him I wanted to make apple crisp bites (I have a little obsession with bite-sized desserts) – he jumped right in to help!
Are you ready to be obsessed with a dessert? Seriously, get ready. You are going to be totally and completely crazed over these Caramel Apple Crisp Bites. They are one of our all-time favorite fall desserts because they are so tasty and uniquely fall!
If you have more apples to use up, try out these Caramel Apple Pie Cookies! They are out of this world!
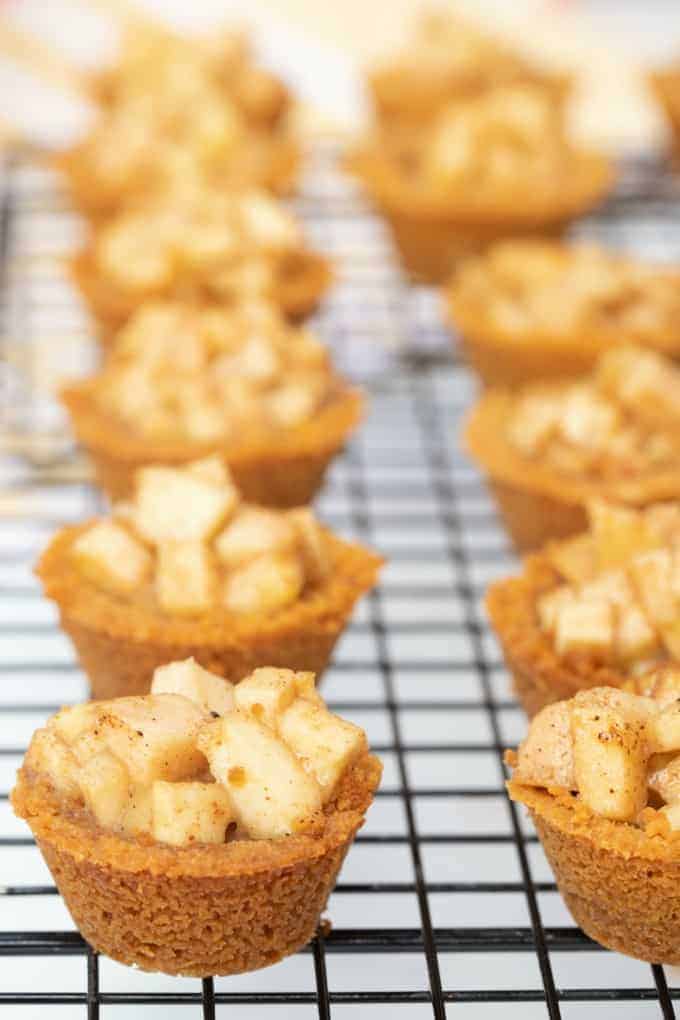
While these Caramel Apple Crisp Bites are particularly perfect on a nice, cool, Fall day, they are a great dessert any time of the year!
What type of apples are best in an apple crisp?
Basically, you want to go with the sweet varieties of apples. Empire, Granny Smith or Honey Crisp work well. However, We used Golden Delicious for our recipe and they came on perfect.
Ingredients
- Graham cracker crumbs (I used store bought in a can. I find these to work the best)
- Butter
- Powdered sugar
- Apples (we used golden delicious)
- Sugar
- Brown sugar
- Flour
- Cinnamon
- Nutmeg
- Caramel topping
How to make Caramel Apple Crisp Bites
Apple Crisp Bites are really easy to make. It starts out with the crust!
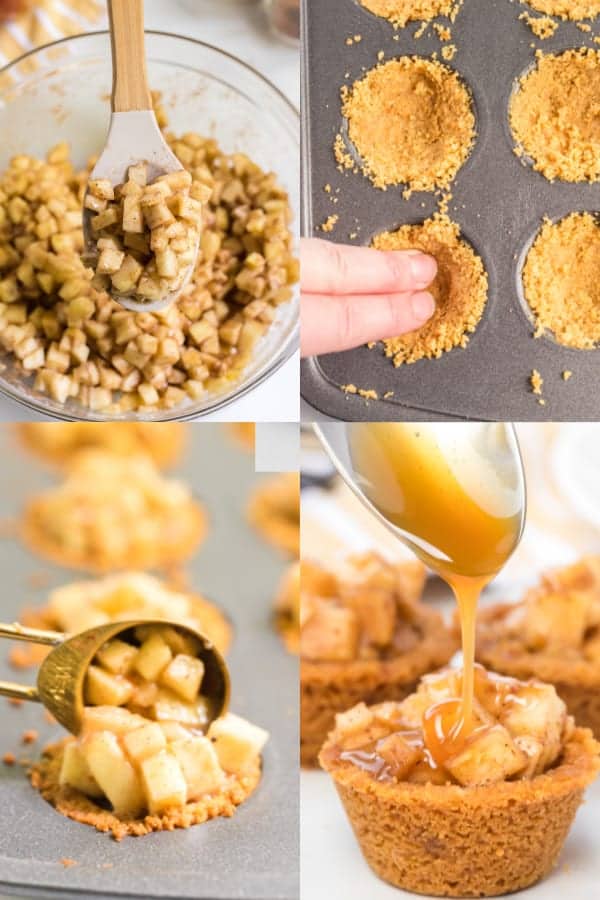
- In a medium bowl mix together the graham cracker crumbs, powdered sugar, and butter.
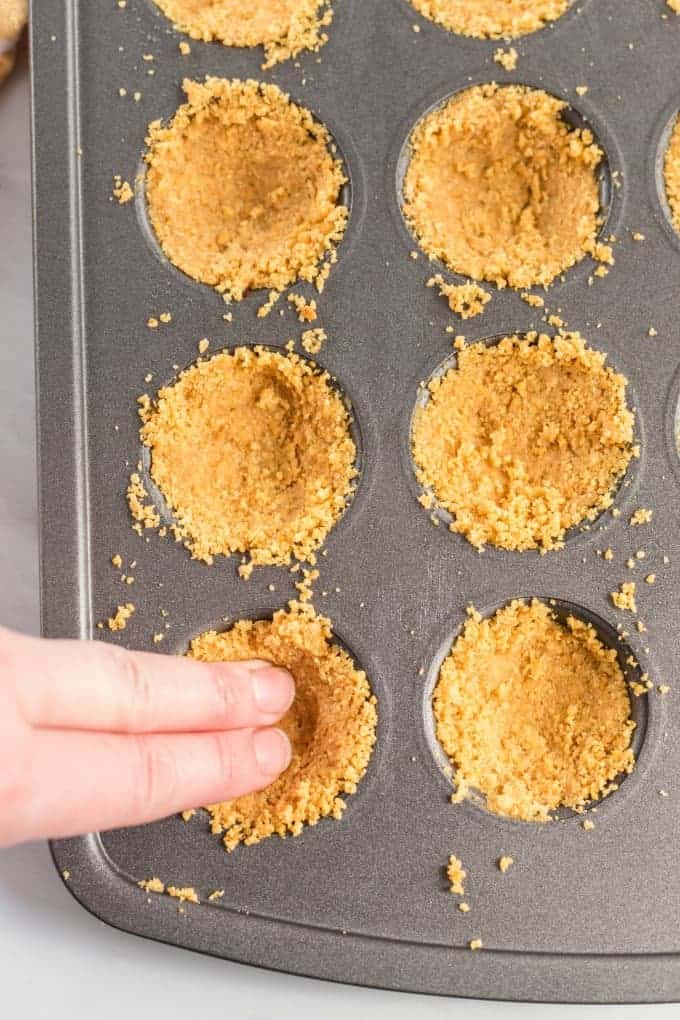
NOTE ABOUT BUTTER: Some people have found the crust recipe to work perfectly, while some others found the 12 tablespoons of butter was way too much and the butter started to pool – you may want to start by using 1/2 C butter (1 stick vs. 1 1/2 sticks, or 12 T). Melt the butter and add slowly to the crumbs, a little bit at a time, making sure it’s not too wet. You can always add more or save the leftover butter for later. You want a soft dough that sticks together slightly when you try to form a ball, not a wet dough. - Evenly distribute the mixture to the 24 mini muffin cups. Using your fingertips or the side of a spoon (a tablespoon measuing spoon works perfect for this), press the mixture to the bottom and sides of each cup. You will create a cup-like shape! (save a little bit to put on top of the bites if you can!)
- Bake for 5 minutes at 350 degrees (until they start to get a bit golden brown) and let cool completely.
- Chop the apples up into small pieces.
PRO-TIP: I used a food processor, but be careful not to over chop them in there. We don’t want an apple sauce or puree – just small chopped up pieces! - Mix the apples, brown sugar, flour, cinnamon, and nutmeg together in a bowl. Bake at 375 degrees in a baking dish for 15 minutes until the apples are slightly softened.
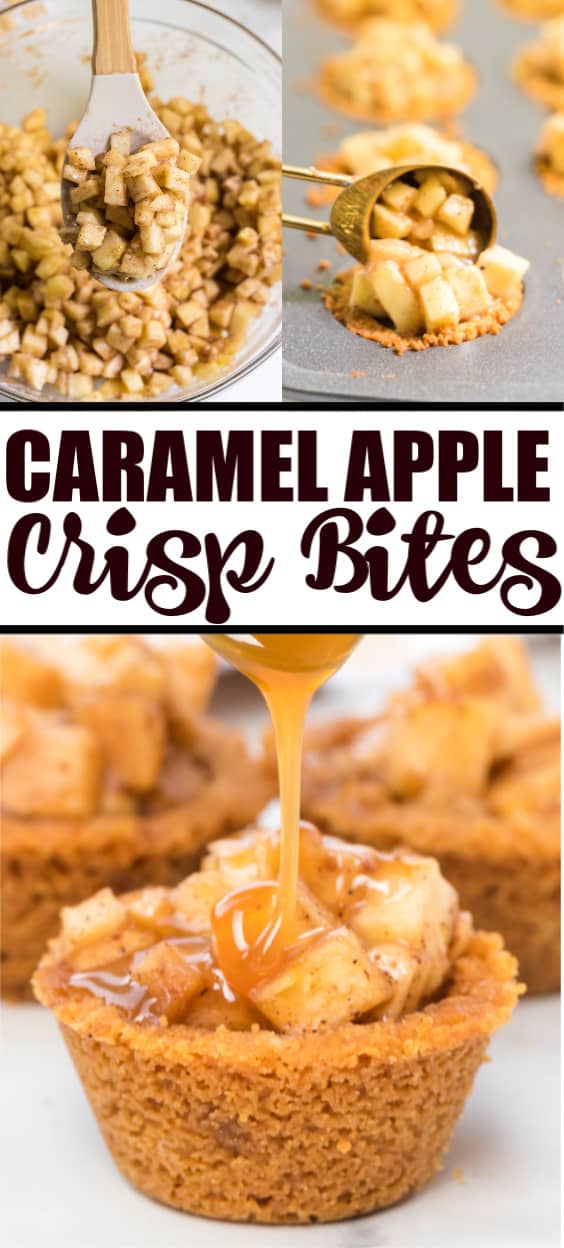
- Scoop the filling into each of the crust cups still in the muffin pan.
PRO-TIP: Fill them up generously. - Sprinkle any leftover graham cracker crust on to the tops of the apples and bake at 350 degrees for 5 minutes.
- Take out of the oven and let them cool completely. Take a knife and loosen the crusts from the cups. They should then pop right out of the pan!
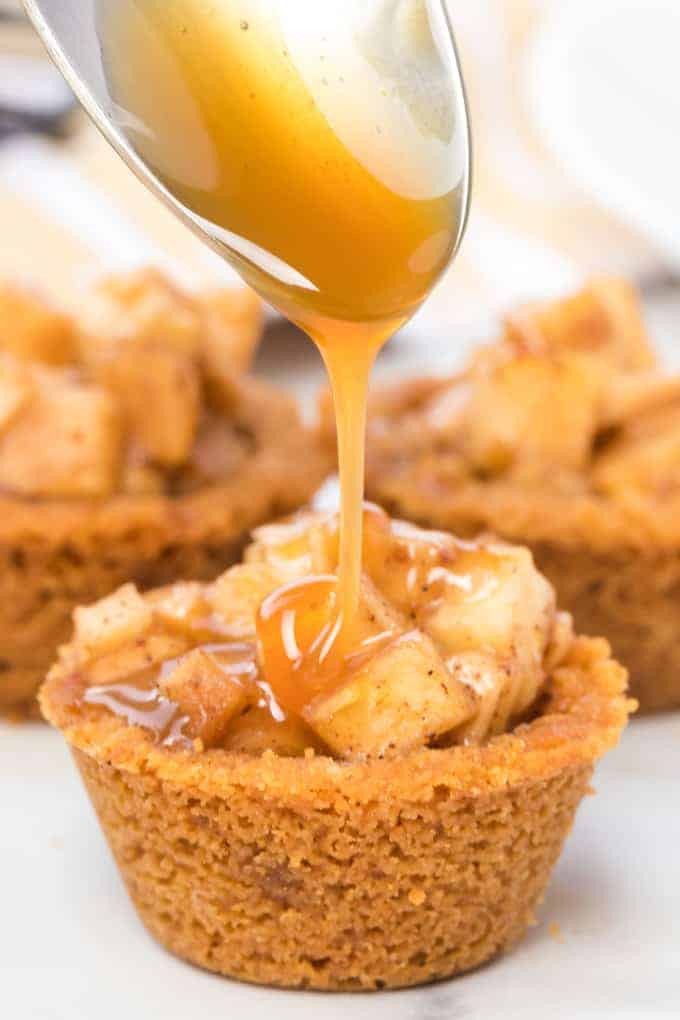
- Drizzle with caramel topping and enjoy!
More Fall Recipes
- Chocolate Chip Pumpkin Bread
- Cinnamon Roll Cookies
- Caramel Apple Dump Cake
- Apple Cider Doughnut Holes
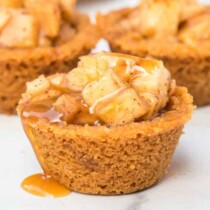
Caramel Apple Crisp Bites
Video
Ingredients
- 2 cup graham cracker crumbs (I used store bought in a can. I find these to work the best)
- 12 tablespoons butter melted
- ½ cup powdered sugar
- 4 cups peeled, cored and chopped apples (we used golden delicious)
- ⅓ cup sugar
- ¼ cup brown sugar
- 2 ¼ tablespoons flour
- ½ teaspoon cinnamon
- ¼ teaspoon nutmeg
- Caramel topping (store bought!)
Instructions
- Preheat oven to 350 degrees and grease mini muffin pan with non-stick butter spray
- Melt butter
- In a medium size bowl mix graham cracker crumbs, powdered sugar and butter with a spoon (slowly add the butter and evenly distribute)PLEASE SEE UPDATE/NOTE BELOW
- Evenly distribute mixture to the 24 mini muffin cups. Press along the bottom and sides to make a “cup”
- Bake for 5 minutes and let cool completely
- Chop the apples into little pieces – I used a mini food processor. Don’t puree, just finely chop
- Mix apples, sugar, brown sugar, flour, cinnamon and nutmeg in a bowl
- Bake in a baking dish for 15 minutes on 375 degrees, until apples are slightly softened
- Scoop a teaspoon or so of the apple mix and place on top of the graham cracker crust cups (while still in the muffin pan) and sprinkle any extra graham cracker on top of the apples.
- Bake for 5 minutes on 350 and let cool completely. Use a knife to loosen from pan and they should pop right out.
- Drizzle with caramel topping




These easy desserts are my fave! A total breeze to make and taste so good.
Awwwwwww …..thank you Holly!
Everyone in my family loves these!
These look so scrumptious, oozing with some of my favorite flavors. I like the single serving idea which making serving so much easier. A dessert that will definitely satisfy the taste buds.
Love this great recipe idea Jen! After reading ALL the comments about crust trouble…i thought, why not try a cookie crust??? Just press cookie dough, either homemade or store bought, into the cup and prebake? Adds sweetness and should taste delish. I’ll let you know how it works out once our Goldens are in season??
Hi Lori!! GREAT idea!! PLEASE LMK how it comes out.
Honestly, I have made this crust 100’s of times and never had issues – give it a try and let me know if it works for you – I think it is delish!
Does anyone know do I sprinkle tip with the left over crust mixture or just the crumbs left in the can
Hi Shannon – the left over crust mixture!
Kids of all ages will love these.
These look amazing! Perfect way to kick off my fall baking!!!
How many will this recipe make?
About 2 dozen
I made these last night and they were terrific. I read all the comments and am amazed at your patience. I followed the suggestion to start with one stick of butter, but ended up in the end with 1 and 1/2 sticks anyway because it was too dry for me with just 1. I actually used regular sized muffin tin because I don’t have a mini pan, so I tried anyway, ready to use bowls to serve if needed. They came out great, didn’t fall apart at all! I was thinking though about some other people’s issues with it faling apart, and wondered if the apples chosen play a part. I know when I make regular pies, really juicy apples require more flour, otherwise the crust becomes soggy and doesn’t set properly. You used Delicious apples, which are a drier variety. I used ones from my tree, I have no idea the variety, but they are dry like Delicious ones. I love this recipe and plan to make it again! Thank you!
Cindy – thank you so much for your kind message. I am so glad they came out well – we love them here and have never had the issues others have, but you may be on to something with the apple variety!!!!
Thanks again for visiting and trying my recipes!!
I made these today with my 8 year old daughter and let me tell you they were FABULOUS! Before I made them I read ALL the comments and had a couple laughs too.. so here’s my feedback on the “making” process… I changed a few things, such as I added a touch of cinnamon and brown sugar to the crust, only a tad.. I also used canned apple pie filling because it was easier, so I only added a tiny bit of cinnamon, and brown sugar, used 2.5 Tbs of flour, 1 Tbs of quick oats.. as for the butter issue, I stared with 1 stick and it was not enough, I ended up using 10 TBS and it was perfect! You always measure butter BEFORE melted. I also used the tin foil strip idea and it was sooo easy! I lifted them right out.. one problem I feel people might have been having with these crumbling is they may not be pushing the crust in firmly which would be important to hold shape! I wish I were able to share my pictures!!! Great recipe!!
Thanks for all of the wonderful feedback and suggestions!! SO glad you liked them!!