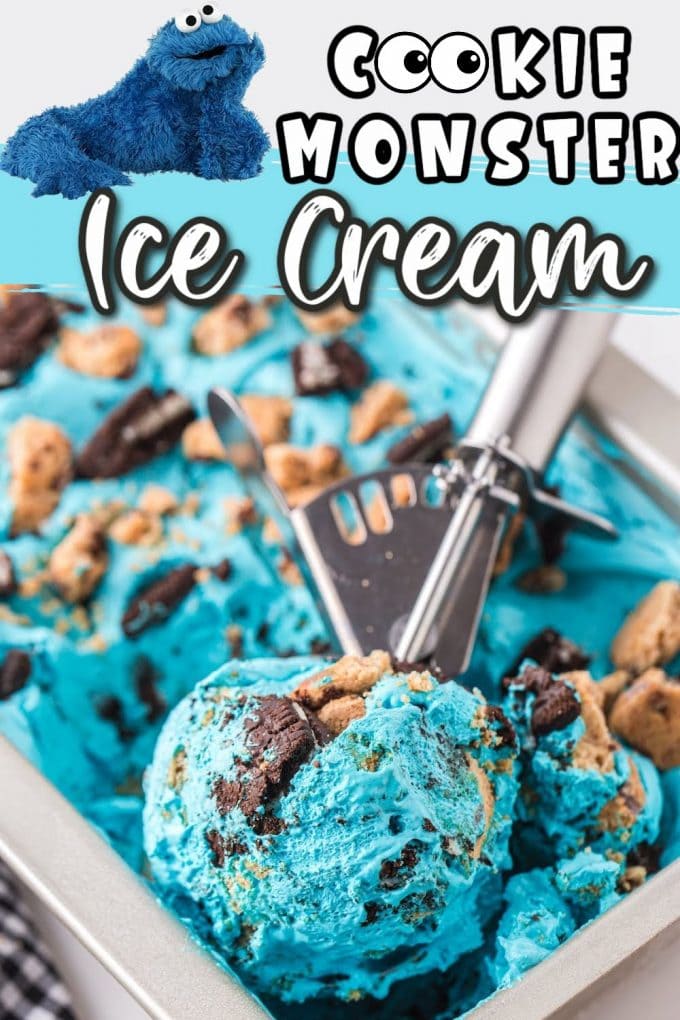
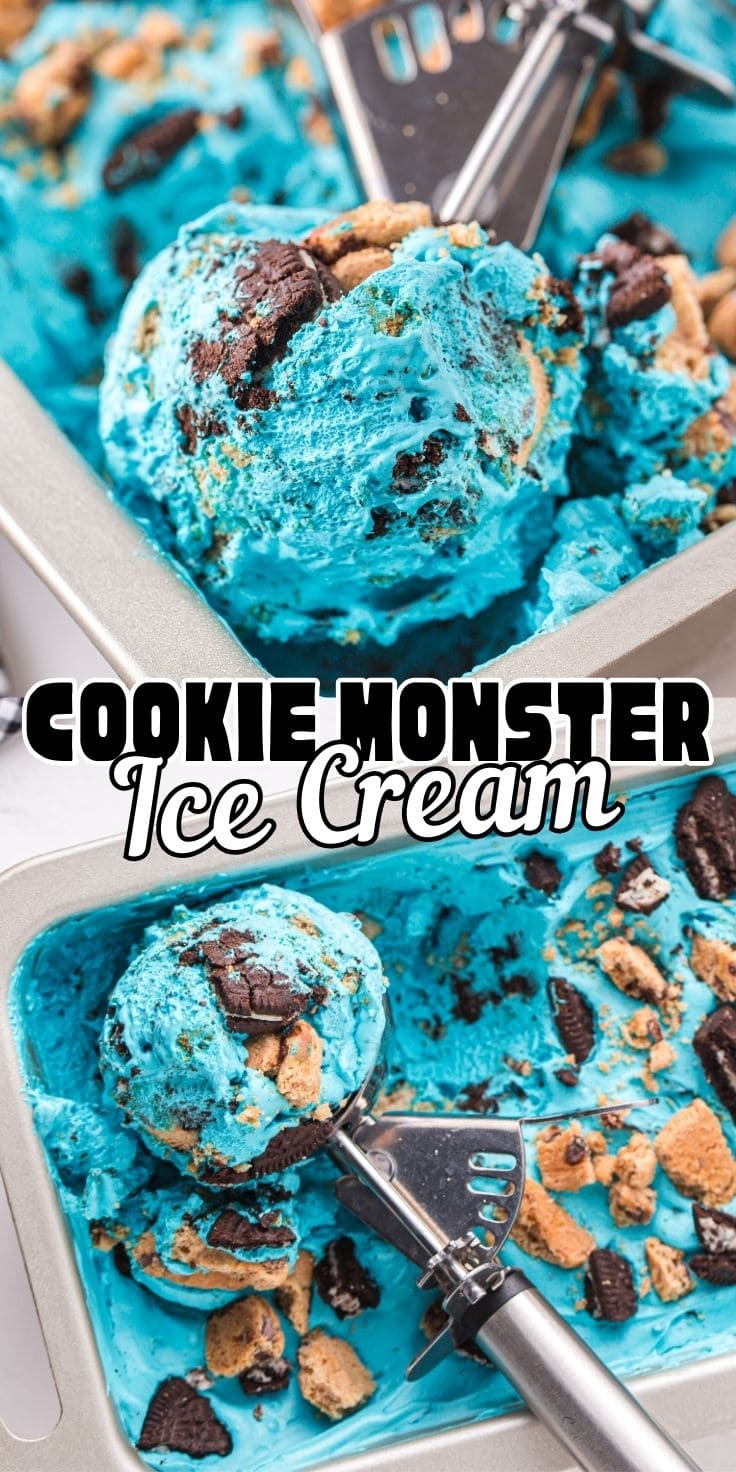
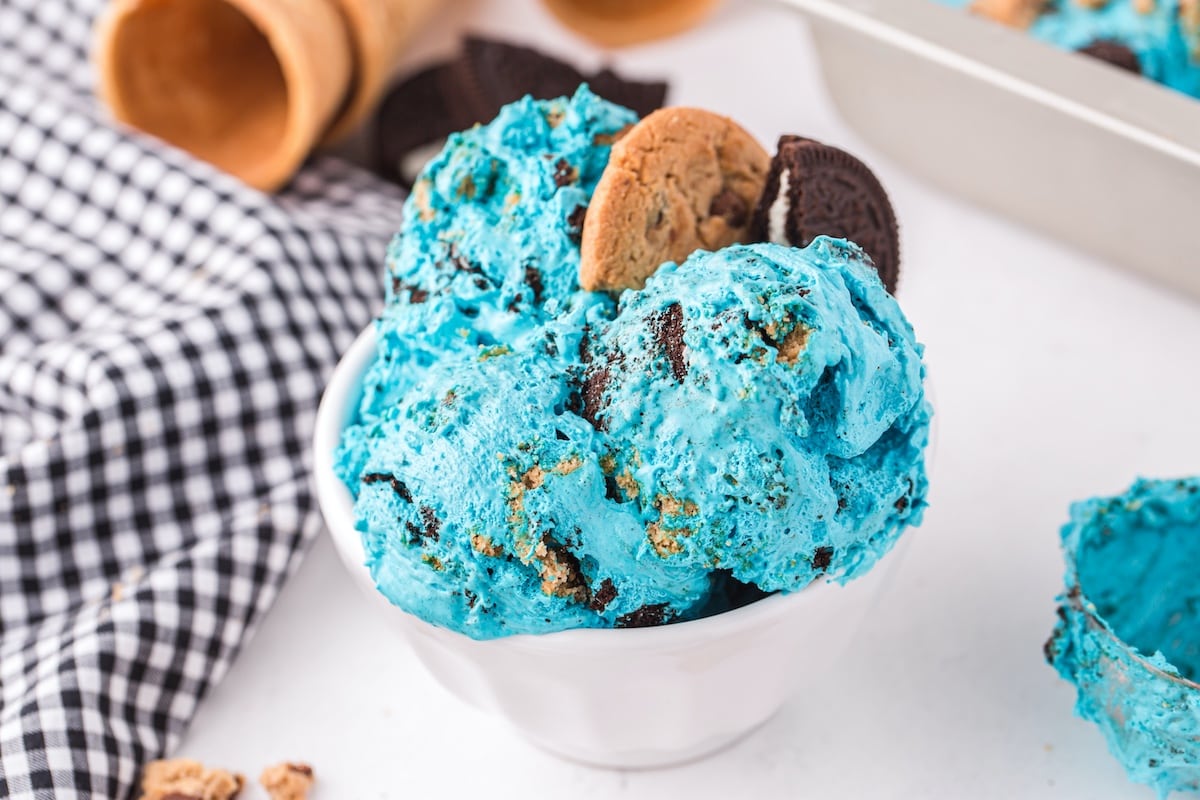
My Cookie Monster Ice Cream is a creamy, no-churn delight packed with chunks of Oreos and chocolate chip cookies in every bite. With its vibrant blue hue and rich vanilla base, it’s a cookie lover’s dream come true! Plus, you don’t need any special equipment—just a few simple ingredients and a freezer.
Do you love the Cookie Monster? We do too! Our Cookie Monster Fudge and Cookie Monster Cookies are always a huge hit!
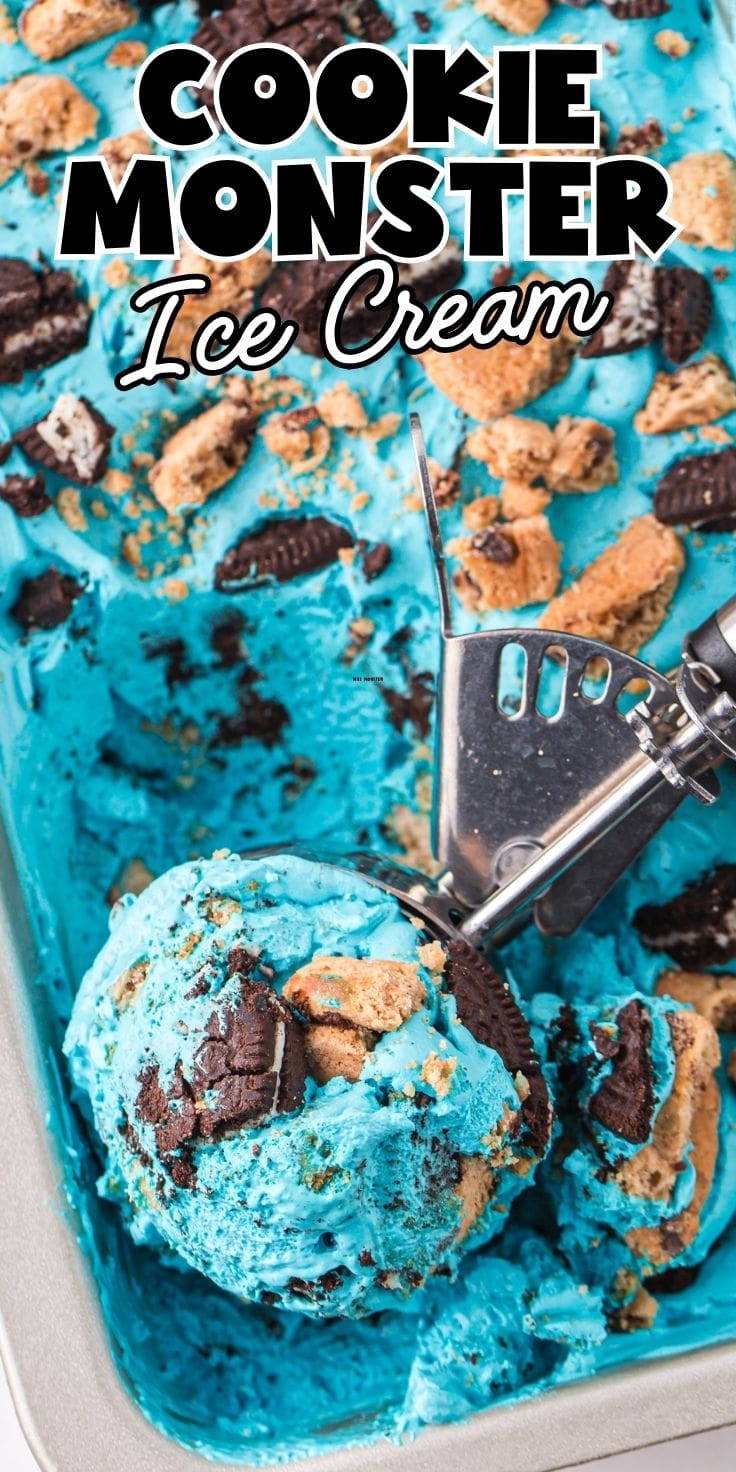
Easy No-Churn Cookie Monster Ice Cream Recipe
No ice cream maker? No problem! Cookie Monster Ice Cream recipe is easy to make at home without requiring a machine! Simply prepare your smooth and creamy mixture, fold in crunchy cookies, pour it into a loaf pan, and freeze until set. The result is a rich, lickable frozen treat that’s made to resemble the lovable blue muppet from Sesame Street!
While traditional ice cream recipes typically require churning to incorporate air and create that silky texture, you can achieve a similar result without the extra work! It’s a fun, fuss-free way to satisfy your cookies and cream cravings—perfect for kids and adults who never outgrew their love for the classic combination of creamy vanilla and crumbled cookies.
What Is Cookie Monster Ice Cream Flavor?
Cookie Monster Ice Cream is a fun twist on the classic cookies and cream flavor, but with a double dose of cookies! The base is a smooth and creamy vanilla ice cream, but it’s loaded with a mix of both chocolate chip and chocolate sandwich cookies.
While classic cookies and cream ice cream features a simple vanilla base and crumbled chocolate cookies, why stop there when plain vanilla ice cream can be customized with your other favorite mix-in combinations and flavors? Blue Monster Ice Cream brings a bit more fun to a frozen treat because, after all, more cookies means there’s more texture and even more to taste!
Ingredients for Cookie Monster Ice Cream
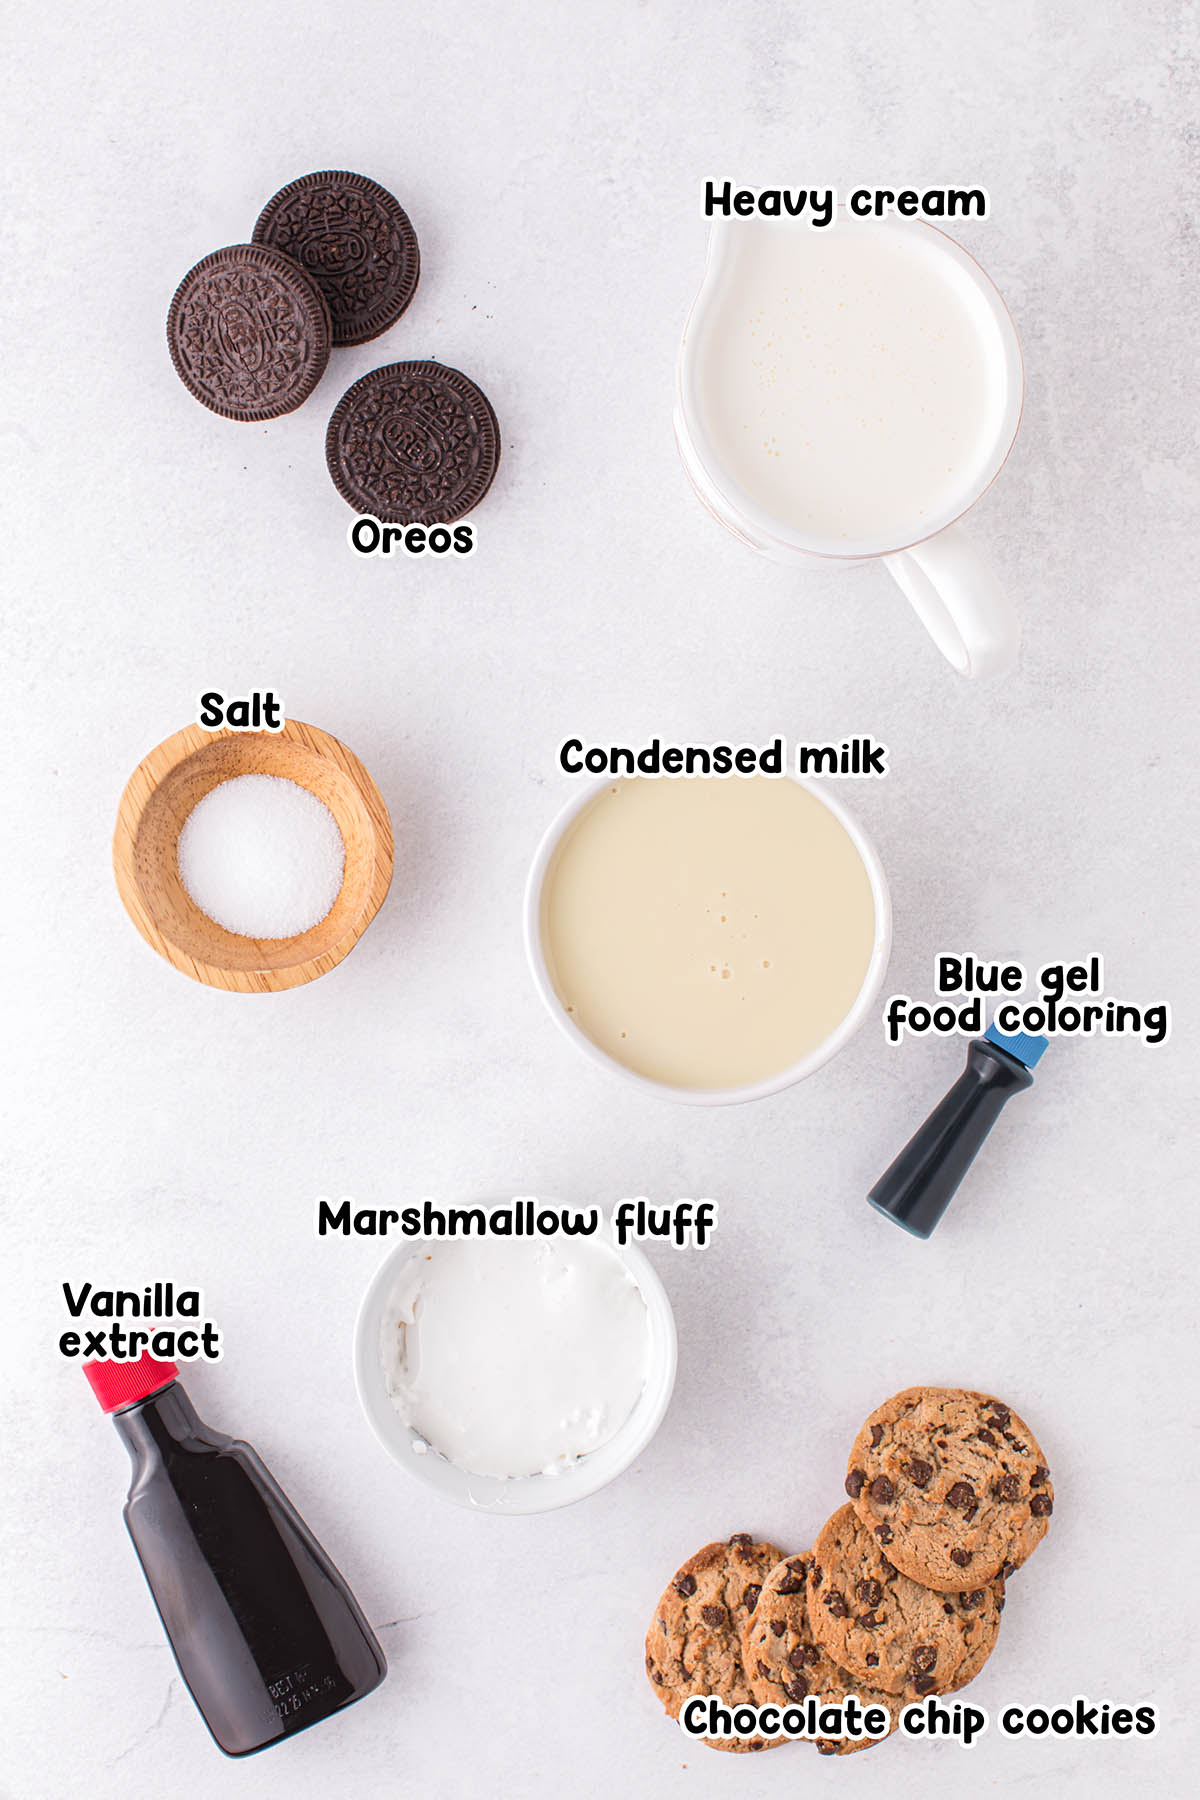
- Heavy cream: Make your own whipped cream by whipping up cold heavy cream until stiff peaks form. It’s then folded into the condensed milk base to give the ice cream a lighter, fluffier texture.
- Sweetened condensed milk: Make sure you use sweetened condensed milk and not evaporated milk!
- Marshmallow fluff
- Vanilla extract
- Salt
- Blue gel food coloring
- Oreos: Feel free to use a generic brand sandwich cookie or fold in your other favorite flavor Oreo cookie. Get creative with peanut butter, double stuf, birthday cake, or whichever one you fancy!
- Chocolate chip cookies: I used a store-bought package of Chips Ahoy cookies because the crunchy texture stands well to the creamy ice cream. You can use homemade cookies or another brand to chop into chocolate chip cookie pieces.
See the recipe card for full information on ingredients and quantities.
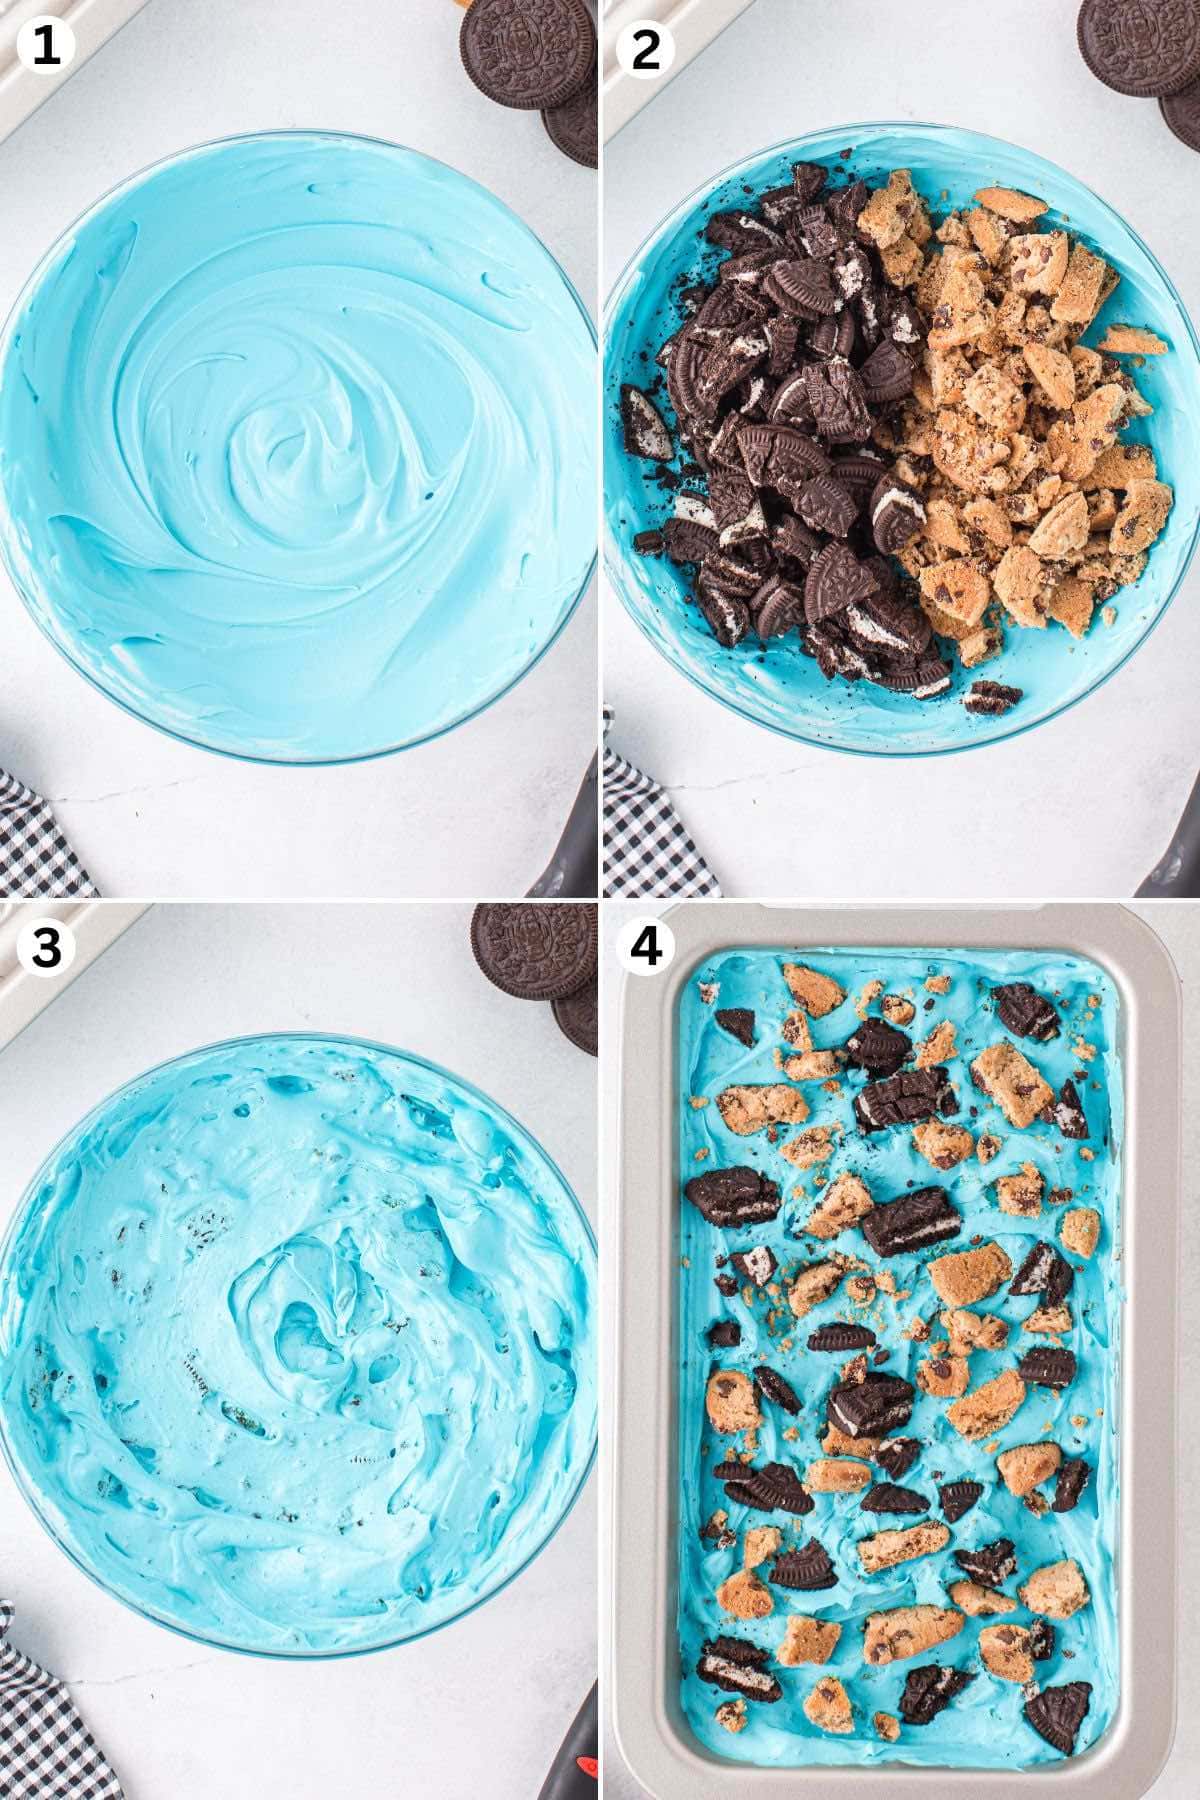
How to Make No-Churn Cookie Monster Ice Cream (Step-by-Step Guide)
- Freeze First: Place a metal large bowl into the refrigerator for 10 minutes before making your ice cream.
- Make The Ice Cream Mixture: Use an electric mixer to beat the heavy whipping cream in the cold metal bowl until stiff peaks form. Whisk in the sweetened condensed milk, marshmallow fluff, vanilla extract, salt, and blue food coloring until well combined.
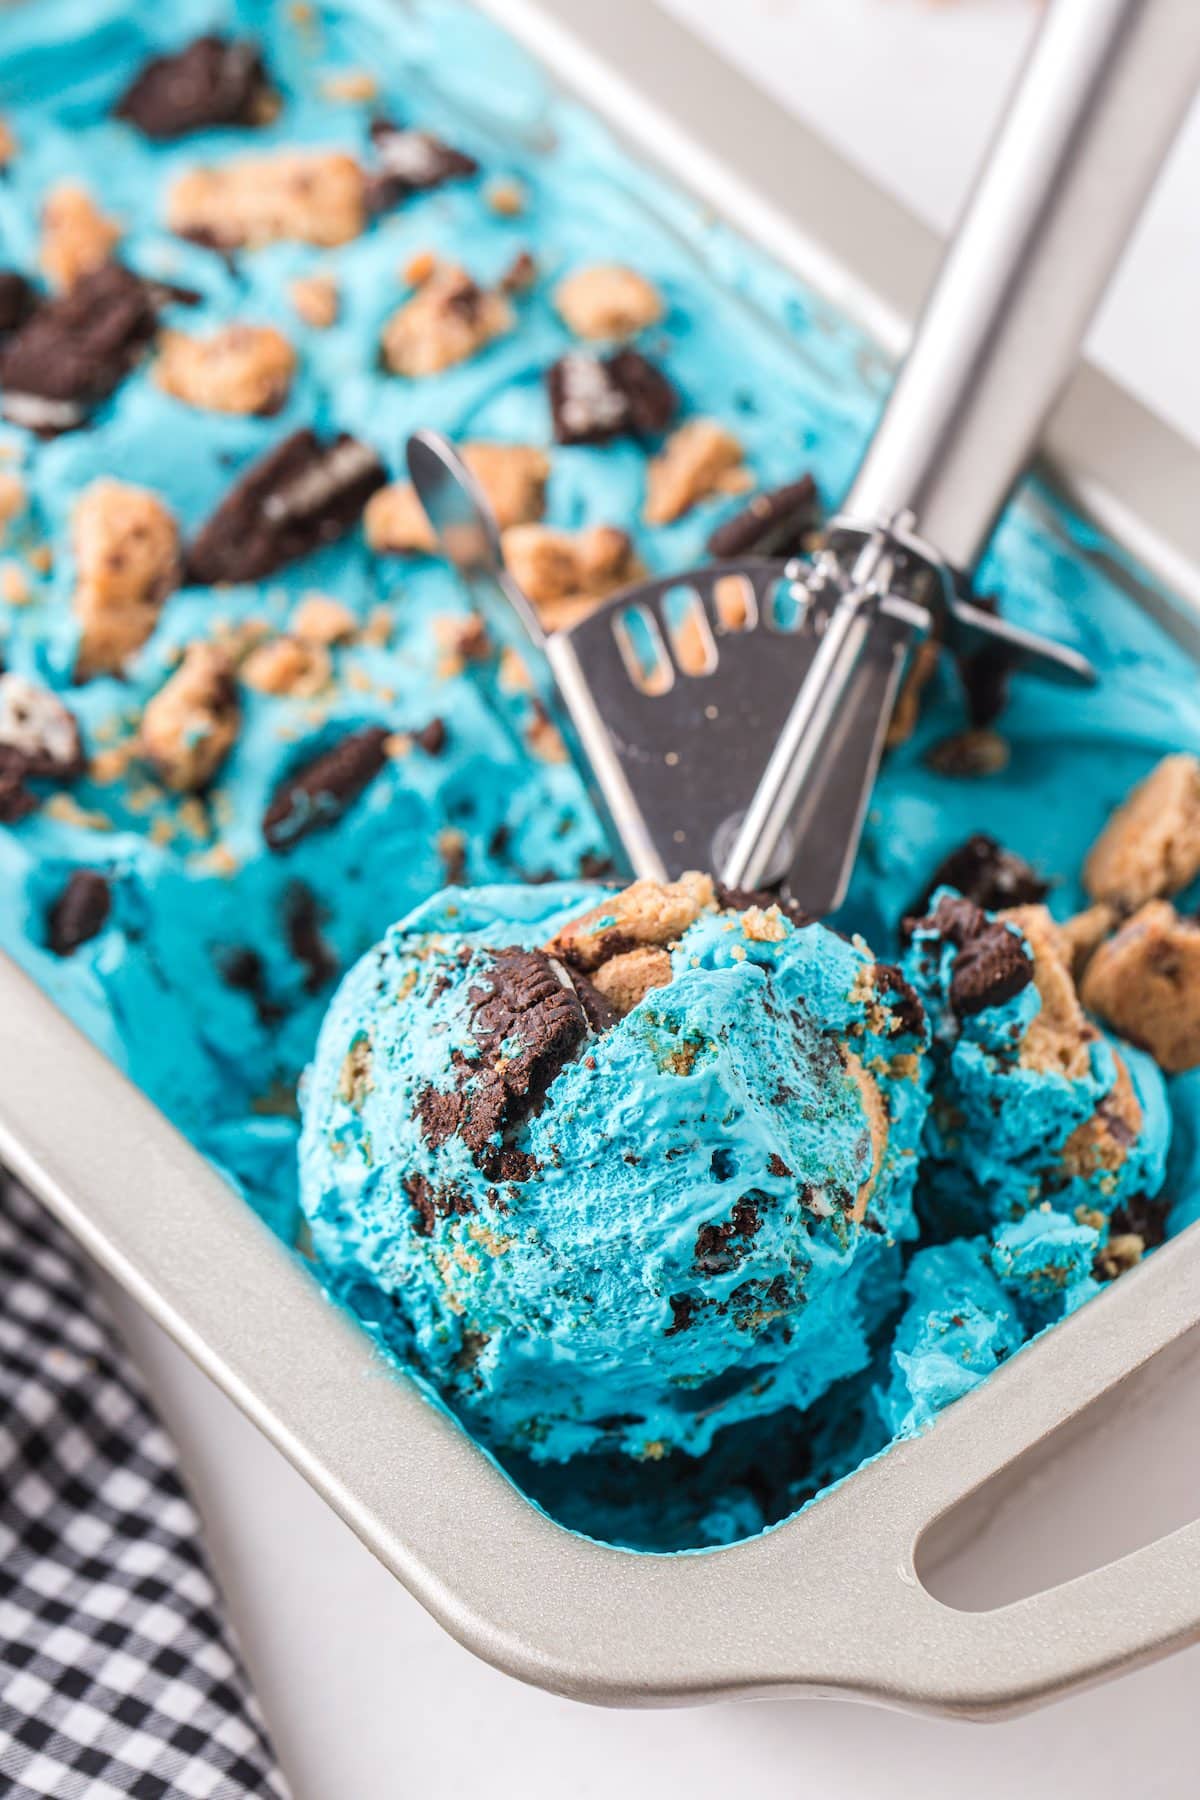
- Fold And Freeze: Fold the chopped cookie pieces into the ice cream mixture, then pour it into a loaf pan. Freeze overnight (or a minimum of 4-5 hours). Decorate with additional crushed cookies if desired.
- Scoop And Serve: Scoop out and enjoy!
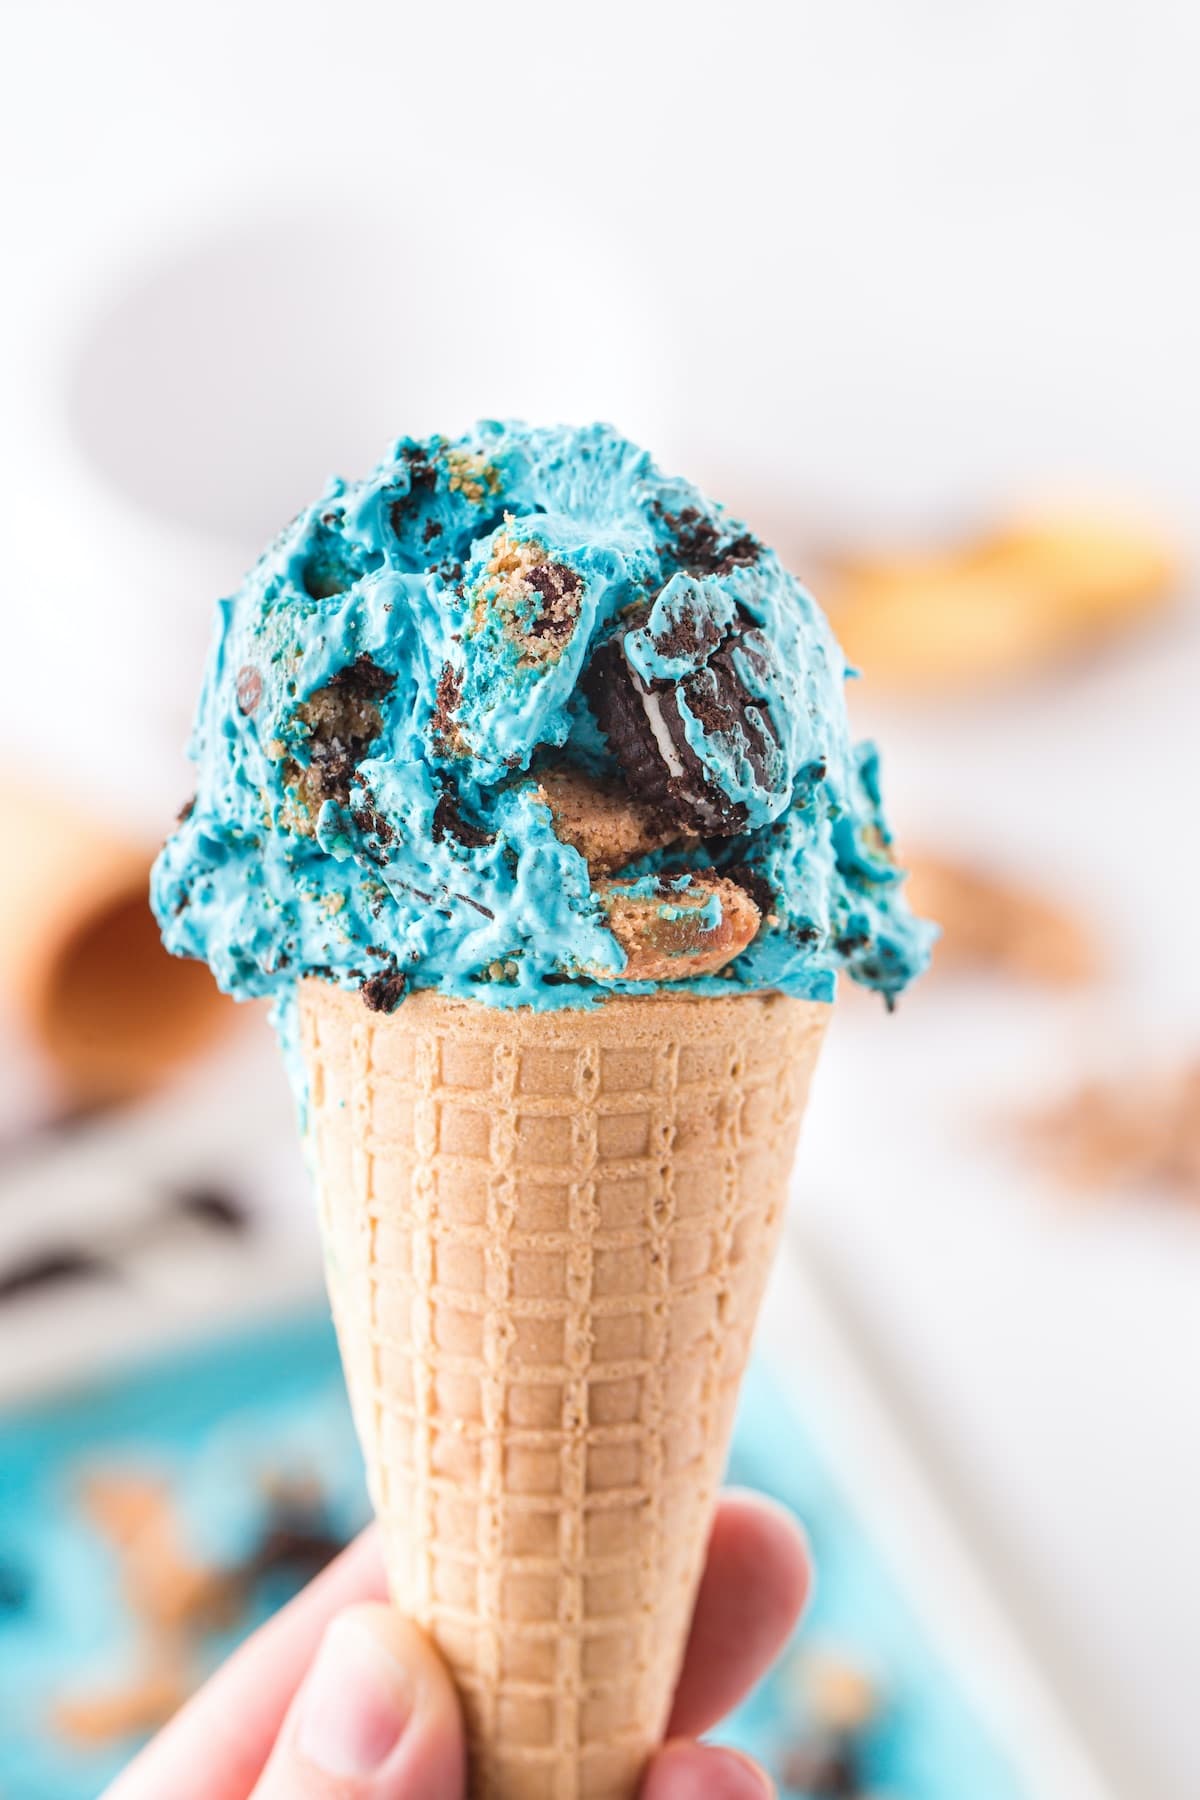
Serving Suggestions
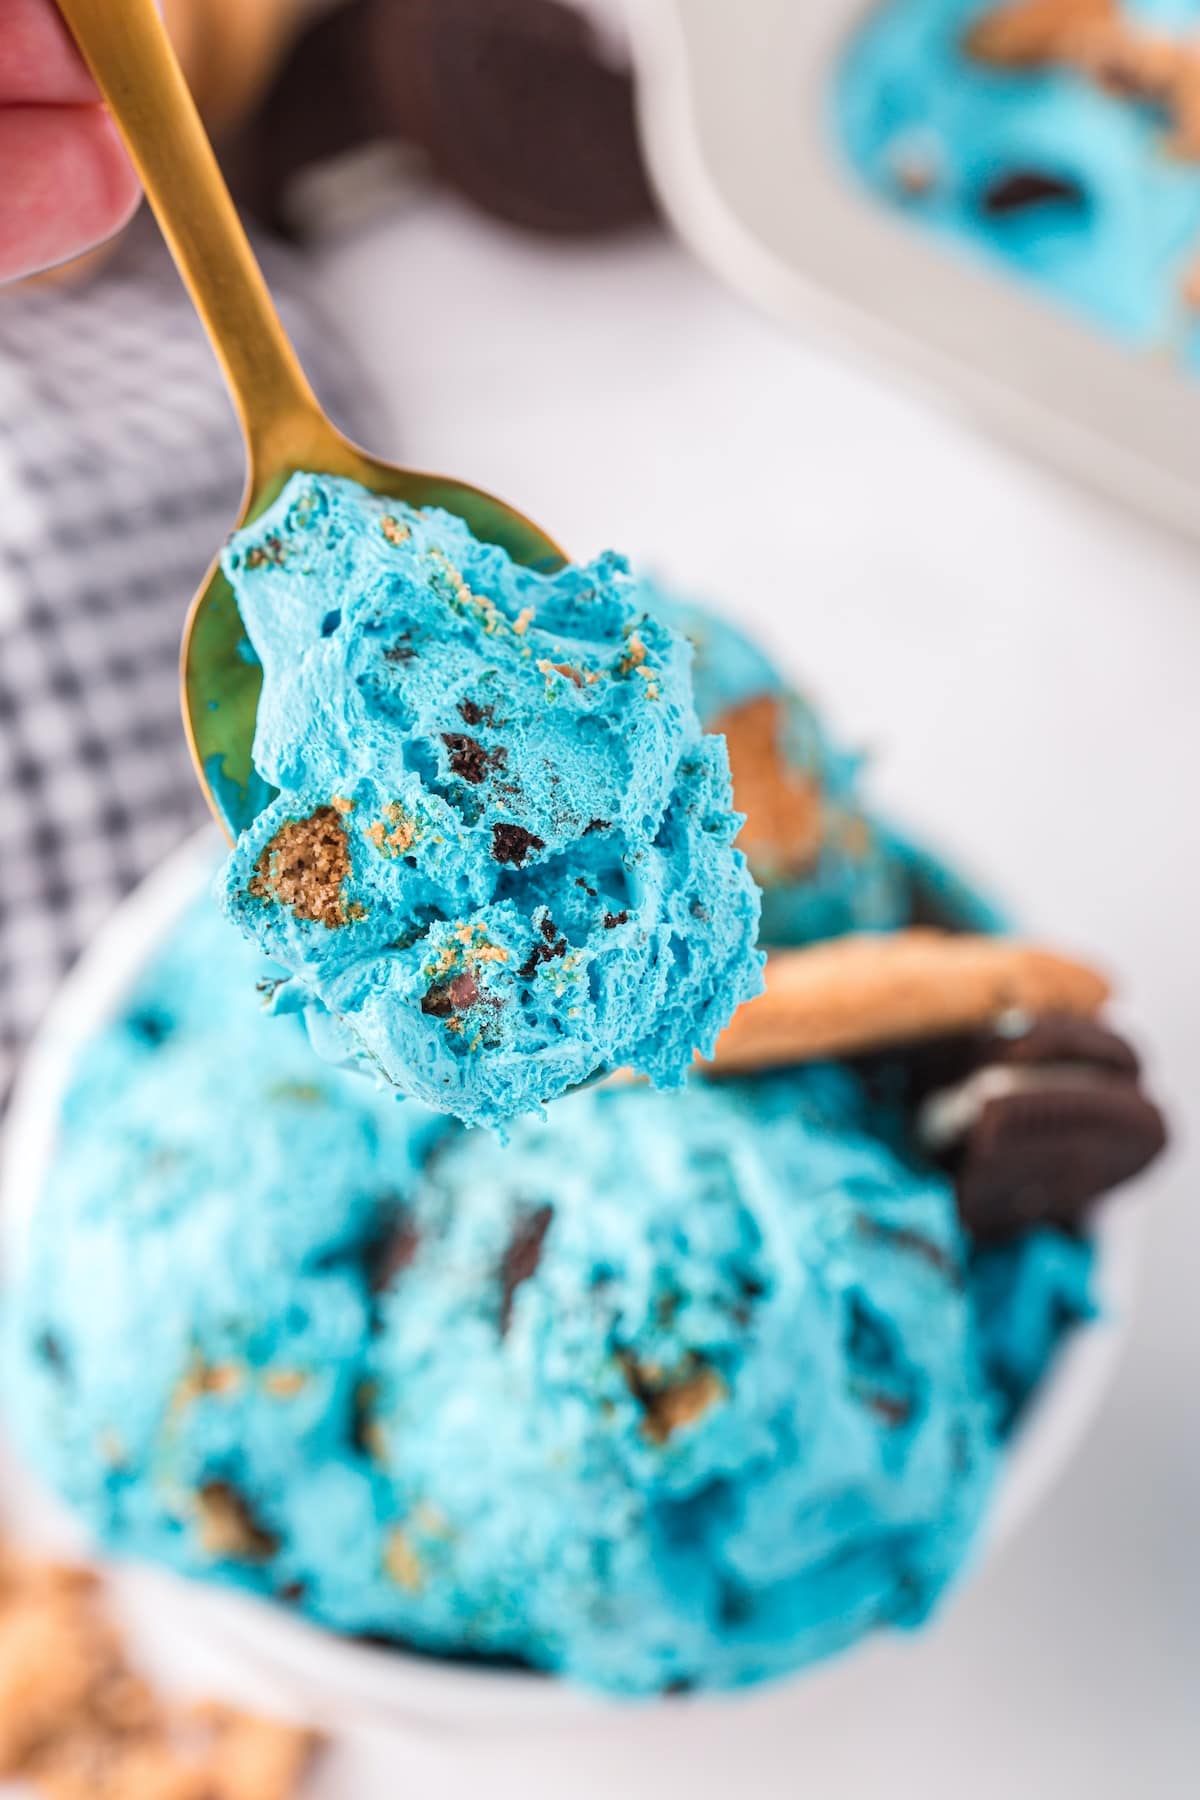
Scoop your no-churn ice cream into a cone or sample it straight from the spoon! Homemade ice cream will always be my kind of comfort food!
Why not set up an ice cream sundae bar with your favorite sundae toppings? Let your guests dress up their dessert with whipped cream, chocolate magic shell, chocolate syrup, hot fudge, caramel sauce, chopped candy bars, chocolate chips, crushed ice cream cones, sprinkles, mini marshmallows, chopped nuts, M&M’s, or anything else you can think of!
Tips & Variations
- Line The Loaf Pan: For easier clean up, line the loaf pan with parchment paper.
- Prepare The Peaks: You will know when you have formed your stiff peaks when you turn the whisk upside down and the peaks point straight up without collapsing.
- Customize The Color: You can add more or less food coloring to reach your desired color. If you want to skip the food coloring altogether, that is an option too!
- Crush The Cookies: You can use a blender to crush up your cookies. Or you can place the cookies in a sealed sandwich bag and roll over them with a rolling pin.
- Cover Your Ice Cream with foil or plastic wrap to keep it fresh before you put the container lid on it. This prevents ice crystals from forming on the top of the ice cream during freezing.
- Make With Mix-Ins: Add more fun with your other favorite mix-ins! Some ideas you could try include chocolate chips (either semisweet, dark, milk, or white chocolate chips), peanut butter chips, butterscotch chips, mini marshmallows, peanut butter cups, chopped walnuts or pecans, chocolate syrup, caramel syrup, or your other favorite cookies. Adding multipe mix-ins might make this ice cream resemble another flavor, but that’s okay. I’m sure the cookie monster won’t mind!
More Fun Ice Cream Flavor Ideas
A vanilla ice cream base is the perfect blank slate for adding a variety of mix-in combinations. Here are a few of my favorite homemade ice cream recipes:
- Mint Chocolate Chip: Gently fold chocolate chips and mint extract into the base and then pour into the pan and freeze.
- Cookie Dough: Use this Edible Cookie Dough recipe to make tiny cookie dough balls that you can freeze and mix into the ice cream and make homemade cookie dough ice cream!
- Moose Tracks: Use Peanut Butter Cups cut into small pieces and Hershey Fudge Sauce. Gently fold peanut butter cups into batter and then run ribbons of fudge sauce throughout the batter. Pour into the pan and freeze.
- Cherry Garcia Ice Cream: Fold chopped sweet cherries and chunks of chocolate into the vanilla base. Pour into the pan and freeze.
For more of my favorite no-churn ice cream recipes, try my Unicorn Ice Cream, Cotton Candy Ice Cream, and Caramel Pretzel Ice Cream.
How to Store Homemade Cookie Monster Ice Cream
To keep your homemade Cookie Monster Ice Cream fresh and prevent freezer burn, store it in an airtight container with a tight-fitting lid. I love this ice cream container! It is a perfect size and great for helping to prevent freezer burn! For extra protection, you can press a layer of plastic wrap directly on the surface of the ice cream before sealing the container. This helps lock in moisture and keep it creamy.
Homemade ice cream is best enjoyed within 1-2 weeks for optimal flavor and texture, but it can be stored for up to two months. Just make sure to let it sit at room temperature for a few minutes for easier scooping!
More Homemade Ice Cream Recipes
If you tried this Cookie Monster Ice Cream Recipe or any other recipe on my website, please leave a 🌟 star rating and let me know how it went in the 📝 comments below. Thanks for visiting!!!
Cookie Monster Ice Cream
Ingredients
- 2¼ cups heavy cream cold
- ¾ cup sweetened and condensed milk
- ¼ cup marshmallow fluff
- 2 tsp vanilla extract
- 1 tsp salt
- 9-10 drops blue gel food coloring
- 10 pieces regular Oreos roughly chopped (save 1 cookie for decoration)
- 10 pieces store bought chocolate chip cookies roughly chopped (save 1 cookie for decoration)
Instructions
- Put a large metal bowl you will use for mixing into the refrigerator for 10 minutes.
- Use a mixer and the cold metal bowl to beat the heavy cream. Start at a slow speed to not splatter everywhere, then gradually increase to the highest speed. Beat at the highest speed for about 3 minutes or until stiff peaks form.
- Whisk in the sweetened and condensed milk, marshmallow fluff, vanilla extract, salt, and blue food coloring until well combined. If you need to add more food coloring to reach your desired color, feel free to do so.
- Fold in the chopped Oreos and chocolate chip cookies.
- Pour mixture into a 9×5 loaf pan to chill in the freezer overnight (or a minimum of 4-5 hours). Decorate with additional crushed cookies.
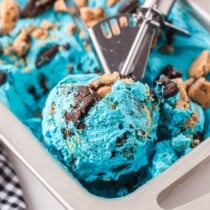
- Scoop out with an ice cream scoop, plate, and enjoy.
Jenn’s Notes
- Feel free to use the off-brand cookie sandwiches or add your favorite type of Oreos as well. You can be creative and choose the peanut butter ones, double stuf, birthday cake, or whichever you prefer.
- You can make your own whipped cream by whipping up cold heavy cream.
A stand mixer is the quickest and easiest way to make the whipped cream, although you can also use a hand mixer. - You will know when you have formed your stiff peaks when you turn the whisk upside down and the peaks point straight up without collapsing.
- You can add more or less food coloring to reach your desired color.
- You can use a blender to crush up your cookies. Or you can place the cookies in a sealed sandwich bag and roll over them with a rolling pin.