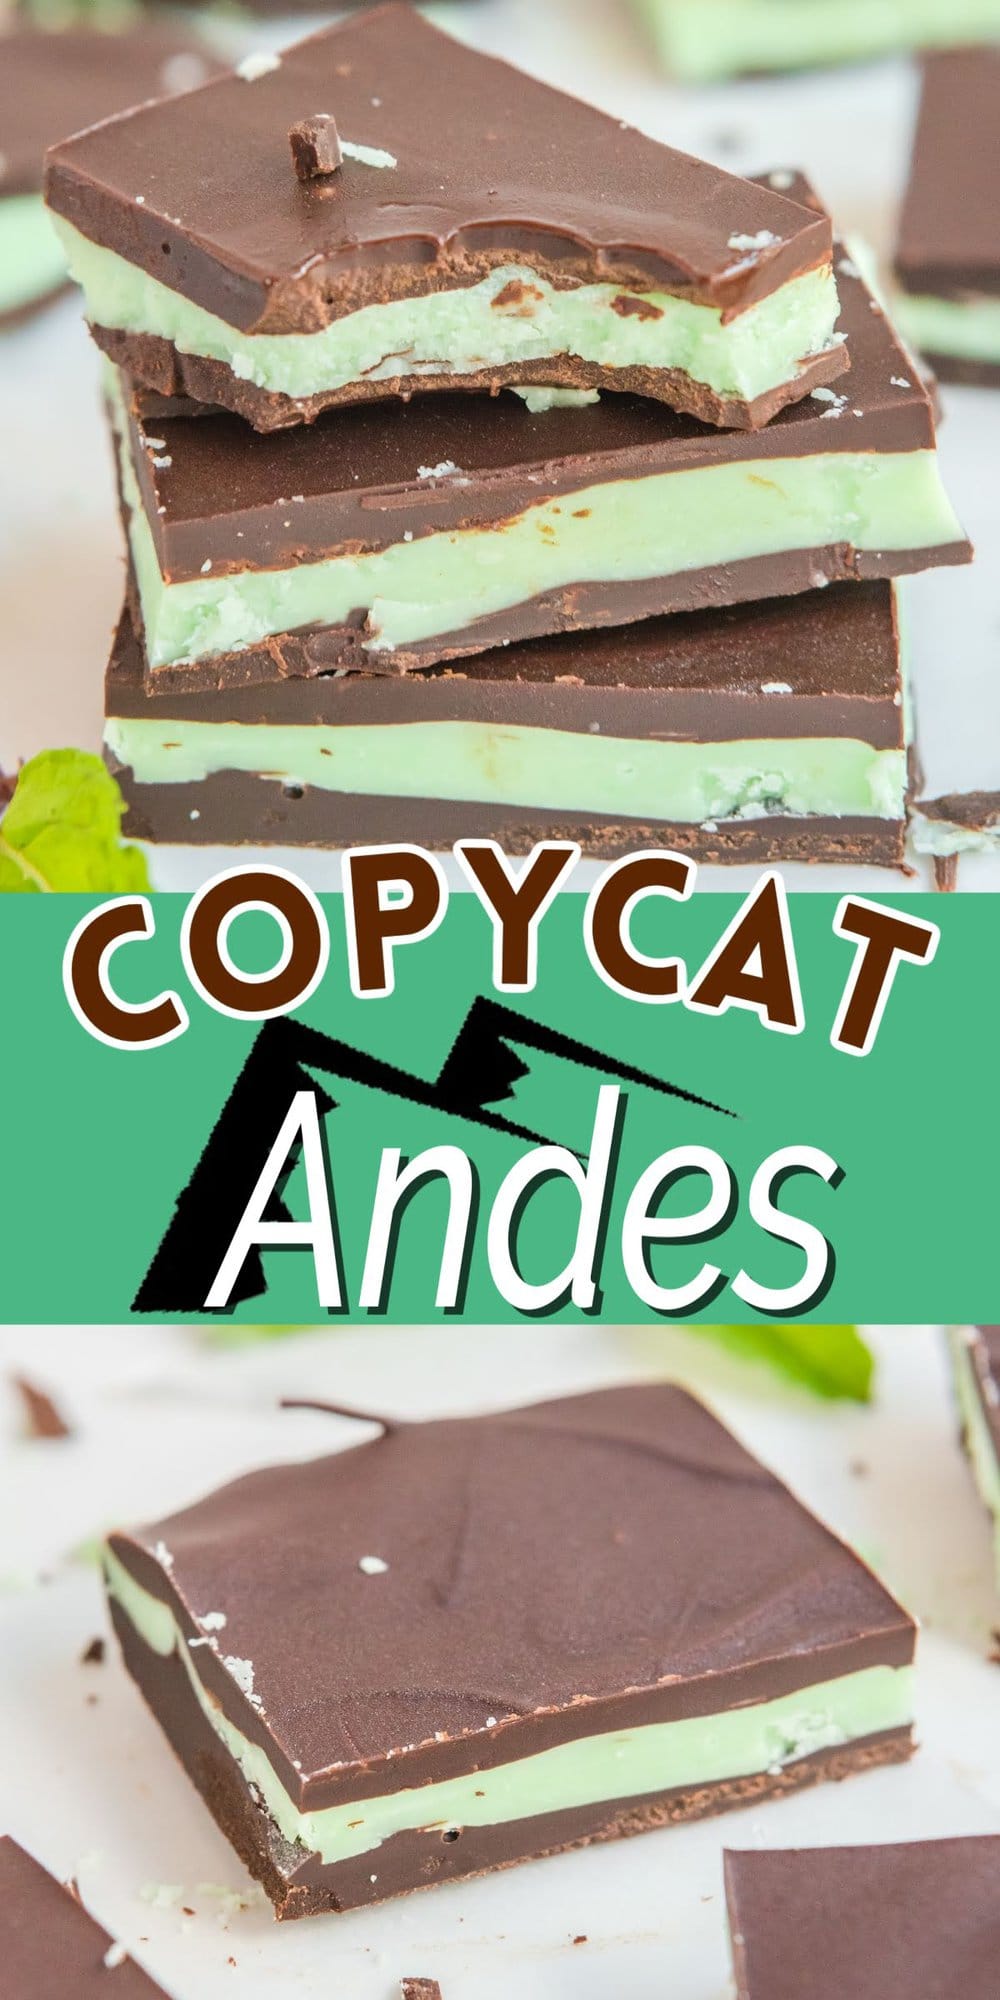
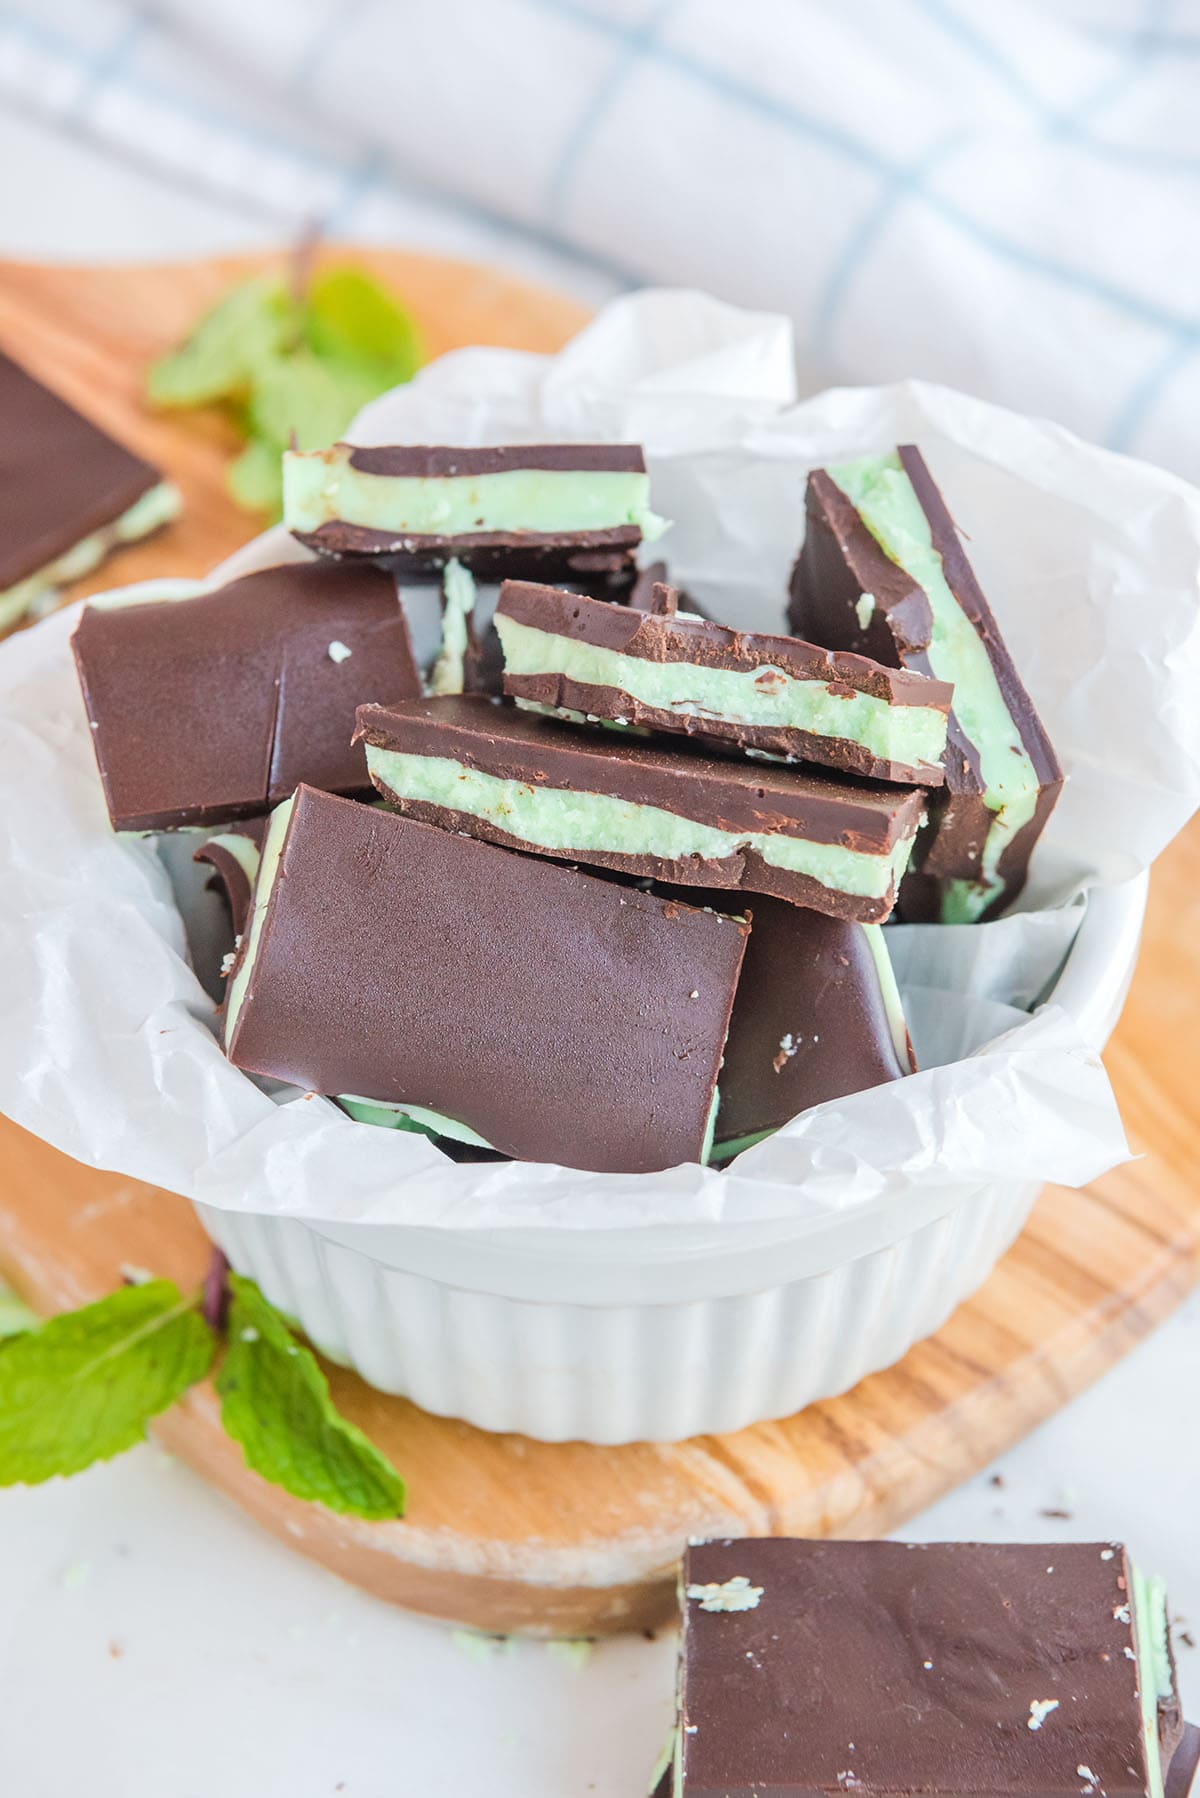
Copycat Andes Mints are so easy to make in 30 minutes with just 4 ingredients and a microwave. Recreate the classic, rectangular 3 layered chocolate mint candy with this simple homemade Andes mint recipe.
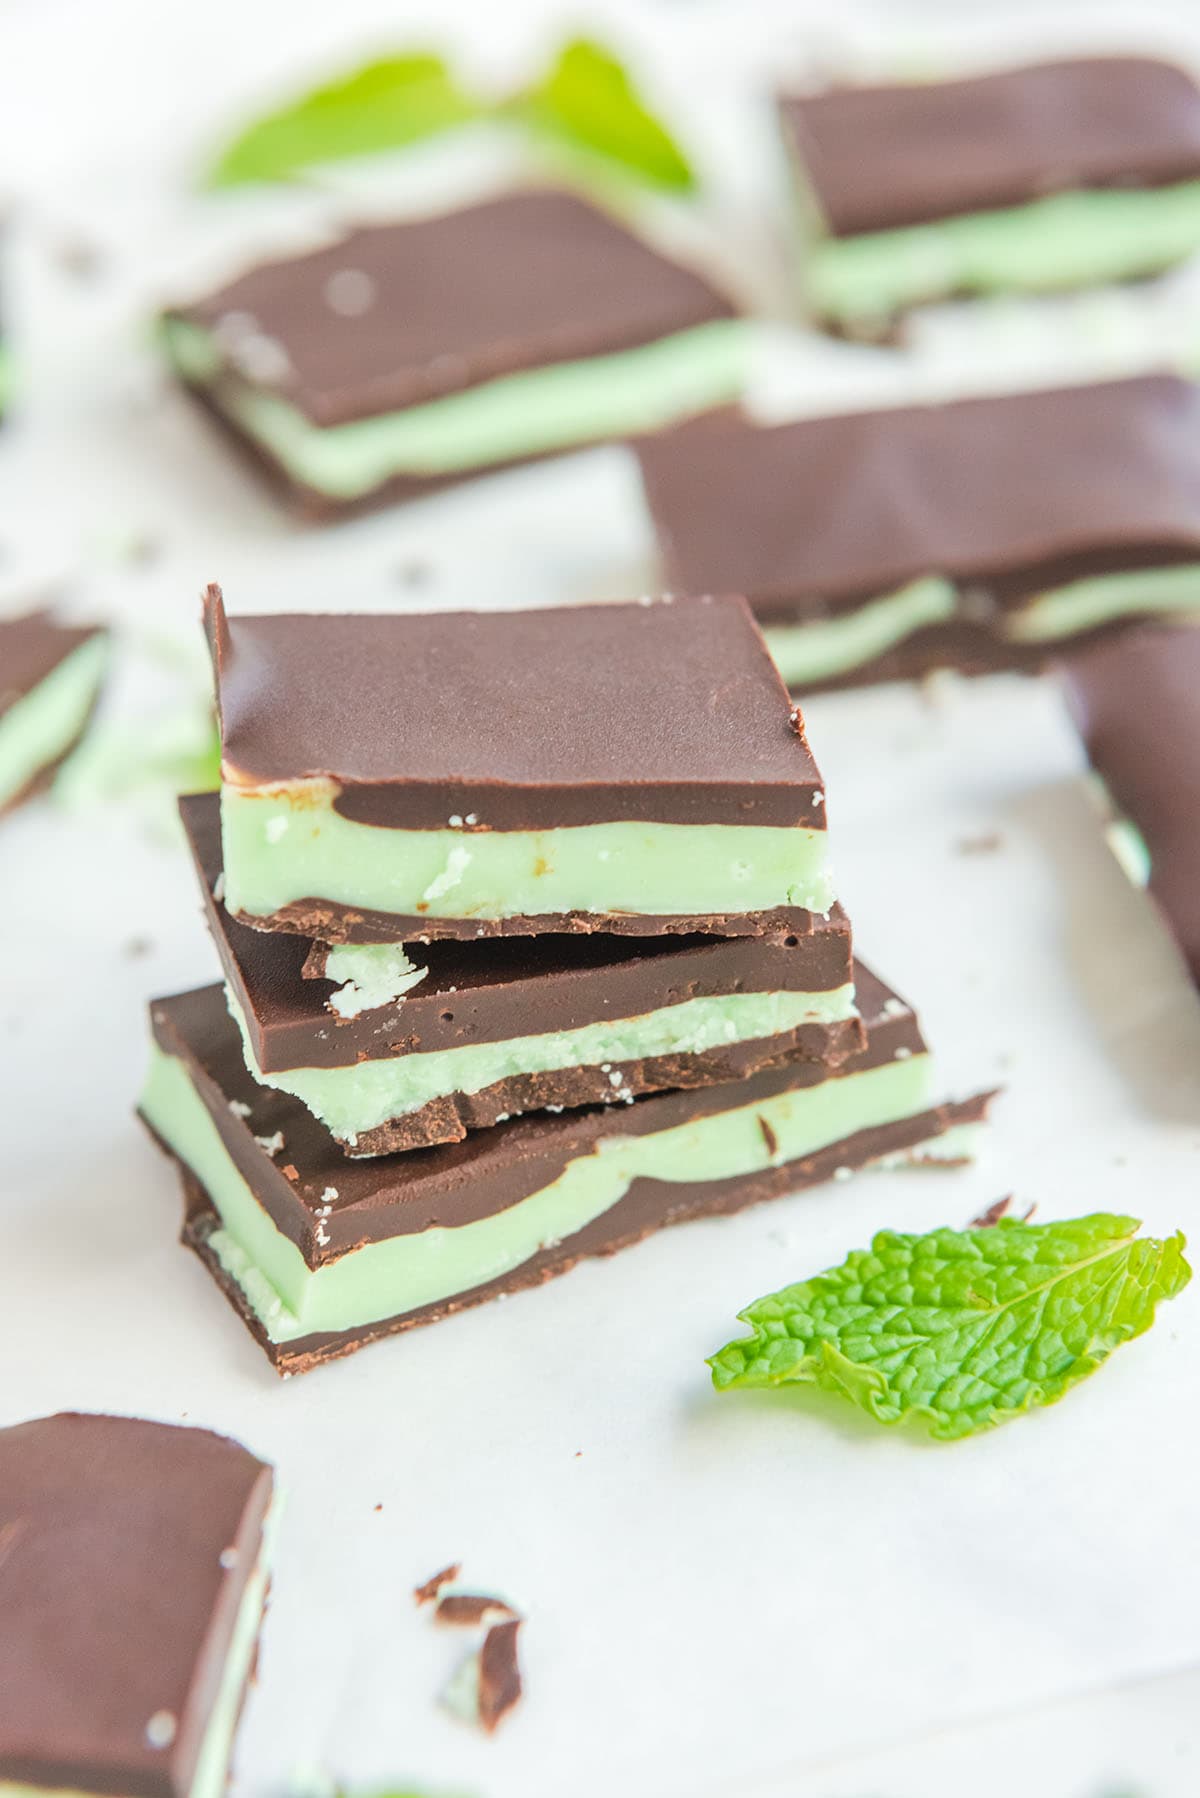
Homemade Andes Mints
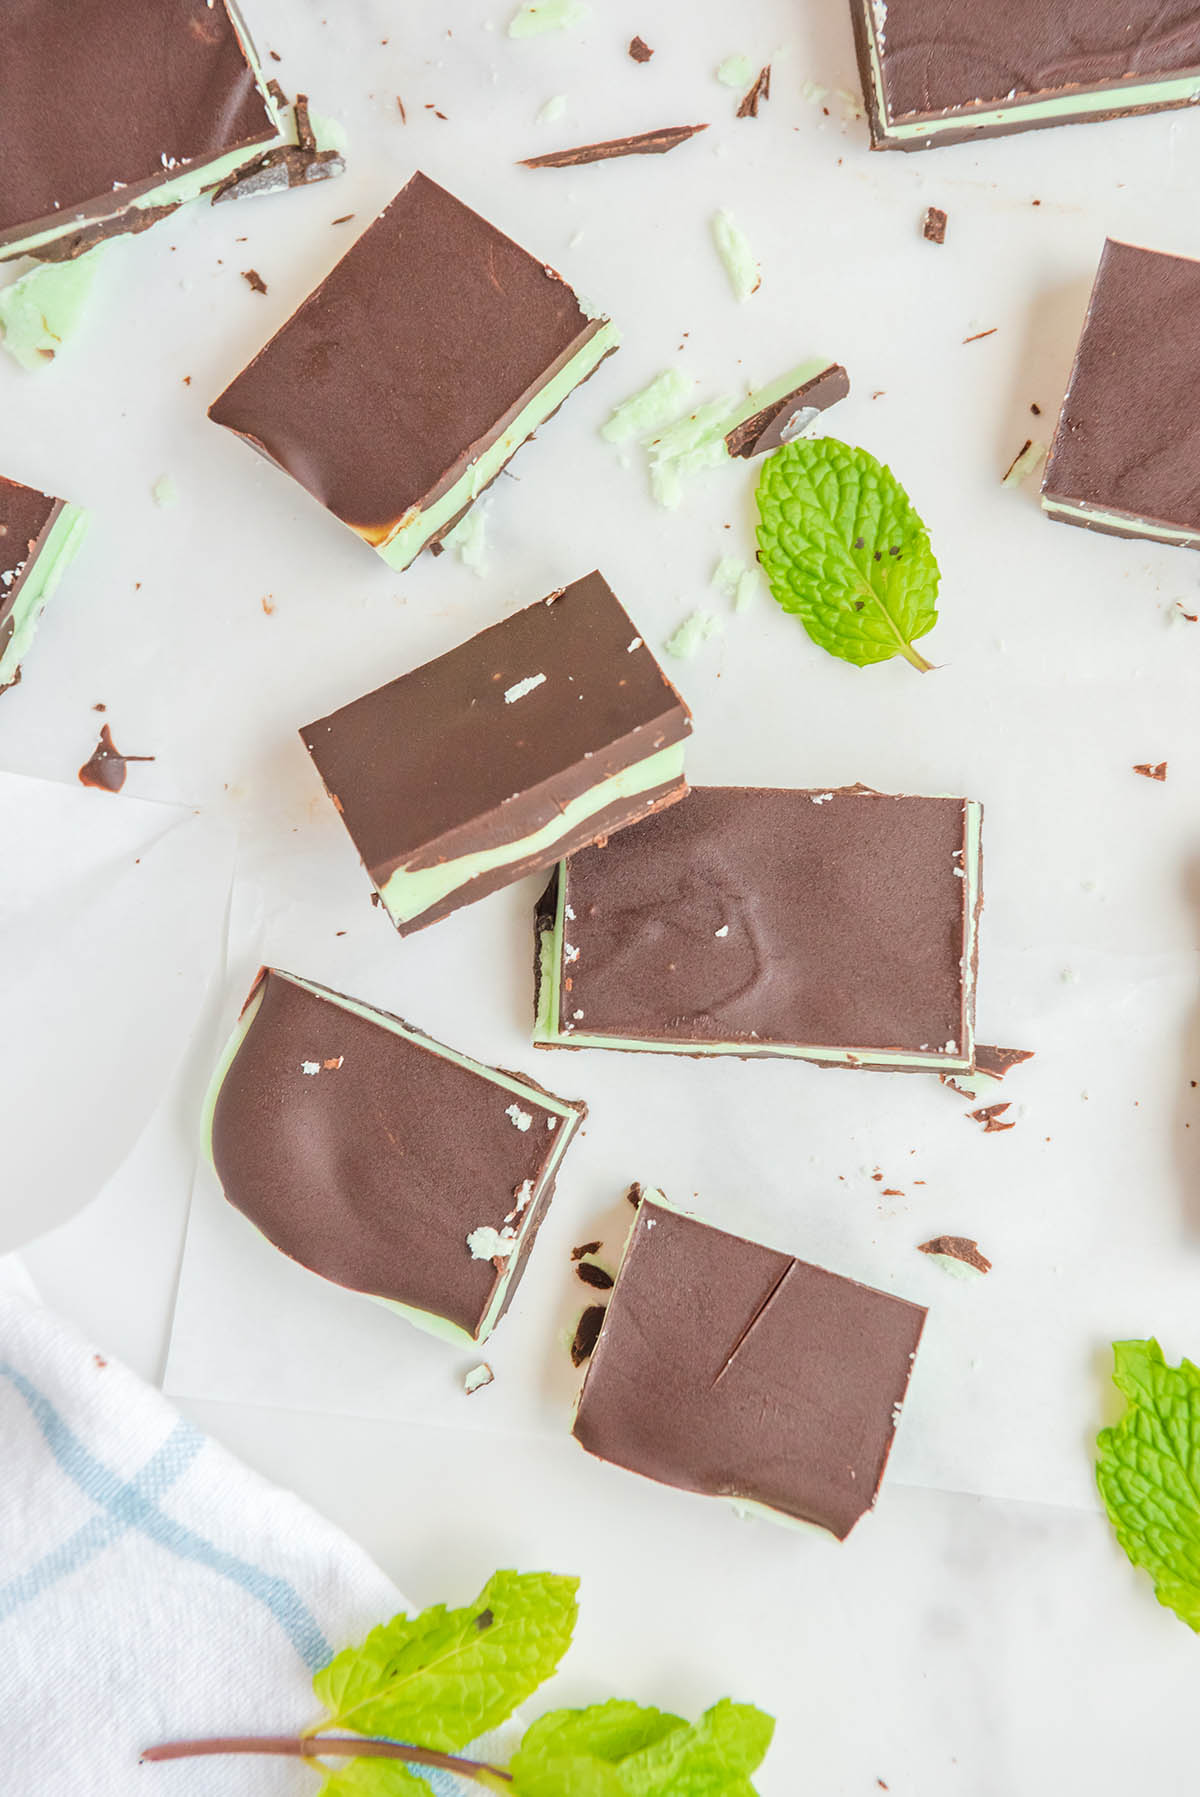
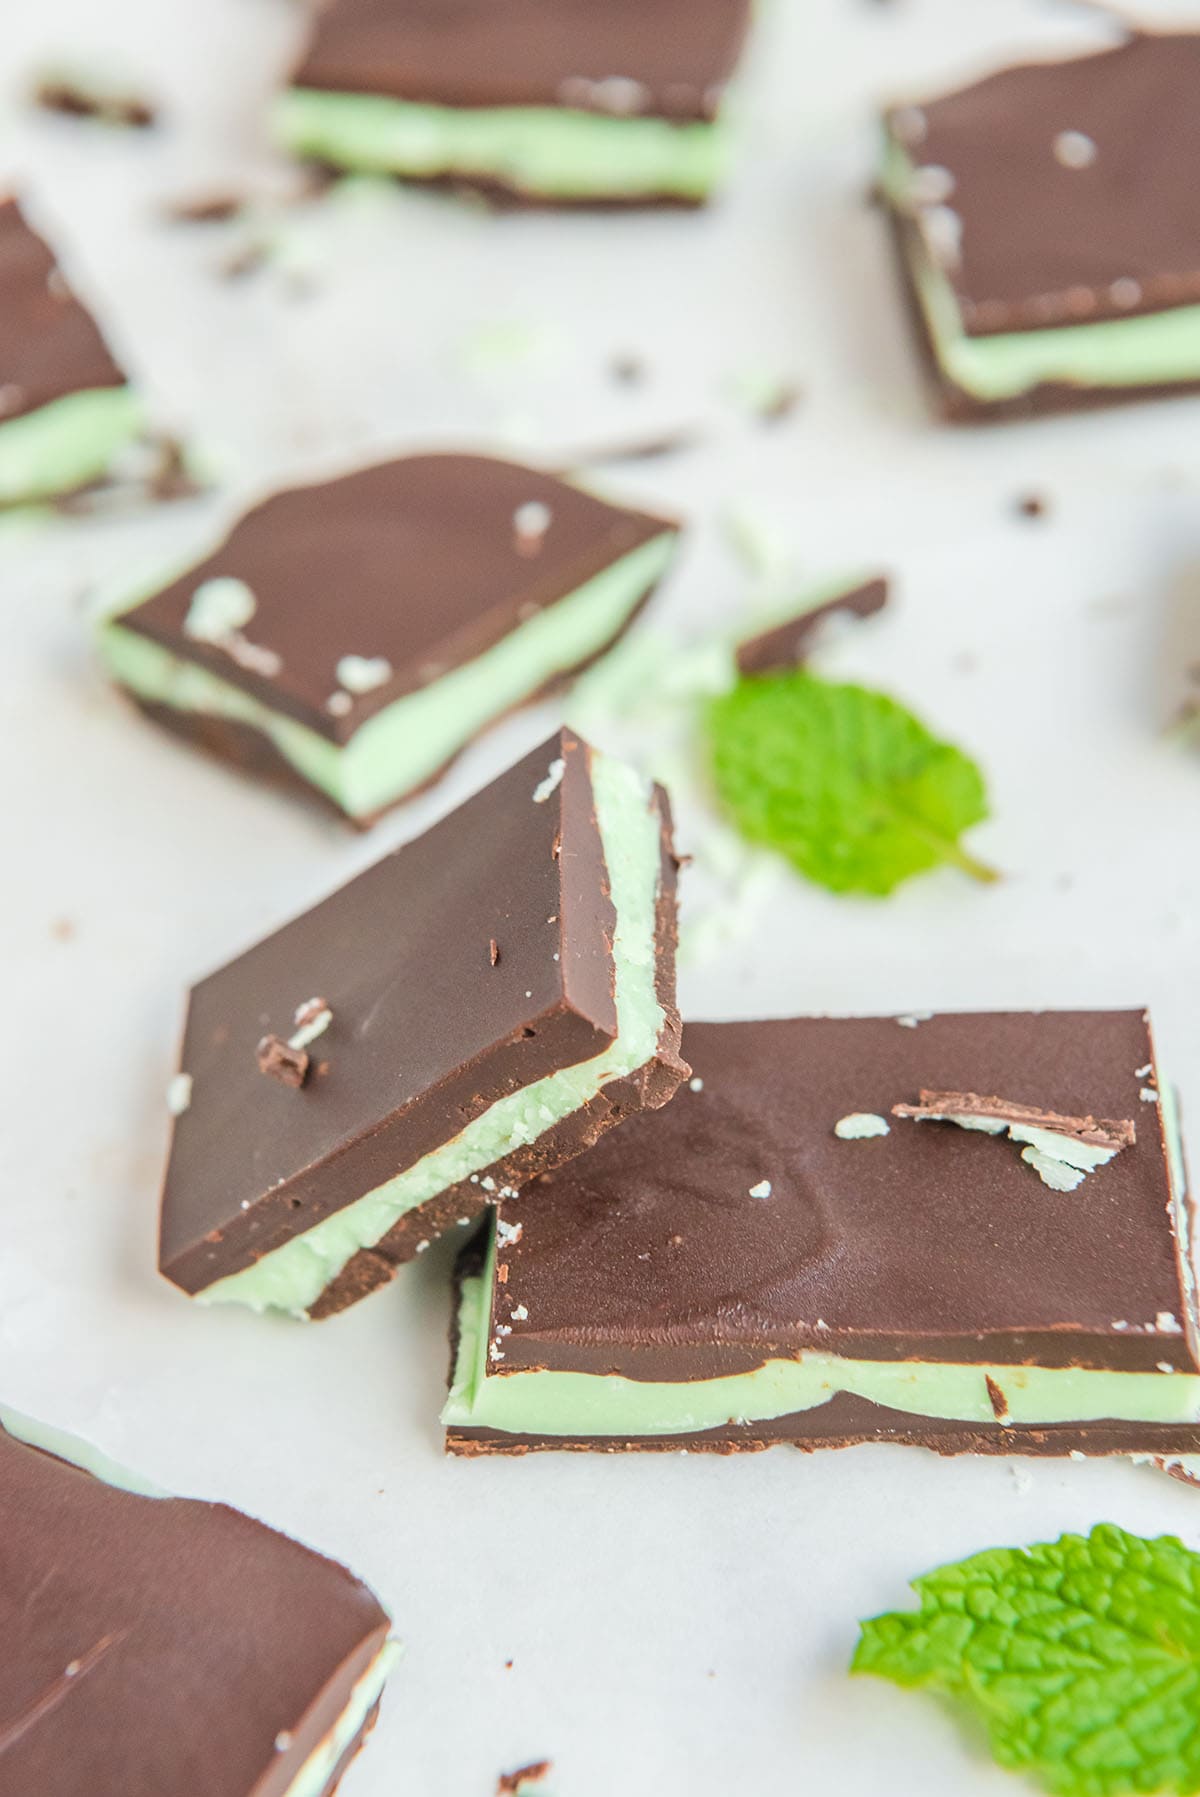
Our Copycat Andes Mints recipe is so simple to recreate at home with the same green mint layer sandwiched between two layers of dark chocolate, just like the iconic Creme de Menthe candy.
Making homemade Andes mints takes nothing more than melting two types of chocolate chips in the microwave, adding peppermint flavor and green coloring to the white chocolate to create the minty middle, and pouring them as 3 distinct layers into a pan.
Silky smooth and creamy, this no-bake candy delivers the best-tasting mint chocolate flavor in each delicious after-dinner piece.
While the packaged mint is often placed on a pillow, this copycat Andes candy is the perfect alternative when you don’t want to unwrap your post-meal treat!
Why We Love This Copycat Andes Chocolate Mints Recipe
- Quick and easy to make.
- Uses only 4 ingredients.
- Even better than the store-bought version!
- Smooth and creamy texture with a delicious mint taste.
- Great for gifting, Christmas and St. Patrick’s Day parties, or serving after supper.
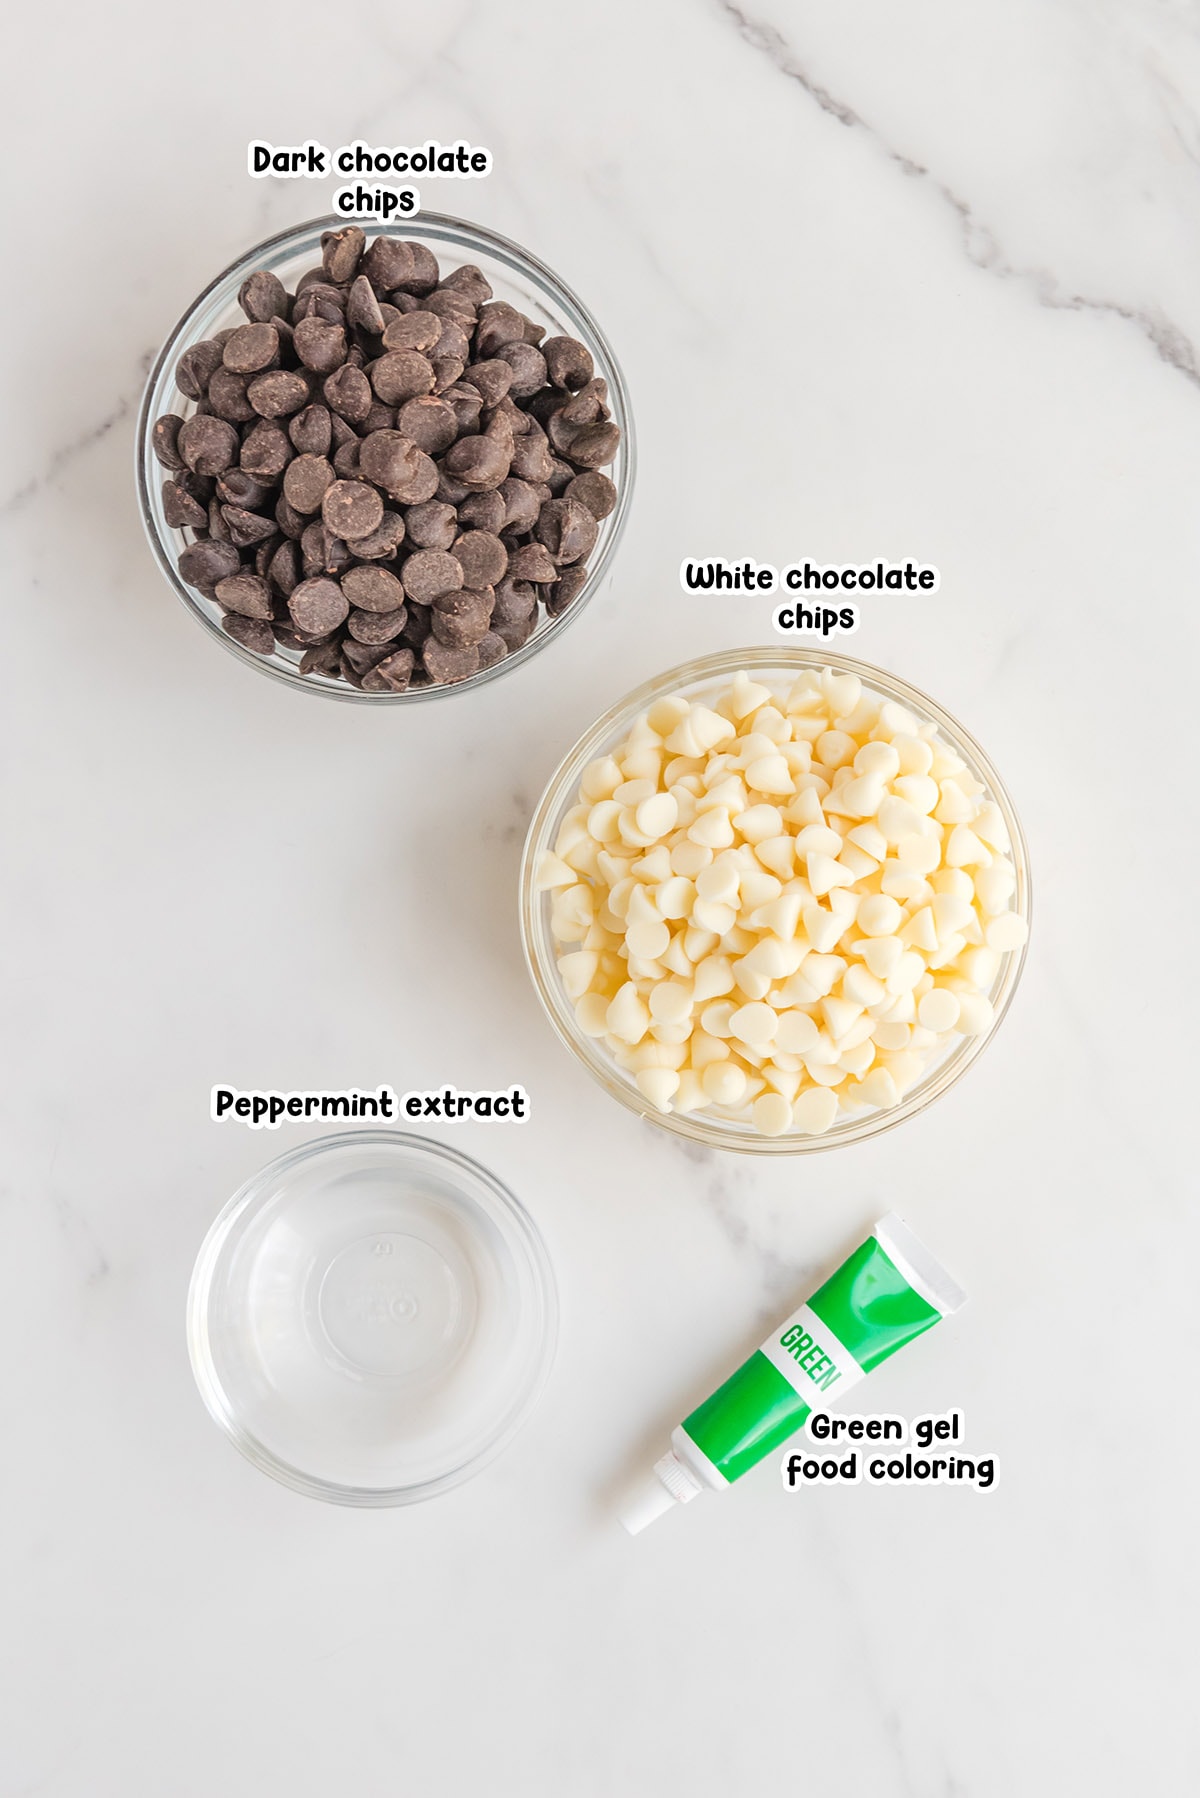
Copycat Andes Mints Ingredients
- Dark chocolate chips
- White chocolate chips
- Peppermint extract
- Green gel food coloring
Substitutions and Additions
- Make Keto Andes Candy: To make your Andes candies Keto compliant, make sure to use sugar-free chocolate chips.
- Vegan Version: To make a vegan version of Andes candies, use non-dairy chocolate chips.
Recommended Tools
- 8×8 pan
- Parchment paper
- Microwave safe bowl
- Sharp knife
How to Make Copycat Andes Mints
- Prepare The Pan: Prepare the pan with parchment paper.
- Melt: Microwave the chocolate chips on 50% power for 1 minute, stir, and continue in 30 second intervals, stirring in between, until the chocolate is silky smooth.
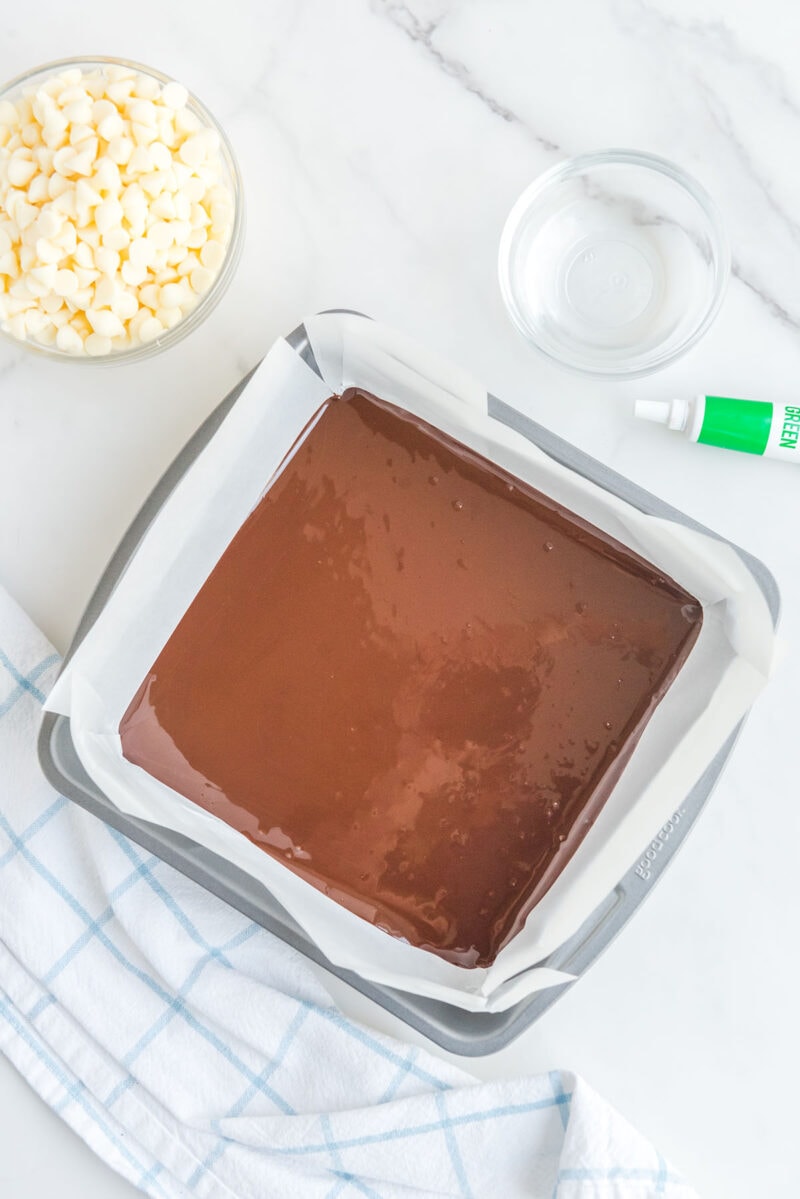
- Pour Into The Pan: Pour the melted chocolate into the bottom of the baking dish. Place the dish inside the refrigerator while you work the next step.
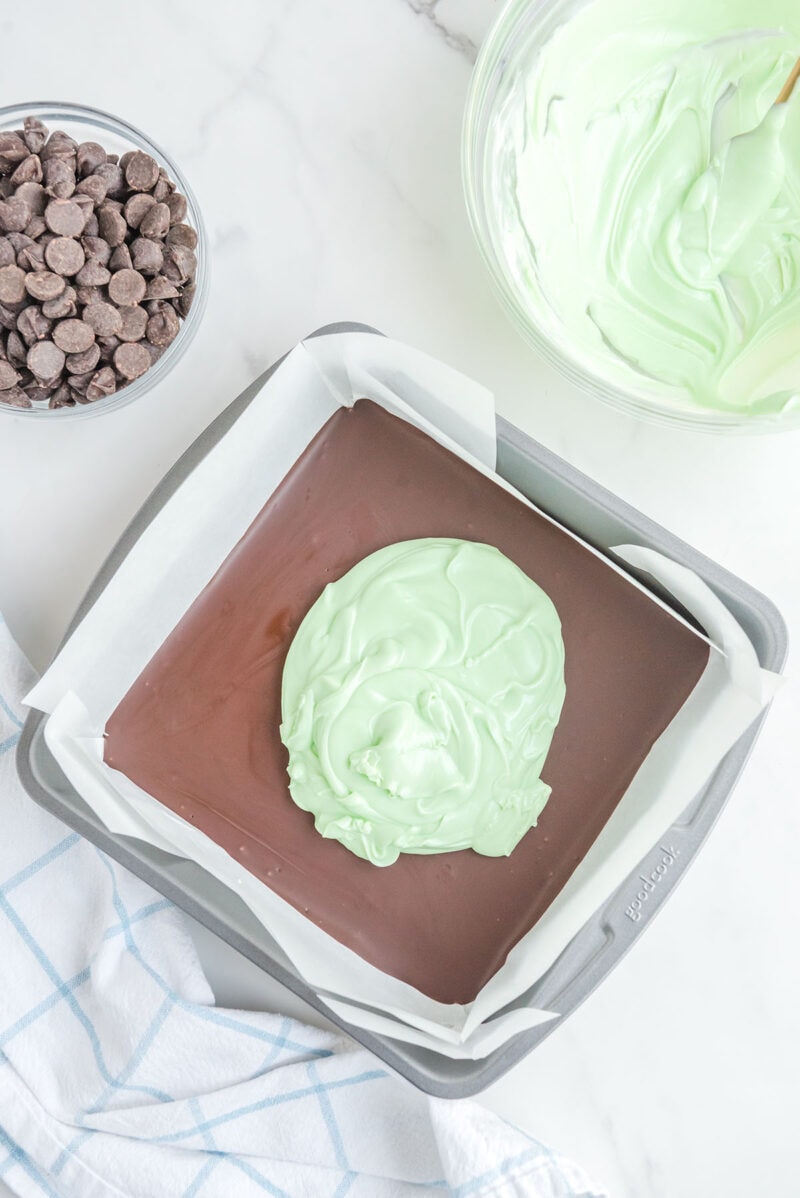
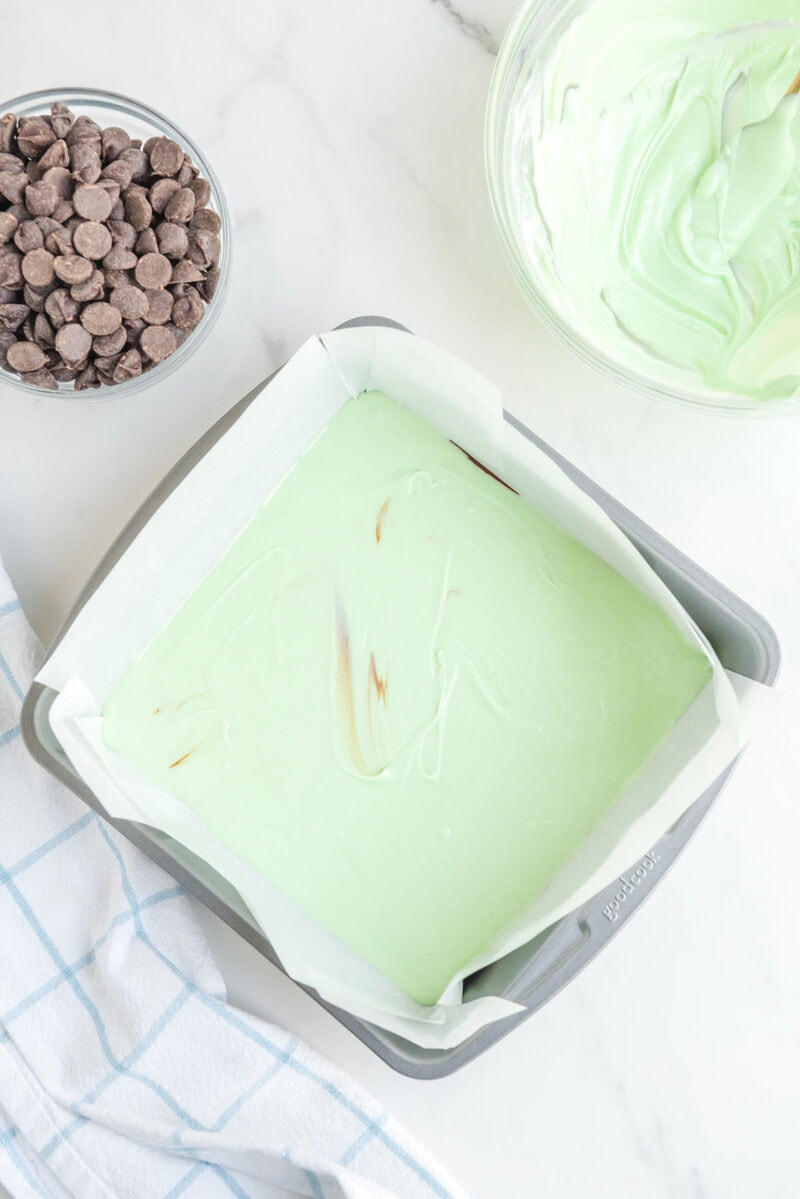
Pro Tip: The chocolate should self level, however you can also spread the chocolate out as it covers the entire surface or gently shake the baking dish to spread and level even more. - Make The Green Mixture: Melt the white chocolate chips until silky smooth. Mix in the peppermint extract and green food coloring gel until fully blended and light green. Pour the green chocolate over the first layer of chocolate. Place back inside the refrigerator.
Pro Tip: You won’t need to use all the chocolate, just enough to allow it to spread entirely. - Melt More Chocolate: Melt the remaining chocolate chips and pour it over the green chocolate layer. Chill in the refrigerator for 4 hours or overnight.
- Slice And Serve: Pull up on the parchment paper to remove the candy. Make 5 cuts across and 3 cuts in the opposite direction. Serve immediately and enjoy!
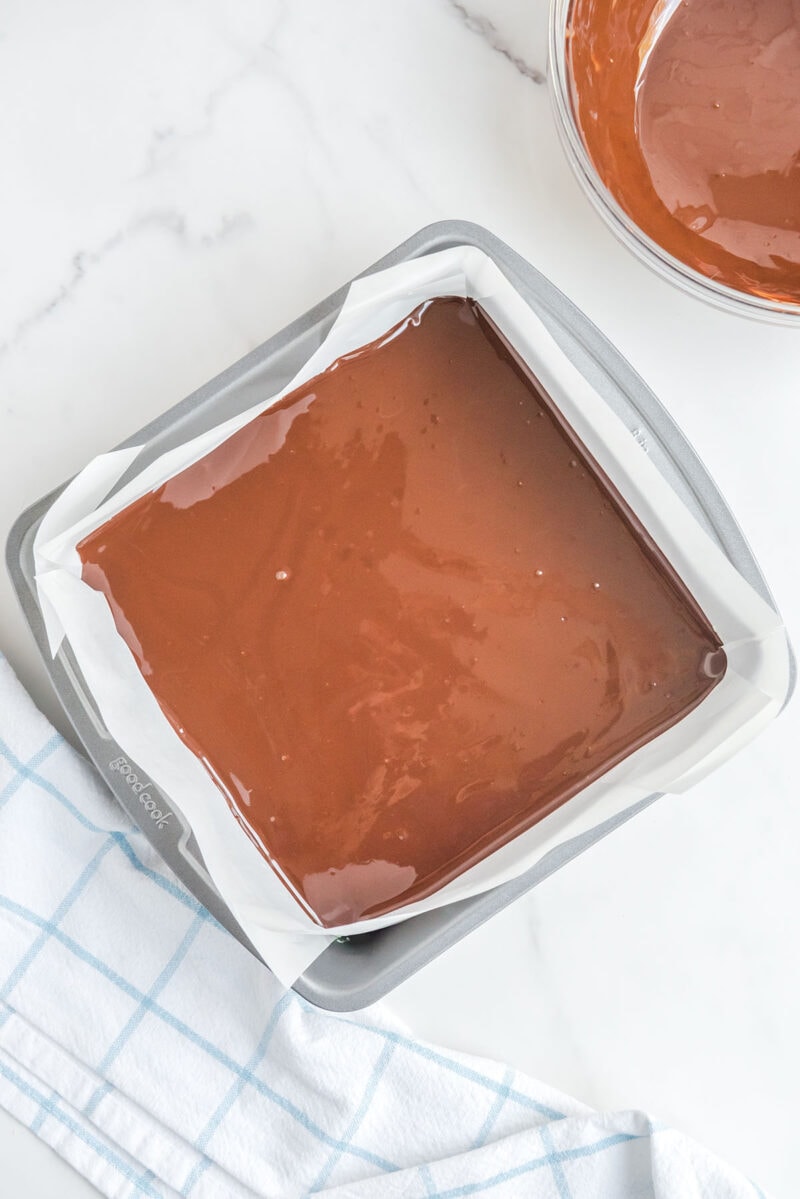
How To Prepare The Pan
To best prepare your 8×8 baking dish with parchment paper, first take a sheet of parchment large enough to cover the dish and about 2 inches overhang.
Using your thumbs and index fingers, press the parchment paper down into the dish, extending your fingers strongly into the corner to make an indention. Remove your fingers and the parchment paper.
Using a pair of scissors, cut the parchment paper in 8 places; two cuts leading to each indentation from both sides of the paper. You may need to cut an excess amount of parchment paper off from the longer sides depending on the size of your rolled or pre-cut parchment paper.
There should be about 2 inches from each indentation to the end of the paper. Be sure your cuts do not touch one another. When done, place the parchment paper back into the dish, tucking the corners properly behind the parchment sides.
Press the paper with your fingers along the edges of the dish to shape it even further. It should hold up nicely.
Tips For Making Copycat Andes Mints
- This dish is best served chilled.
- You can use ½-1 tablespoon of vegetable oil when you’re melting the chocolate to get an even smoother finish. Add vegetable oil after the first 1-minute microwave interval. This will help thin your chocolate, making it more spreadable.
- Gently shaking the dish (like a steering wheel) will help the chocolate level evenly across.
How to Store Copycat Andes Mints
- To Store: Store these candies inside the refrigerator when not in use.
- Freeze: You can freeze for up to 3 months.
More Easy Copycat Recipes
More Easy Homemade Candy Recipes
- Butter Mints
- Chocolate Turtles
- Homemade Twix Bars
- Jello Divinity Candy
- Copycat 3 Musketeers Bars
- Turtle Fudge
- Homemade Candy Corn
Copycat Andes
Ingredients
- 11 ounces bag of dark chocolate chips
- 11 ounces bag of white chocolate chips you’ll use about half
- 1 teaspoon peppermint extract
- Green gel food coloring
Instructions
- Prepare a 8×8 pan with parchment paper. See notes for general tips
- Add half of the chocolate chips to a large microwave safe bowl. Microwave on 50% powder for 1 minute. When done, stir well and return to the microwave. Microwave on 50% powder for 30 second intervals, stirring in between, until the chocolate is silky smooth. When done, remove from the microwave.
- Add chocolate to the bottom of the 8×8 baking dish. The chocolate should self level, however you can also spread the chocolate out as it covers the entire surface or gently shake the baking dish, helping it spread and level even more. Place the dish inside the refrigerator while you work the next step.
- Repeat the melting process for the white chocolate chips until they are silky smooth. Add peppermint extract here and about 1-1 inches of green food coloring gel. Mix well until fully blended and light green.
- Pour the green chocolate over the first layer of chocolate. You won’t need to use all the chocolate. Just enough to allow it to spread entirely. Place back inside the refrigerator while working the next step.
- Repeat step 2 for the remaining dark chocolate chips.
- Add the remaining melted chocolate over the green chocolate layer. Be sure to gently spread the chocolate, creating a flat surface on top. See notes for additional tips.
- Place the dish inside the refrigerator and allow it to chill for 4 hours or overnight.
- When done, remove the candy from the dish by pulling up on the parchment paper. Make 5 cuts across the candy using a clean sharp knife and 3 cuts in the opposite direction. Serve immediately.
Jenn’s Notes
- To Store: Store these candies inside the refrigerator when not in use.
- This dish is best served chilled.
- When cutting these candies into squares, consider washing the knife half way. These cut best when cut with a clean edge.
- Use ½-1 tablespoon of vegetable oil when you’re melting the chocolate to get an even smoother finish. Add vegetable oil after the first 1-minute microwave interval. This will help thin your chocolate, making it more spreadable.
- You want to keep the chocolate inside the refrigerator while working each step. However you DO NOT want to keep it in there to solidify completely. Otherwise the three layers of chocolate won’t really be connected. You want the layers to be warm and semi-solid when connected. This will help when cutting the chocolate. Otherside, the layers could break apart when cut.
- Gently shaking the dish (like a steering wheel) will help the chocolate level evenly across.

