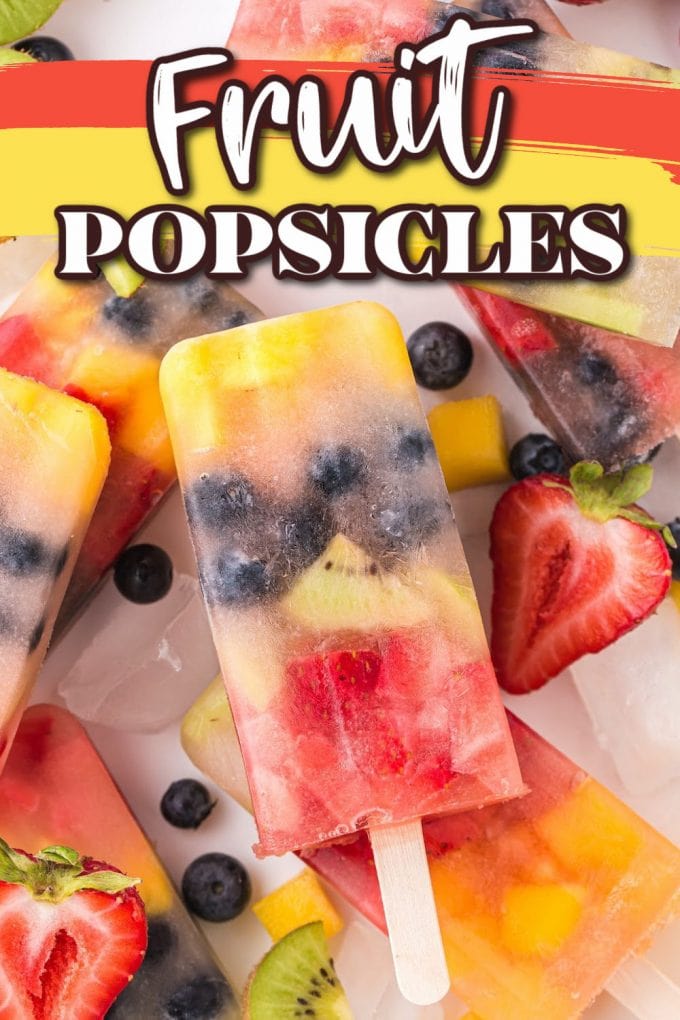
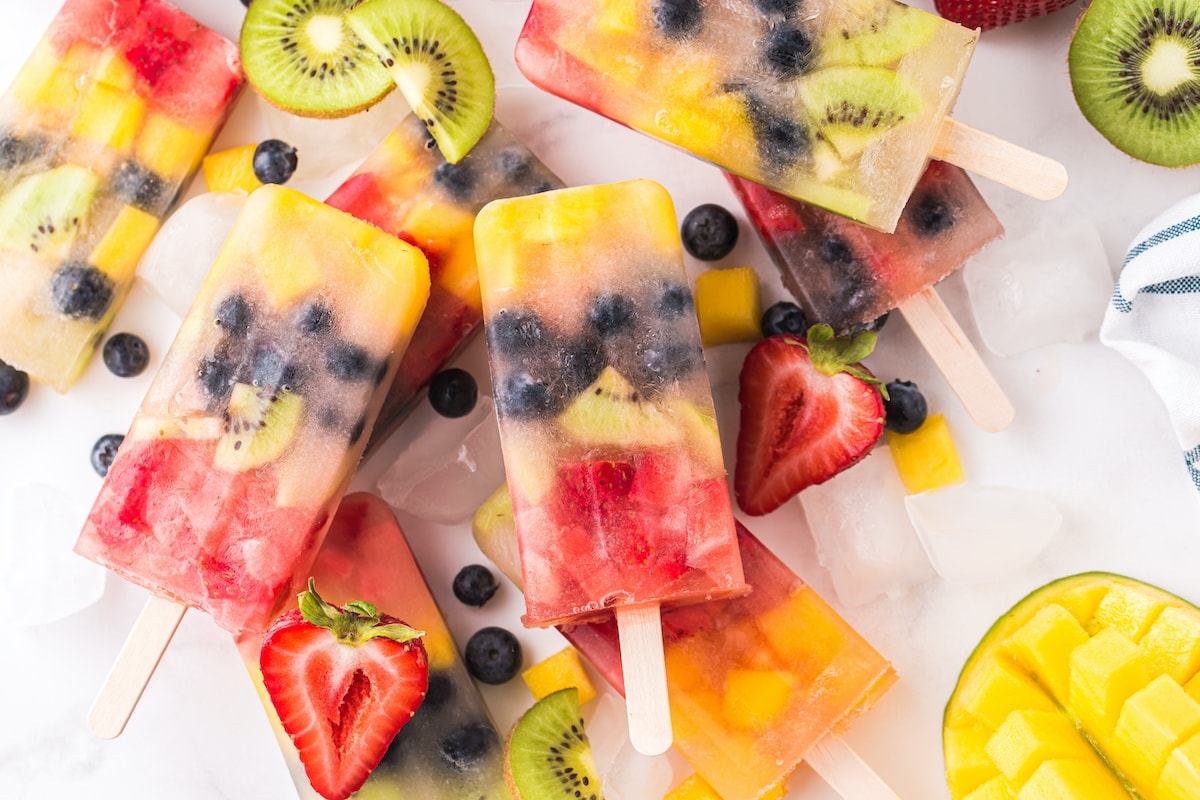
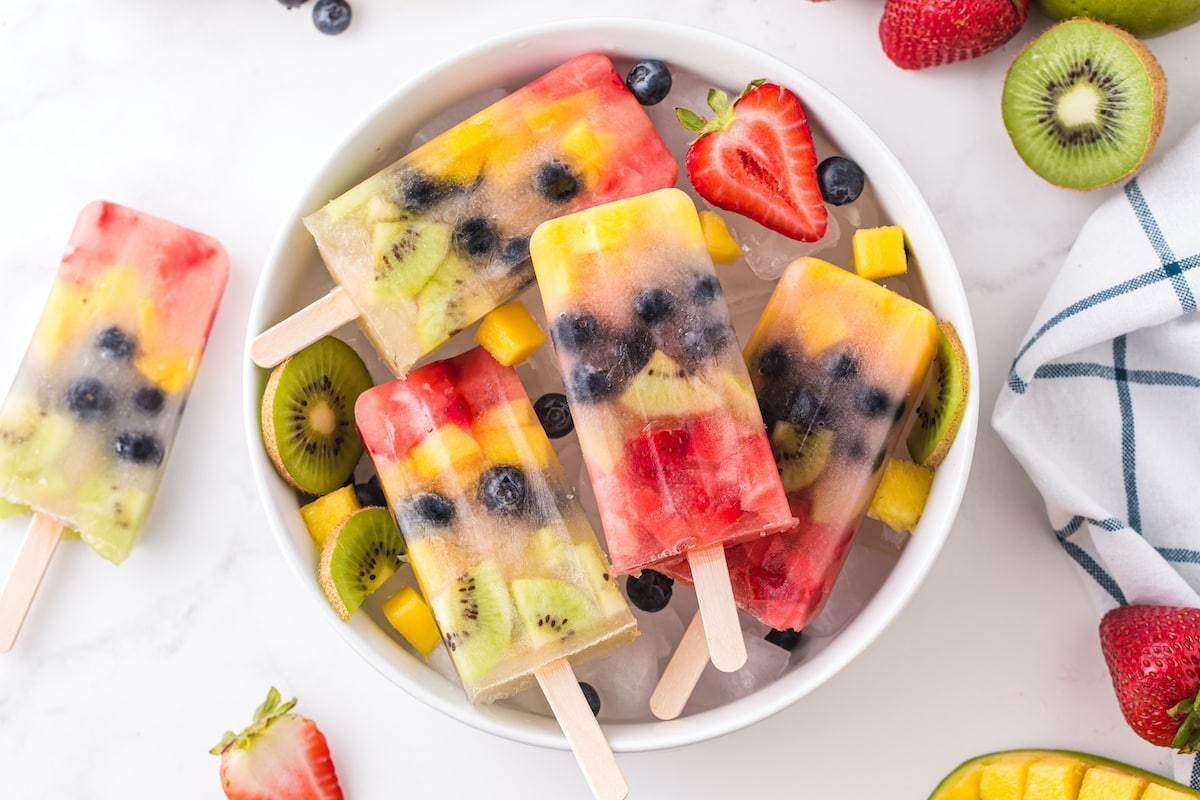
These homemade fruit popsicles are an easy and healthy treat to help you stay cool and hydrated from the summer’s heat. Made with 3 simple ingredients and fresh fruit! With no added sugar and so many refreshing flavors in each deliciously colorful hand-held creation. they are so much better than store-bought pops.
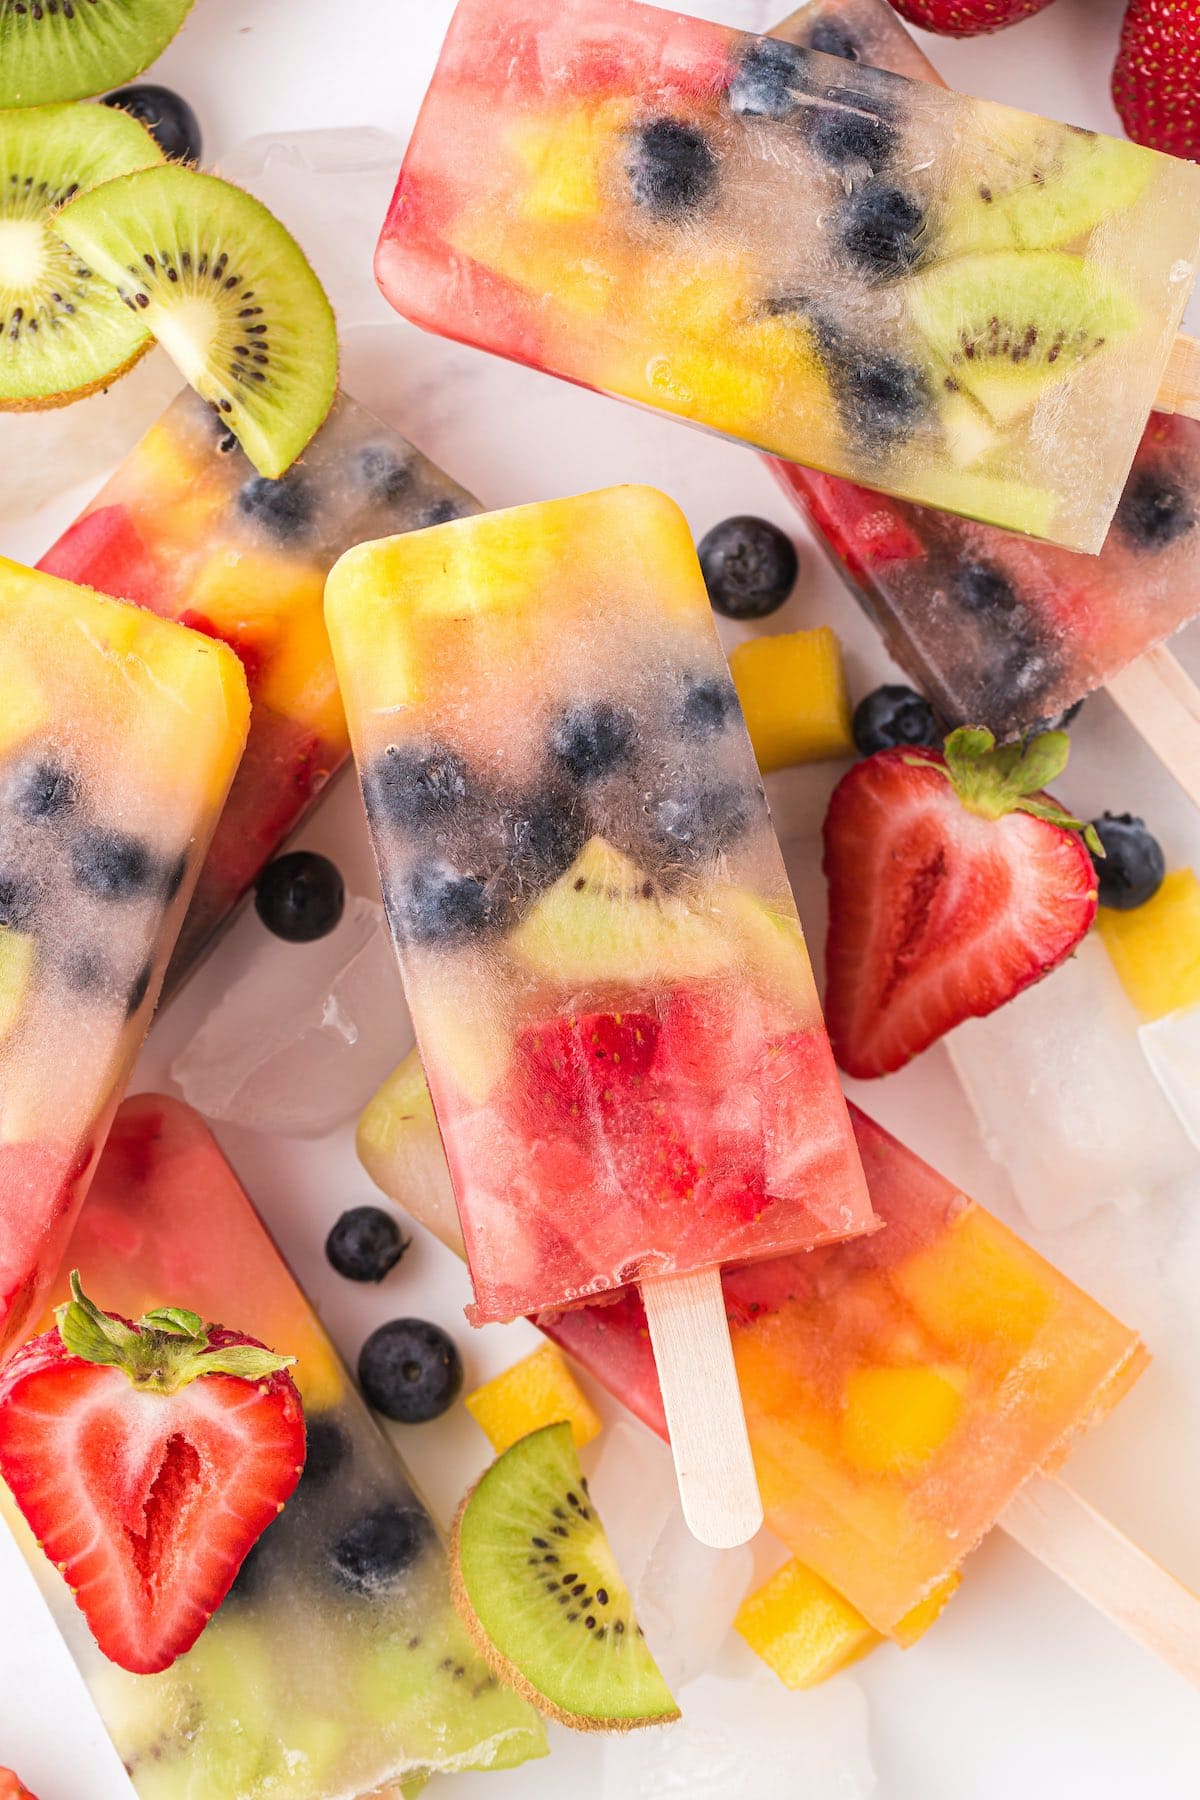
Healthy Homemade Fruit Popsicle
Have you discovered the miracle of the make-your-own popsicle? I LOVE making our own homemade fruit popsicles because they are made with natural ingredients and packed with nutrition.
Store-bought brands are often loaded with high fructose corn syrup, food dyes, and artificial flavors. Not these fruit popsicles! Made with real fresh fruit, apple juice, and coconut water, this recipe provides the sweetness of a treat combined with the necessary nutrients to keep you feeling healthy, hydrated, and cool from the summer’s heat.
I think this may literally be the easiest guilt-free treat that I feel good about serving my family. It is a healthy alternative to the sugar-laden popsicle found in the freezer aisle, but is still a delicious and perfectly-portioned “pop” that provides a welcoming coolness from its frozen fruit.
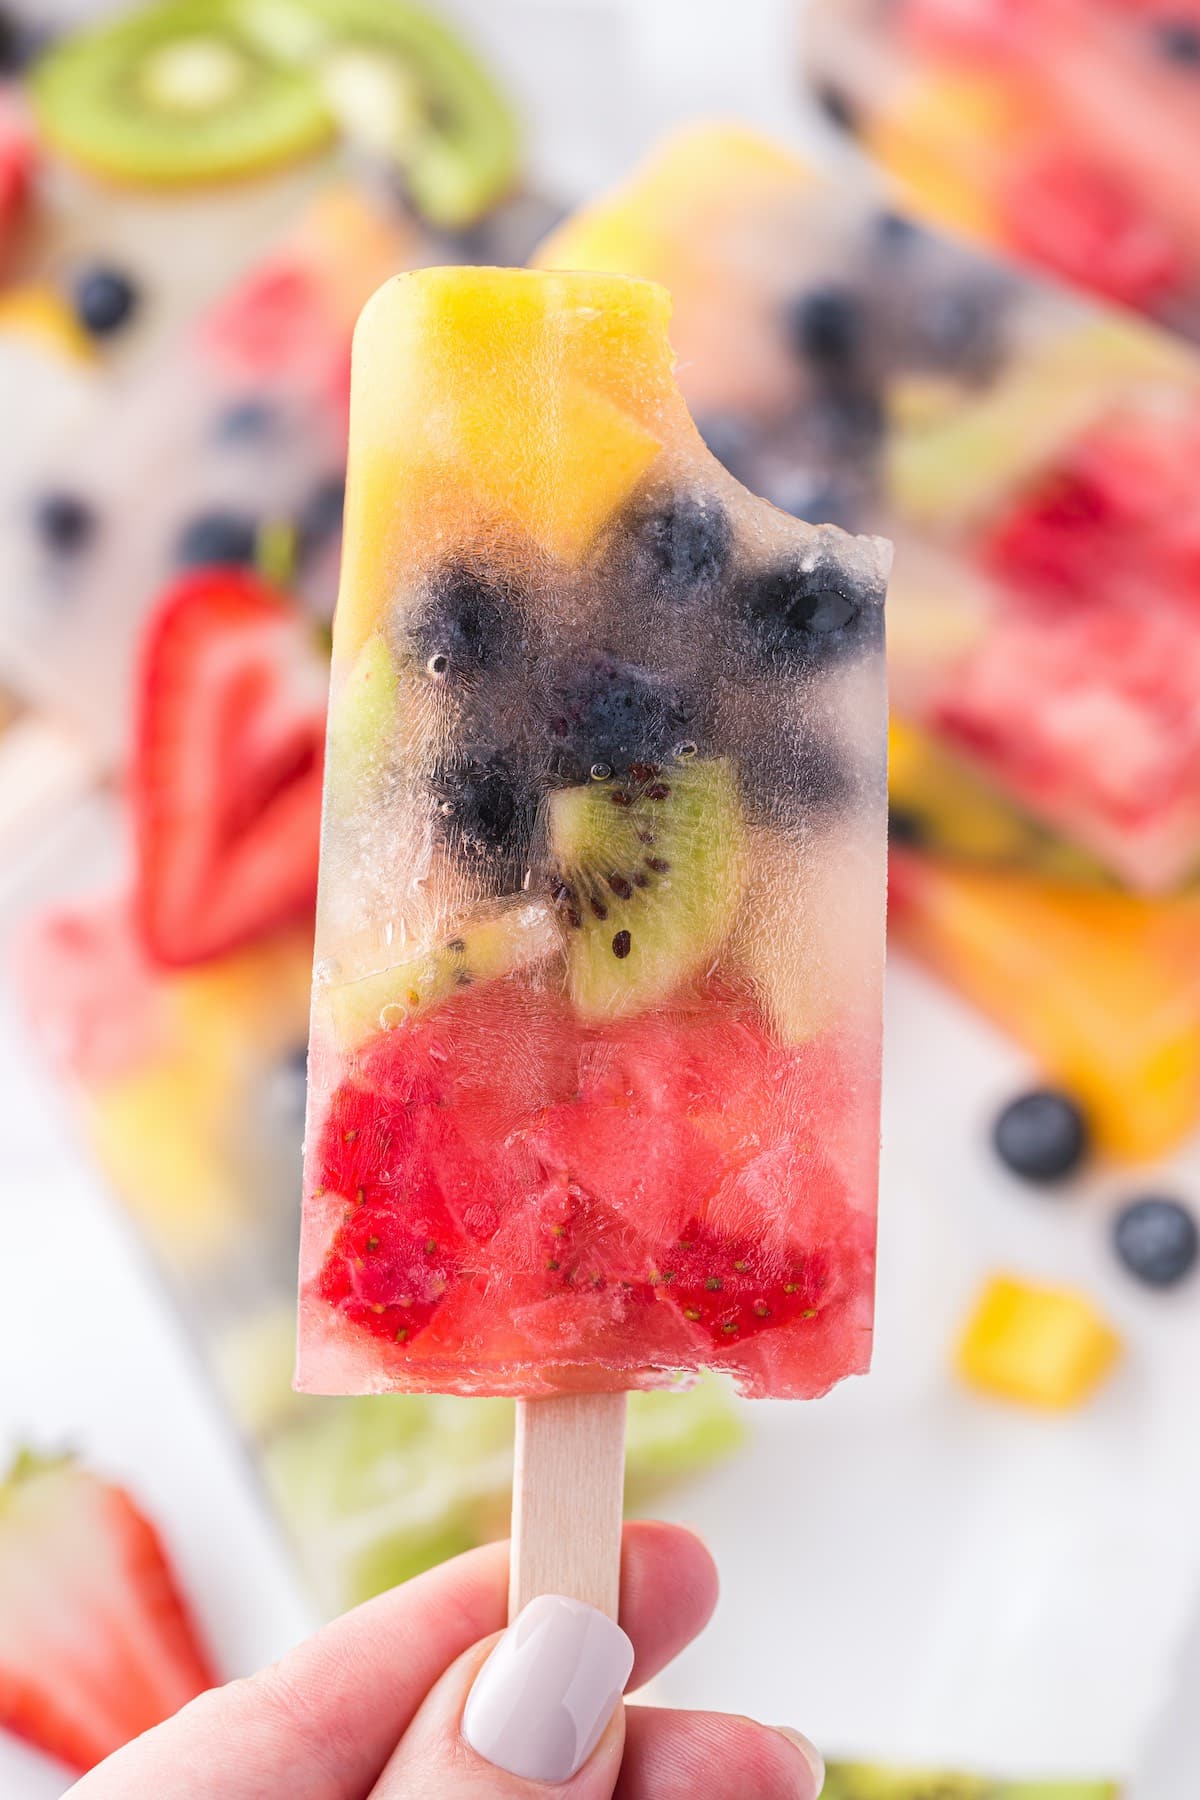
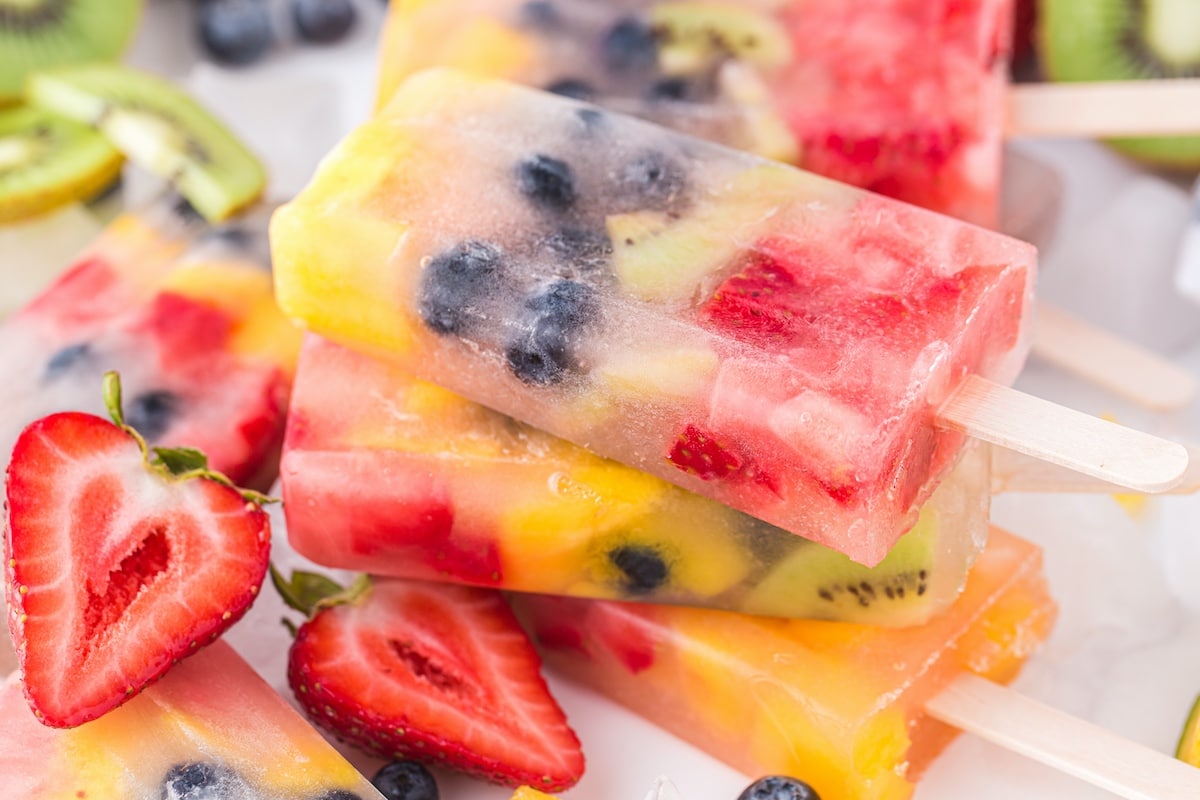
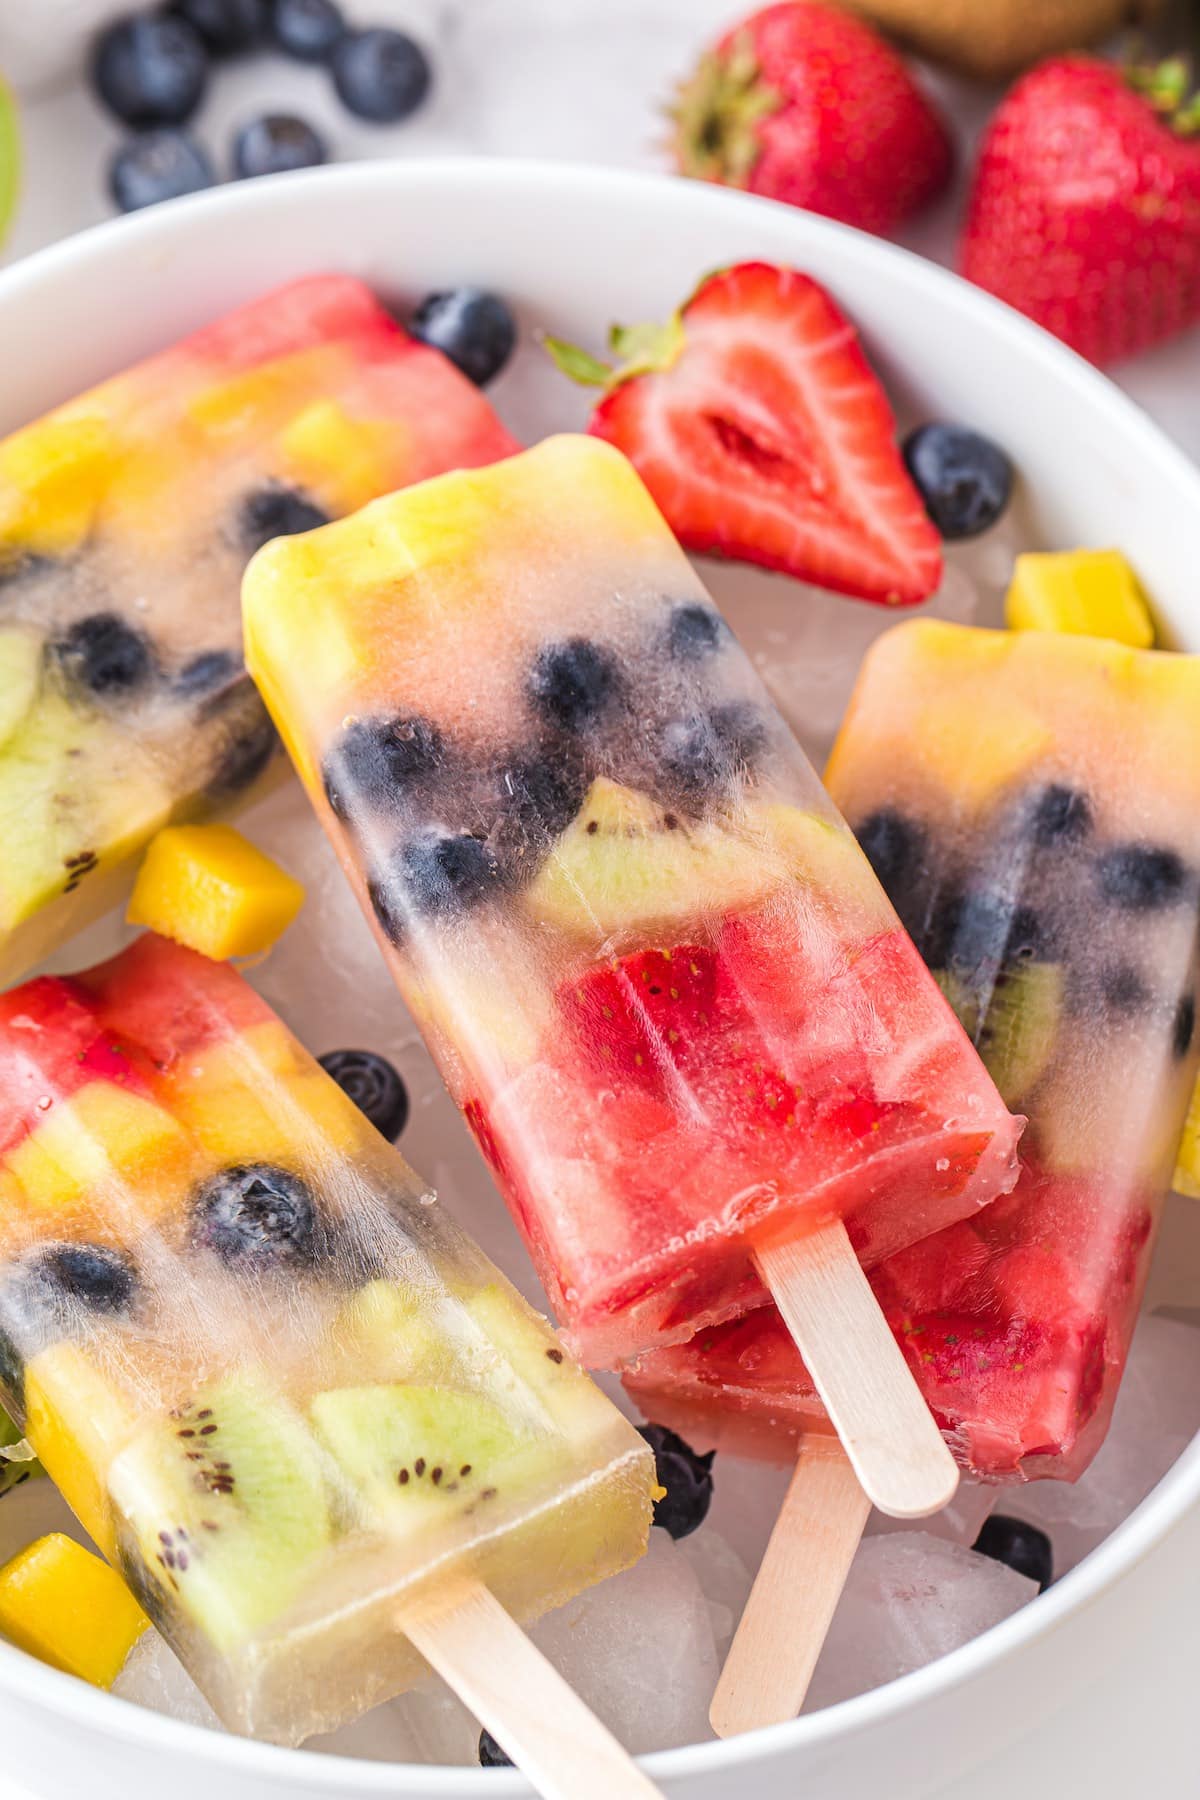
I like to use clear liquids for this recipe to really showcase the colorful fruit. The lime juice adds some acidity to balance out the sweetness and also helps keep them soft to avoid an overly icy texture. The apple juice helps slow the melt-time, or in other words, I should say it increases the lick-time! But my favorite addition to these popsicles is the coconut water because it contains vitamins, minerals, potassium, and an abundance of electrolytes, making them a great source of hydration. Made with your choice of summer produce, there is a flavor combination for everyone. Whether you are a fresh fruit lover or simply looking to eat healthier, you can easily make fruit popsicles with whatever fruit is in your fridge.
Why We Love Fruit Popsicles
- Easy to make with wholesome ingredients
- Refreshing summer dessert, afternoon snack, or outdoor party favor
- Healthy, nutritious, and guilt-free
- Loaded with electrolytes to prevent dehydration
- Vegan, dairy-free, gluten-free
Ingredients / Shopping List
- Apple juice: I love the addition of apple juice in this recipe, but you can omit the juice and just use coconut water, or try another fruit juice, like grape, cranberry, or cherry juice.
- Coconut water: You can either get the coconut water without pulp or enjoy little bits of coconut in the popsicle as well. Some coconut water is better quality than others, so keep this in mind as you are choosing yours.
- Lime juice: Lemon juice can also be used instead of lime juice. Fresh juice is my favorite, but you can also use juice from concentrate.
- Strawberries:
- Mango:
- Blueberries:
- Kiwi:
Substitutions / Options / Add-In’s
- Sweetener: While I love the fact that these popsicles are naturally sweetened from fresh fruit (and a bit from the juice), you could add a bit of honey, which is also natural. Note that honey is not vegan. Other suggestions are agave or your favorite liquid sugar.
- Water: Instead of coconut water, you can use flavored water or a water enhancer.
- Creamy Consistency: Unsweetened coconut milk adds a creamy popsicle texture with a subtle sweet flavor. Mixing or blending juice, whole fruit and something creamy like yogurt also make for a consistently creamy popsicle.
Useful Tools
- Popsicle Molds: I used this set. If you don’t have a popsicle mold, you can use small paper cups with a popsicle stick. Follow the same directions below, but place the popsicle stick in the center of your popsicle, use plastic wrap or foil over the top of the cup and cut a small slit in the middle where you can insert the stick.
- Measuring tools
- Mixing bowl and spoons
SEE FULL PRINTABLE RECIPE CARD BELOW
How To Make Fruit Popsicles
Fresh and fruity, this easy recipe is a frozen summer delight that makes healthy snacking fun!
- Add the liquid ingredients to a small pitcher or glass and set aside.
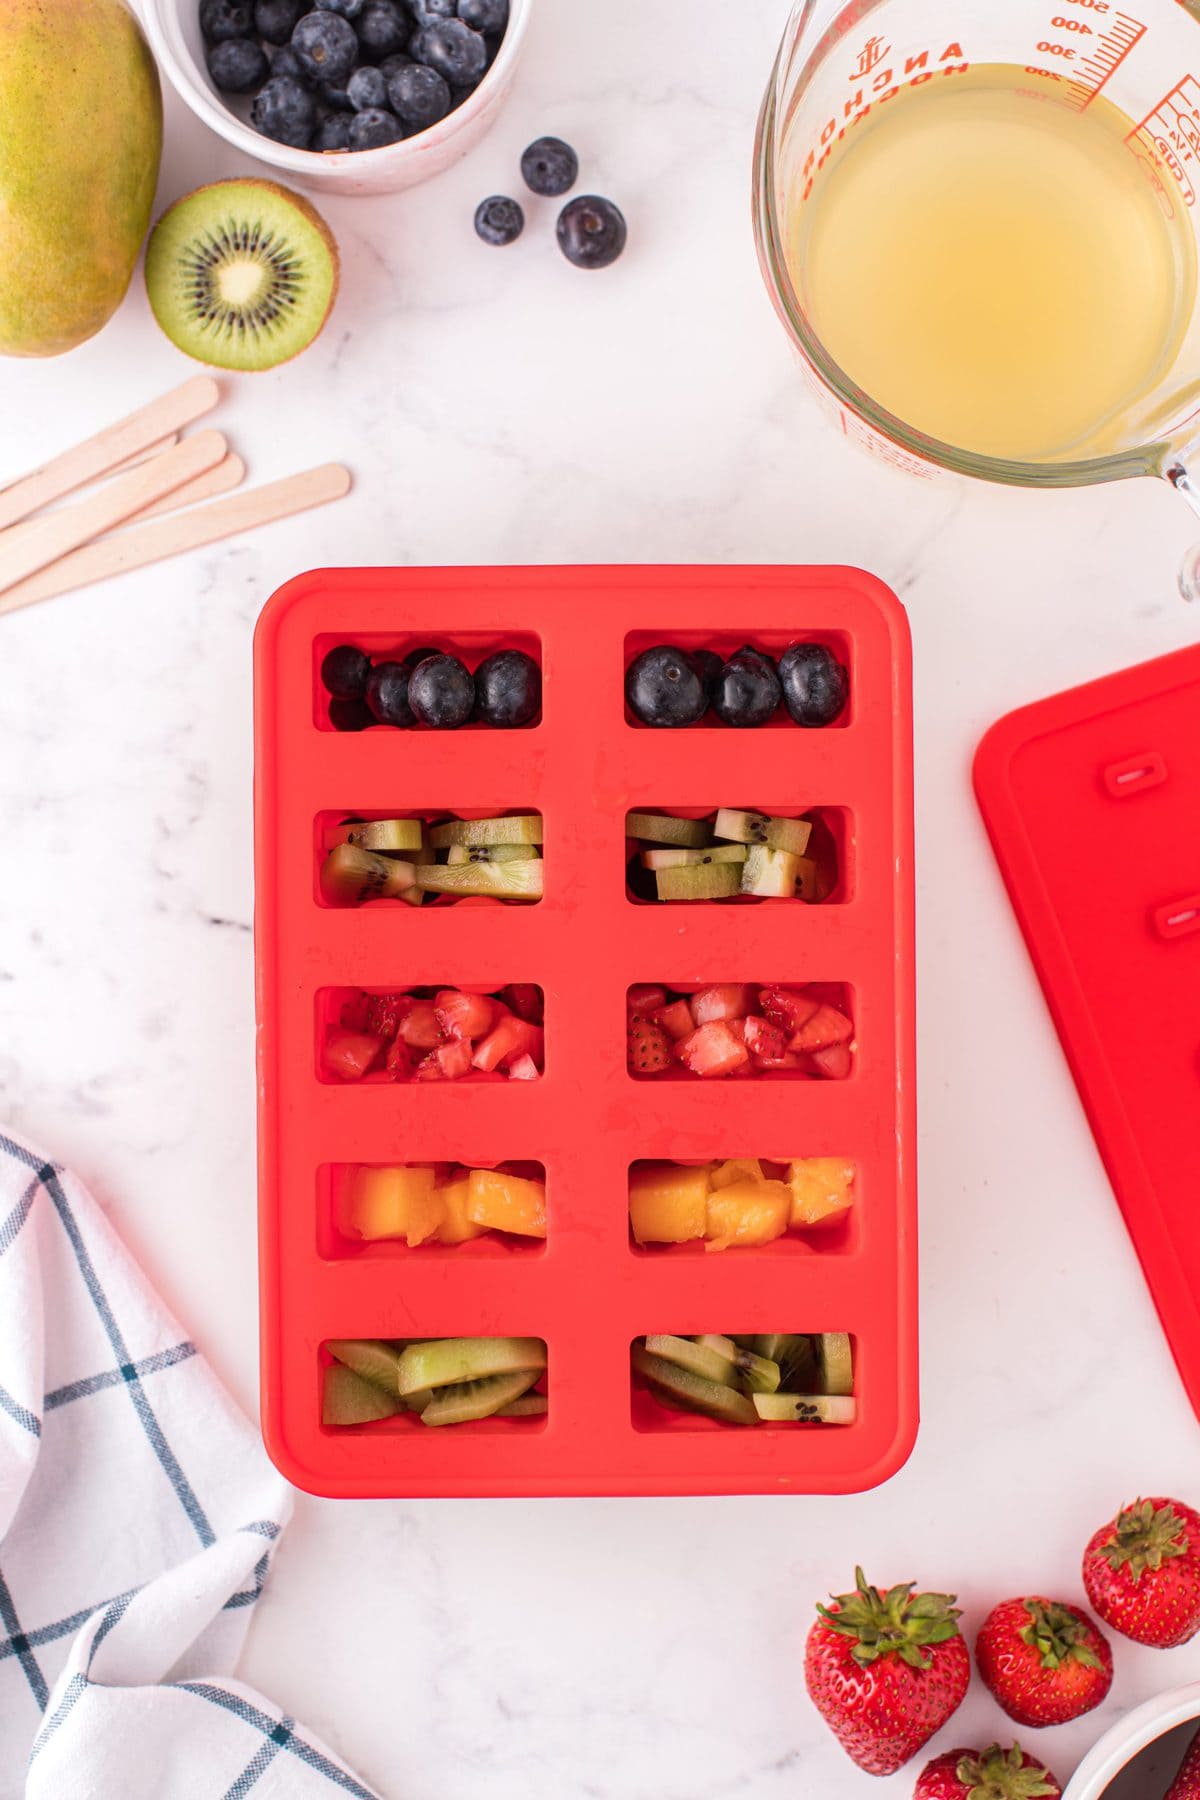
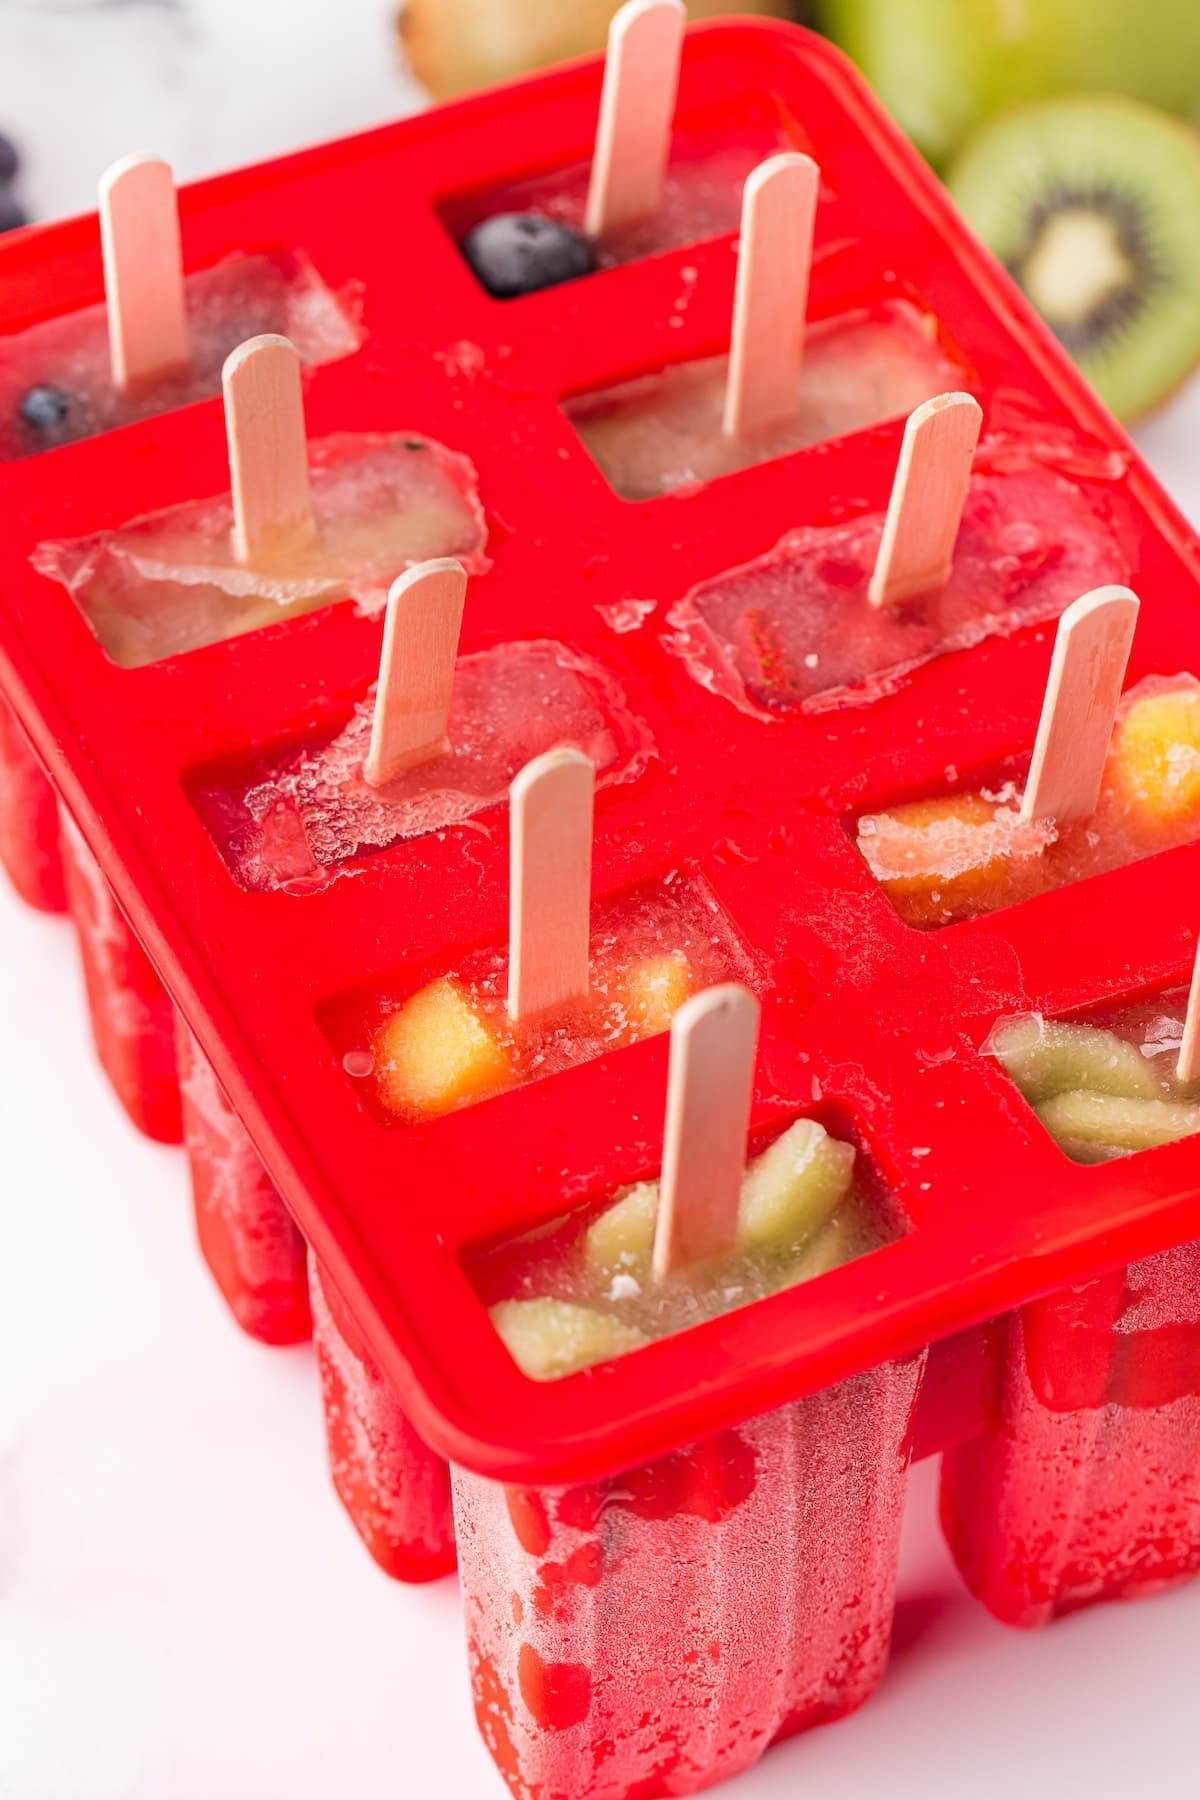
- Start with your strawberries and begin to load the popsicle molds.
Pro Tip: Press firmly into the bottom to make room for the remaining fruit.
- Add a layer of mango followed by a layer of blueberries and finally the top/last layer with kiwi.
Pro-Tip: You can vary the different combinations of fruit and layers to add variety.
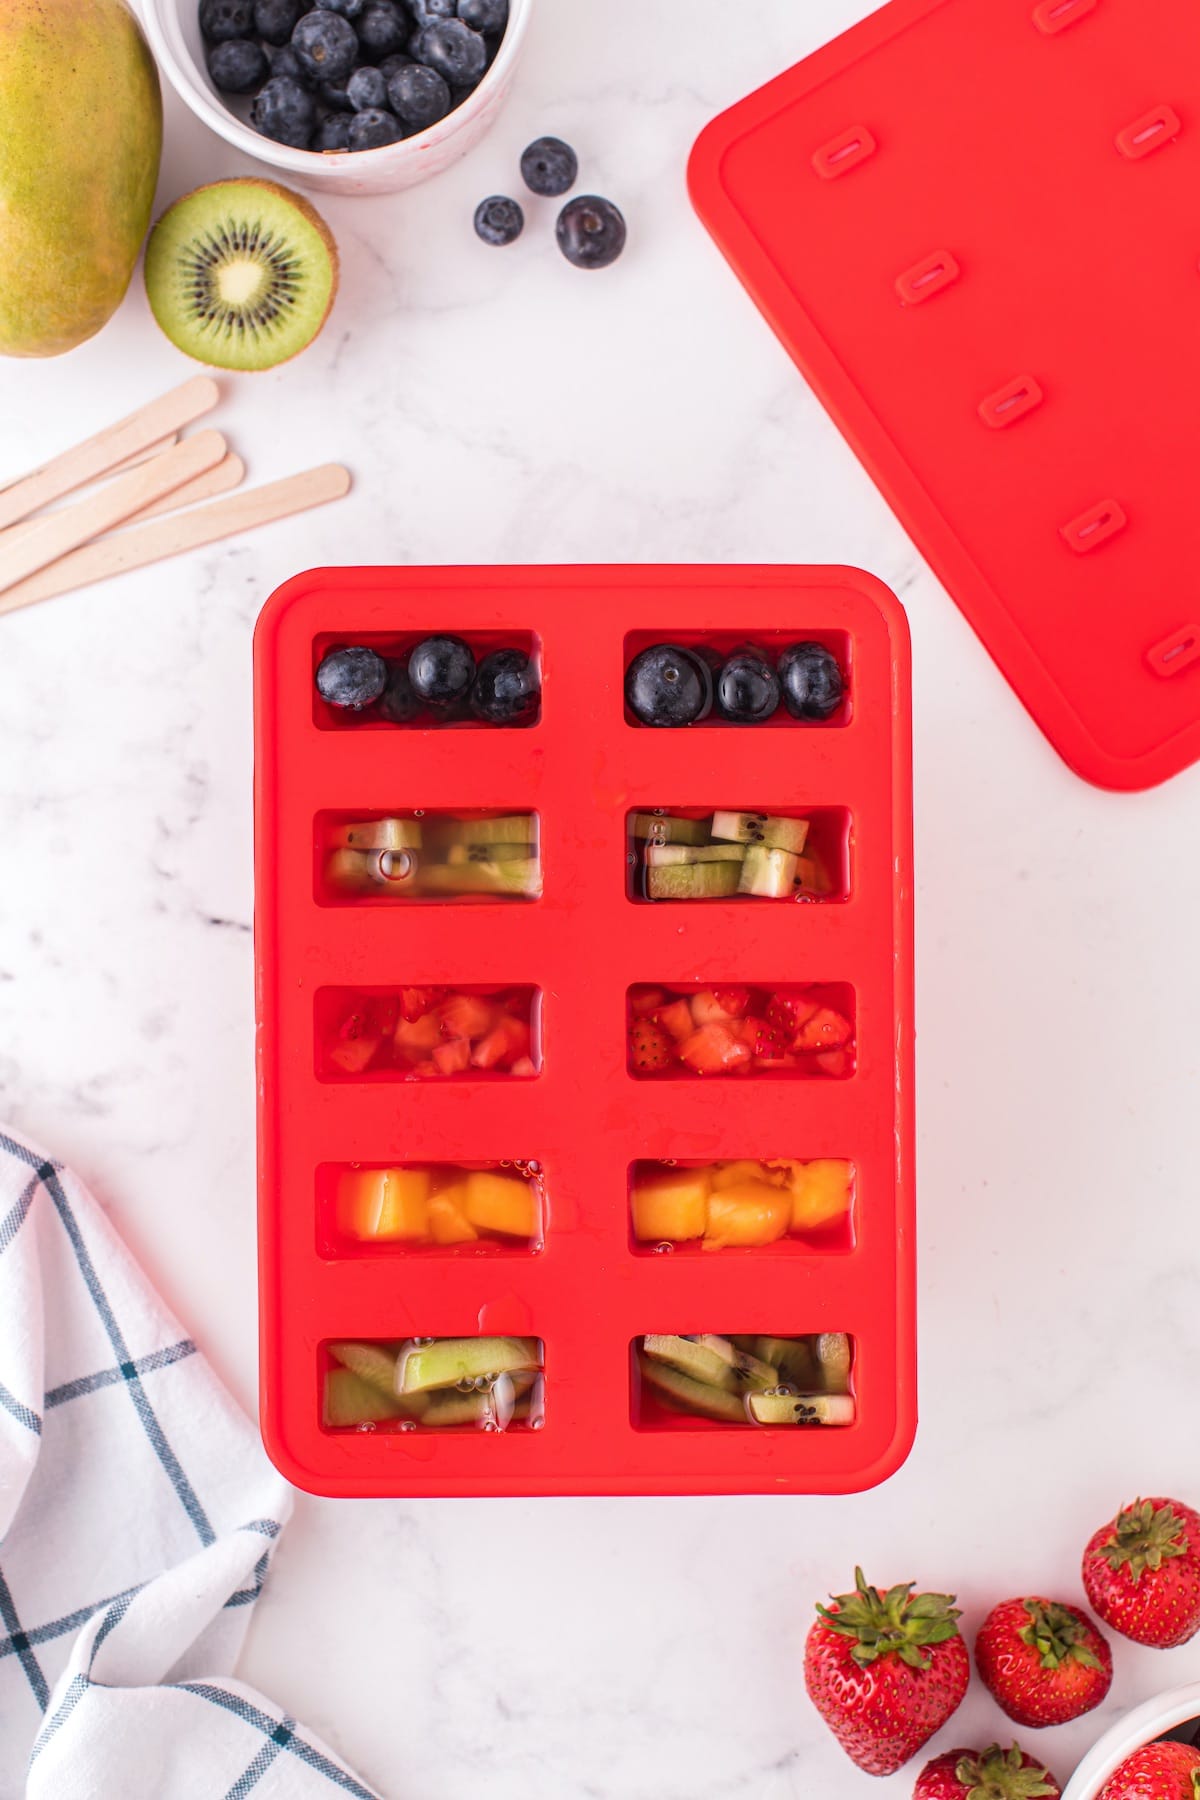
- Pour the liquid into each popsicle mold, making sure to leave a little room at the top.

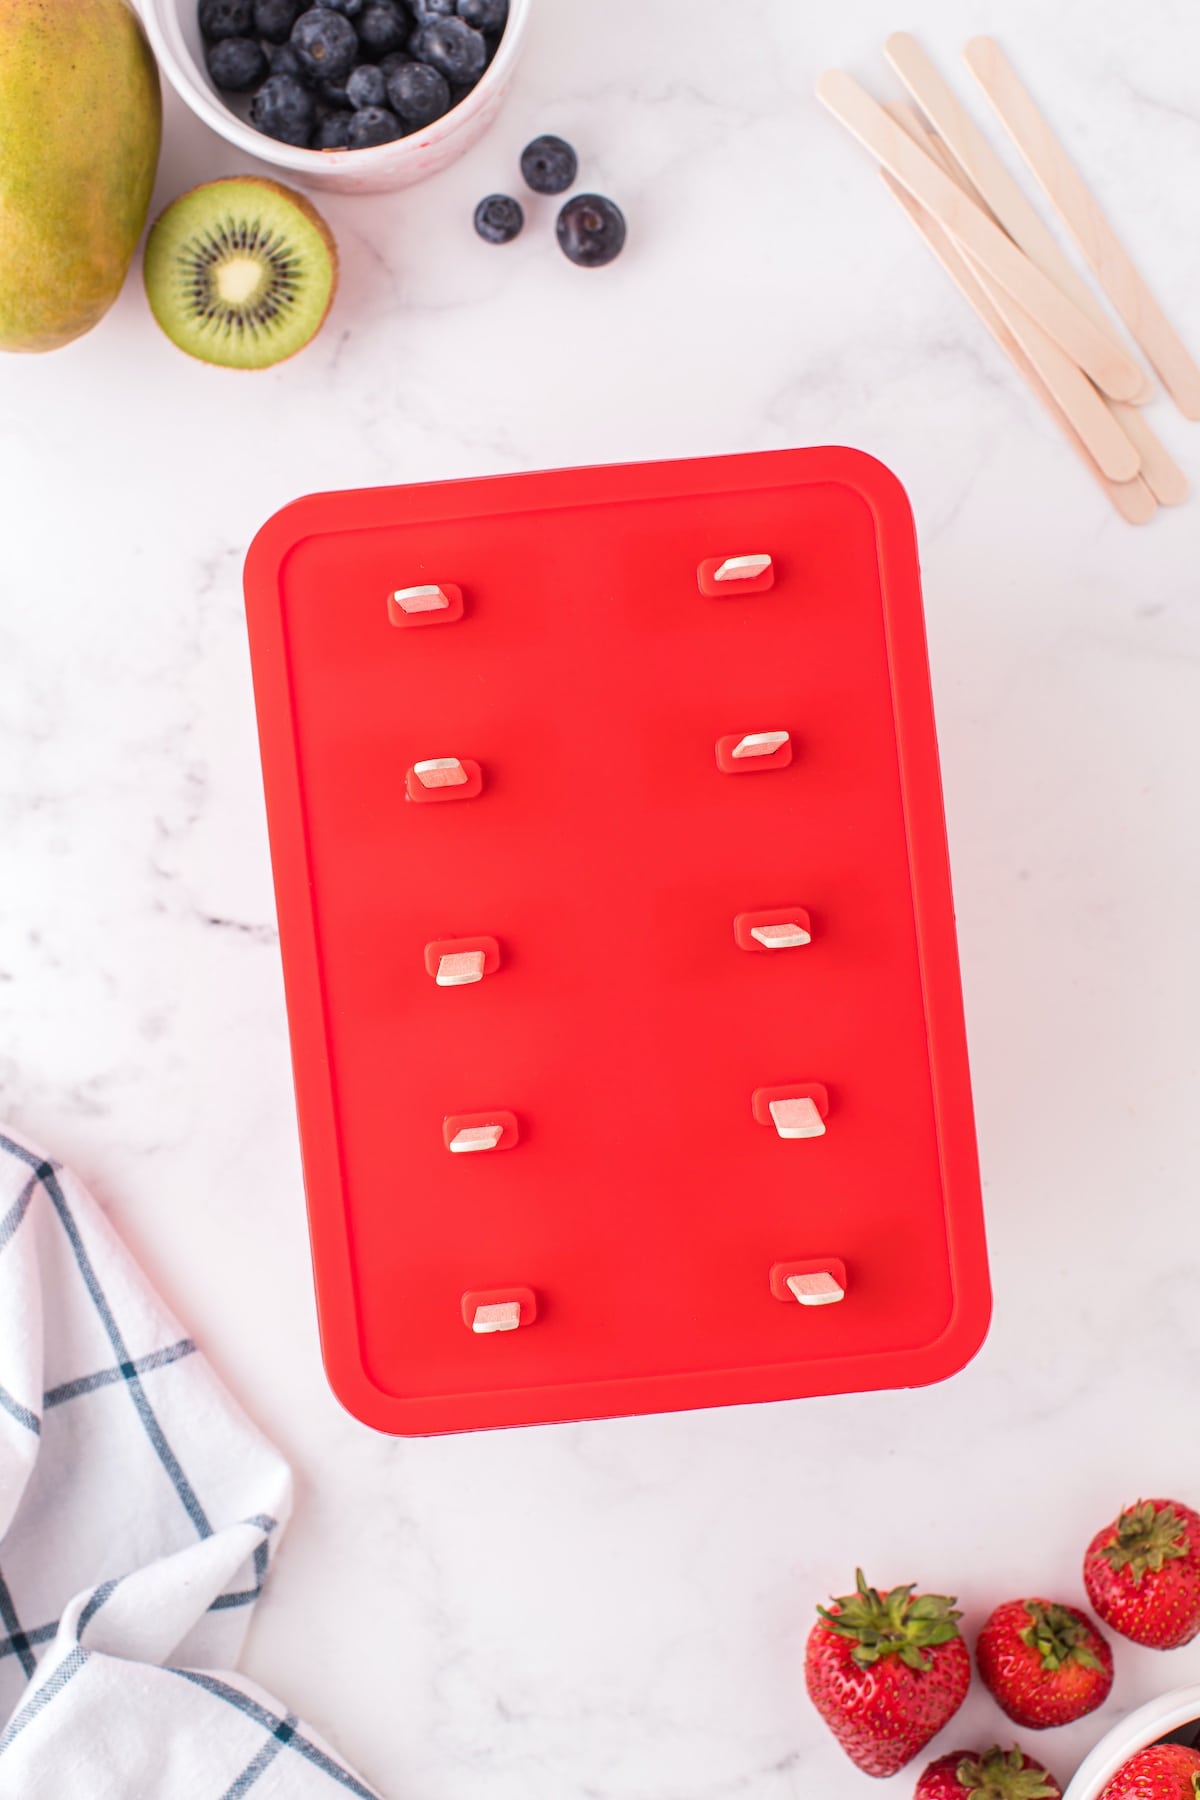
- If your mold has lids, now is the time to put them on. Place a popsicle stick into the center of each mold. Place your popsicles in the freezer for 5 hours or until completely frozen.

- Serve cold and enjoy!
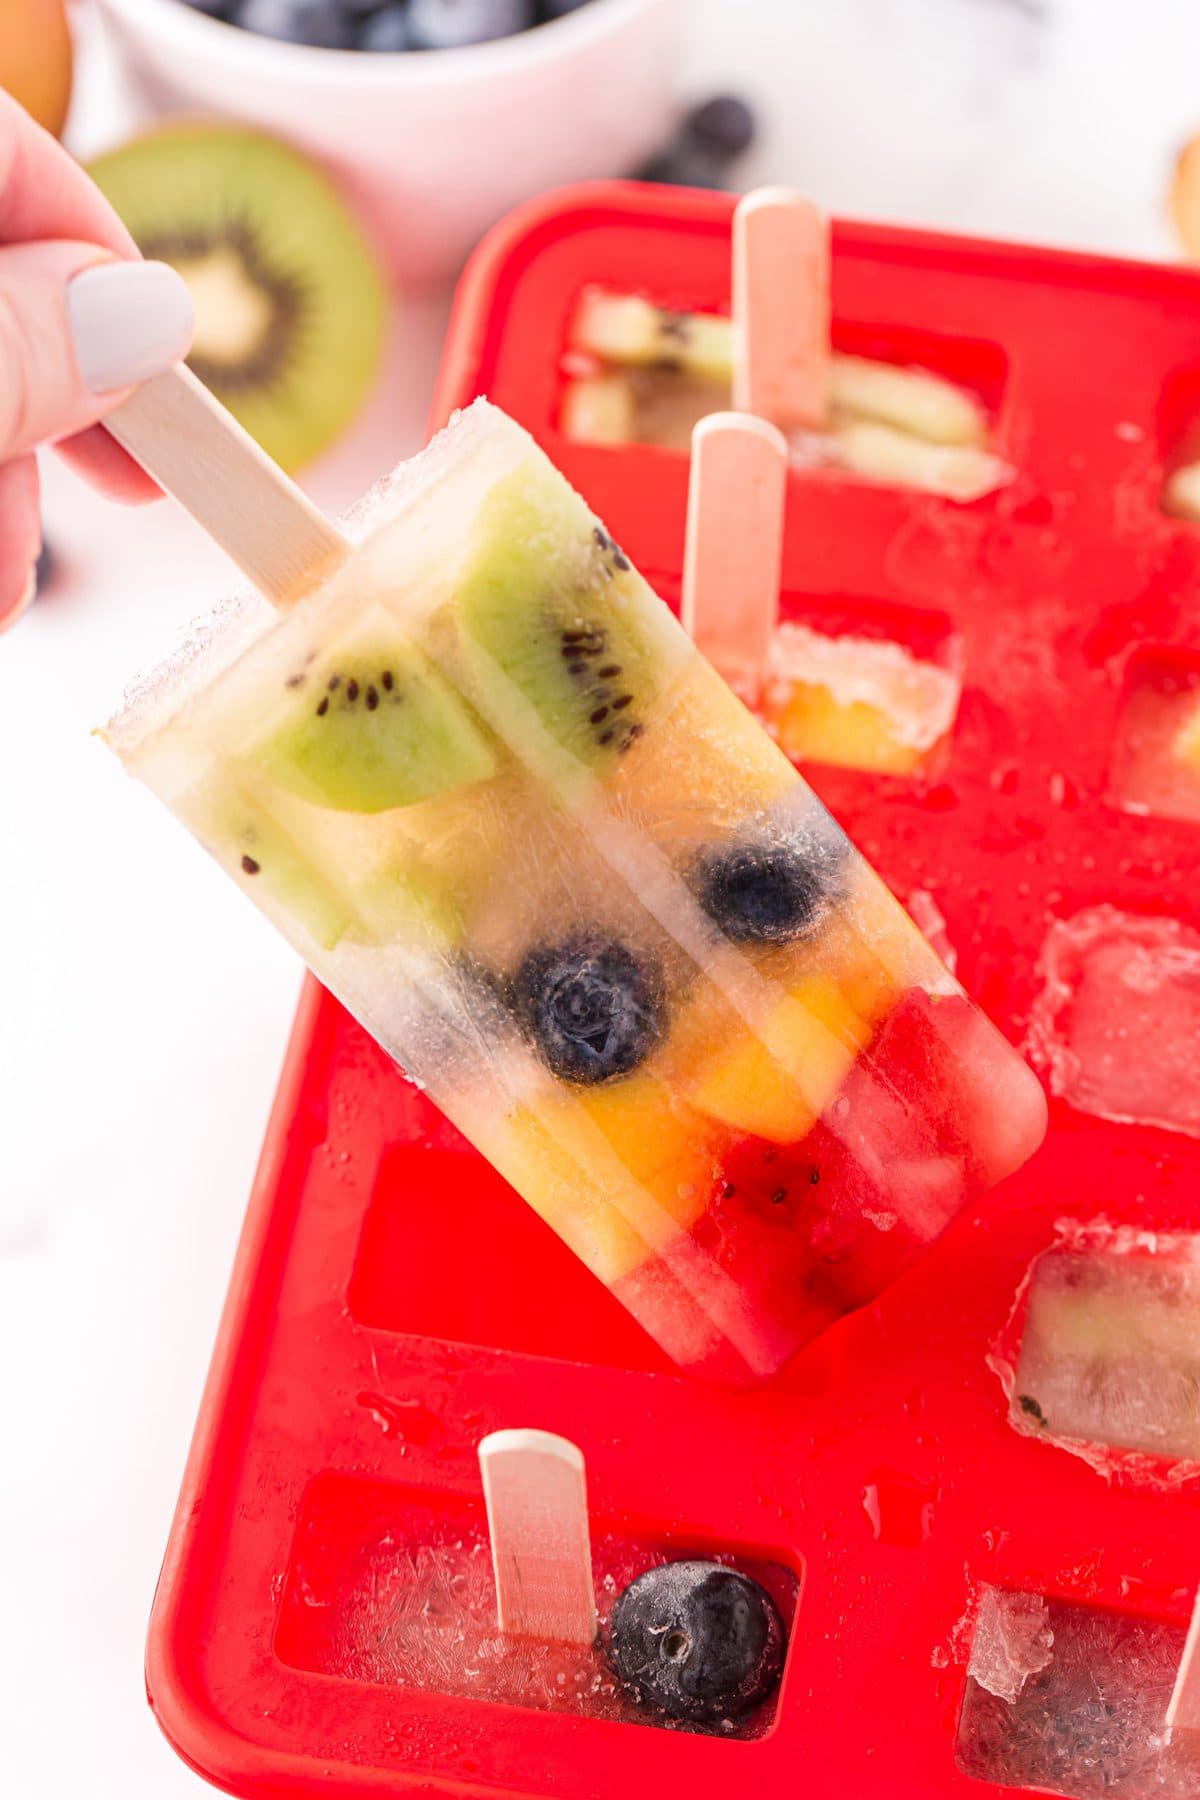
Pro Tip: To easily remove your frozen popsicles from the molds, run the molds under hot water for 10-15 seconds.
Tips
- Keep in mind the size of the molds when slicing your fruits. If you have smaller molds, you will need to slice smaller pieces of the fruits.
- If you have a handle on your popsicle sticks, make sure it gets pushed all the way down and there isn’t too much room between the liquid and the handle. Otherwise you will get gaps between the frozen product and the handle.
- Based on the size of your molds, the proportions of the fruit to juice might not be quite right for you. Adjust accordingly, by either adding more fruit or more juice.
- To prevent the inevitable drip from making a mess, cut a small slit in the bottom of a cupcake liner and insert the popsicle stick through the bottom. This will catch the juice and prevent sticky fingers!
Frequently Asked Questions
Store these popsicles in the freezer for up to 3 months. Enjoy as a frozen treat whenever you feel like it!
I used this popsicle set to make these popsicles. However, any kind of popsicle mold that’s big enough to fit chopped fruit will work to make fruit popsicles. I do recommend using a mold that has flat sides so the fruit can press right up against the sides of the mold. This way, you’ll be able to see the fruit more clearly on the side of the popsicle when it freezes and it will look so pretty!
You can easily make these homemade popsicles with small disposable cups and popsicle sticks using the same method as you would with a mold. To help your popsicle stick stand in the center of your popsicle, use plastic wrap or foil over the top of the cup and cut a small slit in the middle where you can insert the stick.
All sorts of fruit and fruit combinations work well for popsicles. Blueberries, blackberries, raspberries, watermelon, kiwi, cantaloupe, strawberries, pineapple, peaches, mango, and honeydew are some great options and will taste delicious.
I prefer using a clear juice when making fresh fruit popsicles. White cranberry, white grapefruit, white grape, lemonade, and apple juice work well, but you could also use a clear soda if you’d like. Other options are pink lemonade, cranberry juice, pineapple juice, and orange juice.
Other Easy Homemade Ice Cream Treats
Cookie Monster Ice Cream | Reese’s Peanut Butter Ice Cream | Frozen Yogurt Bark With Berries | Harry Potter Butterbeer Ice Cream | Frozen Hot Chocolate | Watermelon Popsicles | Kiwi Watermelon Popsicles | Piña Colada Popsicles
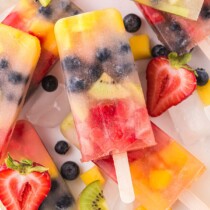
Fruit Popsicles
Ingredients
- ¾ cup apple juice
- ¾ cup coconut water
- 3 tbsp lime juice (about 1 ½ limes)
- ¾ cup diced strawberries stems removed
- ½ cup mango cubed
- ½ cup blueberries
- 2 kiwi skinned and sliced
Instructions
- Stir the apple juice, coconut water, and lime juice in a small pitcher or glass. Set aside.
- Load the popsicle molds with the diced strawberries first. Be sure to press into the bottom.
- Follow up with a layer of sliced mango and a layer of blueberries. Load the top/last layer with kiwi slices.You can vary the different combinations of fruit and layers to add variety.
- Pour the juice mixture into each popsicle mold. Do not fill to the top. The juice will expand when frozen so leave a little room at the top.
- Put on lid of popsicle mold (if your mold has one). Take the popsicle sticks and stick them into the center of the molds.
- Freeze for 5 hours or until completely frozen. To remove them from the molds, run the molds under hot water for 10-15 seconds and then gently pull until the popsicle comes out.
- Serve and enjoy. Best when served cold.
Jenn’s Notes
- Keep in mind the size of the molds when slicing your fruits. If you have smaller molds, you will need to slice smaller pieces of the fruits.
- If you have a handle on your popsicle sticks, make sure it gets pushed all the way down and there isn’t too much room between the liquid and the handle.
- Otherwise you will get gaps between the frozen product and the handle.
Based on the size of your molds, the proportions of the fruit to juice might not be quite right for you. Adjust accordingly, by either adding more fruit or more juice. - To prevent the inevitable drip from making a mess, cut a small slit in the bottom of a cupcake liner and insert the popsicle stick through the bottom. This will catch the juice and prevent sticky fingers!

