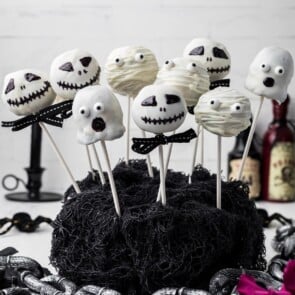
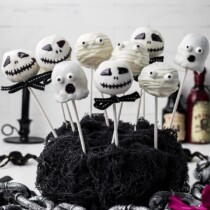
This Monster Halloween Donut Hole Cake Pops recipe is a simple shortcut dessert that skips the steps for baking a cake and substitutes store-bought donuts instead.
It is so easy to create the cutest little critters using donut holes, mini donuts, colored melting wafers, and your desired decorations, then serve them on a hand-held stick in half the time as its classic cake pop counterpart.
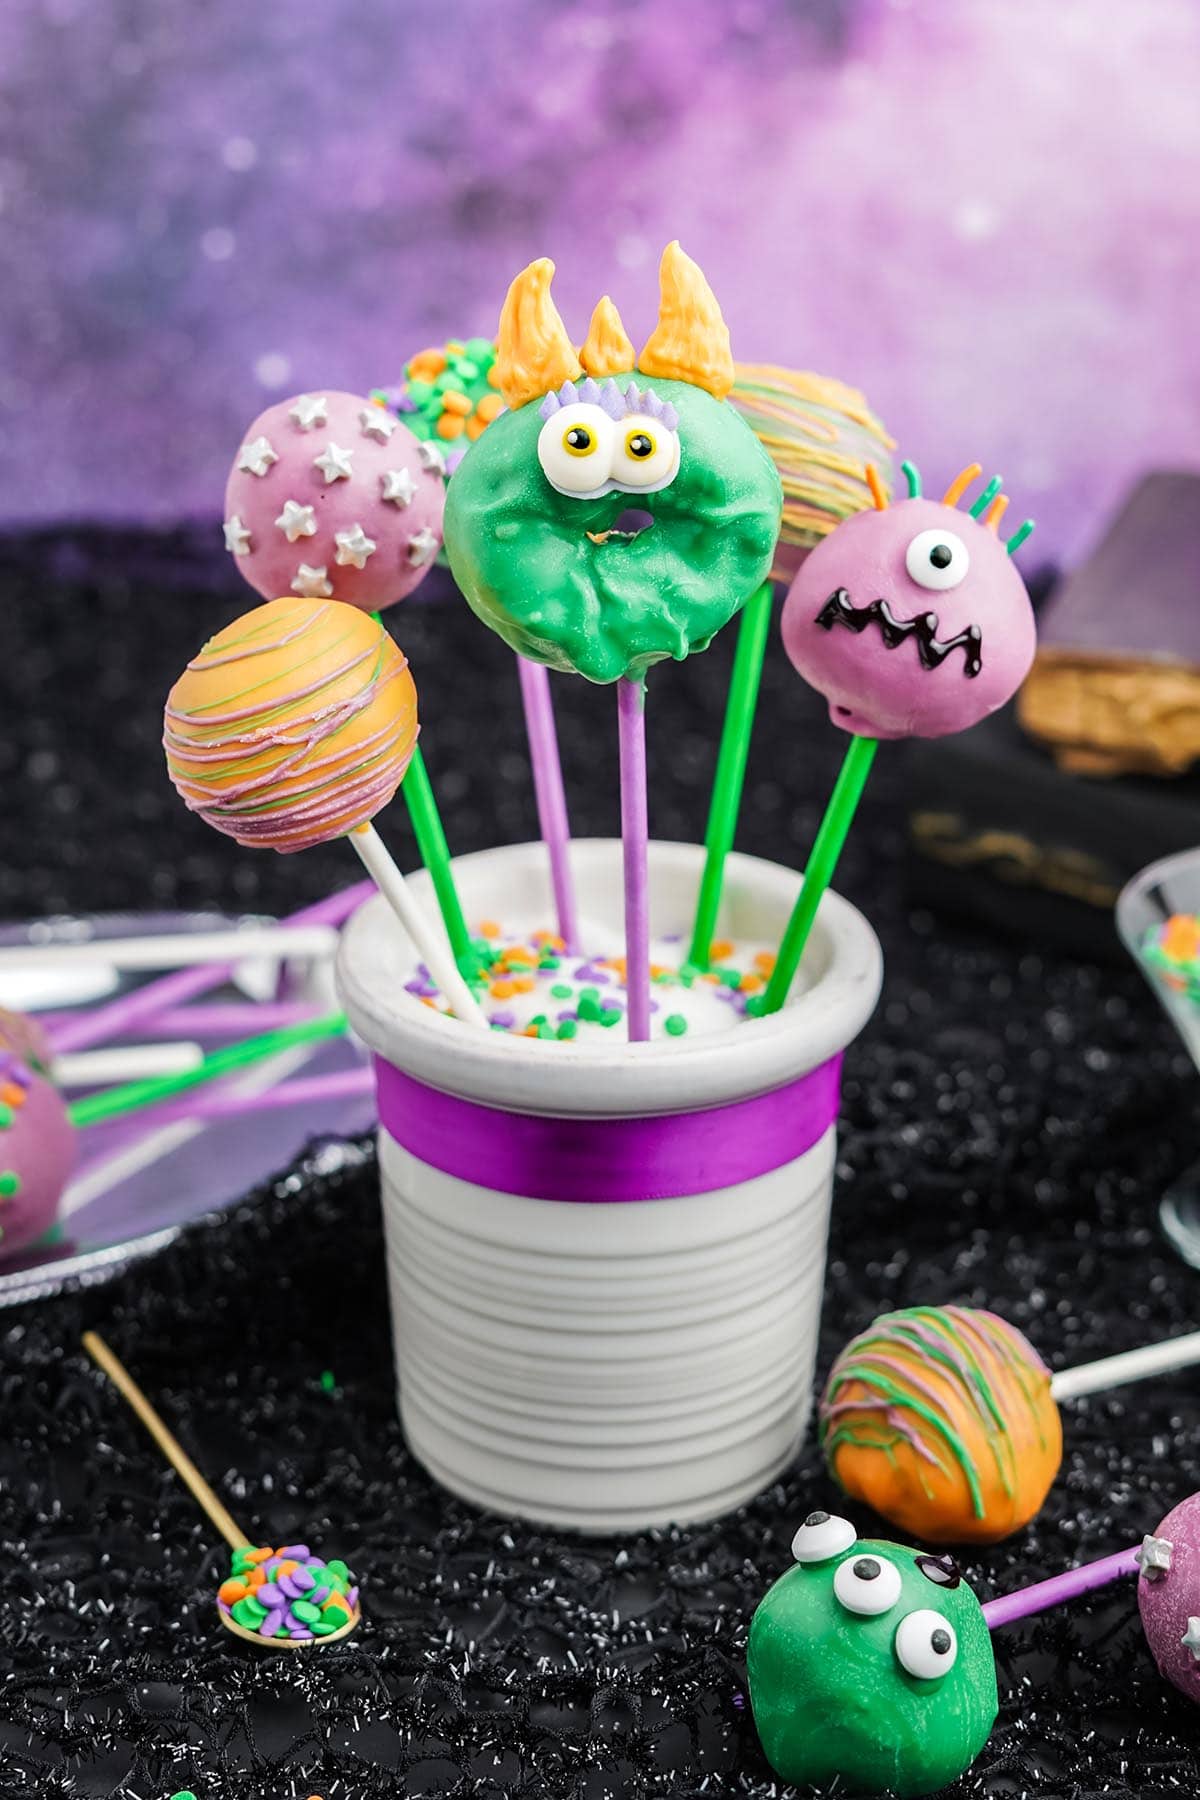
Easy Donut Hole Cake Pops for Halloween
Making Monster Donut Hole Cake Pops is even easier than my other Halloween Cake Pops recipe because all that’s required is shaping the donuts with your hands, inserting a stick, dipping them in melted chocolate, and decorating them to match a party theme, holiday, or season.
Whether you need a last-minute treat or you’re simply feeling lazy, these donut pops are the smartest “secret” hostess hack to a homemade look in half the time.
While I love my other recipes for cake pops, cake balls, and cake bites, this cake pop donut hole recipe has a simple shortcut so you don’t have to cook a cake or crumble any crumbs.
Kids will have fun decorating and customizing their cake pops using donut holes dipped in chocolate – they’re the perfect sweet treat for a Halloween party or an easy craft for the classroom.
Why We Love This Halloween Donut Cake Pop Recipe
- Quick and easy to make cake pops with donut holes.
- Only uses donuts, colored chocolate, and decorations.
- Kids will have fun taking a classic cake pop and giving it a Halloween twist.
- Most adorable dessert you’ll ever hold.
- Donut hole pops take less time than cooking a cake and taste just as delicious as if prepared from scratch.
- Perfect handheld, bite-sized party treat, edible gift, or party favor.
More Easy Halloween Recipes
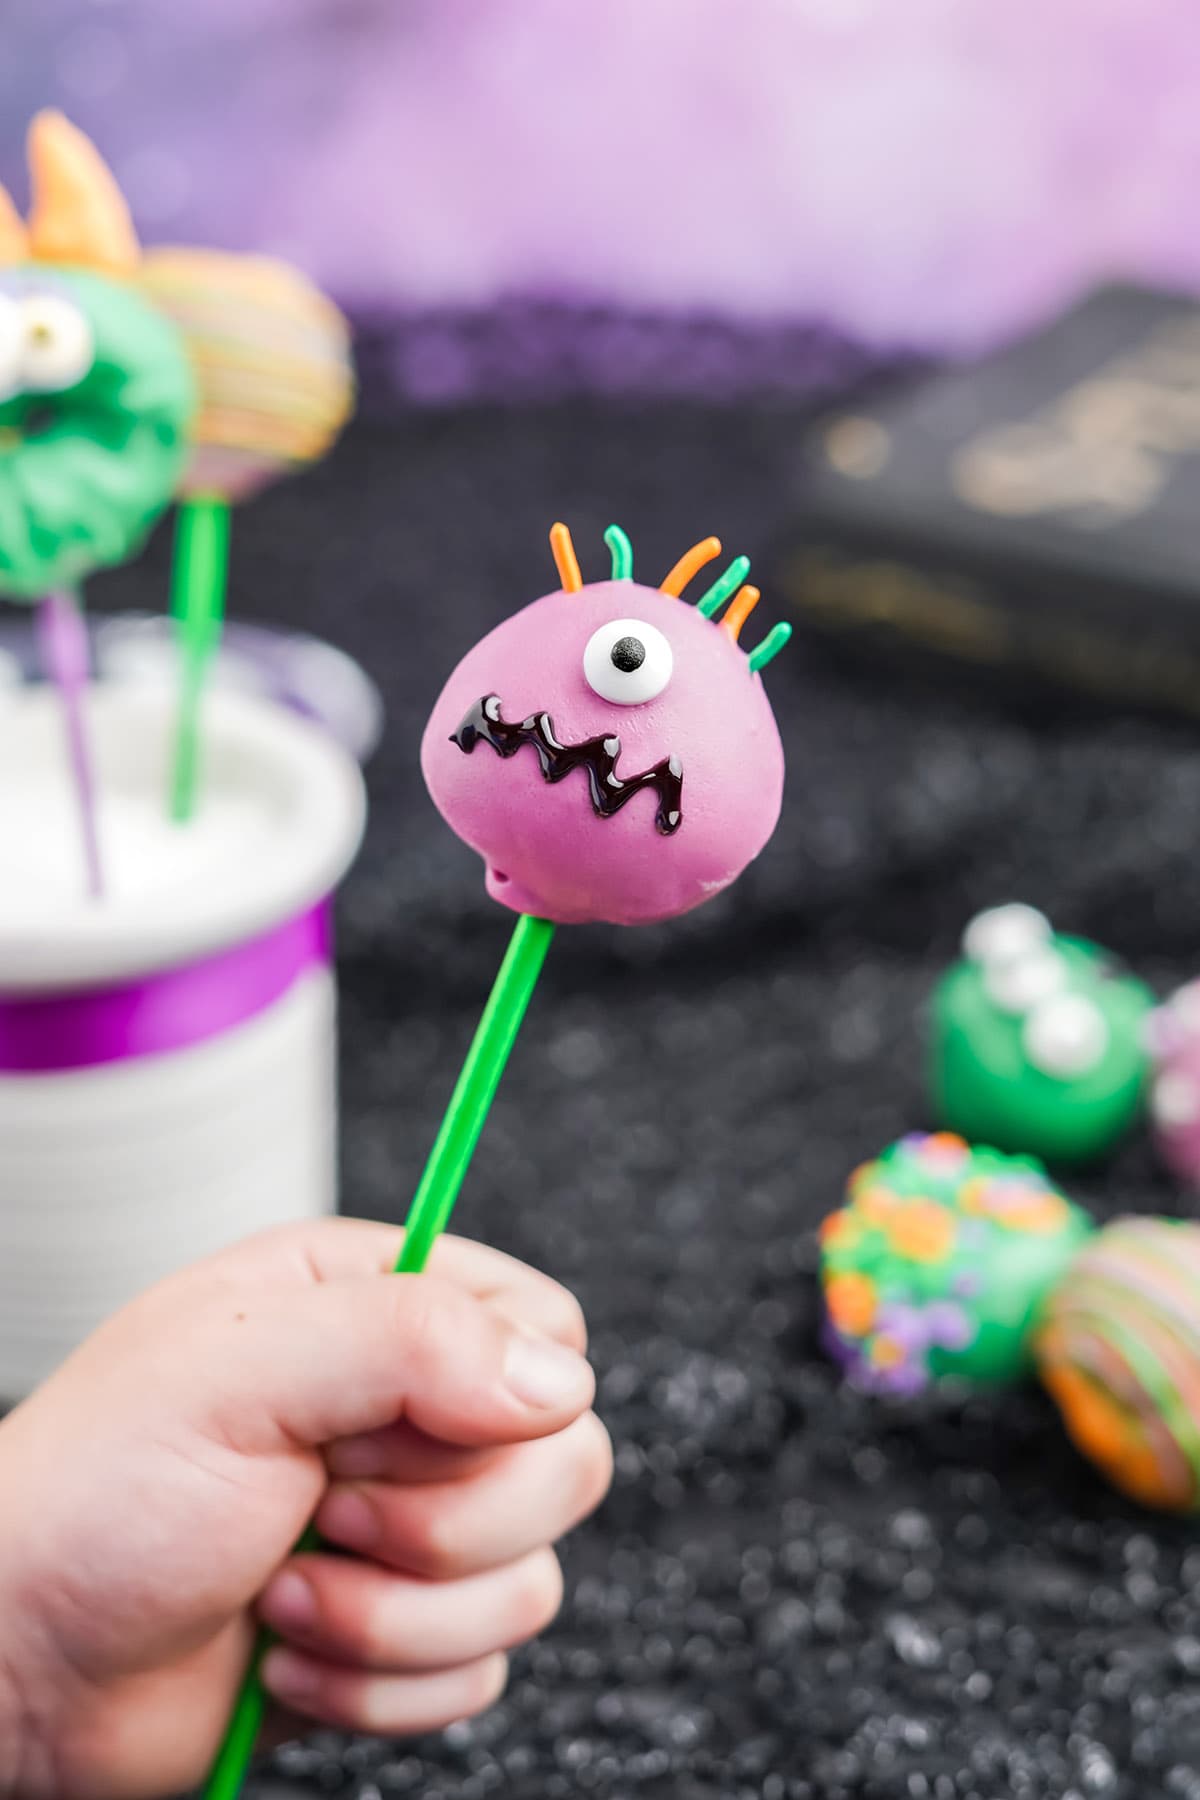
Ingredients
- Plain donut holes
- Plain mini donuts
- Candy melts
- Candy eyes
- Assorted Sprinkles
- Black writing gel
Substitutions and Additions
- Use A Different Donut: For a more decadent donut, make your pops with glazed donuts, or chocolate donuts.
- Choose A Chocolate: White chocolate, milk chocolate, or dark chocolate can be used to coat your donut hole cake pops instead of candy melts.
- Customize Your Cake Pops: This recipe can be a blank canvas for you to create your own custom themed-cake pops. Use your decorating skills with crushed cookie crumbs, sprinkles, nuts, candy, multi-colored chocolate melts, or colorful icing. Get creative and have fun!
- Skip the Stick: Serve these treats as cake balls, bites, or truffles.
- Create Holiday Happiness: You can use a variety of colored sprinkles to make festive cake pops for any holiday. Add rainbow confetti sprinkles for a birthday-themed party; red and green sprinkles for Christmas; pink and red sprinkles for Valentine’s Day; pretty pale colors for Easter or a baby shower.
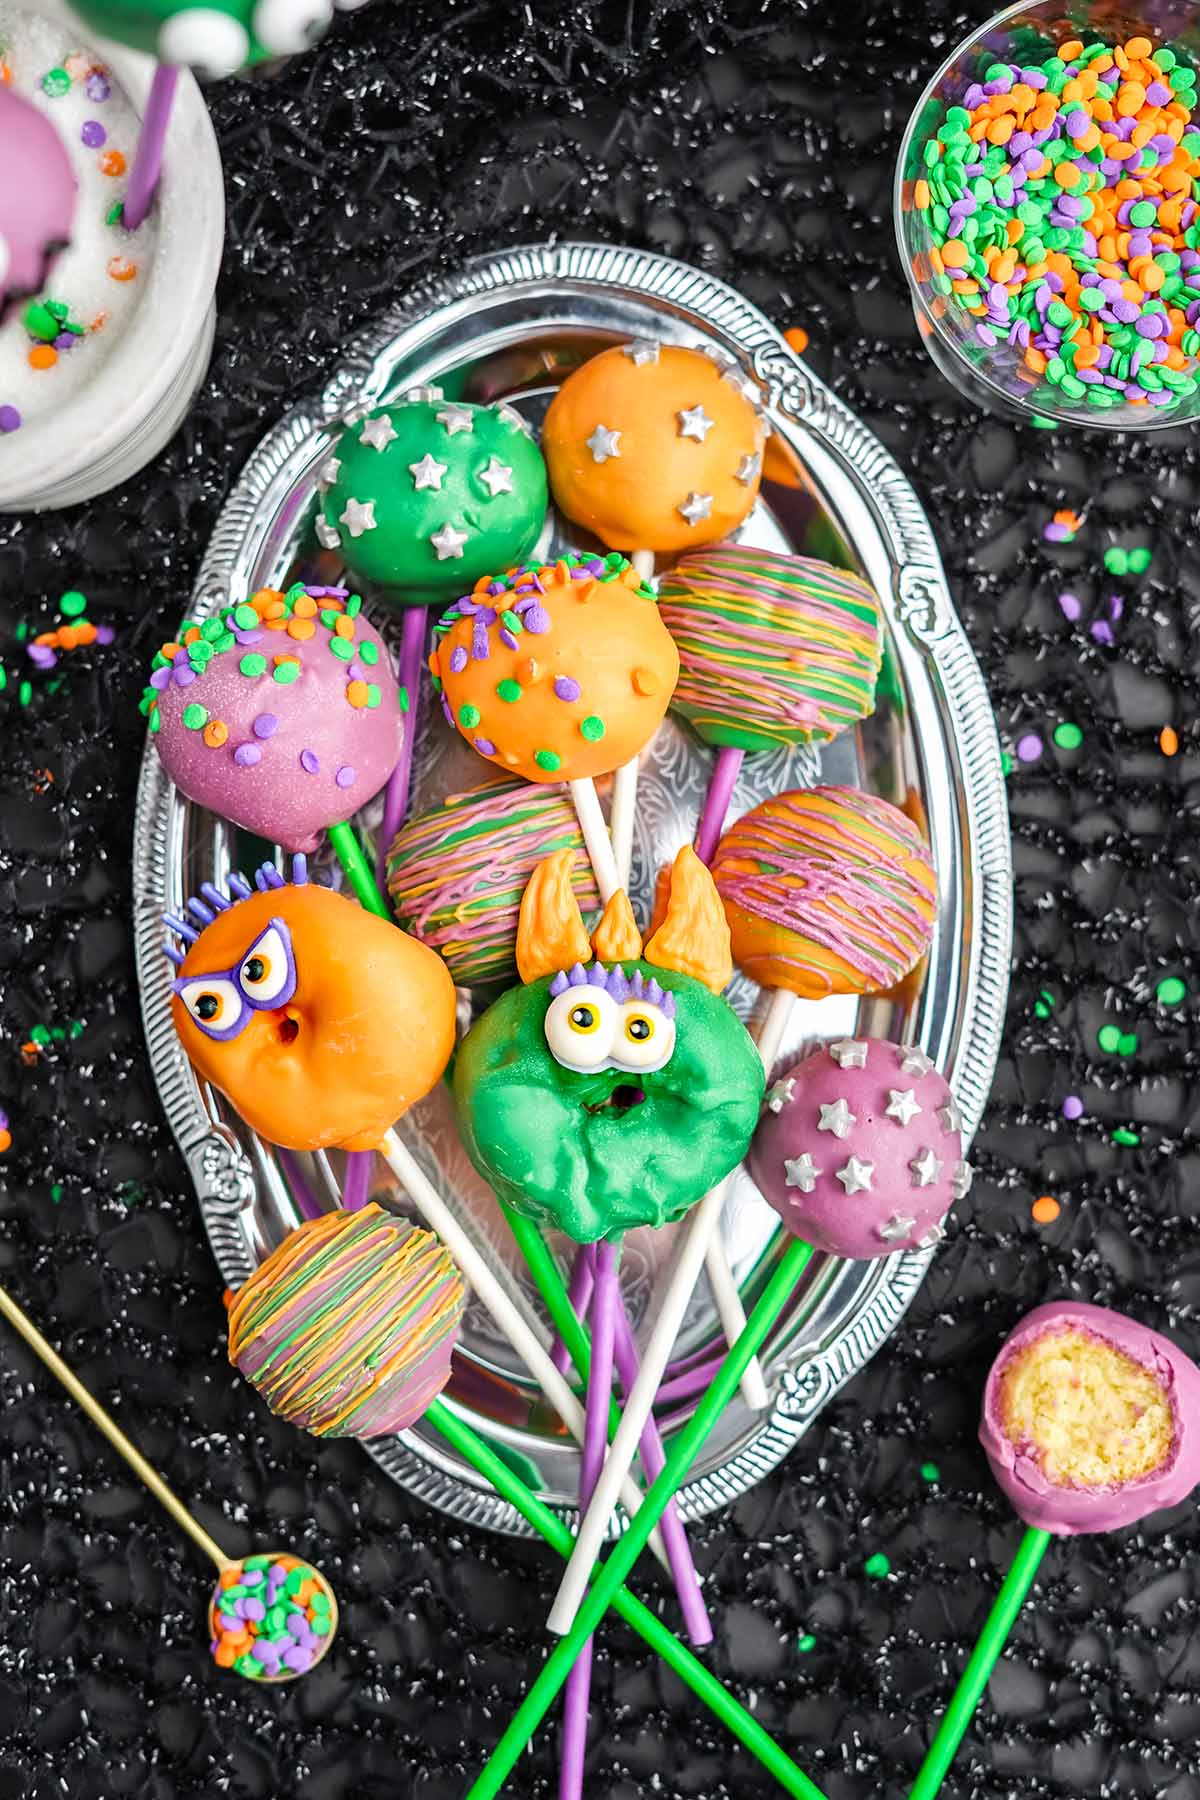
Recommended Tools
- White Treat Sticks (Amazon)
- Colored Treat Sticks (Amazon)
- Microwave safe bowl
- Wax paper
How to Make Halloween Donut Hole Cake Pops
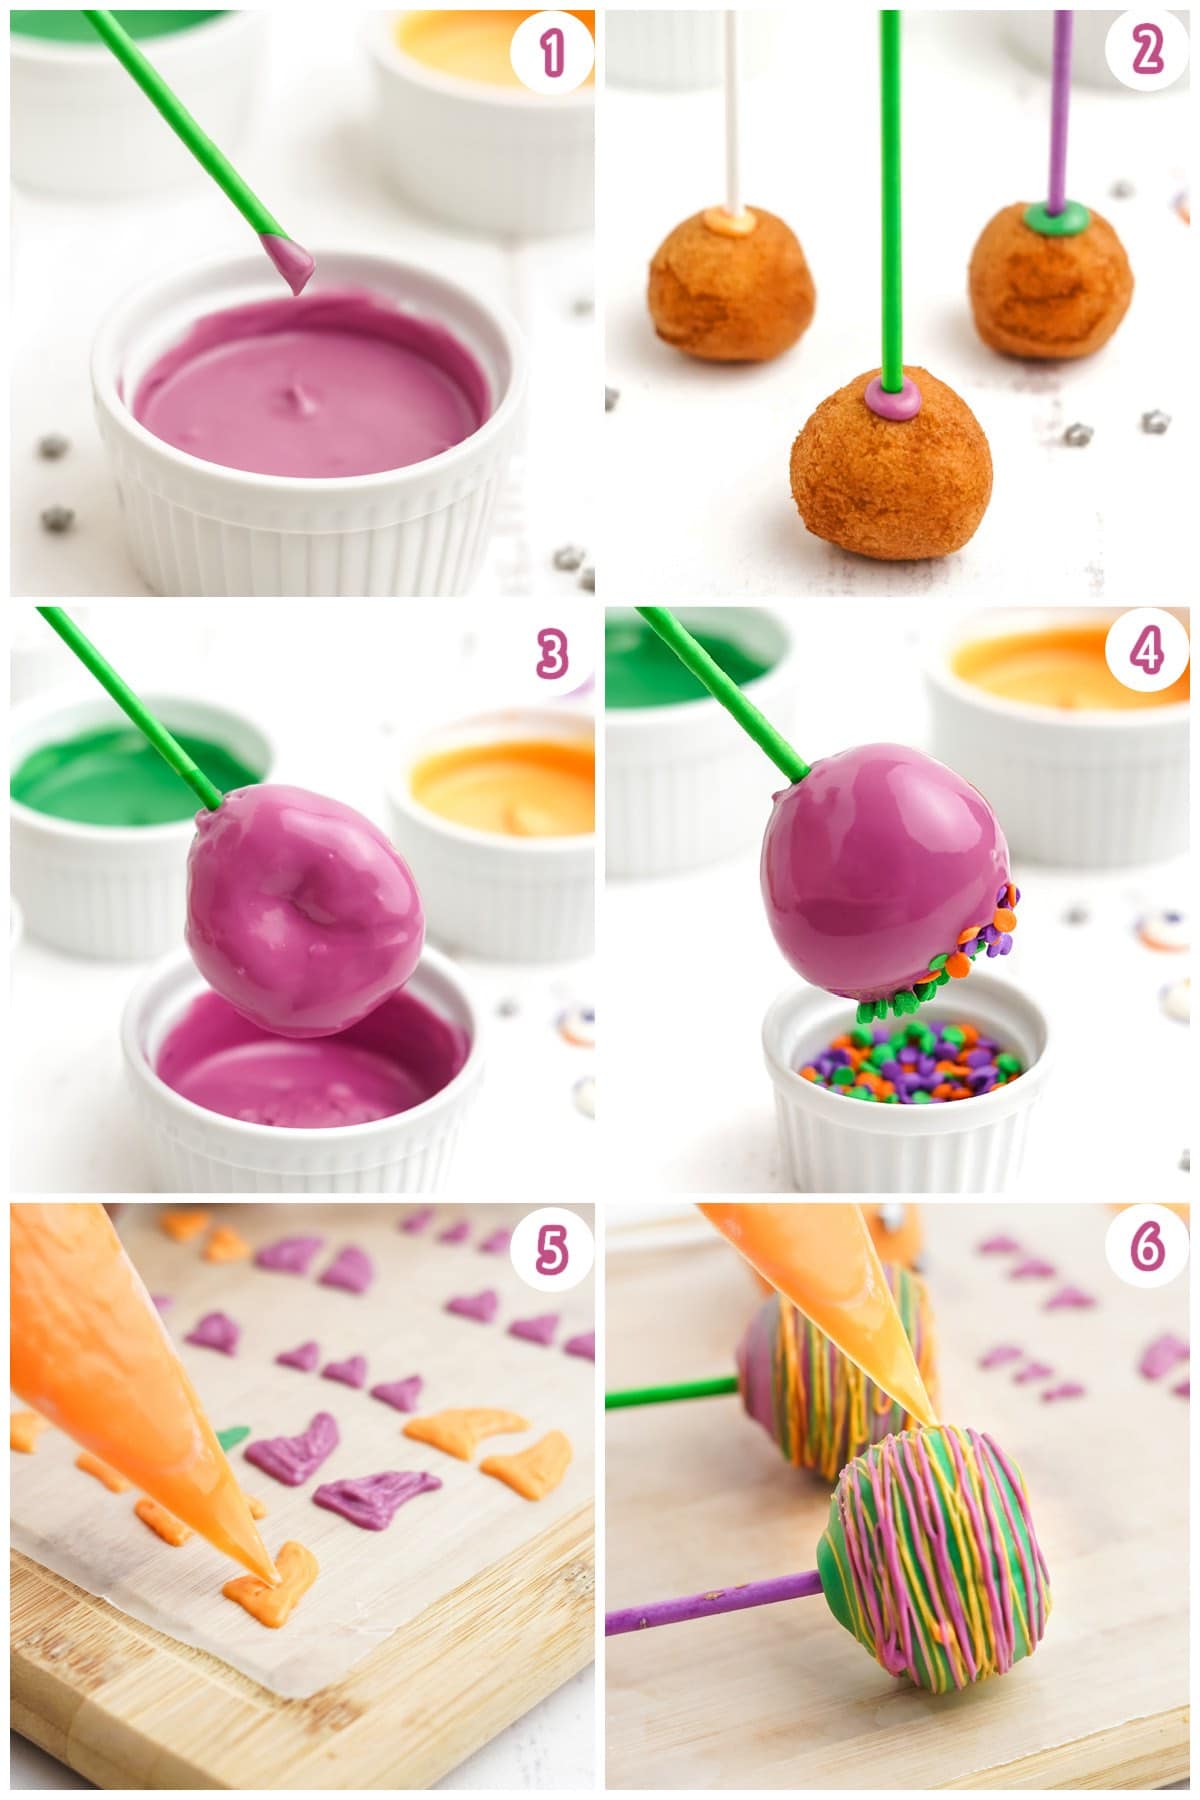
- Prepare Your Pops: Roll each donut hole between your palms and hold it so that smoothest rounded side is at the top of the cake pop. Melt the candy melts, dip one end of the cake pop stick into the melted candy melts, and then stick it into the cake pop. Cool upside down.
- Dip: Dip each cake pop in melted candy melts, rotating until fully coated.
- Decorate: Use the candy eyes, sprinkles, and black writing gel to decorate your cake pops.
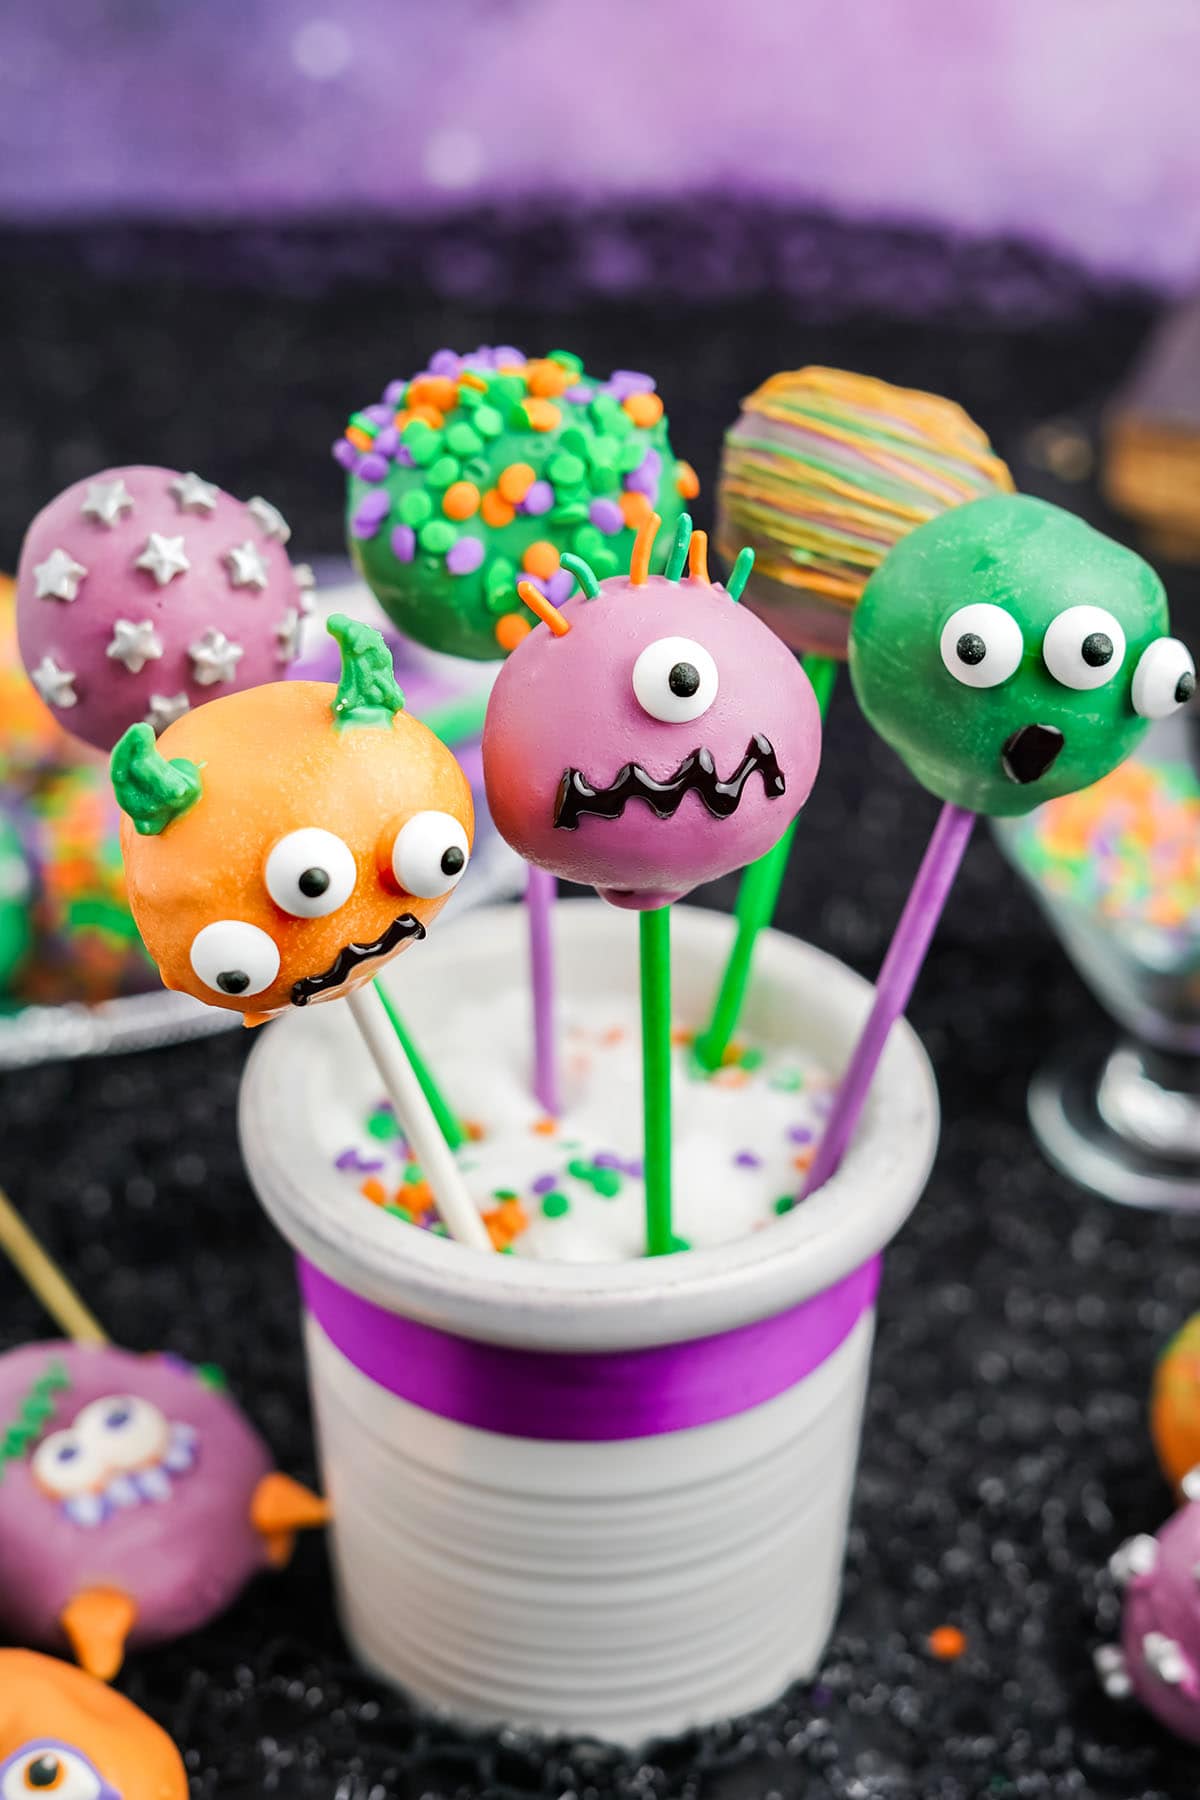
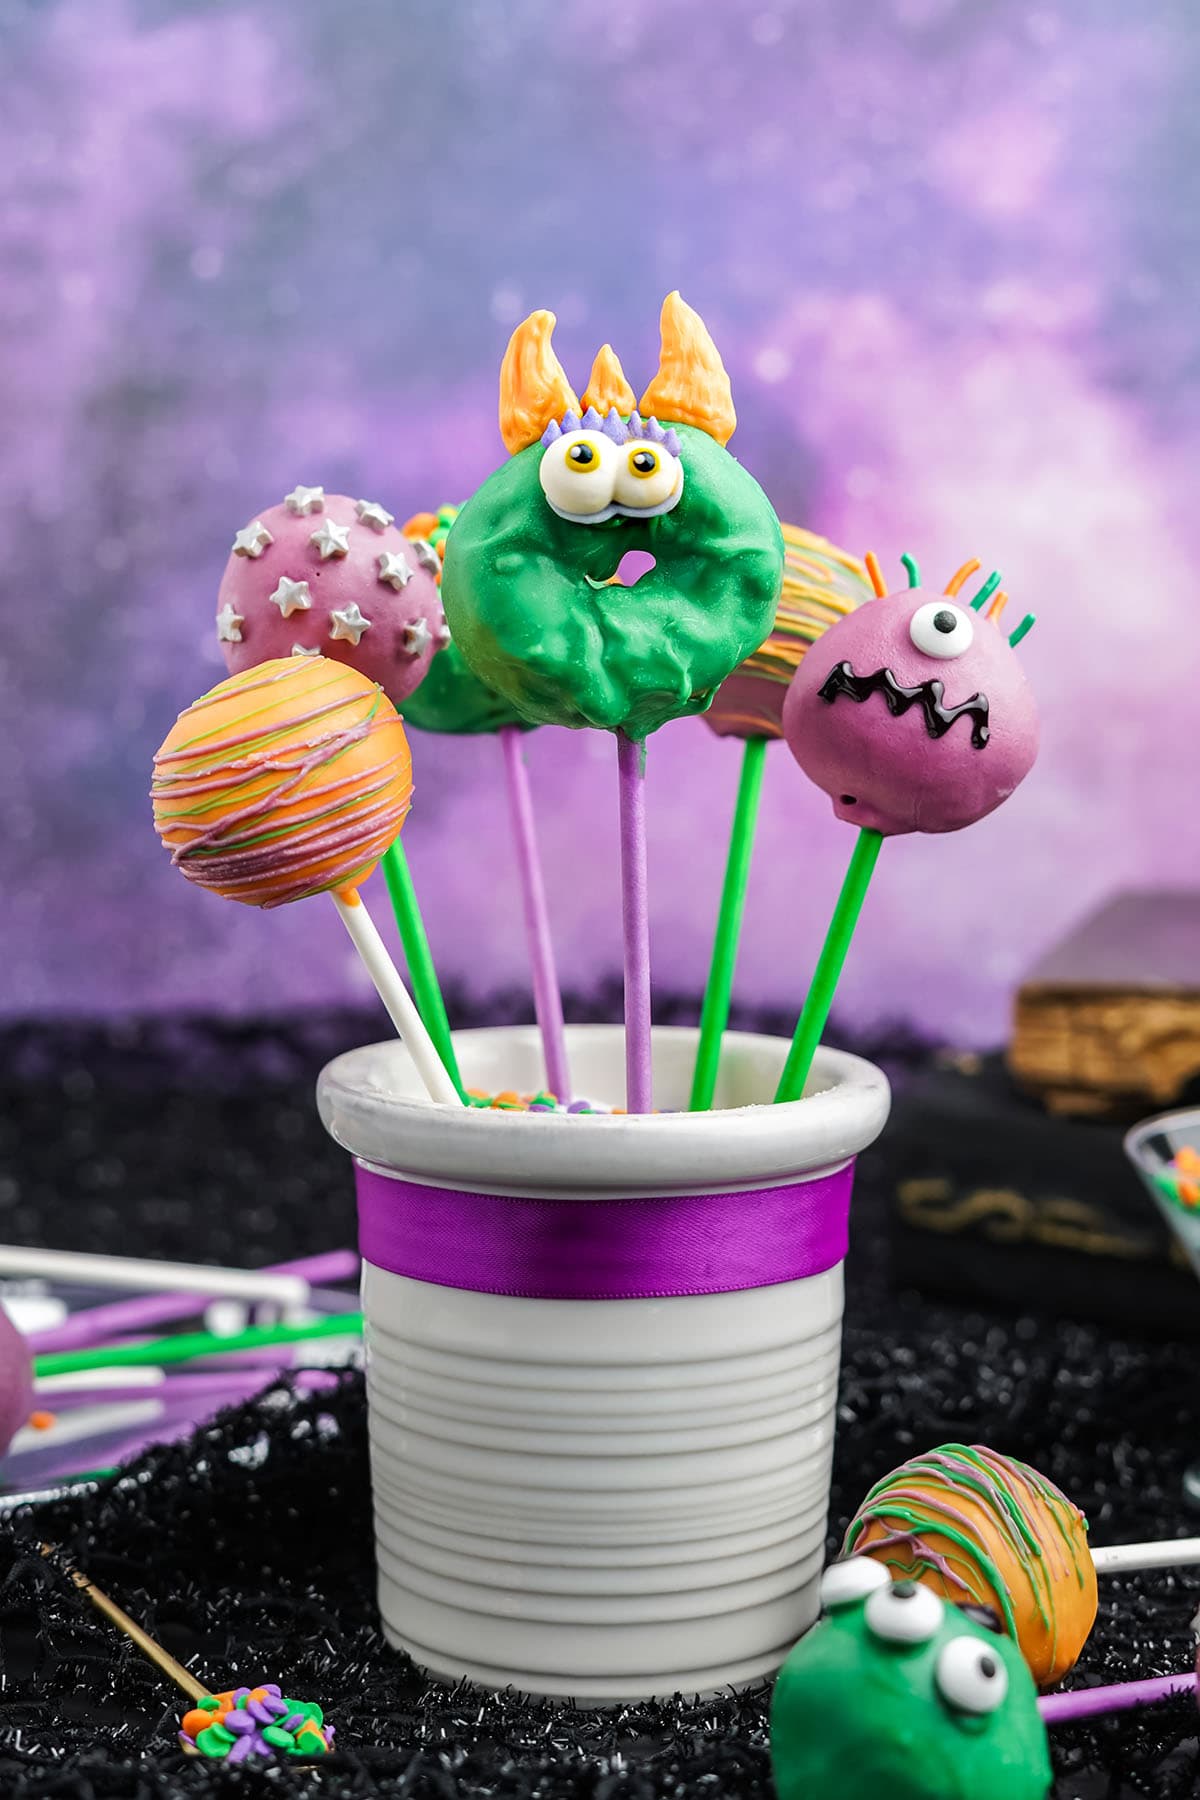
Make Monster Pops: Allow the base layer to dry and adhere eyes to the monster face with candy melts. Decorate with sprinkles and black writing gel. Pipe horn shapes on wax paper and attach them with melted candy melt.
Pro Tip: For large horns, I like to stick a sprinkle in the head for support/backing.
Make Star Pops: Allow the base candy coating to set before pressing the stars into the cake pops.
Make Sprinkle Topped Pops: Allow the candy coating to set for 3 minutes before dipping the tops in sprinkles.
Make Drizzled Pops: Allow the base layer of candy melts to almost set completely before drizzling on the second layer. - Serve: Dry the decorated cake pops in a stand, cardboard box, or styrofoam and serve once the candy has set. Enjoy!
Tip From Our Recipe Developer
- When melting the candy melts, make sure to stir for a full minute in between intervals. I often find the final few lumps melt away if you give it a bit of time.
- If your candy melt mixture is too thick and is pulling the donut holes off the stick, add either coconut oil or vegetable oil (1/2 teaspoon at a time) to thin it out.
- If you decide to add a second layer of chocolate, make sure the candy melt temperature is close to room temperature to ensure the layers don’t crack or separate.
- Roll the donut holes between the palms of your hands to shape them before placing on the stick.
- If you have lumpy donut holes, you can coat them fully in sprinkles to hide the flaws!
- Choose a bag of candy melts that do not have a white film. Most brands have a clear window for you to see inside the package. If your candy melts have a white film, your final result will also likely have a white film.
Storage
- To Store: These cake pops are best served the day they are made, but you can make them a day in advance and store them at room temperature in either an airtight container or cover with plastic wrap.
More Fun Halloween Treats
- Halloween Spider Cookies Recipe
- Graveyard Chocolate Cheesecake Dip
- Halloween Candy Bark
- Strawberry Ghosts
- Halloween Witch Apples
- Witch Finger Cookies
Monster Donut Hole Cake Pops
Ingredients
- 12 plain donut holes
- 12 plain mini donuts
- 1 cup candy melts of each desired color
- candy eyes
- assorted sprinkles
- Black writing gel
Instructions
- Prepare donut holes for dipping by giving a quick roll between your palms and determining where you will place your stick. I like to make sure the smoothest rounded side is at the top of the cake pop.
- Melt the candy melts according to package directions.
- Carefully dip each cake pop stick into the candy melts and stick into the cake pop. Allow to cool upside down.
- When the chocolate has cooled, carefully dip each cake pop in the remaining melted candy melts rotating until fully coated.
- Use the candy eyes, sprinkles and black writing gel to decorate cake pops as desired and serve once the candy melts have set.
Jenn’s Notes
- To Store: These cake pops are best served the day they are made, but you can make them a day in advance and store them at room temperature in either an airtight container or cover with plastic wrap.
- For monster pops, allow the first layer to dry before decorating. Use additional melted candy melt coating to stick the eyes to the cake pops and decorate with sprinkles and black writing gel as desired.
- To make monster horns, pipe horn shapes on wax paper and attach to cake pops using additional melted candy melt. For large horns, I like to stick a sprinkle in the head for support/backing.
- For star pops, allow the dipped cake pops a few minutes to set before pressing the stars into the cake pops.
- For sprinkle topped pops, allow the candy melts to set for 3 minutes before dipping tops in sprinkles.
- For drizzled pops, allow the first layer of candy melt to almost set completely before drizzling on the second layer.
- Melt the candy melts according to package directions. Each brand may vary slightly. I like the brand sold at Hobby Lobby but regularly use Wilton, too. I use the microwave in 15 second intervals, but you can also melt them on the stove top or in a double boiler.
- In between intervals, make sure to stir the melts for a full minute. I often find the final few lumps melt away if you give it a bit of time.
- If your candy melt mixture is too thick and is pulling donut holes off the stick, add oil 1/2 teaspoon at a time to thin it out. (Coconut or vegetable)
- If adding the second layer of candy melt, make sure the candy melt temperature is close to room temperature to ensure the layers don’t crack or separate.
- Give the donut hole a quick shaping between your palms before placing it on the stick.
- If you have lumpy donut holes, use those ones to fully coat in sprinkles. It helps hide the flaws!
- I have learned to choose candy melts that do not have a white film. Most brands have a little window you can see in the package. If you pick up a bag with white film, your final result will likely have a white film.

I would like to know if you used just regular plain donuts or glazed donuts? Thank you for replying.
I used regular plain donuts.