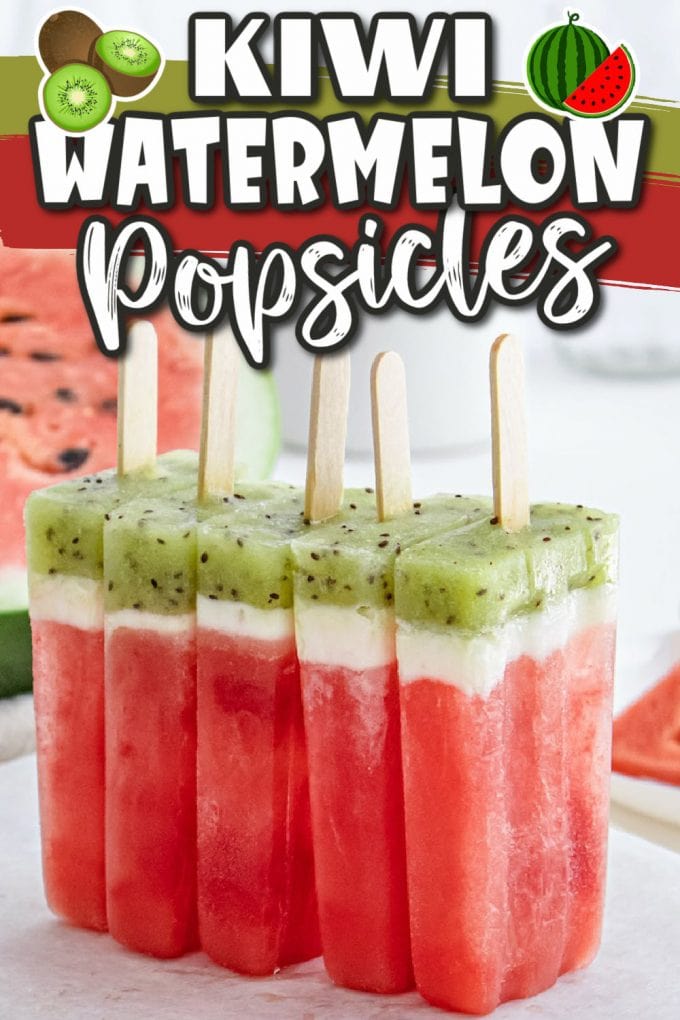
Our Kiwi Watermelon Popsicles are a healthy, homemade, warm-weather treat made with only 3 ingredients. Cool and refreshing, fresh and bright, this easy recipe makes a perfect summer cool-down treat!
Healthy Homemade Kiwi Watermelon Popsicles
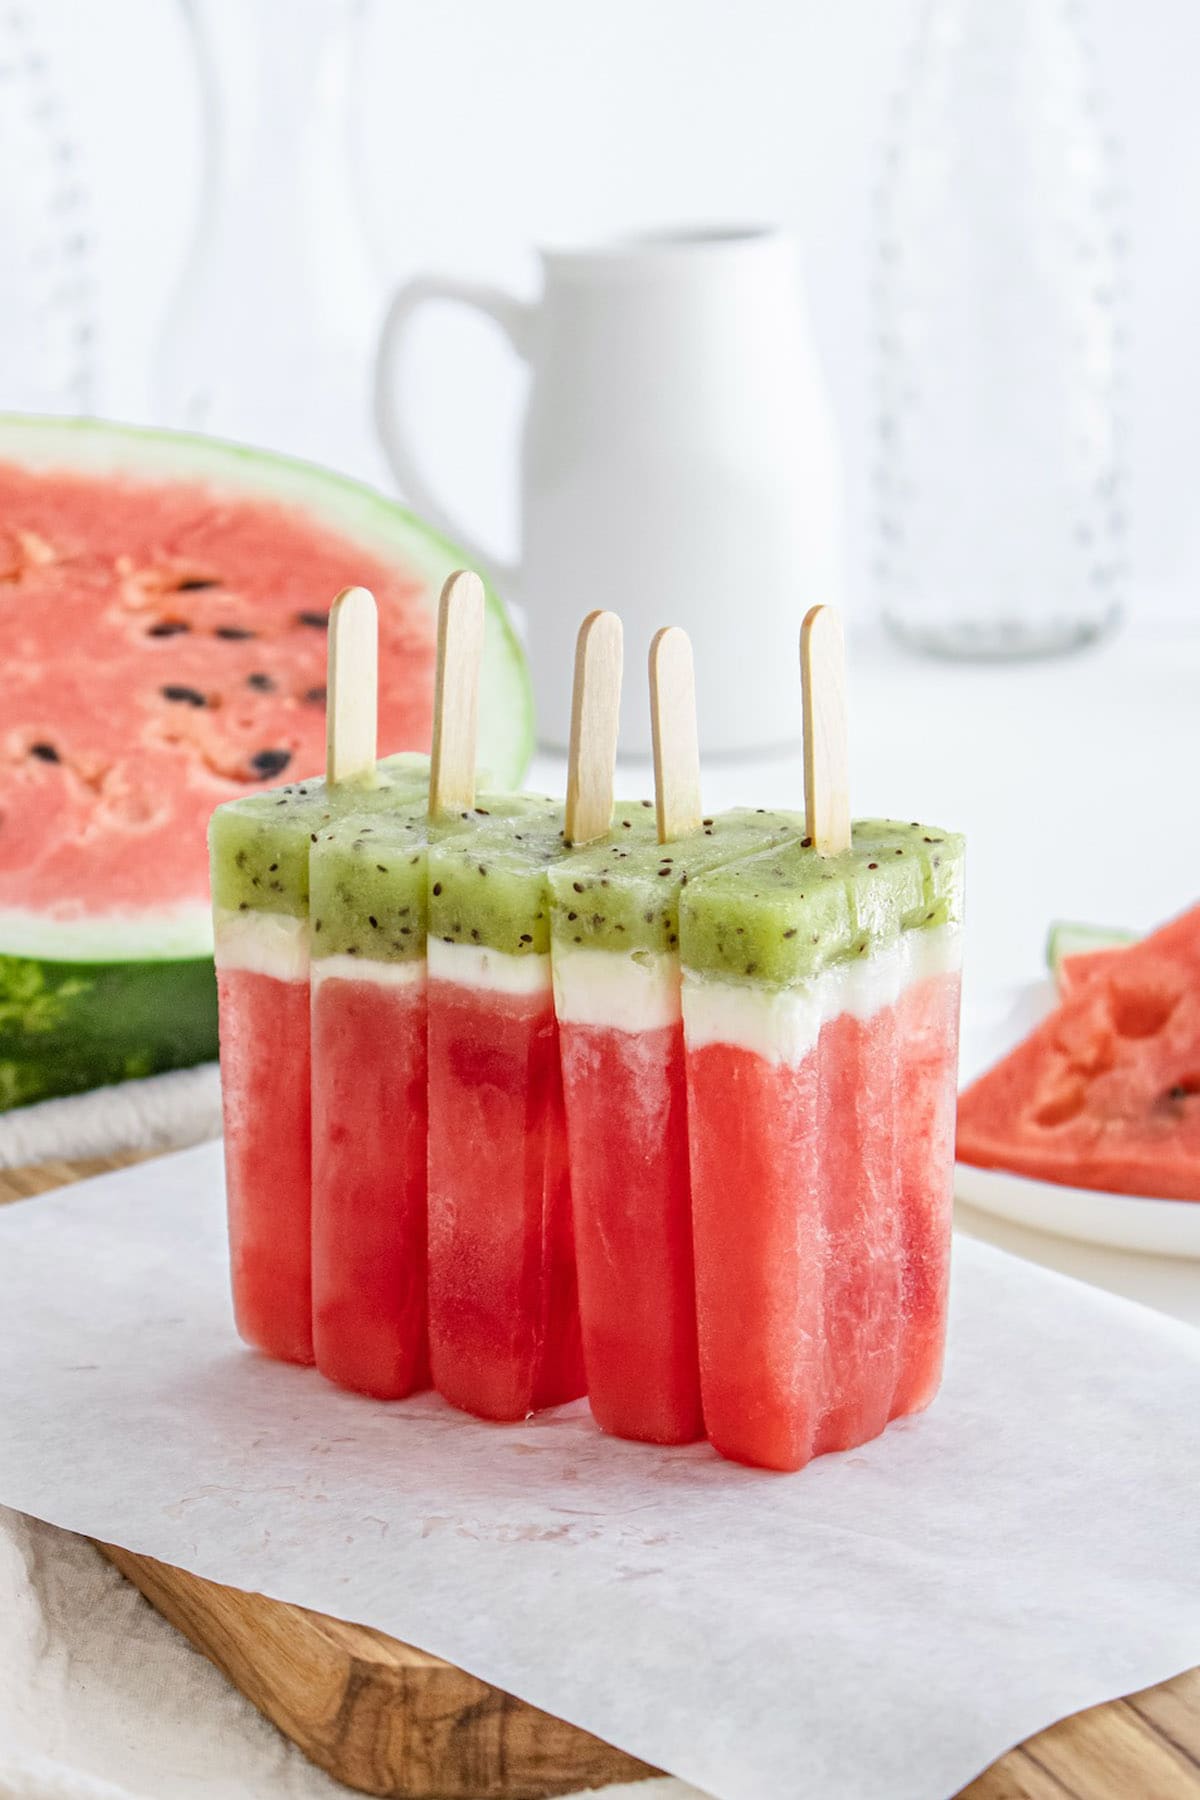
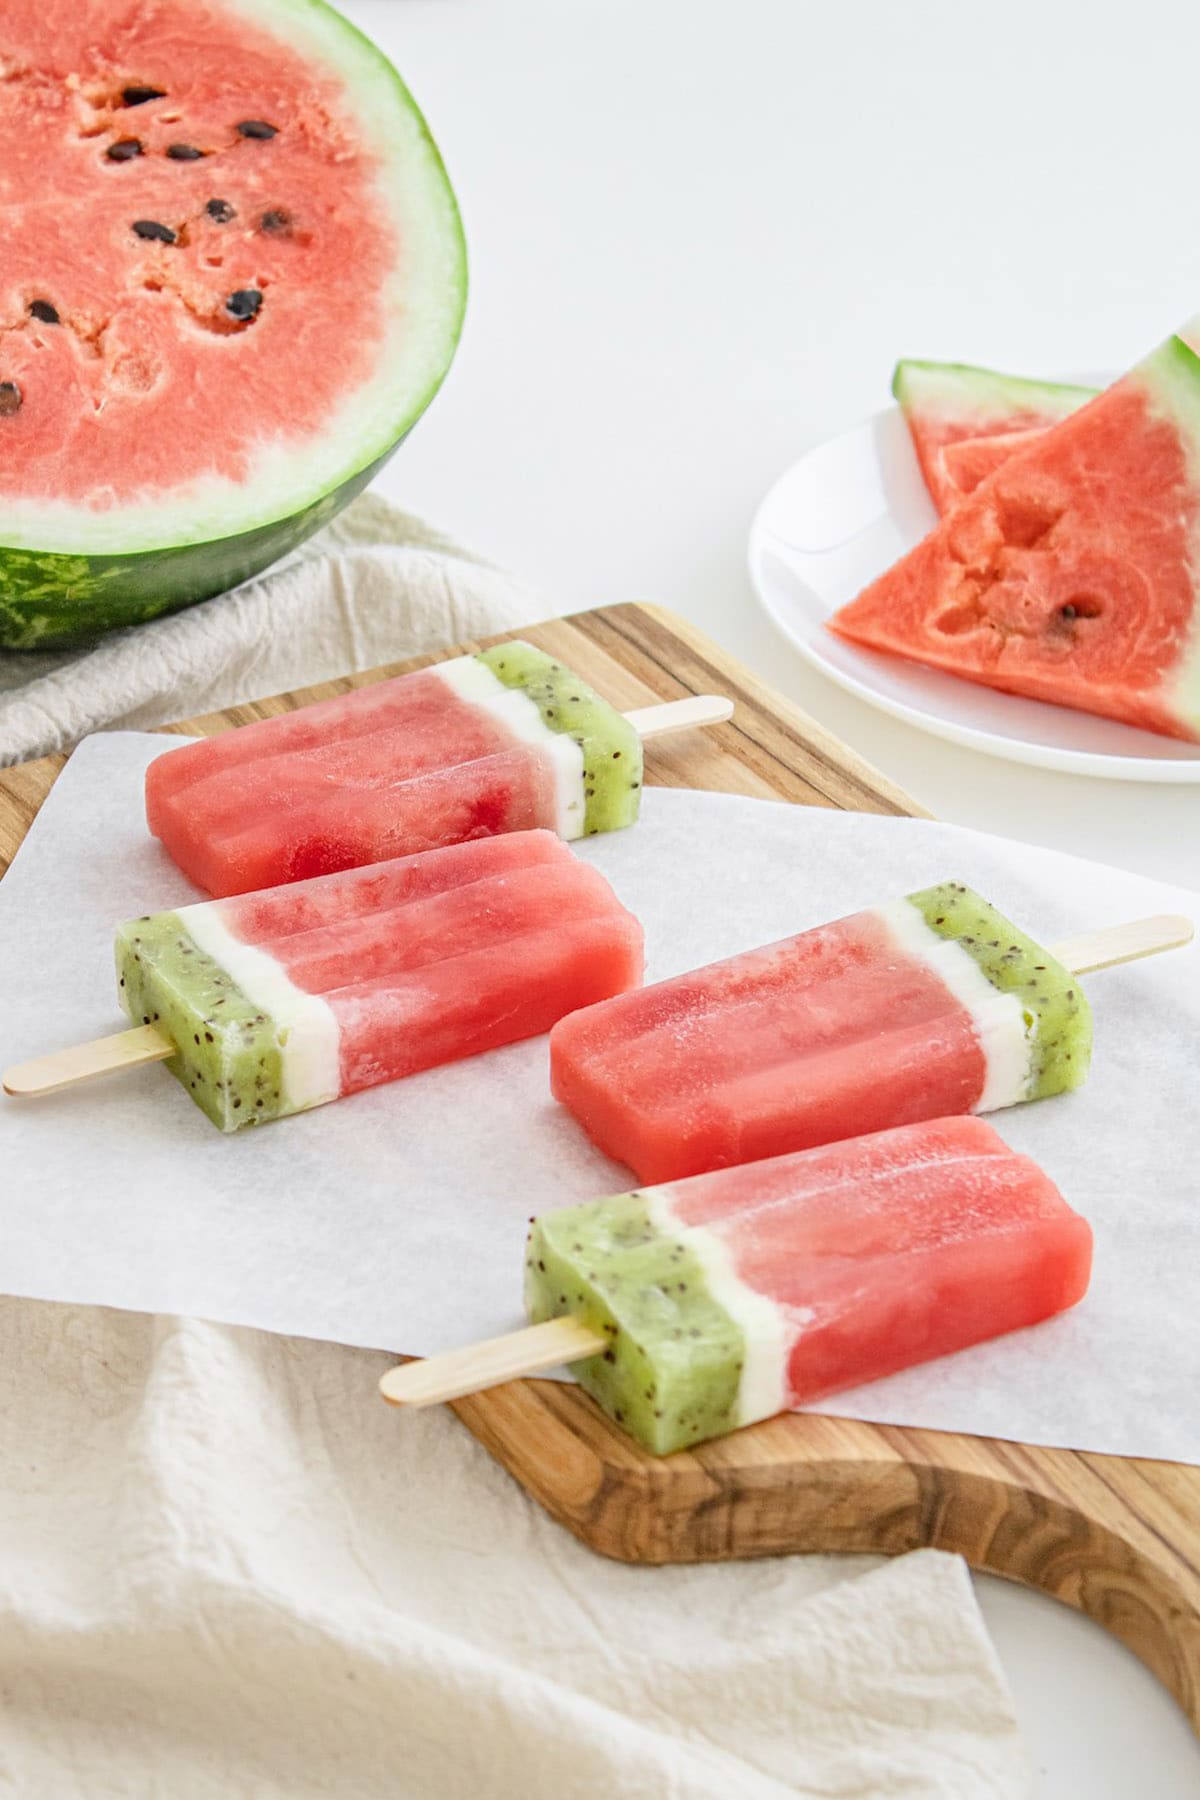
I love to make popsicles at home because I can always ensure that they are made 100% healthy and free of preservatives. These pretty 3-layered kiwi watermelon popsicles are made with the healthiest and freshest ingredients possible! No need for added sugars or artificial ingredients that you can’t pronounce because they are naturally flavorful and sweet from fresh fruit.
This recipe couldn’t be any more simple to make since it only requires 3 ingredients and mere minutes to put together. Loaded with juicy watermelon and layered with heart-healthy coconut yogurt and tangy kiwi, this homemade popsicle is a delicious summer snack that freezes the best of summer’s fruit into a thirst-quenching blended bite of nutritious nourishment.
Why We Love This Kiwi Watermelon Popsicle Recipe
- Easy, fun, and simple recipe.
- Healthy and contains no preservatives or artificial ingredients.
- Delicious treat that you can feel good about eating.
- Naturally sweetened with fresh fruit.
- Freezes beautifully and tastes amazing.
- Dairy-free, Paleo, Vegan, Gluten-free, low calorie, low carb.
- Full of vitamins and minerals and naturally hydrating.
Ingredients / Shopping List
- Watermelon: I find that a seedless watermelon is the best choice for this recipe. It saves so much time from having to pull out all of the seeds while you are cutting up the watermelon chunks.
- Coconut Yogurt: Coconut yogurt is the ideal choice for this recipe. It adds a nice creamy texture and provides just the right amount of sweetness. Make sure to choose a coconut yogurt that has zero added sugars.
- Kiwis
Substitutions and Additions
- Try a different fruit: Instead of watermelon, you could use cantaloupe, honeydew, papaya, strawberries, raspberries, blueberries, mango, peaches, or pineapple.
- Coconut yogurt: You can use soy yogurt or even milk yogurt if you prefer. Coconut milk (full fat from the can) also works great.
- Mimic the seeds: For the appearance of “seeds,” stir some chocolate chips, raisins, or frozen blueberries into the watermelon puree before adding it to the molds.
- Make it Minty: Add mint leaves make the watermelon popsicles even more flavorful by adding 4-5 mint leaves to the watermelon mixture before you puree it.
- How to Make Boozy Popsicles: For adults only! Add two ounces of tequila (or more to taste) to the blender before you blend the watermelon.
Recommended Tools to Make this Recipe
- Blender or food processor
- Popsicle molds
SEE FULL PRINTABLE RECIPE CARD BELOW
How to Make the Kiwi Watermelon Popsicles
This easy 3 ingredient kiwi watermelon popsicle recipe is the healthiest, most refreshing snack you can feel good about eating! Perfectly cool for a hot summer day!
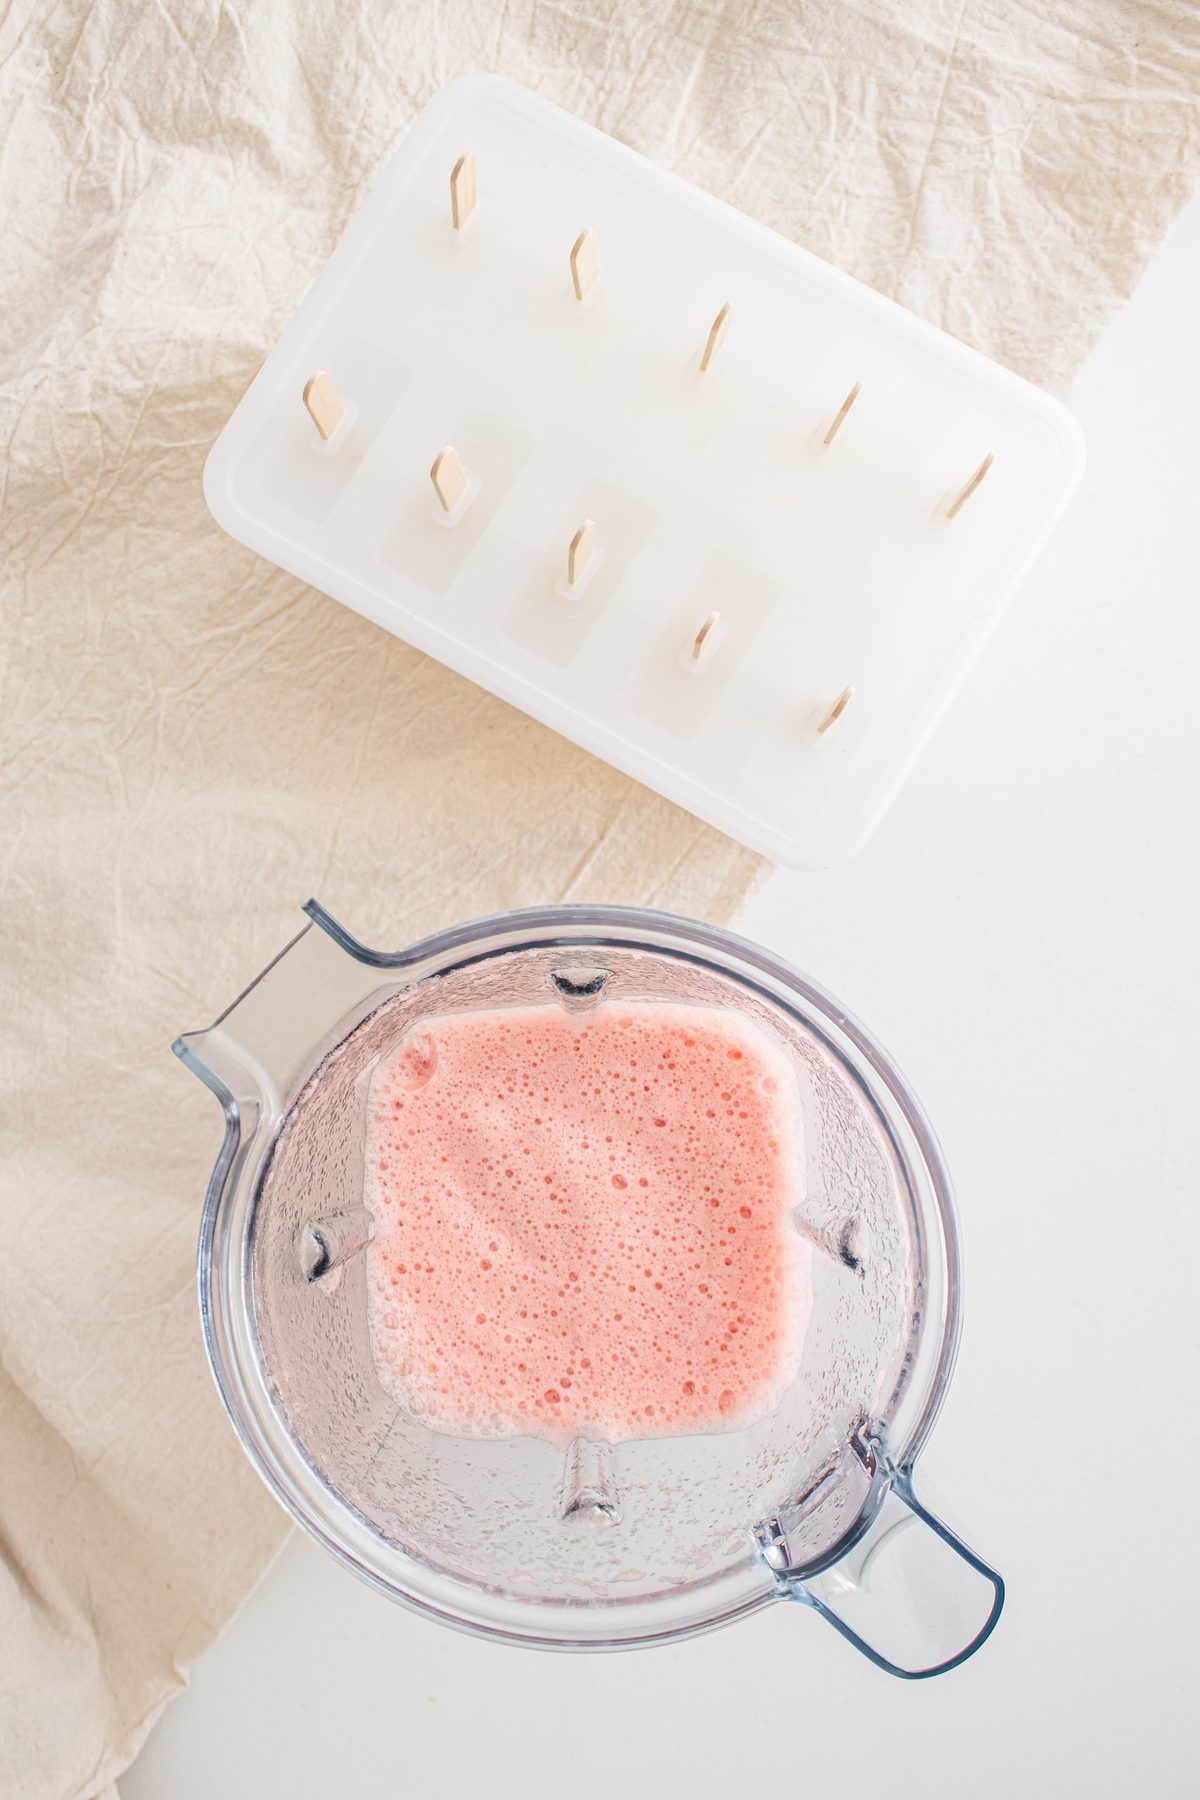
- Blend the watermelon.
Pro-Tip: If you don’t have a blender, a food processor will work fine. - Pour watermelon puree into popsicle molds and freeze.
Pro-Tip: If your popsicle molds don’t include a stick rack, freeze for 1 1/2 hours and then remove from the freezer and stick the wooden sticks in the watermelon popsicle. Return the mold to the freezer. - Add a layer of coconut yogurt to the top of the frozen watermelon puree and place back in the freezer until frozen.
- Blend peeled and cubed kiwi.
- Add a layer of kiwi puree over the frozen coconut yogurt layer and put the molds back in the freezer.
- Remove molds from freezer when popsicles are completely frozen. Enjoy!
Tips
- Use a seedless watermelon so you won’t find any hard black seed pieces in your popsicles. If you use a watermelon with seeds, try to pick out as many of the seeds as you can. The small white seeds are fine to leave, but the black seeds won’t blend very well.
- For maximum natural sweetness, make sure you pick a good watermelon. It should feel heavy for its size and sound hollow when you tap it a few times. It should also have a yellow spot, which indicates it’s been sitting on the ground, ripening until sweet.
- To release the popsicles from their molds, dip the bottoms into a bowl of warm water first to loosen their hold. Avoid using hot water as that may cause the popsicles to melt.
Storage Tips
- To Store: Remove from the molds and store in individual resealable freezer-friendly bags. However, you can just keep them in their molds if planning to eat them within 5-7 days.
- To Freeze: Store your popsicles in freezer-friendly containers or stack them in a larger bag, but be sure to place wax paper in between each one. Popsicles can stay in the freezer for 2-3 months.
Frequently Asked Questions
If the popsicles are stored properly, they will stay fresh in the freezer for 2-3 months.
I don’t strain the blended watermelon puree because I like a little texture in the popsicles, but you can strain it if you prefer a super smooth popsicle without any pulp.
These kiwi watermelon popsicles are super healthy, although it really depends on how you make them. The addition of sugars, fats, flavors, and colorings could make them unhealthy. If you follow this recipe they will be 100% natural and healthy.
Although frozen watermelon may not taste so great to eat after it has thawed, using it for a recipe like this one works pretty well. Once it has been blended into a puree, it is similar to using fresh watermelon.
It’s best to use PBA-Free popsicle molds for this recipe.
Other Easy Homemade Ice Cream Recipes
- Fresh Fruit Popsicles
- Boozy Popsicles
- Cookie Monster Ice Cream
- Homemade Rolled Ice Cream
- Cotton Candy Ice Cream (No Churn)
- Piña Colada Popsicles
- Dole Whip Popsicles
Kiwi Watermelon Popsicles
Ingredients
- 3 cups Fresh Watermelon (Cubed) 450g
- ¾ cup Coconut Yogurt (Sugar Free)
- 4-5 Kiwis (Cubed)
Instructions
- Cube the watermelon and blend it in a blender or a food processor.
- Transfer the watermelon pure to the molds and freeze for 3 hours. Pro-Tip: If your popsicle molds don't include a stick rack, freeze for one hour and a half and then take them out of the freezer and stick the wooden sticks in the watermelon popsicle. Put back the mold in the freezer and wait until the watermelon popsicle is completely frozen.
- Add a thin layer of coconut yogurt over the watermelon popsicle and put back the mold in the freezer and let it freeze for an hour and a half.
- Peel and cut the kiwi in cubes and blend it in a blender or a food processor.
- Take the popsicles out of the freezer and add the last layer over the coconut yogurt layer and put the molds back in the freezer and let it freeze for at least one hour and a half or until completely frozen.
- Your watermelon popsicles are ready when they are completely frozen! Enjoy!
Jenn’s Notes
To Freeze: Store your popsicles in freezer-friendly containers or stack them in a larger bag, but be sure to place wax paper in between each one. Popsicles can stay in the freezer for 2-3 months. Tips:
- Use a seedless watermelon so you won’t find any hard black seed pieces in your popsicles. If you use a watermelon with seeds, try to pick out as many of the seeds as you can. The small white seeds are fine to leave, but the black seeds won’t blend very well.
- For maximum natural sweetness, make sure you pick a good watermelon. It should feel heavy for its size and sound hollow when you tap it a few times. It should also have a yellow spot, which indicates it’s been sitting on the ground, ripening until sweet.
- To release the popsicles from their molds, dip the bottoms into a bowl of warm water first to loosen their hold. Avoid using hot water as that may cause the popsicles to melt.



Thanks for the recipe.