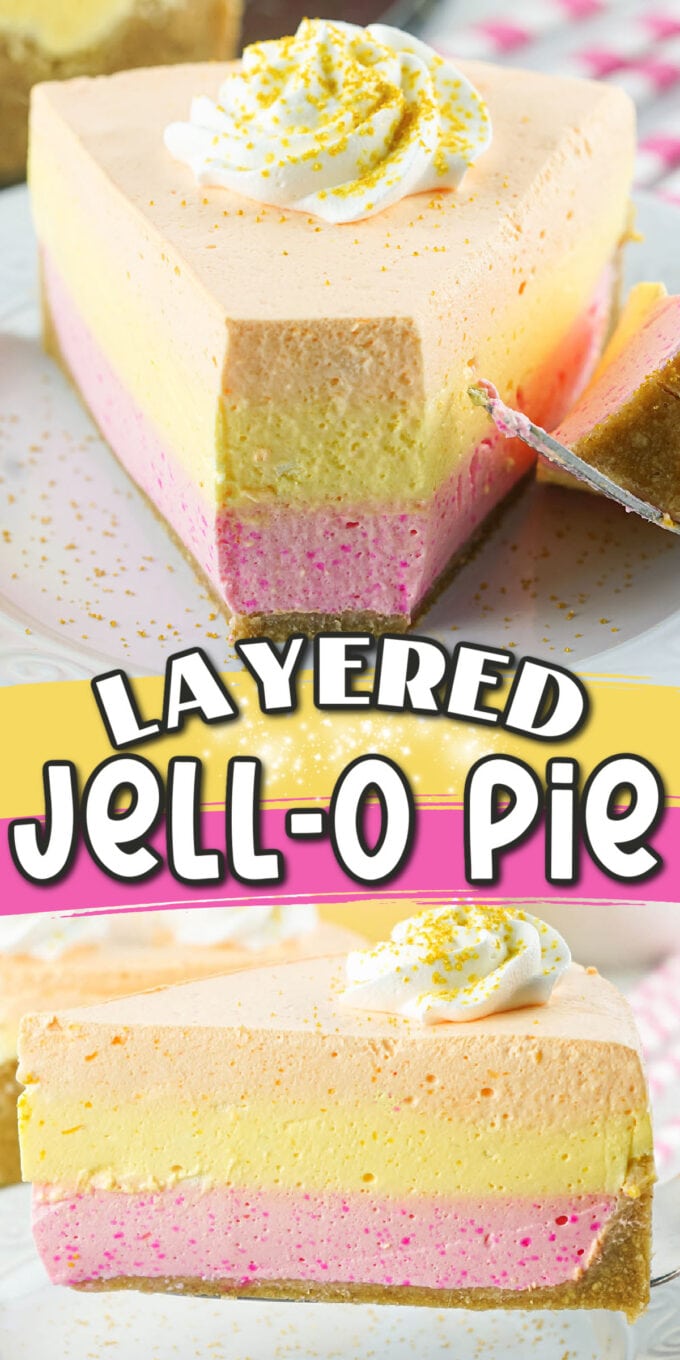
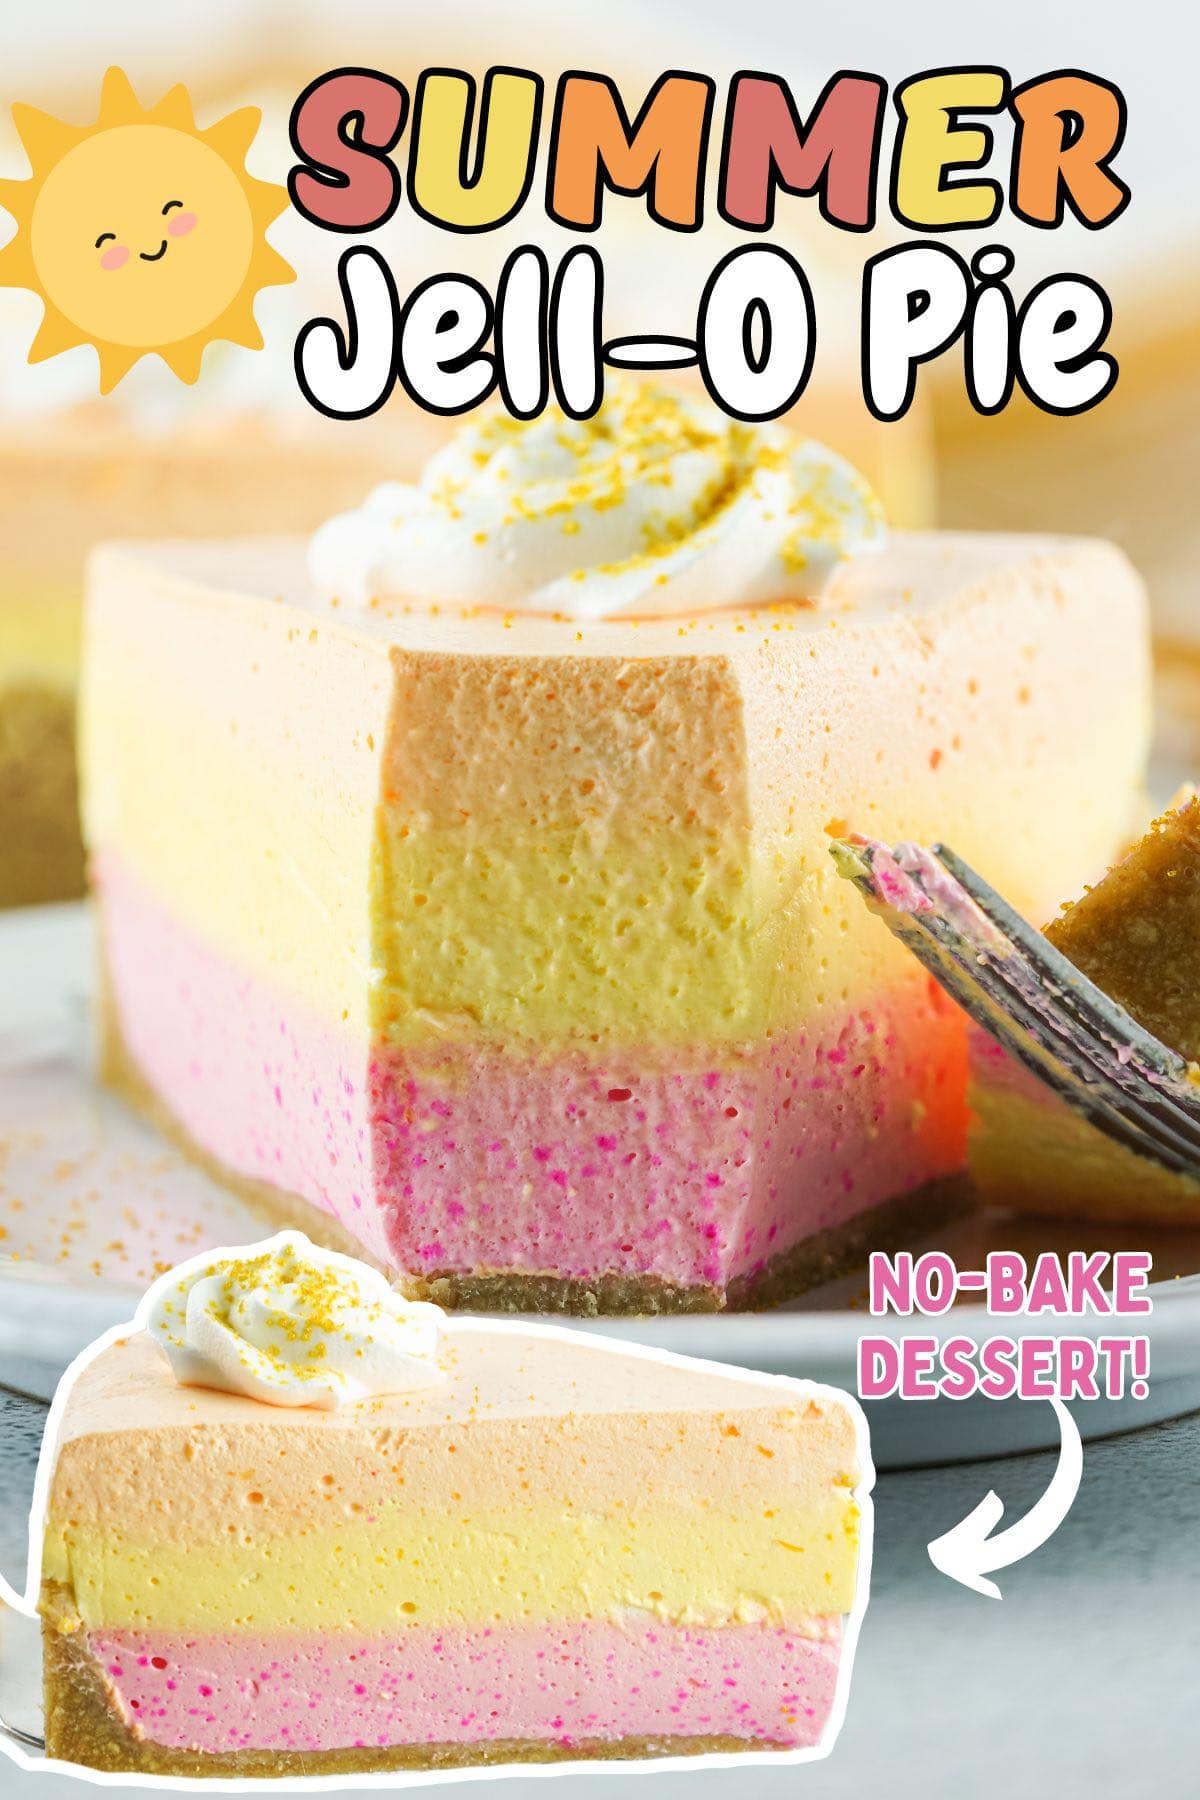
Our Layered Jello Pie is a quick and easy, no-bake dessert that simply combines 3 fruity flavors of jello with a tub of whipped topping and stacks them inside a buttery crumb crust.
It takes only 20 minutes to prepare the fluffy filling and assemble each layer into your own homemade graham cracker crumb crust.
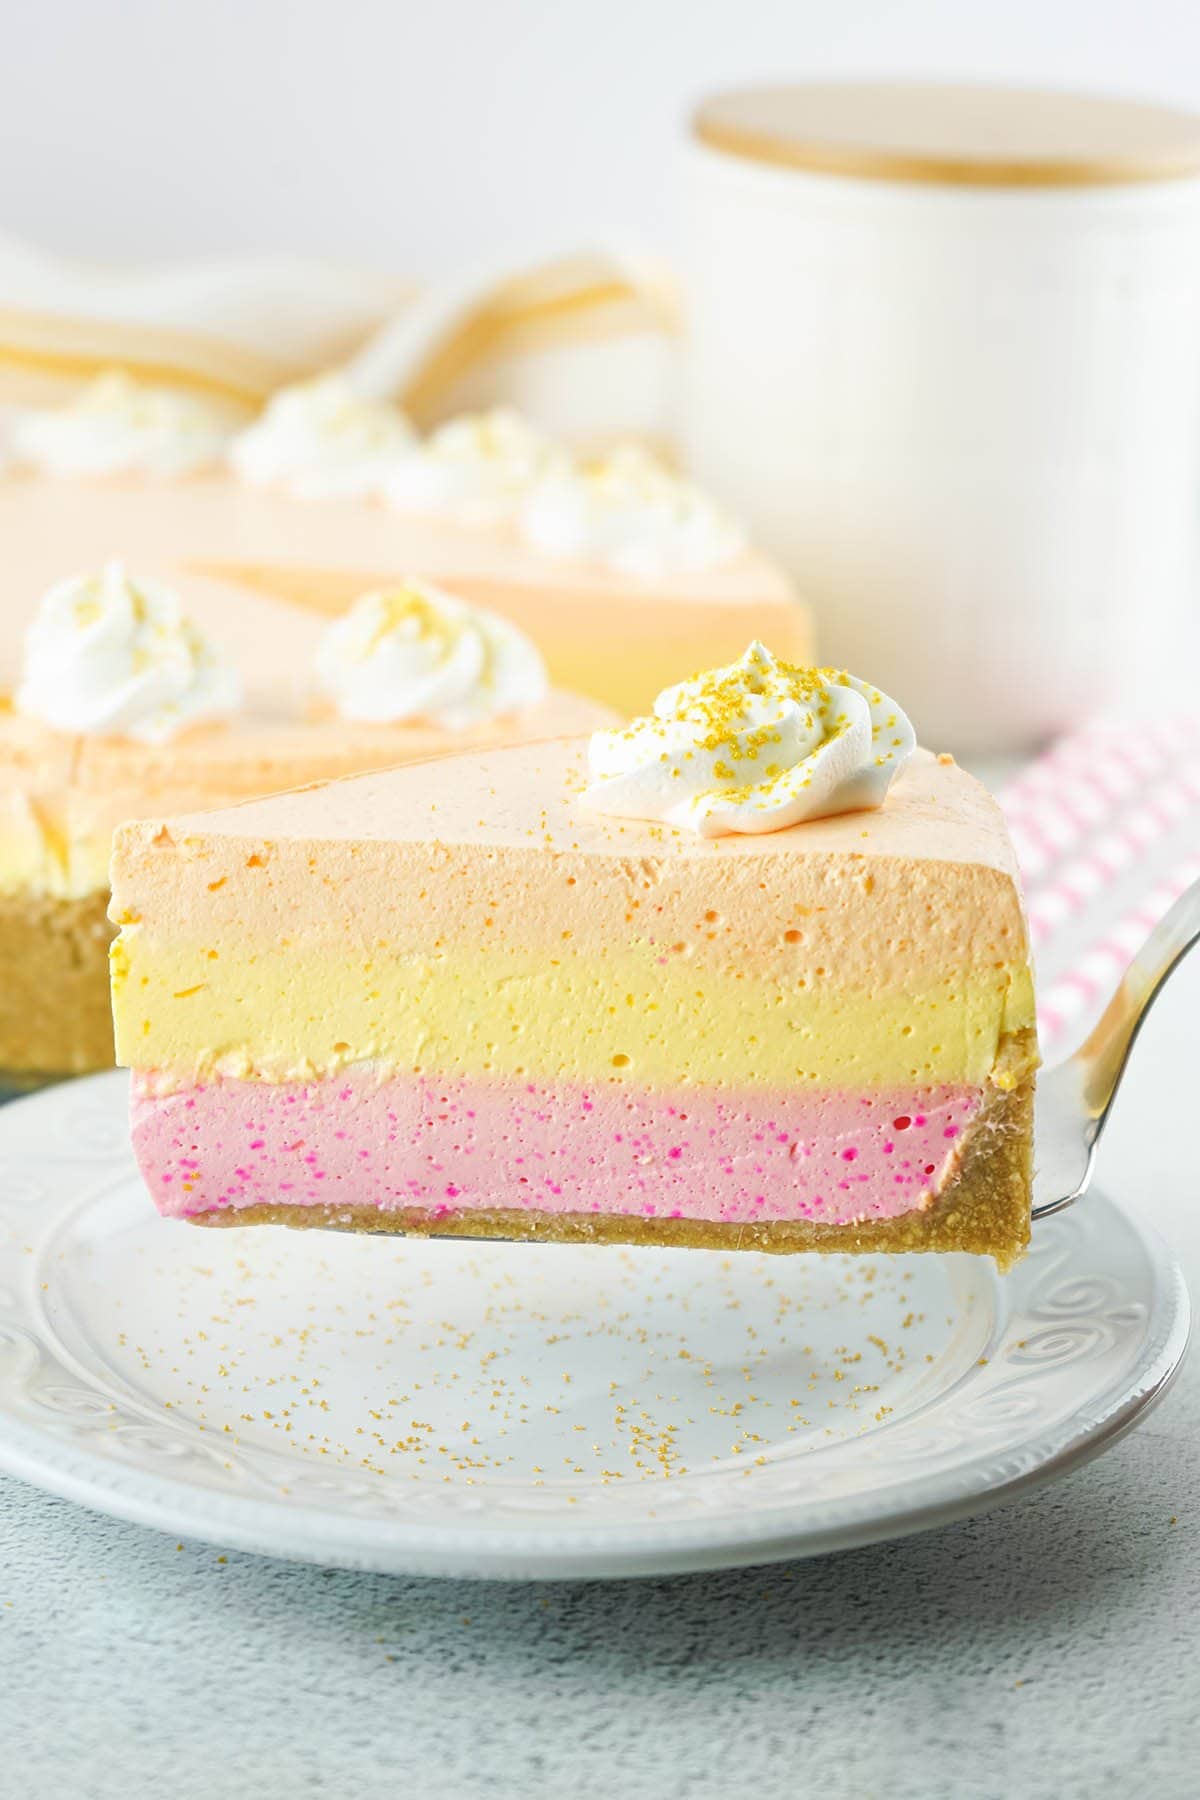
No-Bake Jello Cool Whip Pie
This Layered Jello Pie recipe is so quick and easy to make, requiring minimal ingredients and only 20 minutes!
A summer jello pie that features a refreshingly cool, fluffy filling piled high into a no-cook crust is the best warm-weather treat that you can make without baking (or spending too much time in the kitchen).
It’s as simple as layering 3 tiers of jello and cool whip combinations into the bottom of an ice cold graham cracker crust, then letting it set before serving and slicing.
Save a step and use a store-bought pre-made pie crust
For more delicious no-bake Jello desserts, check out my Easter Jello-Pie, Strawberry Cool Whip Pie, and Orange Creamsicle Pie recipes. Also, see my delicious Jello Cookies.
Why We Love This Layered Jello Pie Recipe
- Quick and easy to make, especially because it is no-bake.
- Uses a few simple ingredients to create a multi-layered sweet treat.
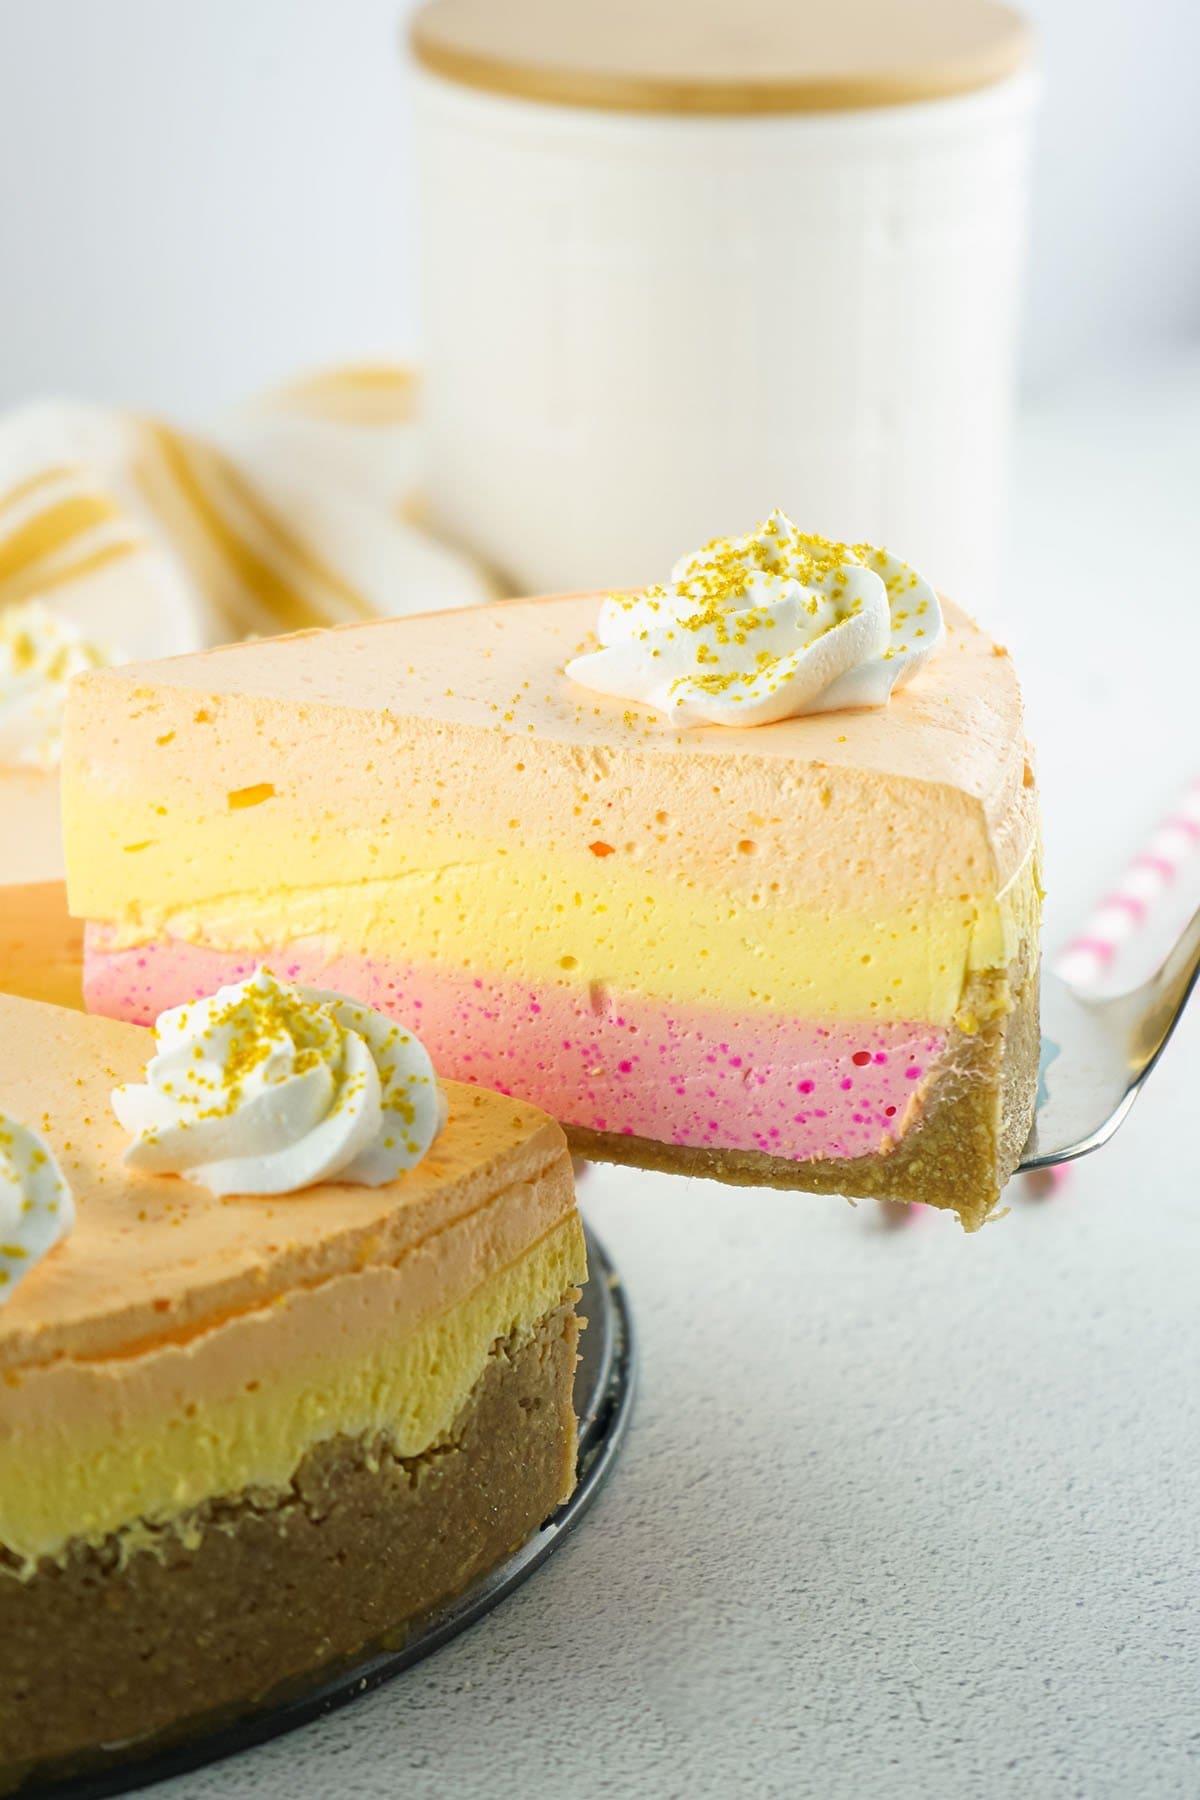
- A fluffy, fruity filling looks so pretty when piled in layers into a pie crust.
- Delicious dessert that can be customized with your favorite flavored gelatins.
- Creamy, cool, light, and refreshing.
- Perfect for potlucks, cookouts, picnics and summertime parties.
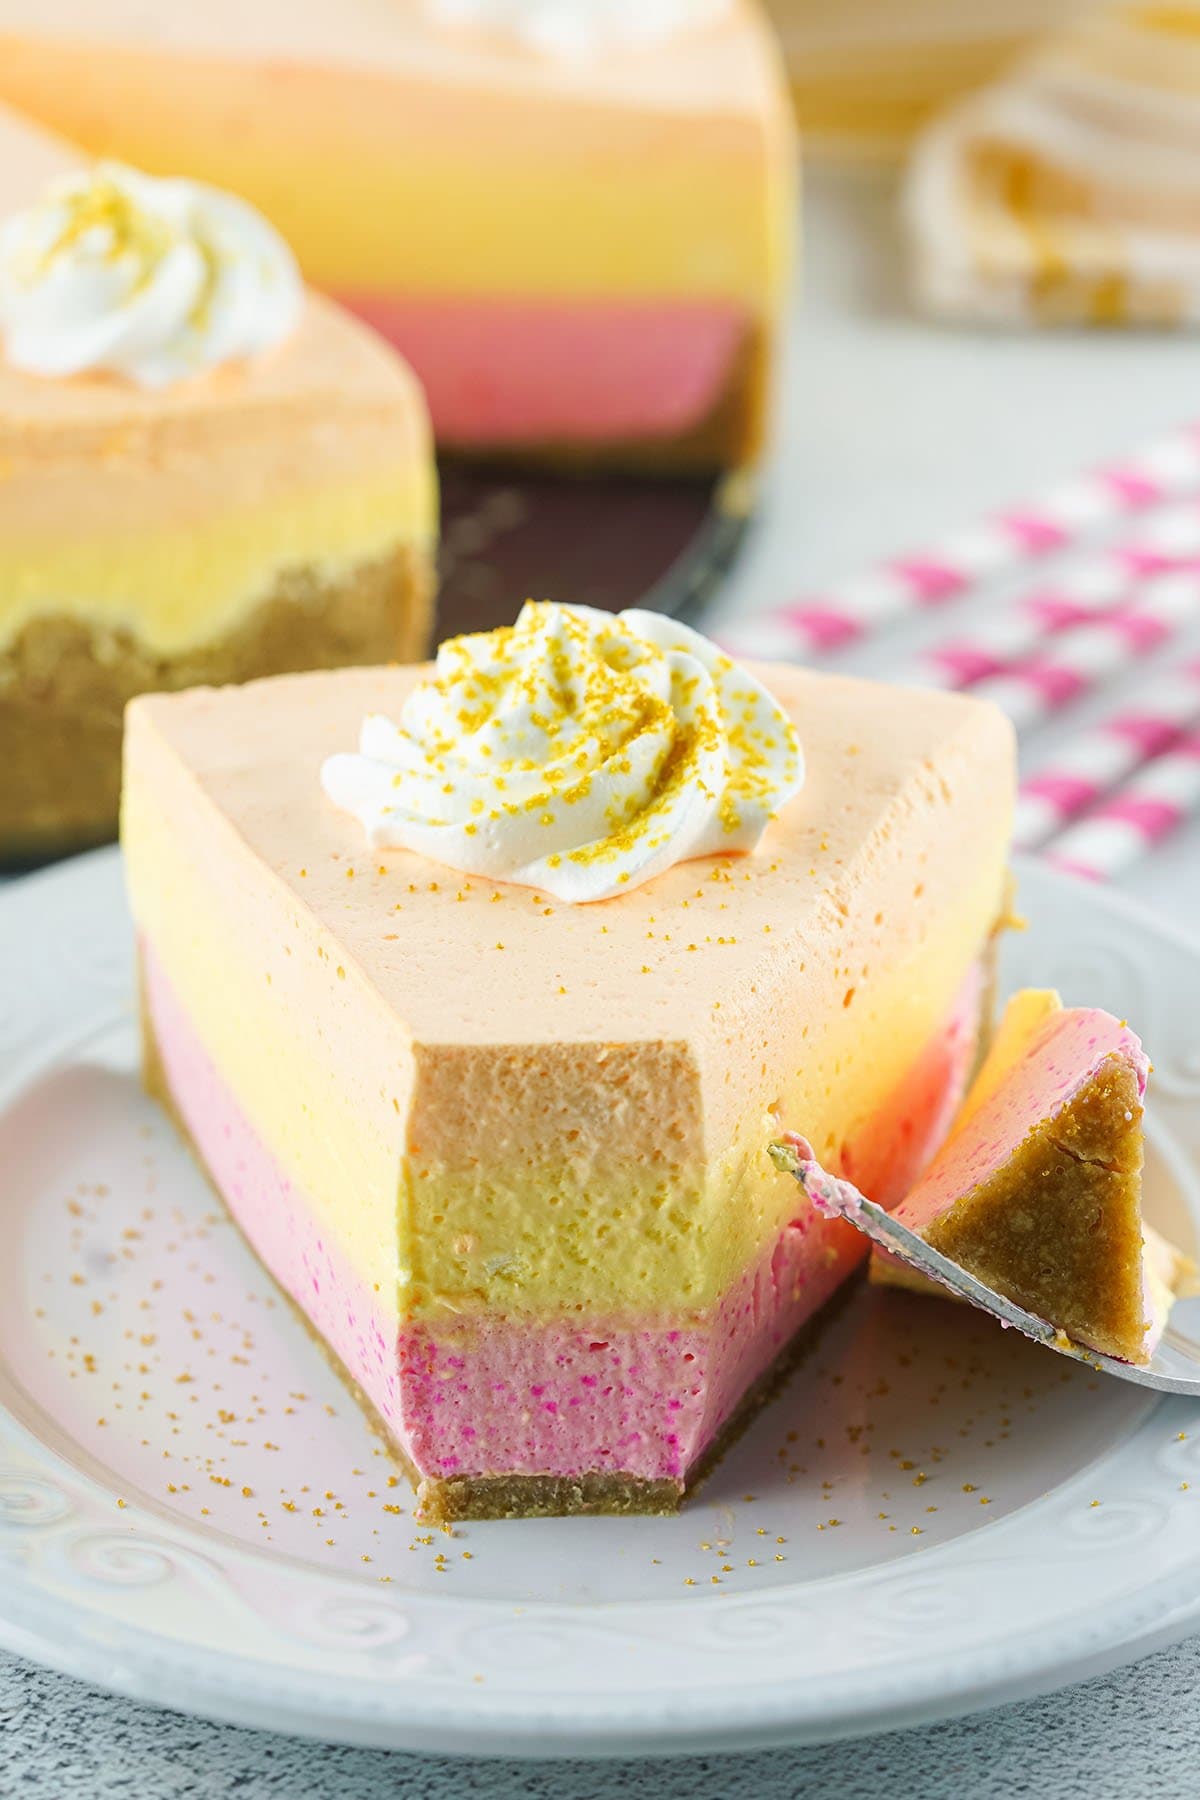
Ingredients
- Whipped cream
- Red Jello
- Orange Jello
- Yellow Jello
- Water (both ice-cold water and boiling water)
- Pink food coloring
- Orange food coloring
- Bright yellow food coloring
- Graham crackers
- Unsalted butter
SEE FULL PRINTABLE RECIPE CARD BELOW
Substitutions and Additions
- Fold In Fresh Fruit: You can easily fold chopped or sliced fresh fruit into your jello mixture before pouring it into the pie crust and refrigerating.
- Tasty Toppings: Maraschino cherries, strawberry slices, key lime slices, lemon slices, mandarin oranges, raspberries, and banana slices would all taste delicious depending on which jello flavors you use.
- Cookie Crust: Feel free to swap out the plain graham crackers for chocolate graham crackers. You can also use crushed Vanilla Wafers or Golden Oreos instead of graham crackers to create your homemade crust or simply use a ready-made store-bought crust.
- Garnish with Gold: Add some gold sanding sugar to match this layered look! A dollop of whipped cream would also look pretty.
- Make It Match The Holiday: You can easily make this dessert with different jello flavors so that the filling matches the season or holiday.
- Patriotic Pie: Make a red, white, and blue layered jello pie for Memorial Day or 4th of July and top each slice with whipped cream and fresh blueberries.
- Pastel Colored Pie: My Easter Jello-Pie is perfectly pastel for Easter.
Recommended Tools
- Food processor
- Deep dish 10-inch springform pan
How to Make Summer Jello Pie
This Layered Jello Pie recipe is the easiest, most straightforward way to make a cool and creamy sweet treat for summer. In a matter of minutes, you can layer your fluffy filling into a cookie crust to create the ultimate delicious dessert–no baking required!
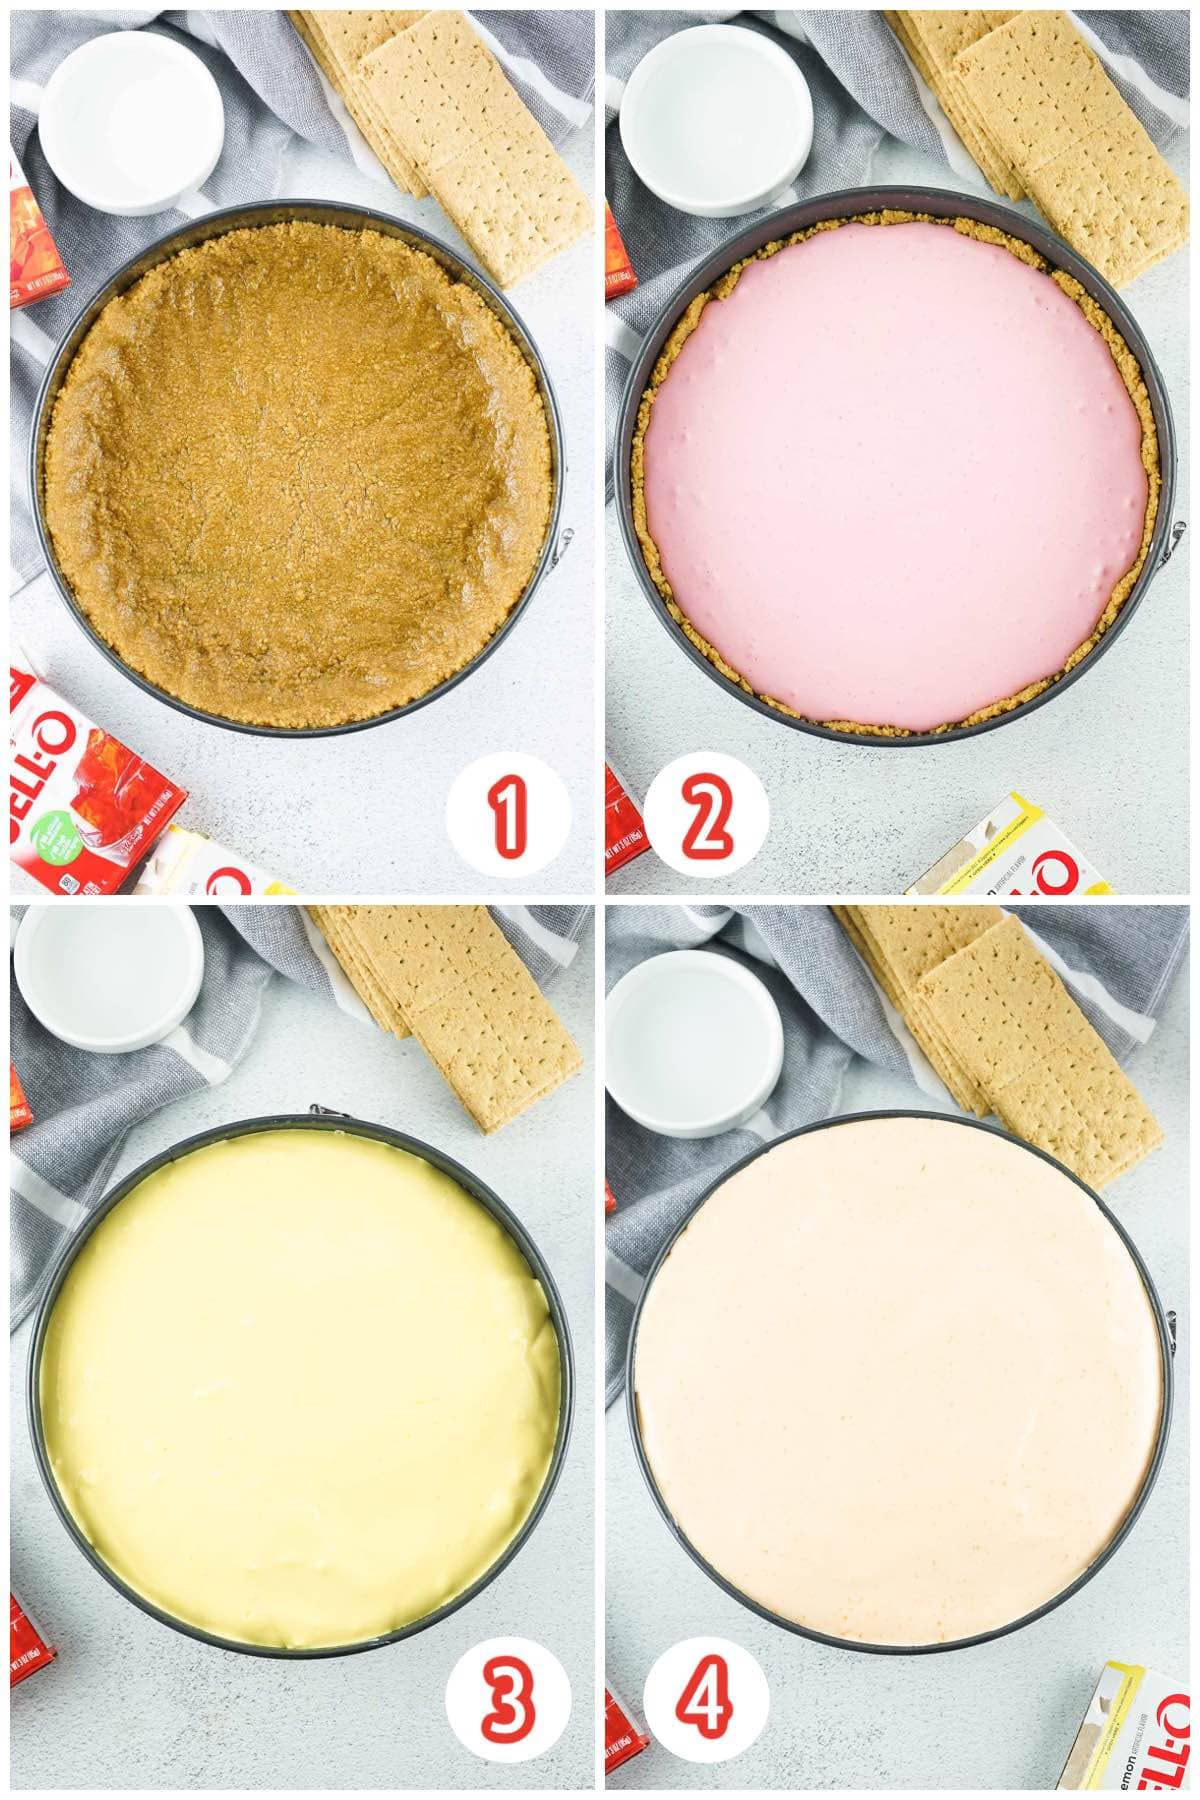
- Create The Crust: Pulse the graham crackers until finely crushed. Add the melted butter and mix until the mixture resembles wet sand.
Pro Tip: You may need to pause and scrape down the sides once or twice while mixing in the butter. - Add the graham cracker mixture to a springform pan and press it into the bottom and up the sides of the pan. Place the crust in the freezer until you add the filling.
- Prepare The Jello: Place each jello color in a separate bowl and mix with boiling water. Stir until jello is dissolved and mix in the cold water. Place in the fridge for 40-50 minutes.
Pro Tip: The jello should just be thickened but not fully set. - Make The Jello Mixture: Add whipped cream to each bowl and mix to combine. Add colored dye to each respective bowl and mix until no color streaks remain.
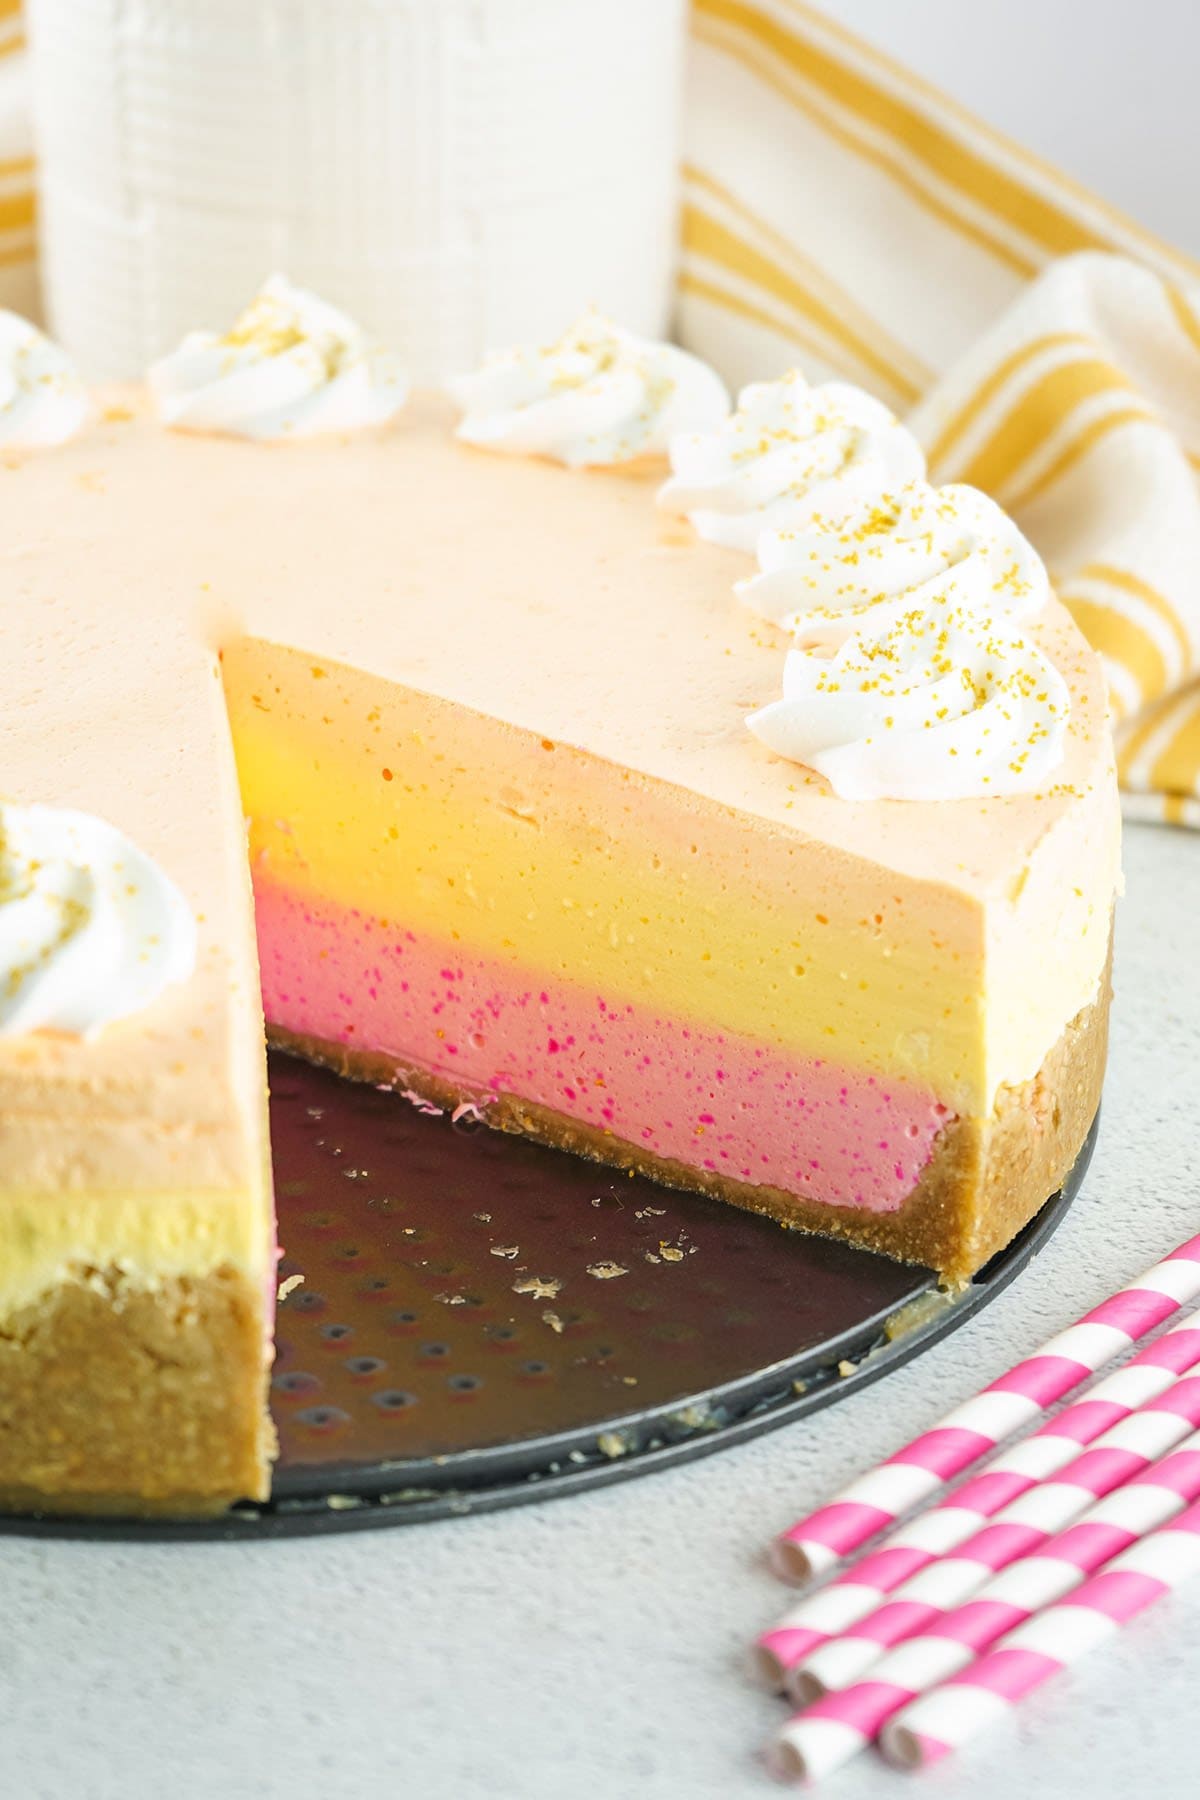
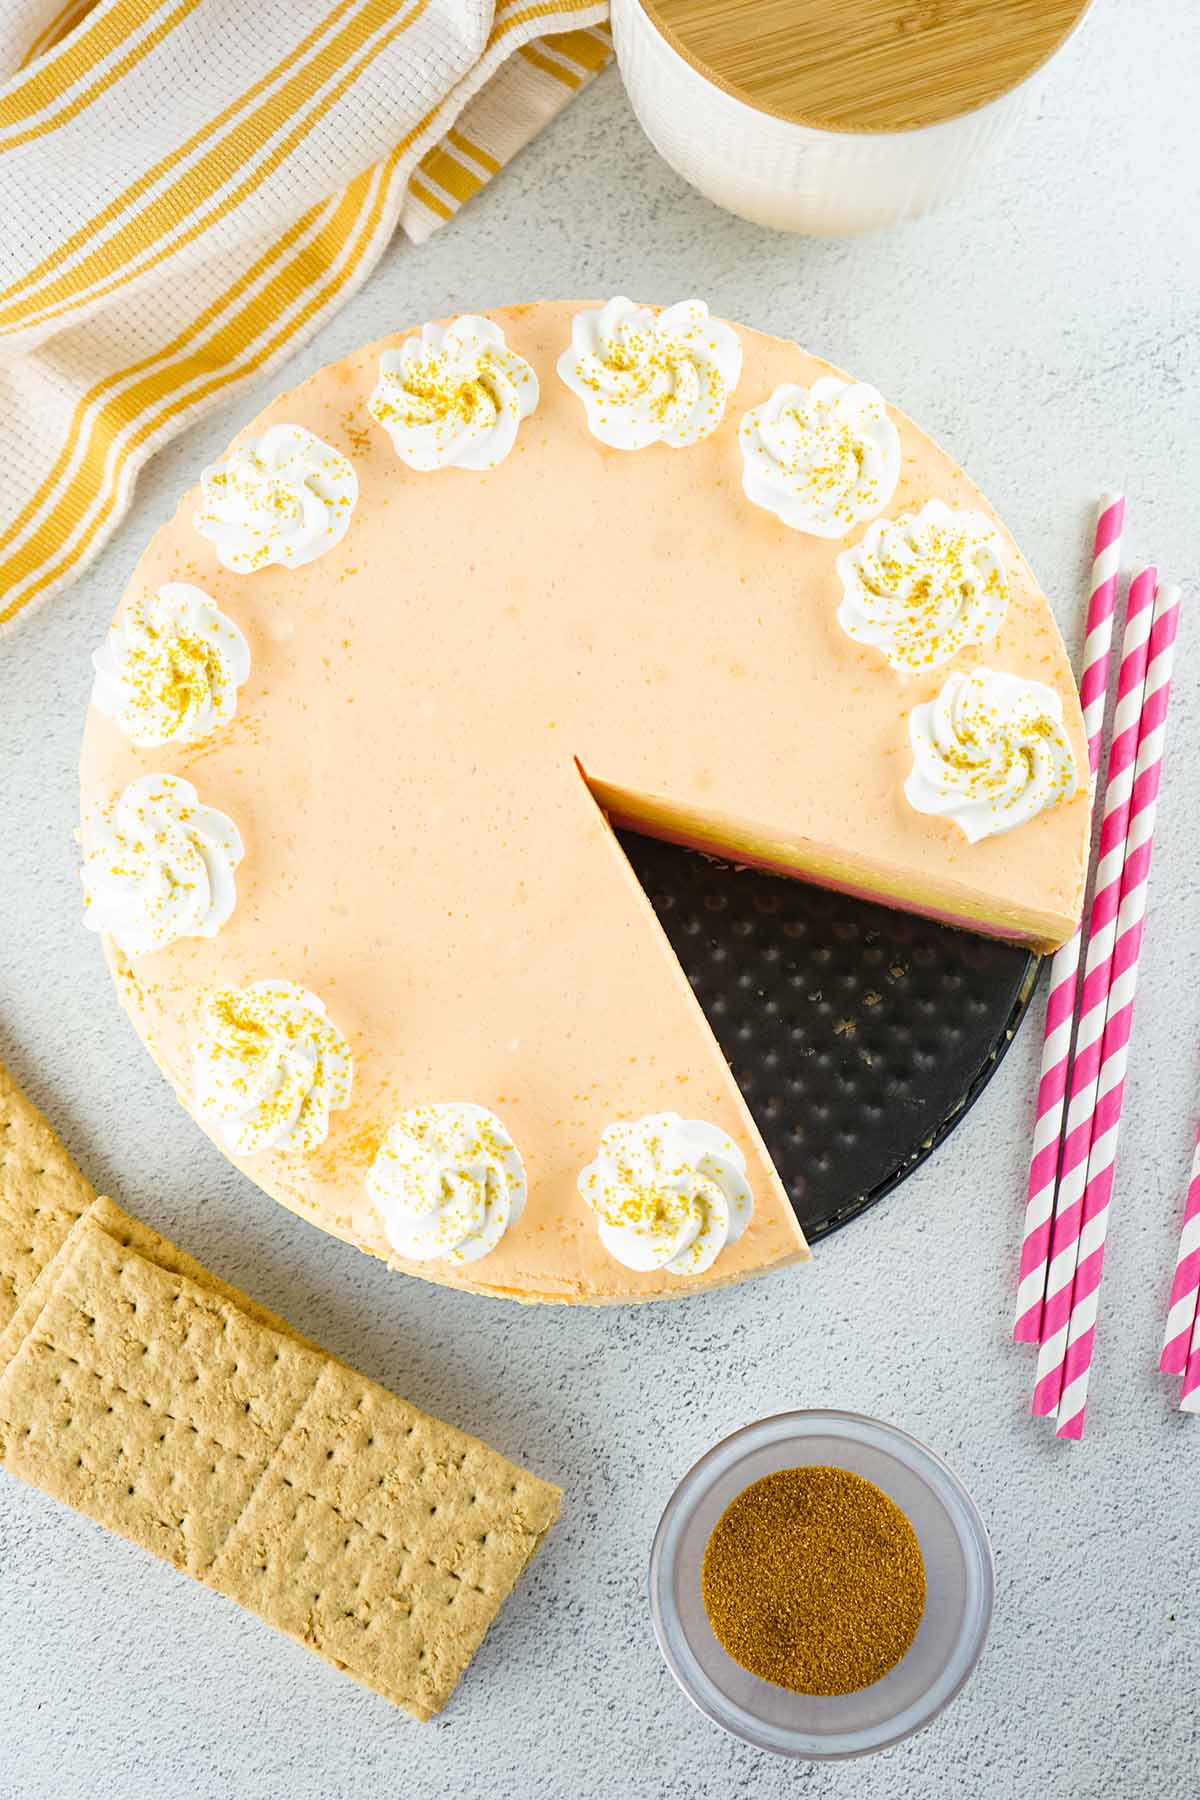
Pro Tip: Add a couple drops at a time until reach your desired shade. - Assemble: Add the pink jello mixture to the prepared crust and spread even. Repeat with the yellow and orange layers. Place in the fridge for 3 hours or until set.
- Serve: Garnish with dollops of whipped cream and gold sanding sugar, if desired, and enjoy!
Tips
- If you do not have a food processor, you can easily crush your graham crackers by placing them in a Ziploc bag and crushing them with a rolling pin.
- If your jello and whipped cream mixture seem a little thin and you’re afraid the colors will mix while layering them in the pan, simply place the mixture in the fridge for about 15-20 minutes and then proceed.
- I found that icing colors seem to work the best for coloring the jello mixtures. Gel worked ok but didn’t always mix and color as well as the icing colors did. Wilton sells these at Walmart.
- Whipped cream and cool whip can be used interchangeably.
- If you can’t find or don’t have a deep dish springform pan, you can cut the recipe in half or make two pies out of this mixture.
Storage Tips
- To Store: Store any leftovers covered in the refrigerator for up to 5 days.
- To Freeze: I do not recommend freezing this dessert. The gelatin doesn’t freeze well and the texture and consistency will change once thawed.
Frequently Asked Questions
Your crust won’t go all the way up the side of the pan, so the jello mixtures may sit above the crust somewhat. This is perfectly fine!
Just run a thin knife along the top edge before trying to pop it out of the pan. If you want your crust to reach all the way up, simply double the amount of crust you make.
Yes, you can absolutely make your own whipped topping. Simply combine 1 cup of heavy cream, 1 1/2 tablespoon of powdered sugar, and 1/2 teaspoon of vanilla extract and whip them on a high setting. You’ll know it is done when you see “high peaks” form.
See my homemade whipped cream recipe and tips.
Jello pie is basically a gelatin pie, so be sure to use boiling water to fully dissolve the powdered jello. This allows the gelatin to work correctly, which is crucial for the pie to set.
The pie also must be refrigerated for at least 3 hours before serving. You can chill the pie overnight for best results.
If desired, you can place your jello pie into the freezer for about 10 minutes in between each layer to ensure it’s solid enough and the colors won’t mix.
You shouldn’t have this issue, but it’s a quick way to ensure the colors remain separate. Storing it short term in the freezer won’t harm or change the consistency of the pie.
Other Easy Pie Recipes
- Buckeye Pie
- Kool-Aid Pie
- Reese’s Peanut Butter Cup Pie
- Mini Key Lime Pies
- Orange Creamsicle Pie
- Christmas Jell-O Pie
- Crazy Crust Pie
- Birthday Pie
Layered Jello Pie
Ingredients
- 24 ounces Whipped Cream
- 1 box Red Jello (3 ounces)
- 1 box Orange Jello (3 ounces)
- 1 box Yellow Jello (3 ounces)
- 3 cups Boiling Water
- 3 cups Cold Water
- Pink Food Coloring
- Orange Food Coloring
- Bright Yellow Food Coloring
- 2 packages Graham Cracker Sheets
- 10 Tablespoons Unsalted Butter
- Whipped Cream (optional for garnish)
- Gold Sanding Sugar (optional for garnish)
Instructions
- Place the graham crackers in a food processor and pulse until they’re finally crushed.
- Melt your butter and add it to the food processor, mixing until the mixture resembles wet sand. You may need to pause and scrape down the sides once or twice while mixing the butter in.
- Pour the graham cracker mixture into a deep dish 10-inch springform pan and press it evenly across the bottom and up the sides of the pan, as far as it will go.
- Place the crust in the freezer until you’re ready to use it.
- Place each jello color in their own bowl and add 1 cup of boiling water to each bowl.
- Stir each bowl until no jello graininess remains and mix in the cold water. Place in the fridge for 40-50 minutes or until the jello has really thickened, but hasn’t fully set.
- Add 8 ounces whipped cream to each bowl and mix well until fully combined.
- To the yellow, add the yellow dye. Mix until no color streaks remain. Add a couple drops at a time until the desired shade of yellow has been reached.
- Repeat this with the pink dye with the red jello and the orange dye with the orange jello.
- Add the pink to the prepared crust, spread even. Repeat with the yellow layer and then the orange layer.
- Place in the fridge for 3 hours or until set. Garnish with dollops of whipped cream and gold sanding sugar, if desired, and enjoy!
Jenn’s Notes
- To Store: Store any leftovers covered in the refrigerator for up to 5 days.
- To Freeze: I do not recommend freezing this dessert. The gelatin doesn’t freeze well and the texture and consistency will change once thawed.
- If you do not have a food processor, you can easily crush your graham crackers by placing them in a Ziploc bag and crushing them with a rolling pin.
- If your jello and whipped cream mixture seems a little thin and you’re afraid the colors will mix while layering them in the pan, simply place the mixture in the fridge for about 15-20 minutes and then proceed.
- I found that icing colors seem to work the best for coloring the jello mixtures. Gel worked ok, but didn’t always mix and color as well as the icing colors did. Wilton sells these at Walmart.
- Whipped cream and cool whip can be used interchangeably.
- If you can’t find or don’t have a deep dish springform pan, you can cut the recipe in half or make two pies out of this mixture.

Will this recipe work with sugar free jello?
How much of the whipping cream do I need to make whipped cream? Do I add sugar? Thank you
Here is our recipe for homemade whipped cream https://princesspinkygirlcom.bigscoots-staging.com/homemade-whipped-cream/
love this pie would love more recipes please
So glad you love it! We send more yummy recipes like this, sign up here https://princesspinkygirlcom.bigscoots-staging.com/subscribe/
your recipes look easy and very good
It looks complicated but I’m definitely trying it. After the first time, I’ll be a pro lol
I think it’s just marvelous and scrumptious
I would love to have these recipes and more because they look good, quick and easy and I like quick and easy 🙂
They all look delicious and easy and quick and I like quick and easy 🙂
Do you got too make then each in a cake pan and it it a spring Cake Pan ?
I love all the recipes can you please send me some all the dessert recipes thanks you