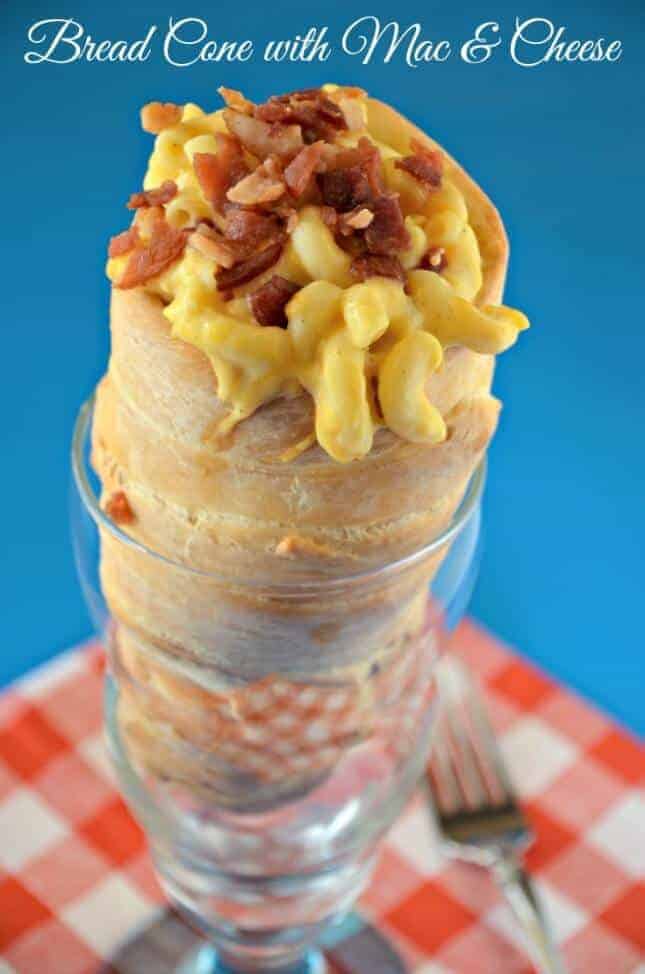
What is a Bread Cone of Goodness? Disney’s Hollywood Studios are now serving Mac ‘N Cheese Bread Cones.
We are big Disney fans. I recently read an article from News Talk Florida titled “Disney Rolls Out Mac ‘N Cheese Bread Cone”. Since, it is an easy drive to Disney World from south Alabama and other areas in the south we have lived; we have visited many times. I love blogging about all the new ideas I find in the park. We were there this past spring for a week. If you need any Disney tips, especially restaurant recommendations be sure to check out all my Disney World and Disney Wonder posts.
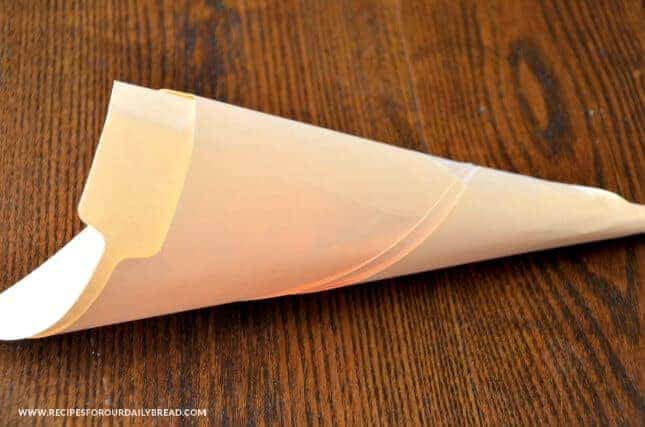
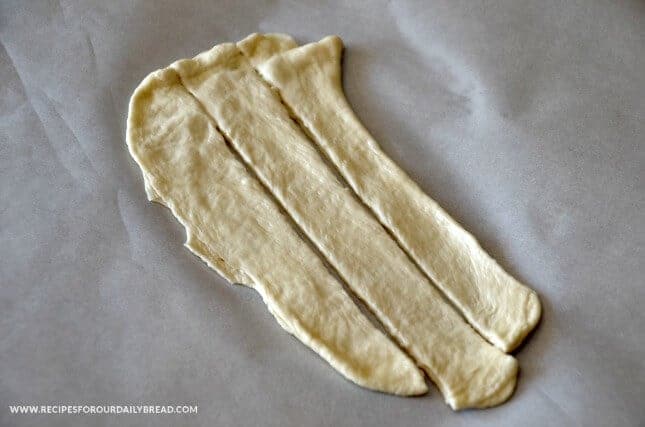
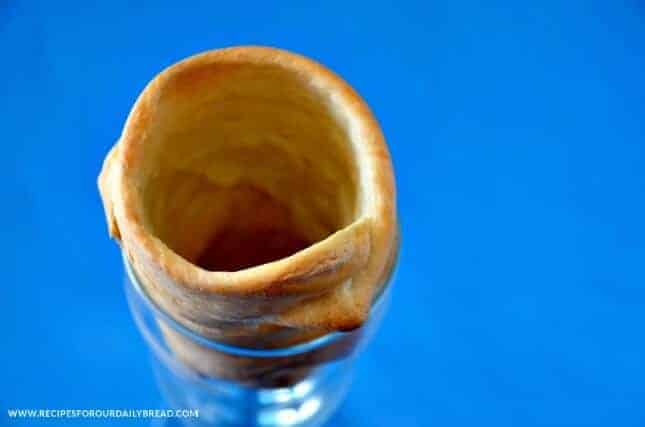
I could not wait to try Disney’s Bread Cone idea, so I made it myself. I used frozen dinner rolls. I thawed them out, rolled them out, and cut the bread dough into long strips. After making a cone I made out of a folder and foil, I wrapped it with the bread dough, baked it and filled it with Mac & Cheese. OH MY! It not only worked, but it was the cutest convenient package for eating while on the go. You can tell from the smile on my special needs son’s face that he loved the Bread Cone. I added my Slow Cooker Mac & Cheese to the bread cone and topped it with crumbled bacon. This Bread Cone filled with Mac & Cheese was Creamy, Crunchy, Delicious and fun to eat! I look forward to trying another food in the cone.

How to make a Bread Cone
Ingredients
- 3 frozen bread dough balls
Instructions
- Thaw the frozen bread dough
- Roll the envelope up into a cone shape.
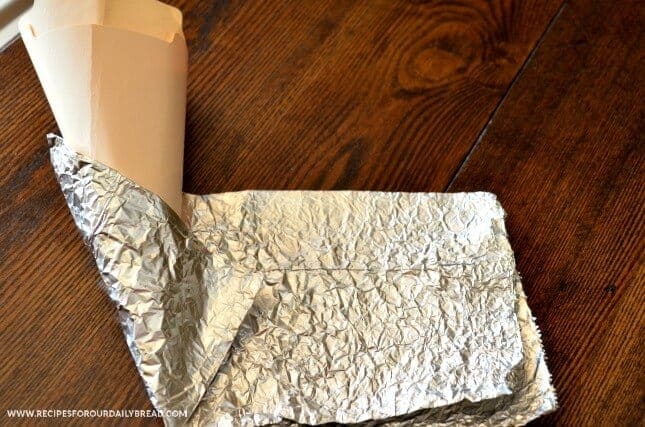
- Take the heavy foil and fold it to a 6 by 18 inch piece.
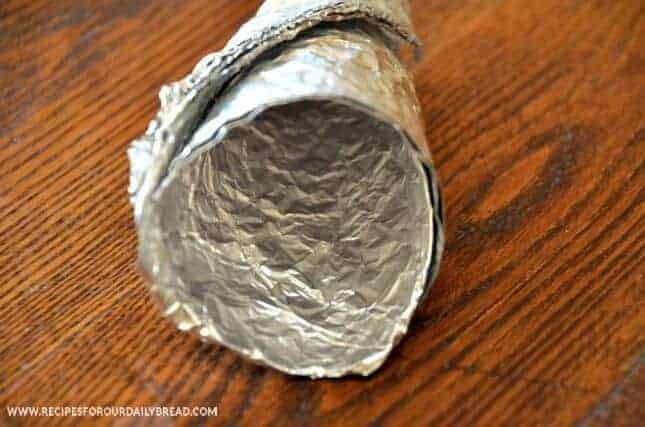
- Roll the foil around the cone shape envelop.
- Flatten the rolls out lengthwise as much as possible.
- Cut each roll into three lengthwise pieces.
- Start at the bottom of the foil and wrap a piece of bread dough around it.
- Make sure to close the bread dough tight at the bottom.
- Continue wrapping the bread dough pieces.
- Seal each piece together as you add another bread dough strip by pressing tightly.
- Continue adding the bread dough strips until you have reached your desired height of the cone.
- Remove the folder from the center of the cone.
- Place the foil with the bread dough on it upside down on a baking tray.
- Bake 350 degrees for 25 minutes or until golden brown.




This is so clever. I never would have thought of putting the two together. Sounds intriguing.
Thanks so much Carrie for stopping by and checking out this Cheesy Bread Cone. Kids and adults love these, but they would be great for a kids birthday party. Kids love Mac & Cheese and they could carry it around.
Blessings,
Diane Roark
OH MAZO! This is the most FUN jazzed up mac & cheese ever!!! I can see the grand kids loving this one. THANKS Jennifer for the recipe and Diane for recreating it and sharing it with all of us. Carrie, A Mother’s Shadow
Thanks so much Jenn for allowing me to share a recipe today! You are the BEST!
Blessings and have a great day!
Diane Roark
OMG Diane – thank YOU for sharing – now I just need you to come over and cook them at my house!!!!
Janine,
Thank you so much for your sweet comment about these Cheesy Bread Cones. They really just brought a smile on everyone in my families face. We were like little kids licking an ice cream cone. It was a fun time for all of us.
Blessings,
Diane Roark
Ok, I never saw these before (now I want to go to Disney even more then I already did), but wow do these look so good and now I may need to g buy some dough and make these for the kids and myself, too. Thank you so much Diane for sharing 🙂