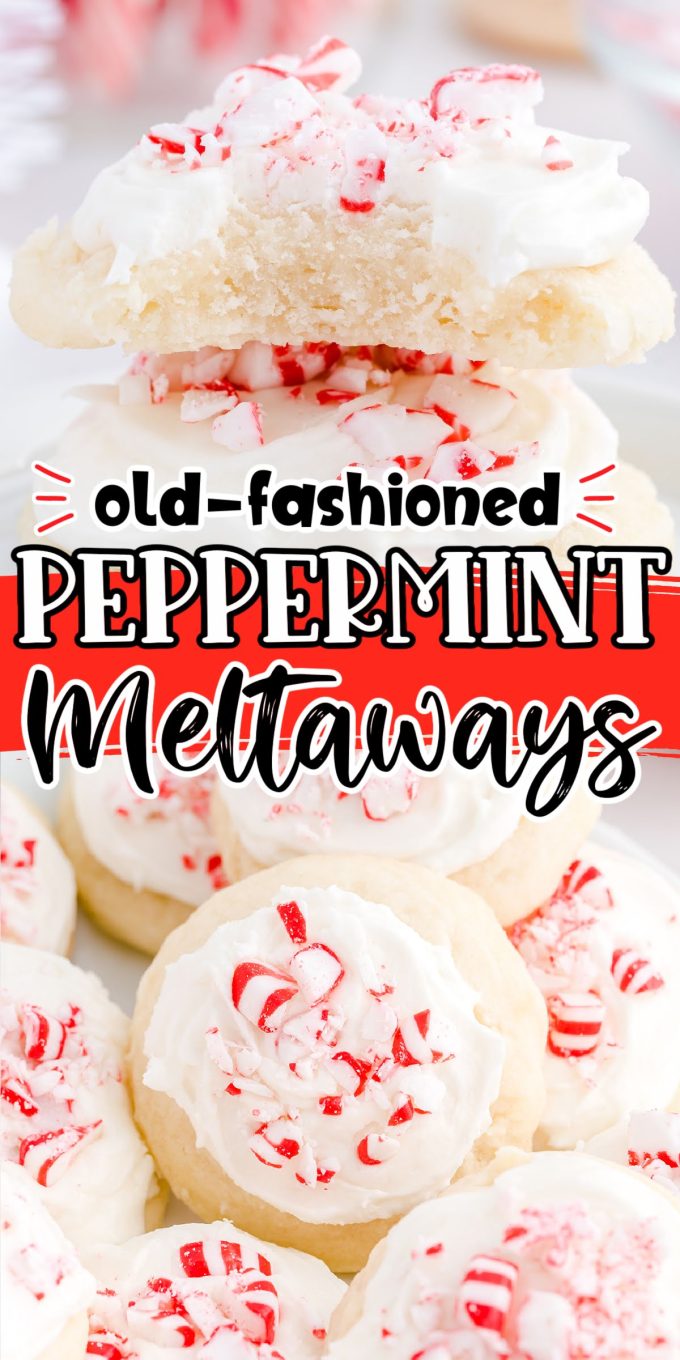
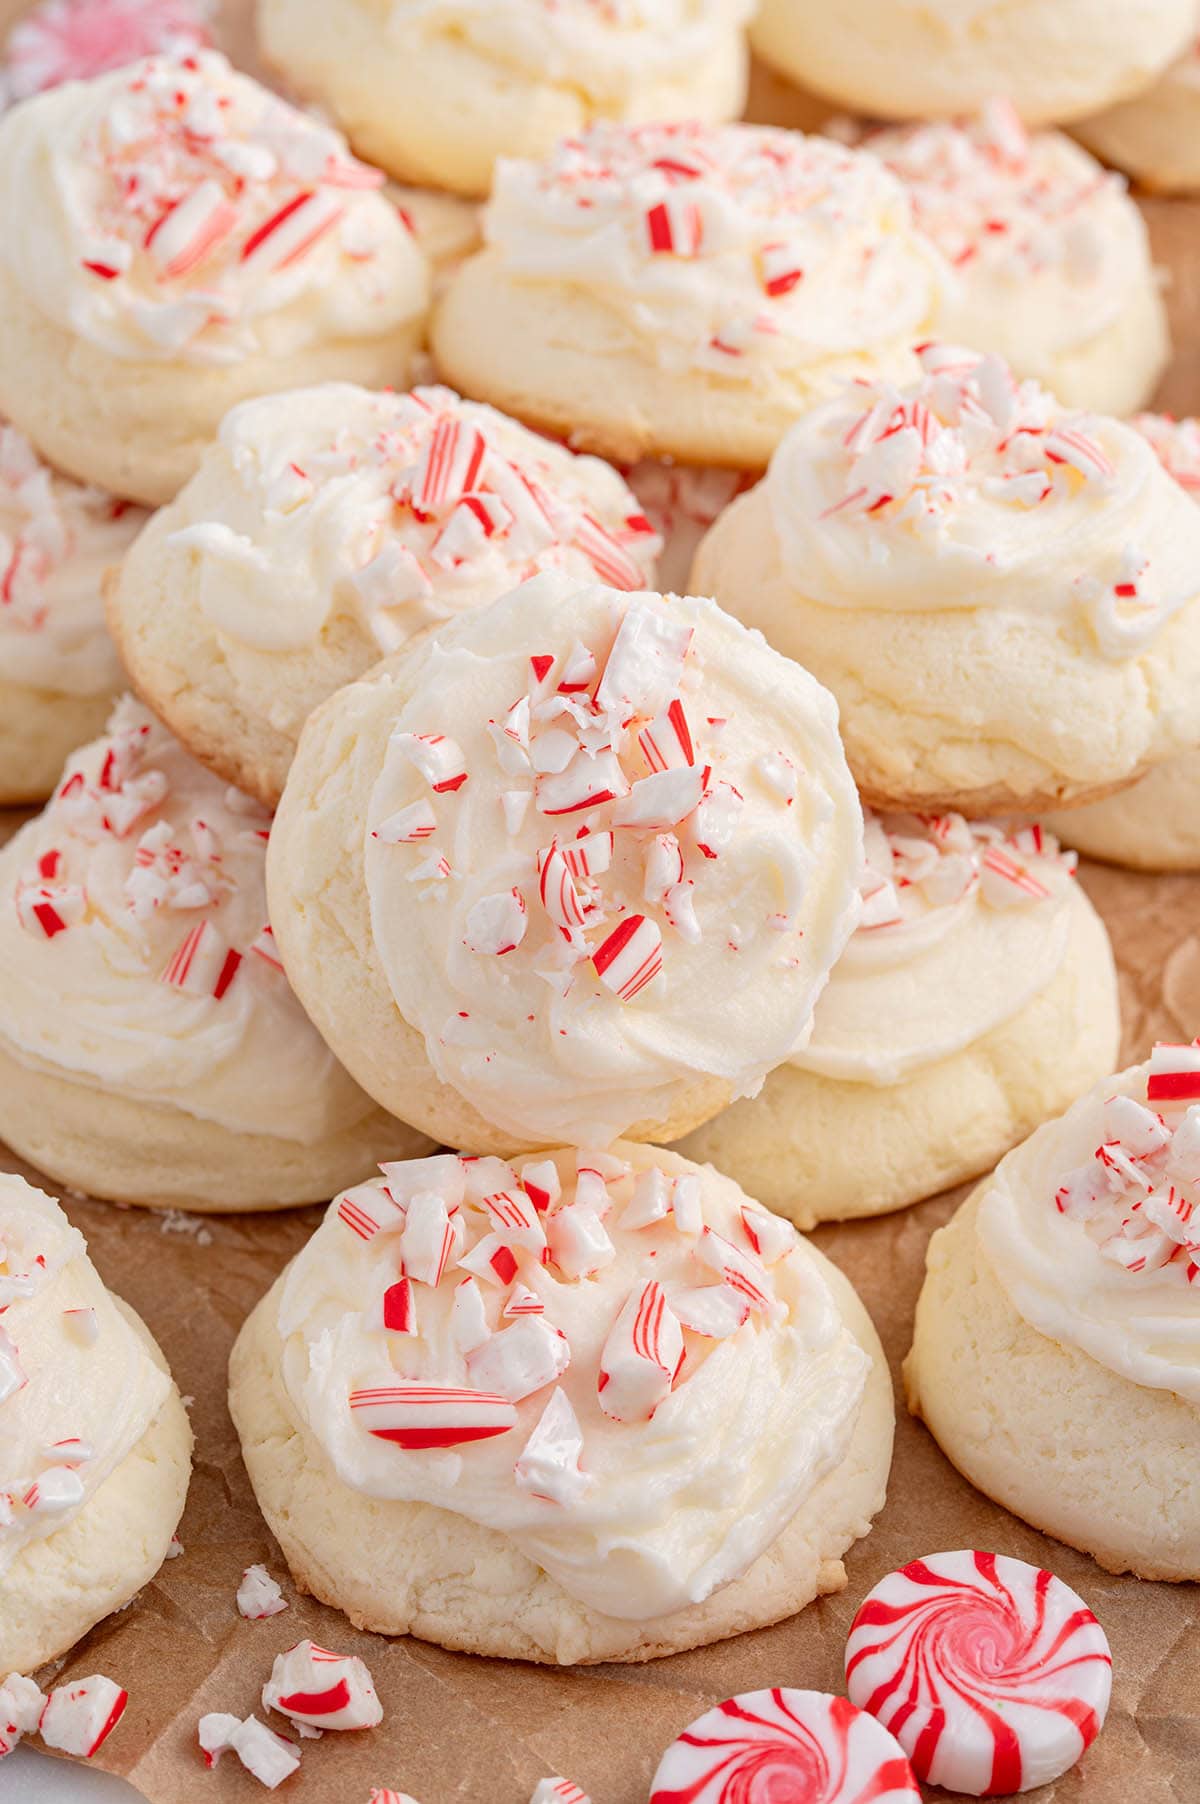
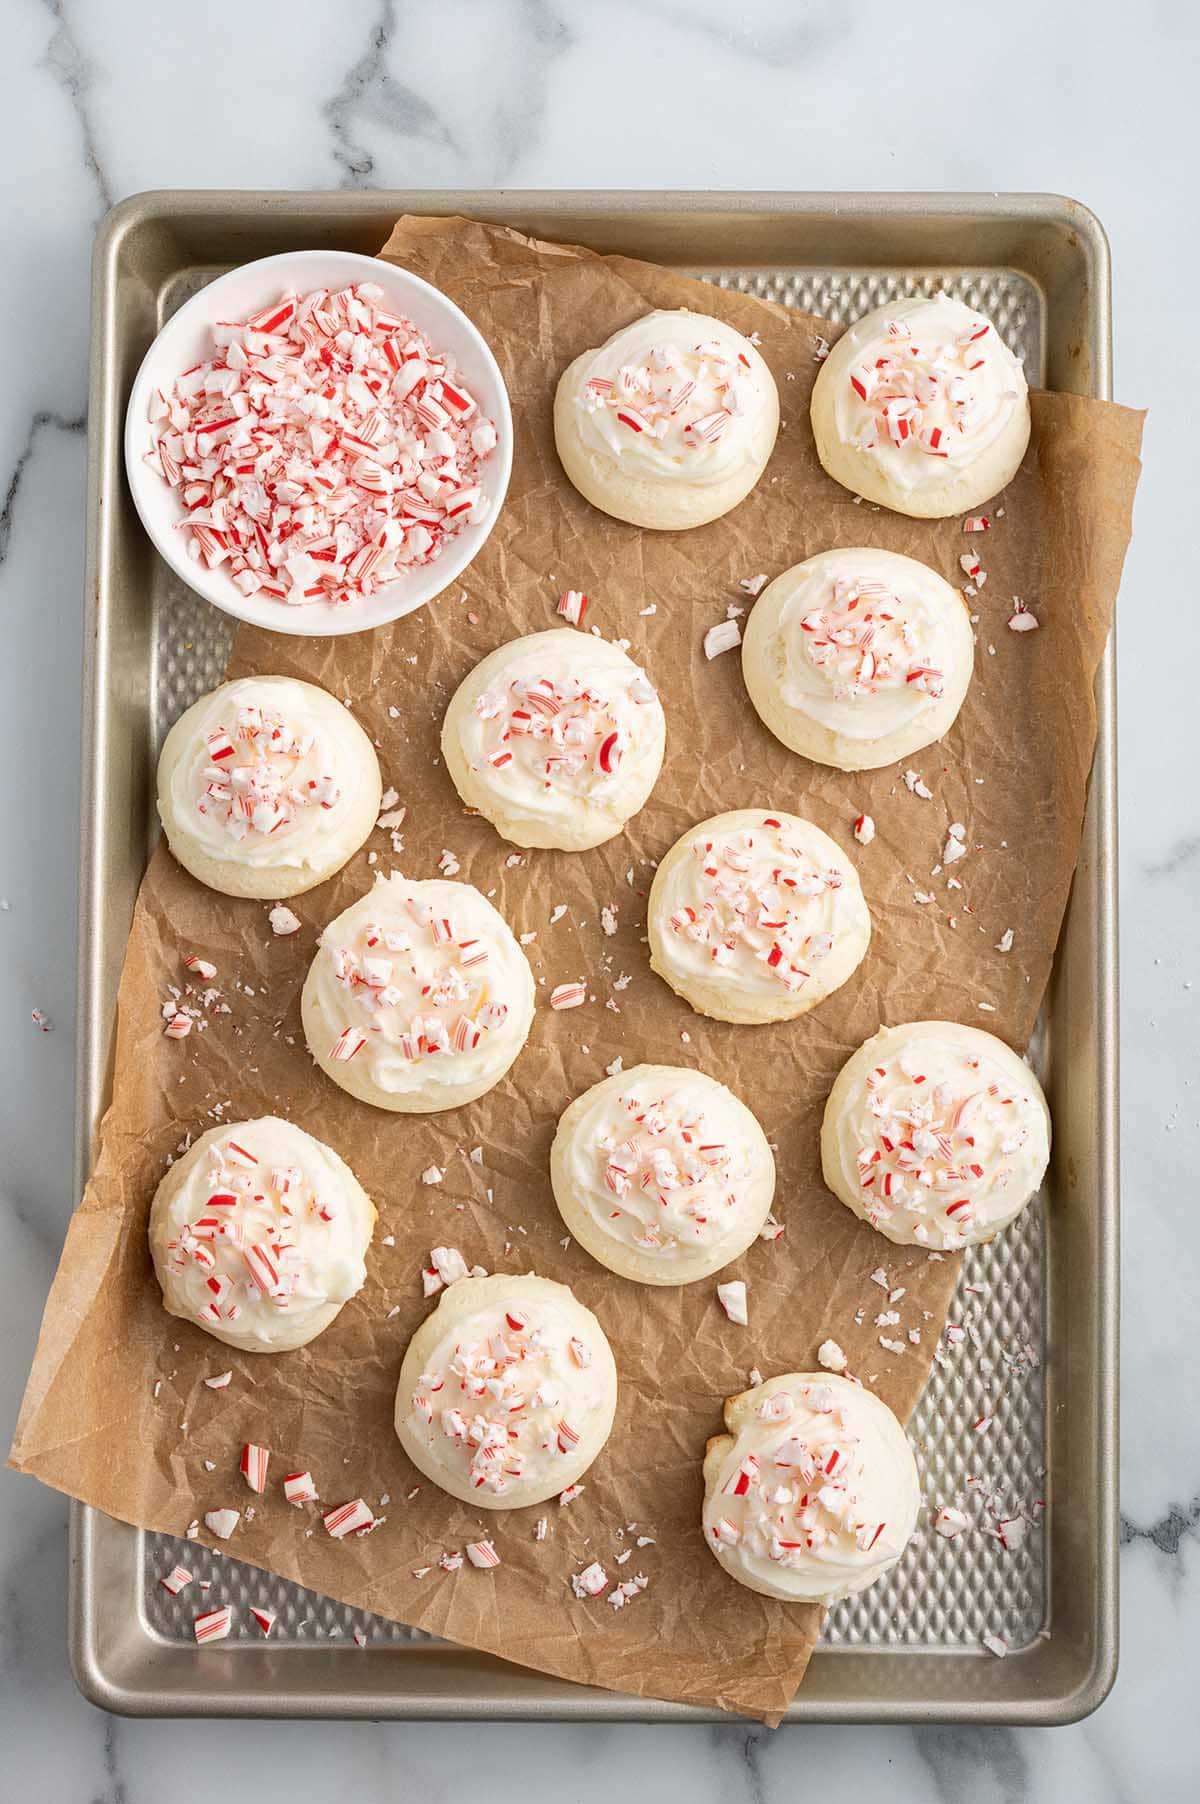
Peppermint Meltaway cookies mean Christmas is around the corner. Let the holiday baking begin with a batch of soft and fluffy frosted cookies that literally melt in your mouth!
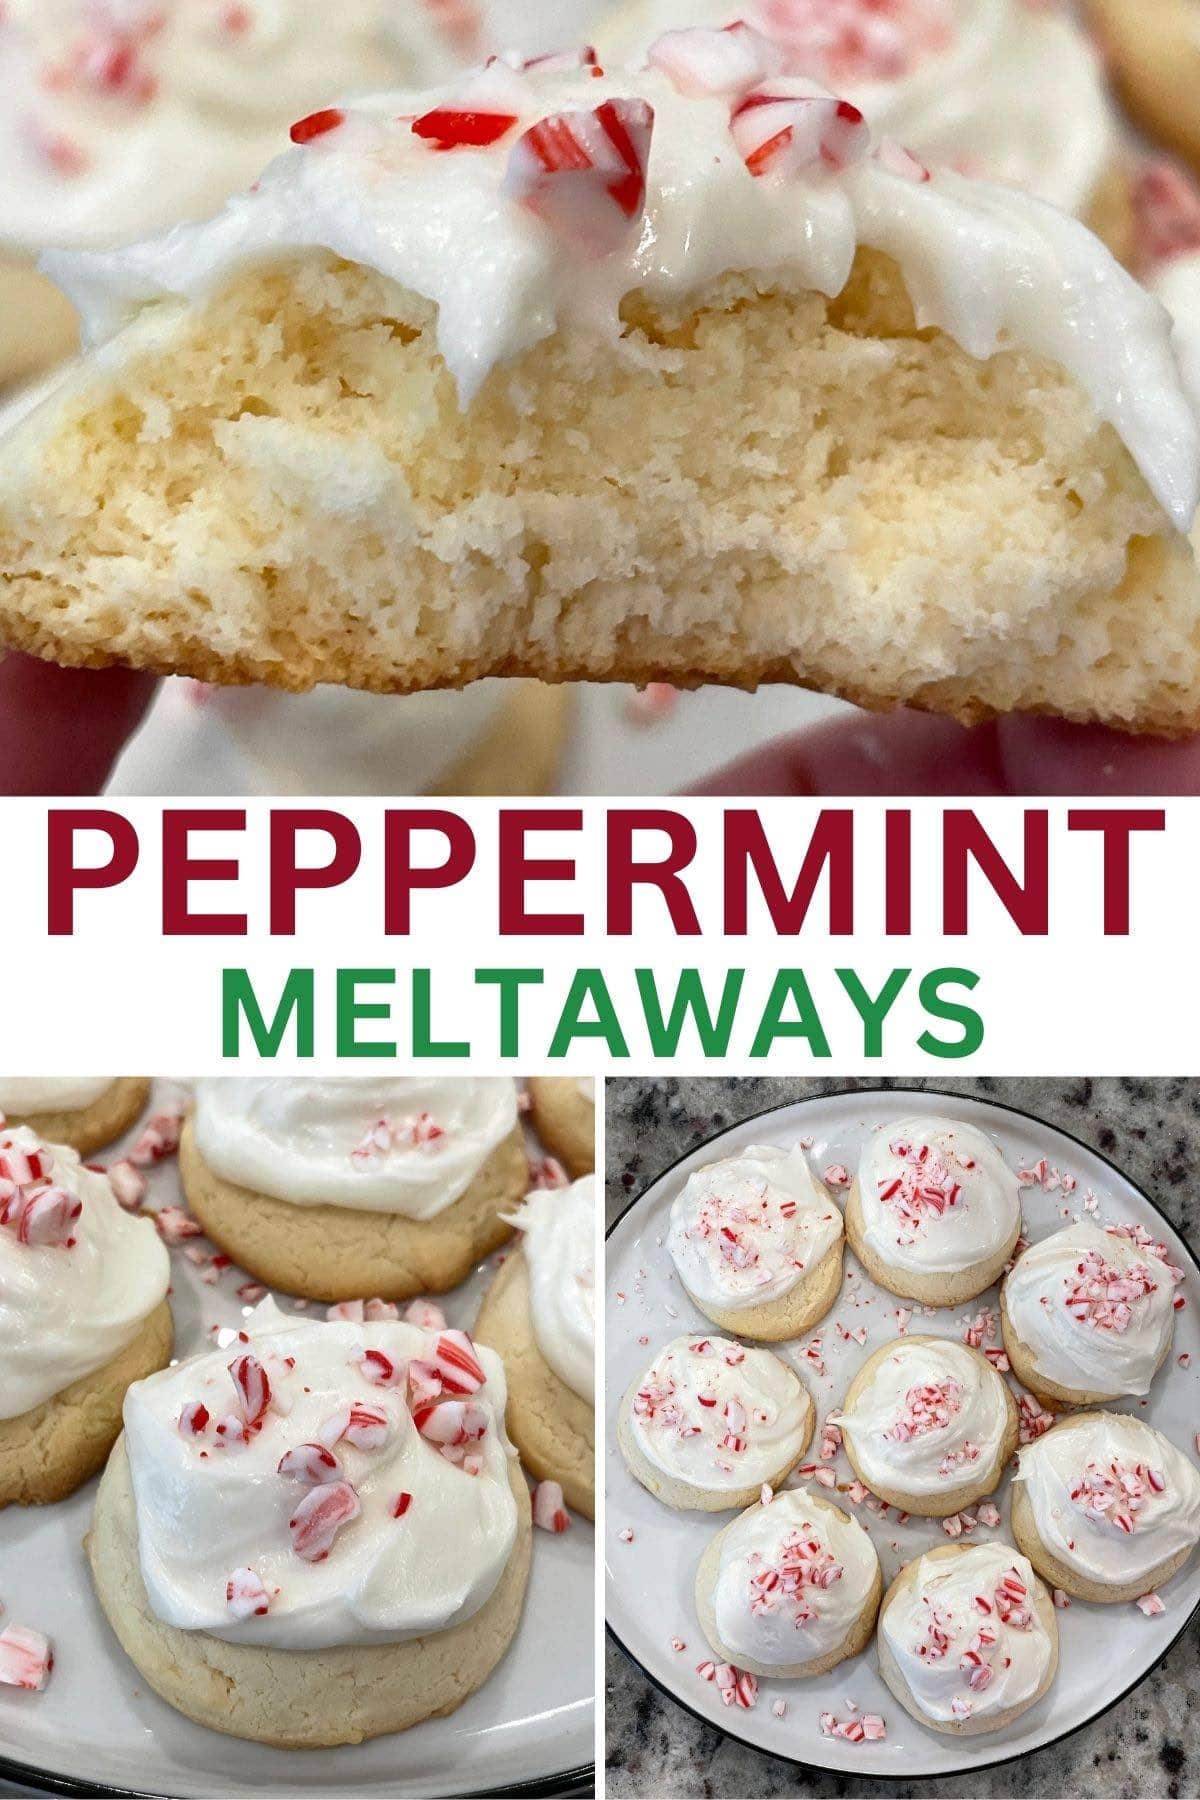
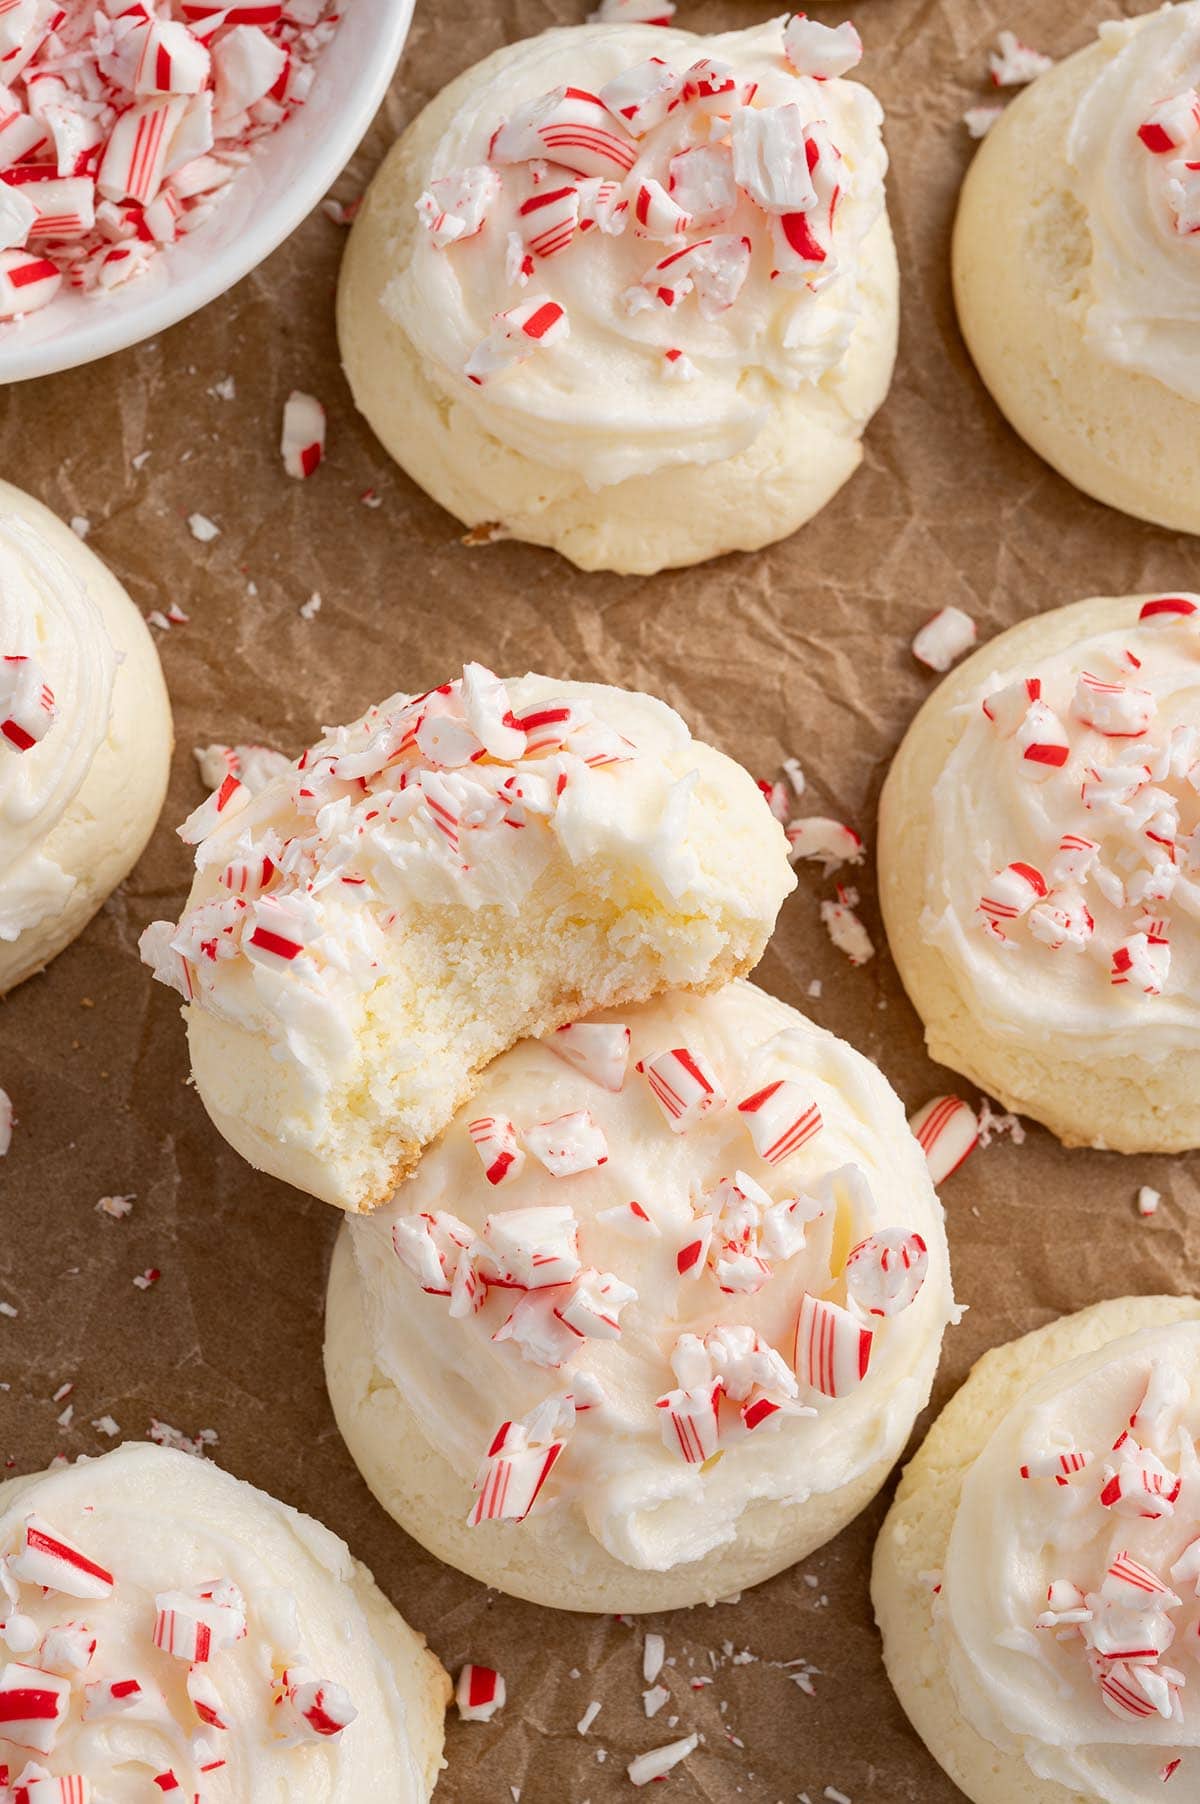
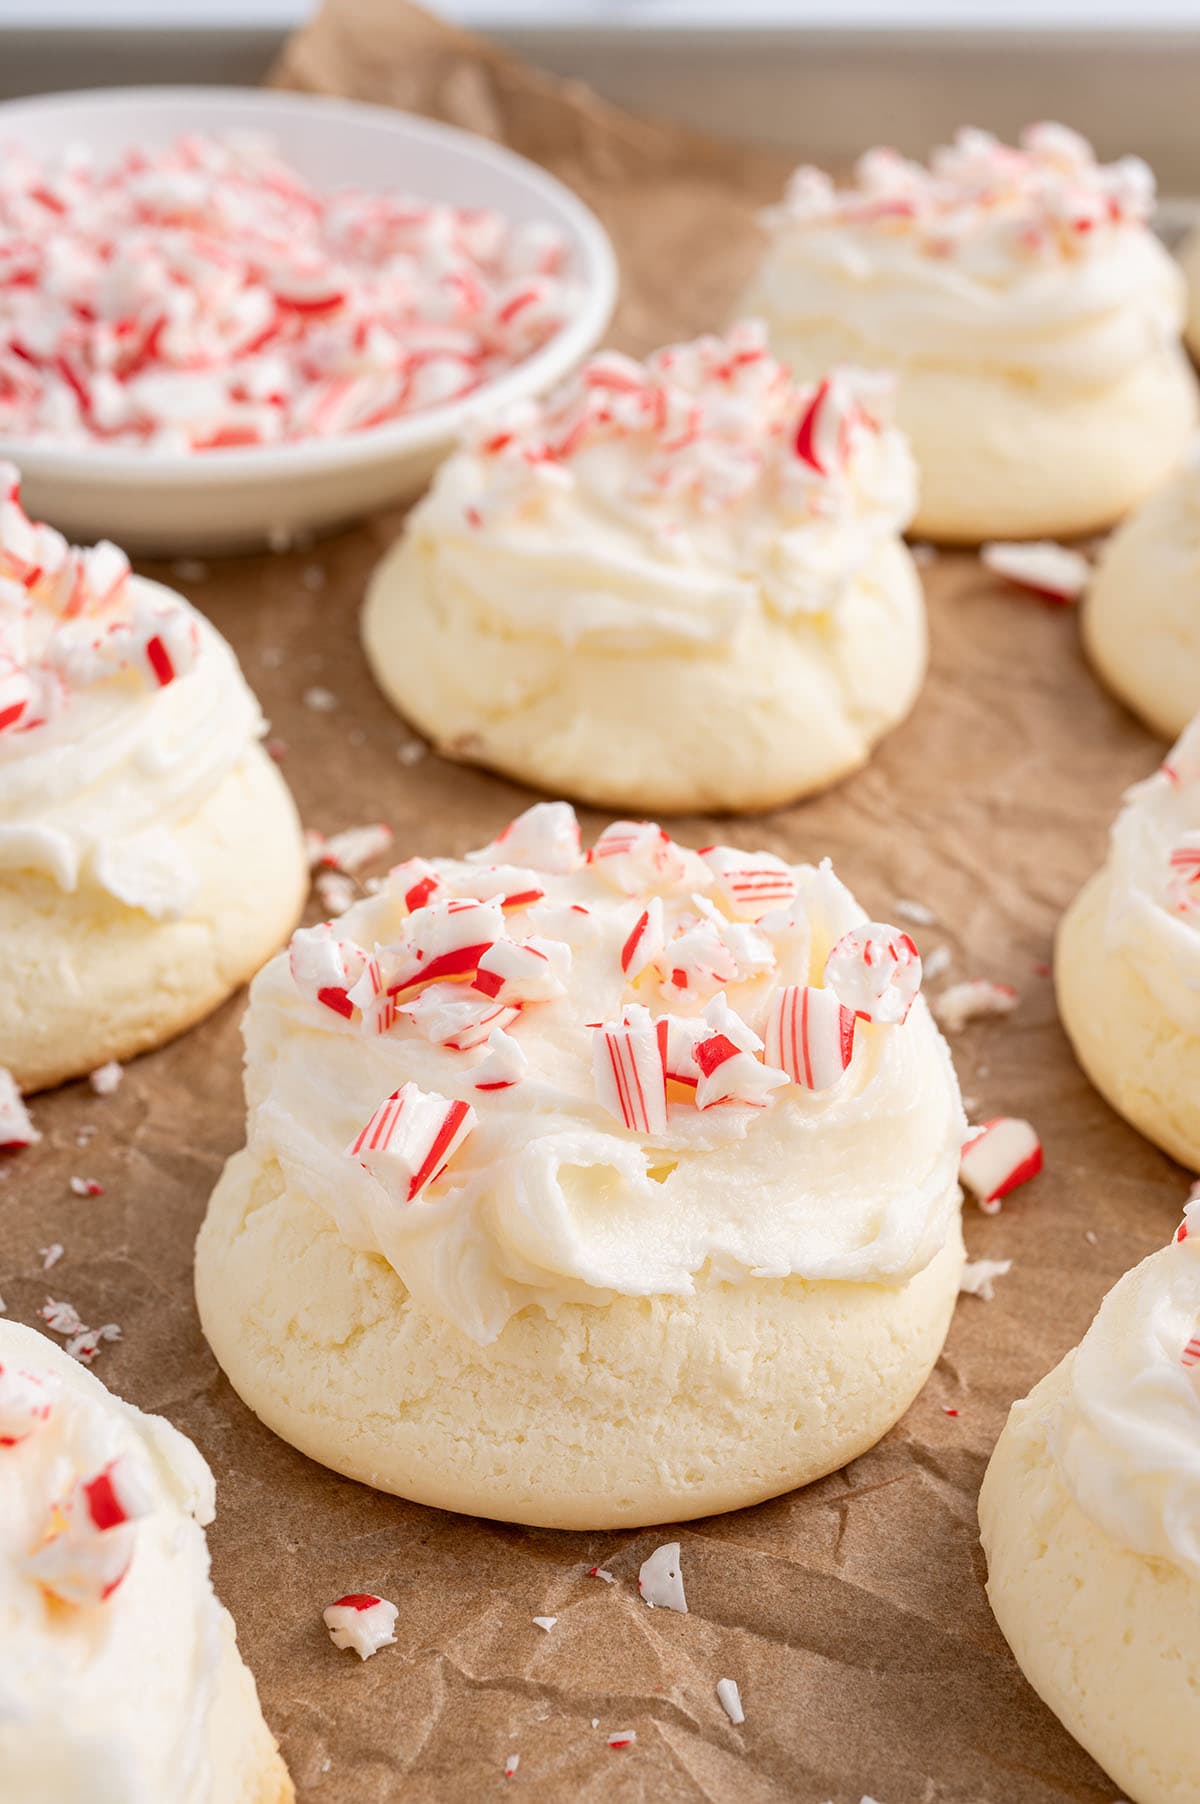
Our Peppermint Meltaways cookie recipe bakes the best holiday treat on the Christmas cookie tray! Each bite is filled with a mouthwatering minty flavor and light and tender texture that melts away like magic! They’re topped with creamy frosting and crushed candy canes for a shortbread-type cookie with festive flair.
Thanks to the generous cup of cornstarch in this recipe for peppermint meltaways, the base of these Christmas cookies bakes up fluffy and never flat! Cover them with minty frosting and a sprinkle of crunchy candy, and you’ve made the perfect peppermint cookies from top to bottom.
Christmas comes around once a year, but a peppermint meltaways cookie recipe will last a lifetime – so easy to whip up any season when the family won’t wait for December!
Ingredients Notes
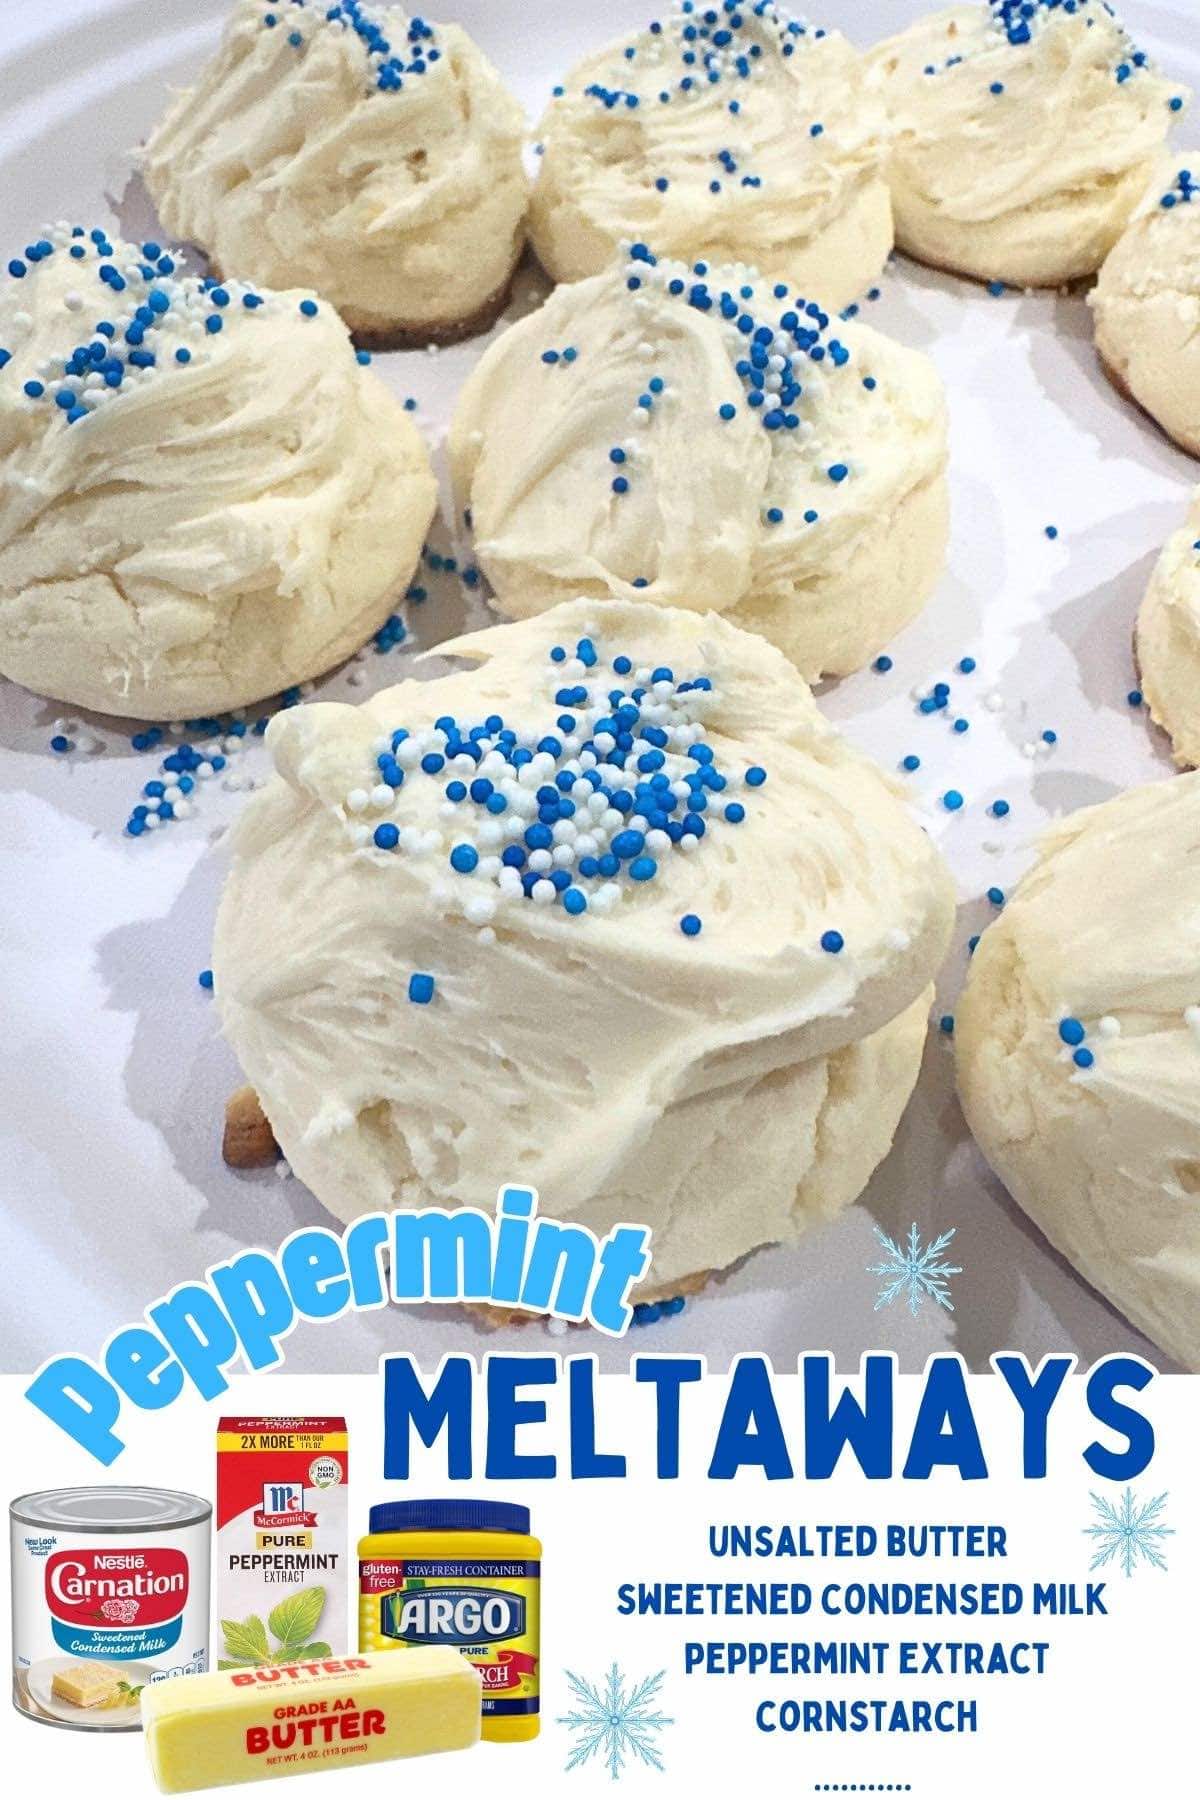
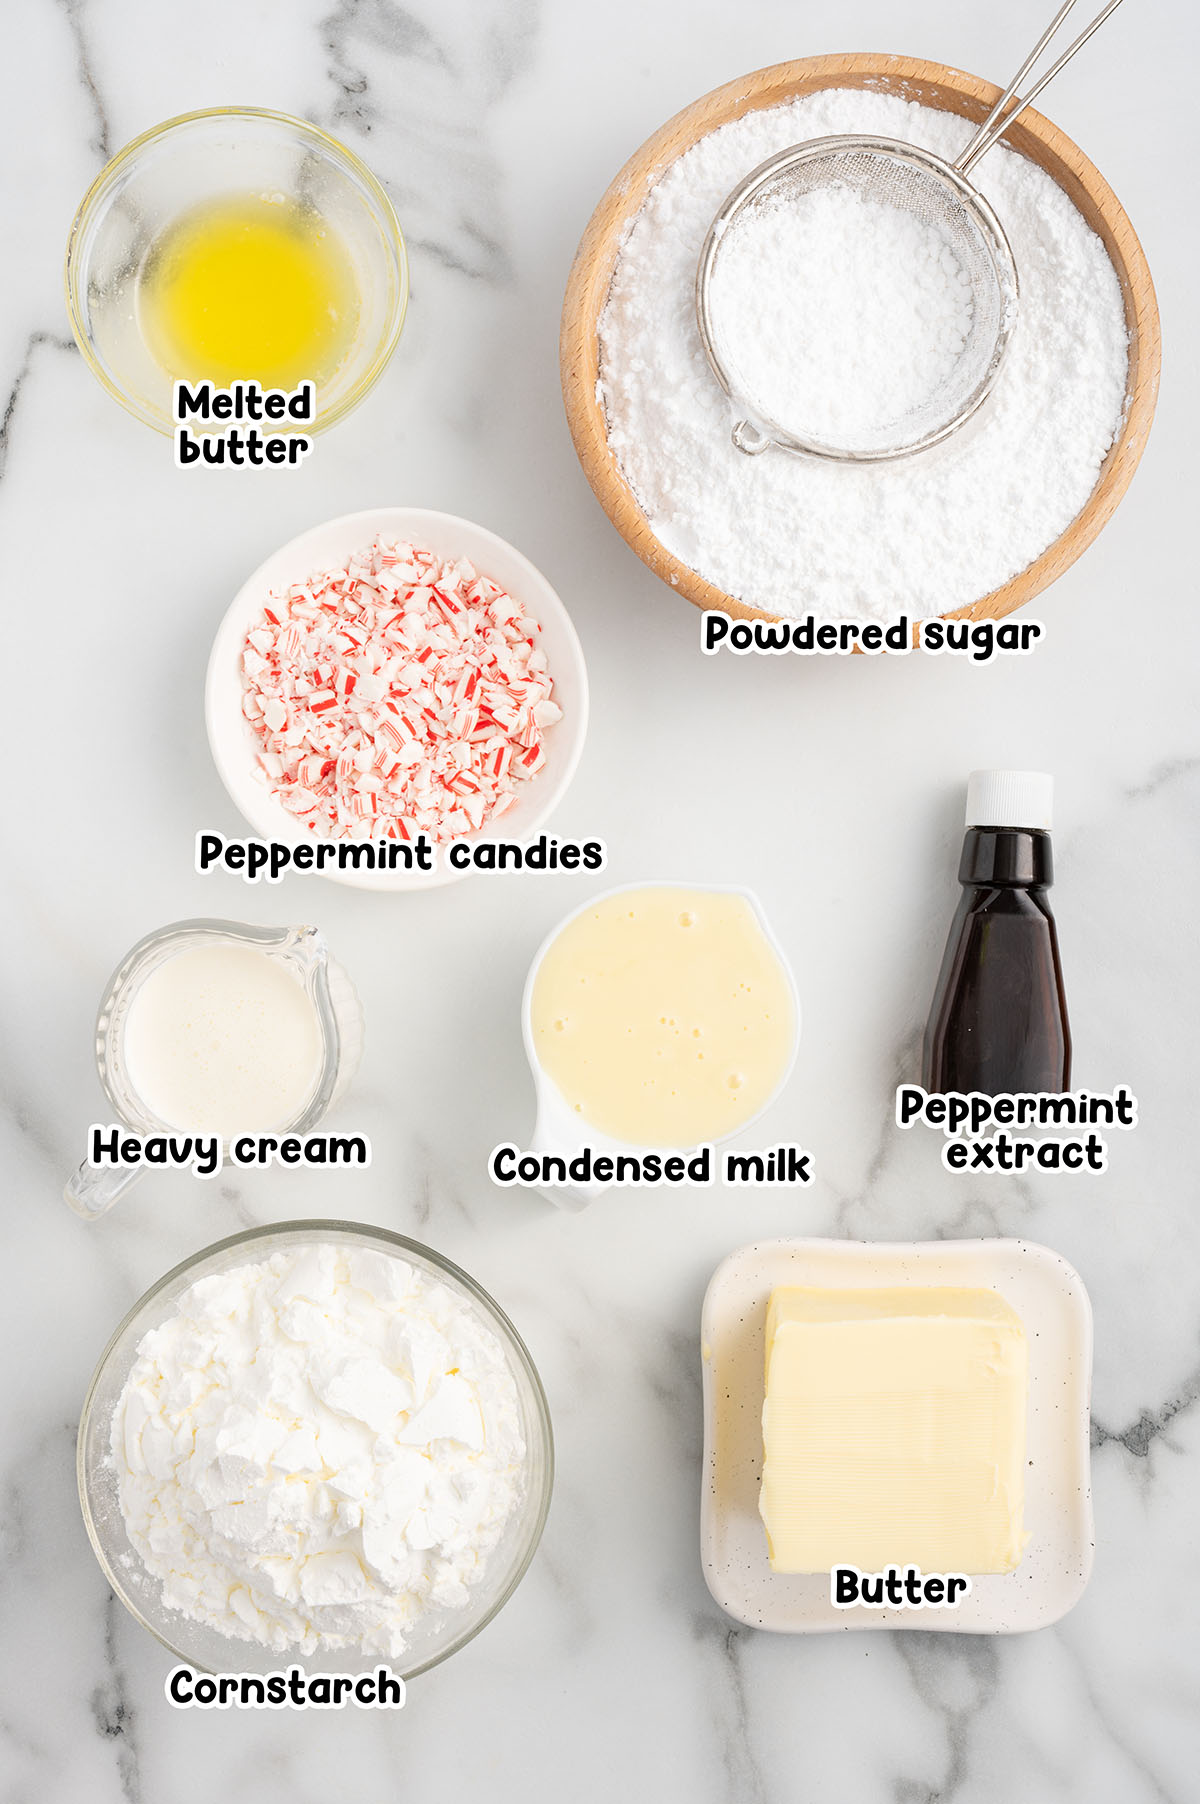
- Unsalted butter: Butter provides fat, which contributes to the cookies’ tender, melt-in-your-mouth texture. It also helps to create a smooth and spreadable frosting consistency.
- Sweetened condensed milk: Adds sweetness and moisture to the dough, which helps in achieving a balanced taste and soft and tender crumb.
- Peppermint extract: Gives the cookies a refreshing taste and a festive flavor.
- Cornstarch: Cornstarch is crucial for the meltaway texture. It helps to create a light, delicate cookie crumb.
- Powdered sugar: Powdered sugar gives the frosting its smooth, creamy consistency.
- Heavy cream: Makes the frosting more spreadable and helps to achieve a smooth, creamy texture.
See the recipe card for full information on ingredients and quantities.
How to Make Peppermint Meltaways
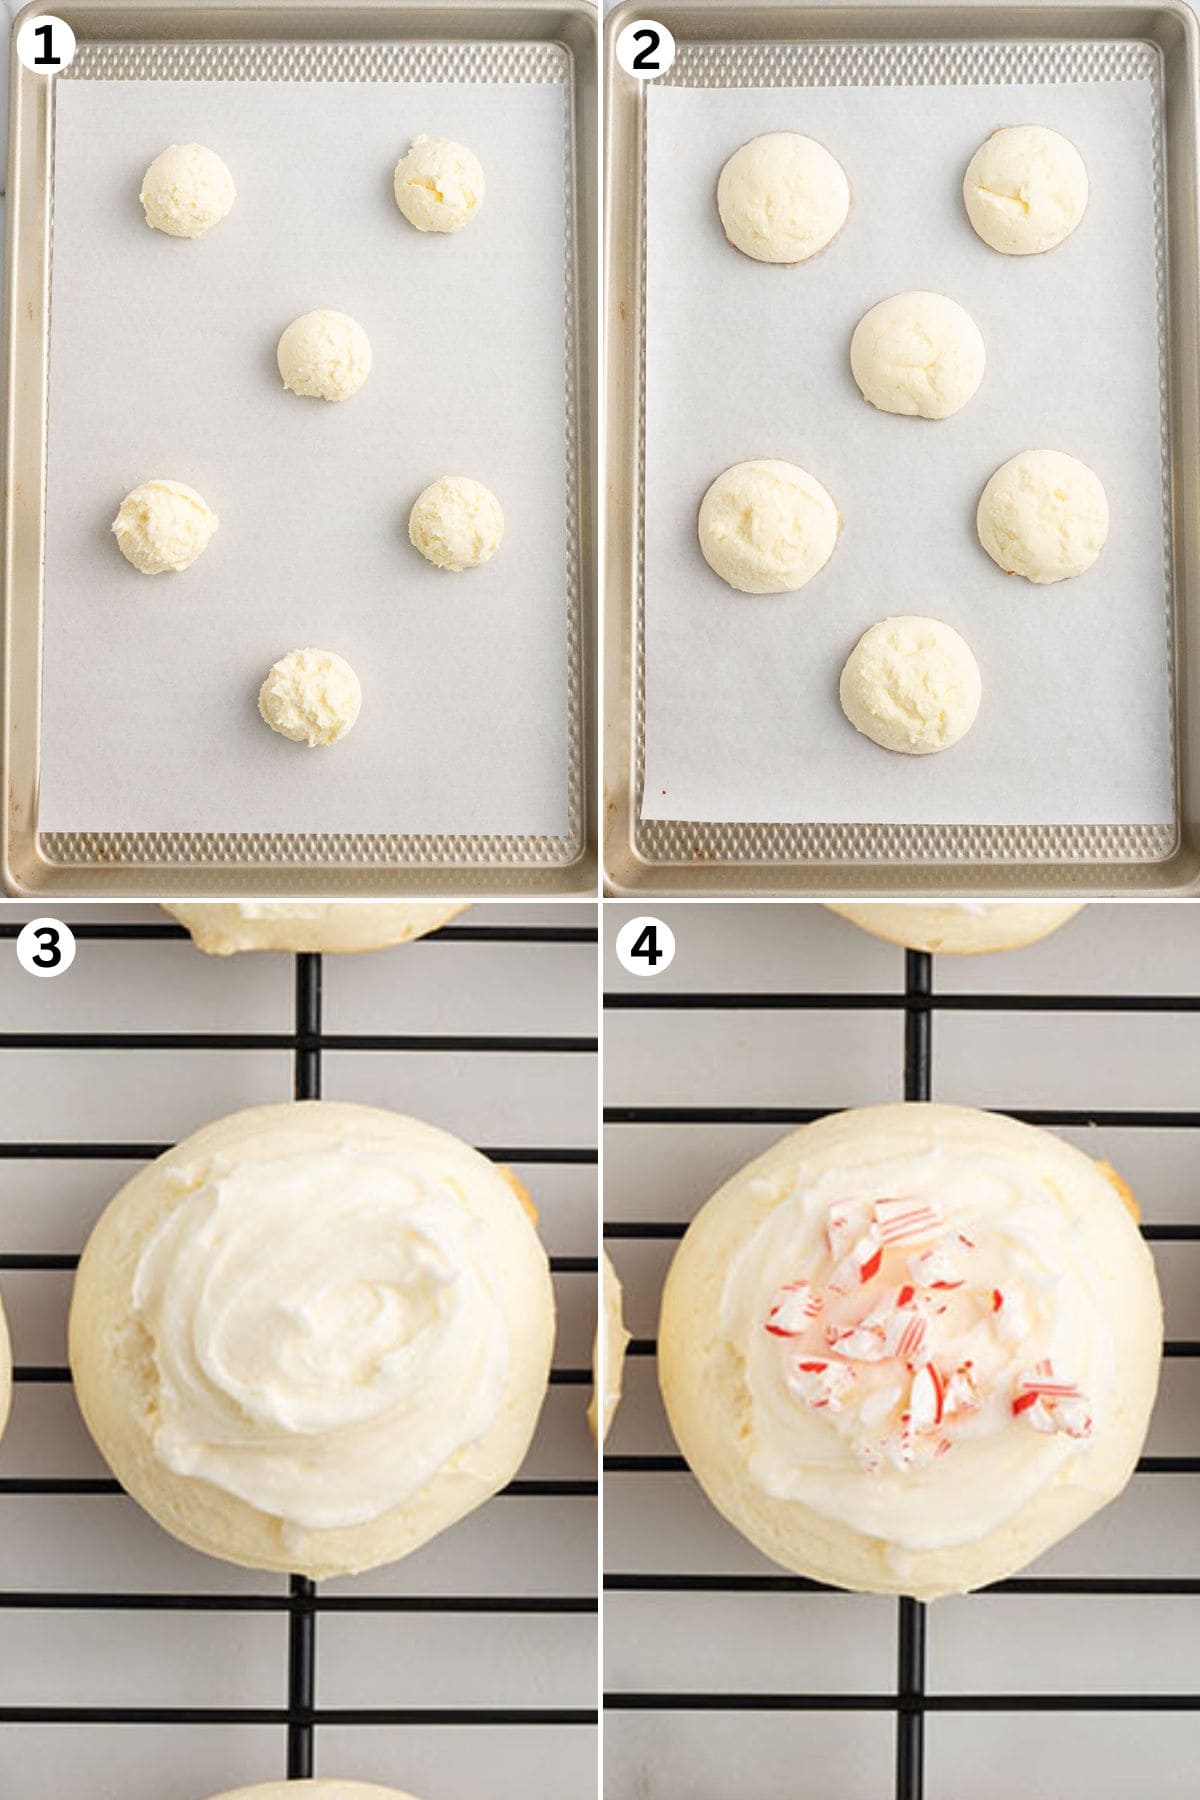
- Make The Meltaway Mixture: Beat together the butter, sweetened condensed milk and peppermint extract until smooth and no lumps remain. Mix in the cornstarch until the batter is smooth.
- Bake The Cookie Batter: Scoop the batter onto the cookie sheet, 2 inches between each cookie. Bake at 350 degrees Fahrenheit until lightly golden around the edges.
- Form The Frosting: Beat together the powdered sugar, butter, heavy cream, and peppermint extract until thick and smooth.
- Spread, Sprinkle, And Serve: Spread frosting over cooled cookies and sprinkle with the crushed peppermint candy. Serve and enjoy!
Serving Suggestions
These peppermint meltaway cookies are best served within 24 hours of baking for the freshest texture. Serve them alongside your other holiday cookies, candy, or favorite Christmas treats and recipes.
If you’re not a fan of mint-flavored frosting, feel free to decorate your cookies with a drizzle of melted chocolate or sugar cookie icing. You can also swap the crushed peppermint candy for sprinkles or sanding sugar.
Tips & Variations
- Take Control Of The Cornstarch: When making this cookie dough, start with 1 cup of cornstarch. If the dough is too soft and sticky, you can add 1-2 tablespoons of additional cornstarch to get your dough to a consistency (like thick peanut butter) that can be scooped and hold its shape but not too thick. If you add too much cornstarch, your cookies will not taste very good; too little and the cookies will spread too much when baked.
- Don’t Overmix The Dough: This introduces too much air and could cause your cookie to be too flat and tough. The dough should have a soft, slightly crumbly texture that’s easy to handle. It shouldn’t be too sticky or too dry. The dough should hold its shape when scooped into balls but still have a tender, almost silky feel to it.
- Make More: This recipe only makes a single dozen cookies and just enough frosting for a small batch of cookies. You can easily double both the cookie batter and the frosting recipe if desired.
- Before You Begin: Make sure your butter is very soft at room temperature but not melted. You should be able to push your finger through it easily. If your butter is too firm, you can microwave it for 5-8 seconds just to warm it slightly. This makes it blend well with the sweetened condensed milk.
- Flavor The Frosting: When making your frosting, start with ⅛ teaspoon of peppermint, then taste it for your preferred flavor before adding an additional ⅛ teaspoon. You can also change the flavors for these cookies by adding lemon extract (like my lemon meltaway cookies), vanilla extract, or almond extract.
- Form The Frosting: The frosting should be spreadable but should hold its shape when added to the cookies. You can add a little extra heavy cream, 1 teaspoon at a time, if it’s too thick, or extra powdered sugar, 1-2 tablespoons at a time, if it’s too thin.
Proper Storage
- To Store: These peppermint meltaways can be stored in an airtight container, in a single layer, on the counter for up to 2 days.
- To Freeze: I do not suggest freezing these cookies due to their delicate nature.
- Make Ahead: You can make your frosting ahead of time and store it in an airtight container for up to 3 days in the refrigerator. When you are ready to use it, let it come to room temperature. You may need to give it a quick whisk to make sure it is smooth and creamy for use.
More Christmas Cookie Recipes
- Grinch Cake Mix Cookies
- Peanut Butter Penguins
- Peppermint Thumbprint Cookies
- Eggnog Cookies
- Rum Balls
Please note: this recipe was tested and perfected on 9/17/2024. Comments prior to then should be disregarded.

Peppermint Meltaways Cookies
Ingredients
Cookies
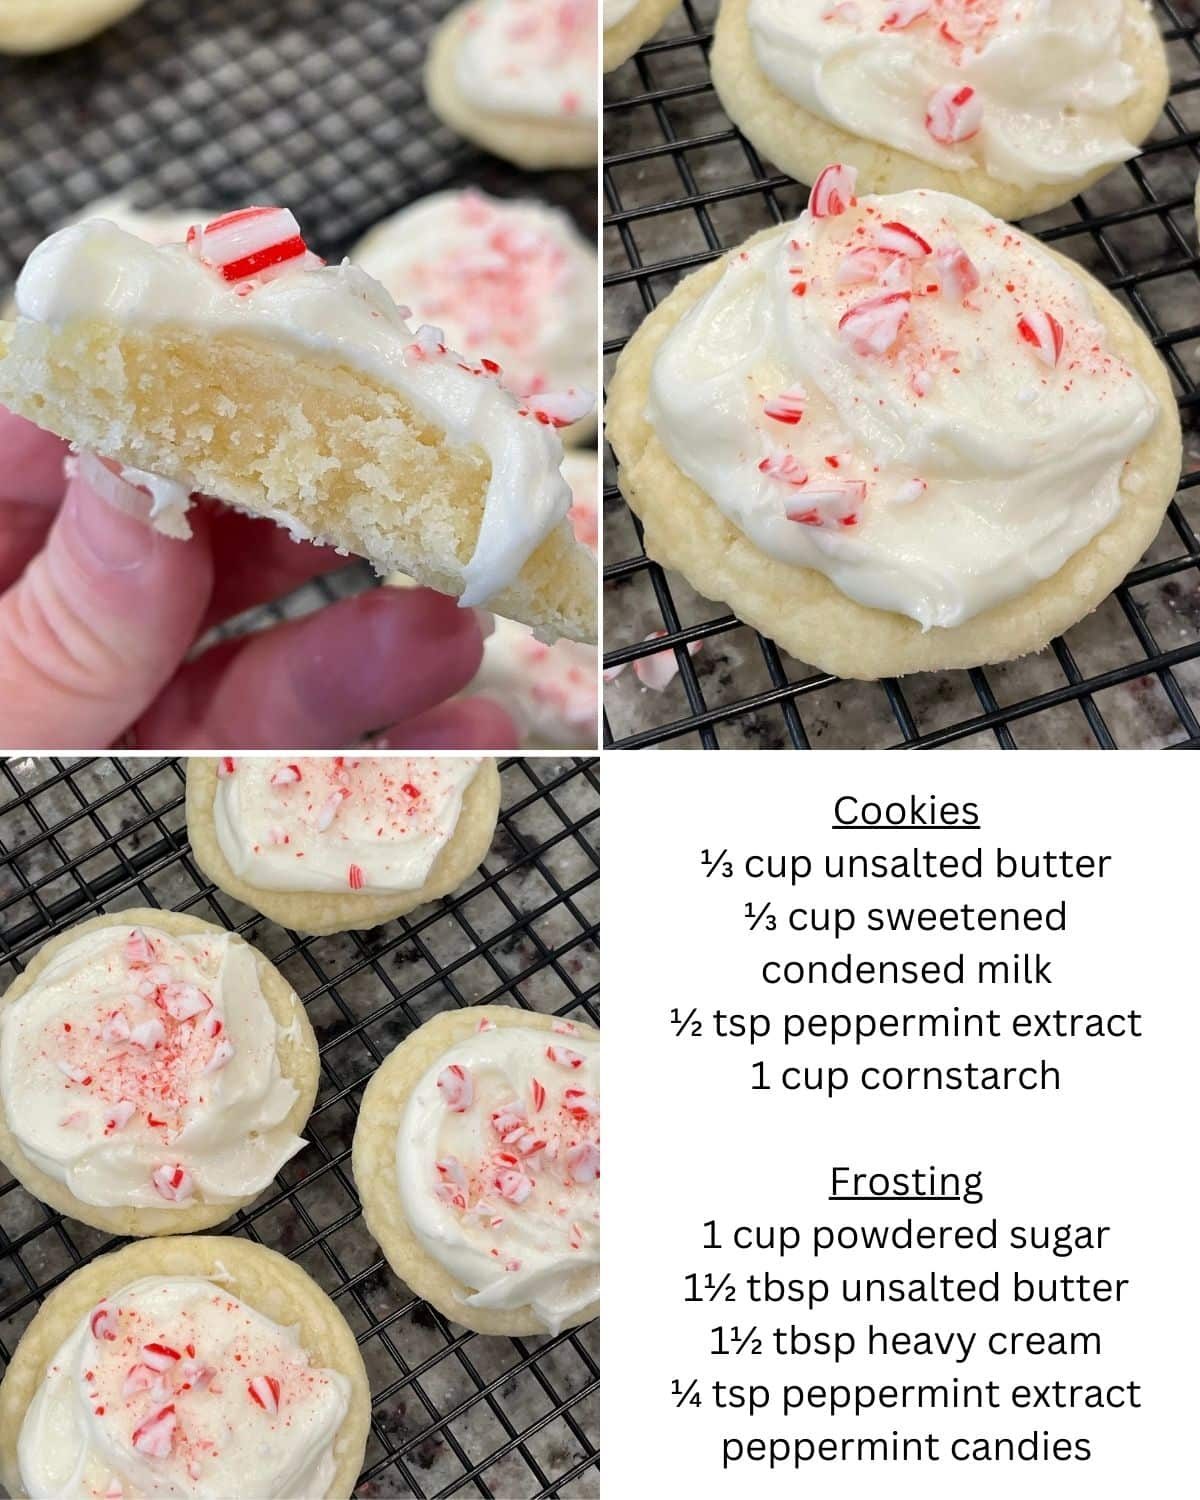
- ⅓ cup unsalted butter very soft room temperature
- ⅓ cup sweetened condensed milk
- ½ teaspoon peppermint extract
- 1 cup cornstarch (plus 1-2 tablespoons – see tips)
Frosting
- 1 cup powdered sugar sifted
- 1½ tablespoons unsalted butter melted and cooled
- 1½ tablespoons heavy cream
- ⅛ – ¼ teaspoon peppermint extract (amount depends of preferred peppermint flavor)
- crushed peppermint candies for garnish
Instructions
- Preheat oven to 350* F. Line a large baking sheet with parchment paper. Set aside.
- To a medium bowl add the unsalted butter, sweetened condensed milk and peppermint extract. Using a handheld mixer on medium-high speed, beat together until smooth and no lumps of butter remain.⅓ cup unsalted butter, ⅓ cup sweetened condensed milk, ½ teaspoon peppermint extract
- To the bowl add the cornstarch and mix on low speed until fully incorporated and the batter is smooth.1 cup cornstarch
- Using a 1 tablespoon cookie scoop, scoop out a level scoop and place onto the prepared baking sheet. Be sure to leave 2 inches between each cookie.
- Bake the peppermint meltaway cookies for 10 -12 minutes or just until lightly golden around the edges.
- Allow the cookies to cool on the baking sheet for 5 minutes before transferring them to a wire cooling rack to cool completely on the counter before frosting them.
- While the cookies are baking and cooling you can make the frosting by adding to a medium bowl the powdered sugar, melted butter, heavy cream and peppermint extract.1 cup powdered sugar, 1½ tablespoons unsalted butter, 1½ tablespoons heavy cream, ⅛ – ¼ teaspoon peppermint extract
- Beat the mixture until thick and smooth. The frosting should be spreadable but should hold its shape when added to the cookies. You can add a little extra heavy cream (1 teaspoon at a time) if too thick, or extra powdered sugar (1-2 tablespoons at a time) if too thin.
- Frost each cookie with approximately 2 teaspoons of frosting and sprinkle with the crushed peppermint candy for garnish before plating and serving.crushed peppermint candies
Jenn’s Notes
- To Store: These peppermint meltaways can be stored in an airtight container, in a single layer, on the counter for up to 2 days.
- To Freeze: I do not suggest freezing these cookies due to their delicate nature.
- Make Ahead: You can make your frosting ahead of time and store it in an airtight container for up to 3 days in the refrigerator. When you are ready to use it, let it come to room temperature. You may need to give it a quick whisk to make sure it is smooth and creamy for use.
- When making this cookie dough, start with 1 cup of the cornstarch. If the dough is too soft and sticky, you can add 1-2 tablespoons of additional cornstarch to get your dough to a consistency (like a thick peanut butter) that can be scooped and hold its shape but not too thick. If you add too much cornstarch your cookies will not taste very good; too little and the cookies will spread too much when baked.
- Don’t overmix the dough. This introduces too much air and could cause your cookie to be too flat and tough. The dough should have a soft, slightly crumbly texture that’s easy to handle. It shouldn’t be too sticky or too dry. The dough should hold its shape when scooped into balls but still have a tender, almost silky feel to it.
- This recipe only makes a single dozen cookies and just enough frosting for a small batch of cookies. You can easily double both the cookie batter and the frosting recipe if desired.
- Make sure your butter is at a very soft room temperature but not melted. You should be able to push your finger through it easily. If your butter is too firm, you can microwave it for 5-8 seconds just to warm it slightly. This makes it blend well with the sweetened condensed milk.
- When making your frosting, start with ⅛ teaspoon of peppermint, then taste it for your preferred flavor before adding an additional ⅛ teaspoon. You can also change the flavors for these cookies by adding lemon extract (like my lemon meltaway cookies), vanilla extract, or almond extract.
- The frosting should be spreadable but should hold its shape when added to the cookies. You can add a little extra heavy cream, 1 teaspoon at a time, if it’s too thick, or extra powdered sugar, 1-2 tablespoons at a time, if it’s too thin.
- If you prefer, you can use a store-bought frosting instead of making your own. You can use a regular vanilla frosting and mix in some peppermint extract and crushed candy canes to get the same effect. Otherwise, you can just use a plain vanilla frosting and add some red food coloring for a holiday feel.
Nutrition Info
Please note: this recipe was tested and perfected on 9/17/2024. Comments prior to then should be disregarded.







So many negative comments! I made these tonight and they turned out great, just like they were supposed to! I’m not sure why others had issues as I’m not really an expert baker, I just follow recipes!
These were the perfect amount of peppermint!
So glad you enjoyed them. We are trying to figure out why it is working for some, but not for others!
I REALLY wanted to like this recipe – unfortunately they did not turn out for me and was a waste of ingredients. They did not flatten in the oven before browning around the edges – and I use an oven thermometer to insure correct temps. Flavor of peppermint was ok. But overall the recipe flopped for me.
I am so sorry these didn’t work out for you. We have tested this recipe numerous times and based on the feedback, we are going to test them again. I am so sorry that they were a fail. We pride ourselves on putting tried and tested recipes, so please know we are working hard to see where the issues are.
I was so excited to make these. The dough tasted great – yea, I like cookie dough. Popped them in the oven, set my timer and came back to a flat, burnt wafer. I followed the recipe exactly. Very disappointing.
They taste ok but where flat and fell apart I wonder if no egg made a difference
I am so sorry these didn’t work out for you. We have tested this recipe numerous times and based on the feedback, we are going to test them again. I am so sorry that they were a fail. We pride ourselves on putting tried and tested recipes, so please know we are working hard to see where the issues are.
You did not say how many these make? Not sure I would ever make them again. They spread out way too much and not the texture I like.
The cookies went flat after removing from the oven. I have not used cornstarch in a cookie recipe before. I think that is what makes the cookie not quite right. I did enjoy the frosting!
These were an epic fail! Very flat and tasted like toothpaste and chalky
Can you use gluten free flour for these?
I’ve tried these twice & my dough ends up hard what am I doing wrong
These taste very good but most of ine deflated in the oven. Went back re-read the instructions to make sure I didn’t miss anything. I’ve made cookies similar to this except you make the dough into a disc, wrap and refrigerate to 2 hours. Not sure if that would make a difference in the recipe.
Can you use salted butter?
I have not tested this with salted butter. The results should look the same, but the taste will be affected.