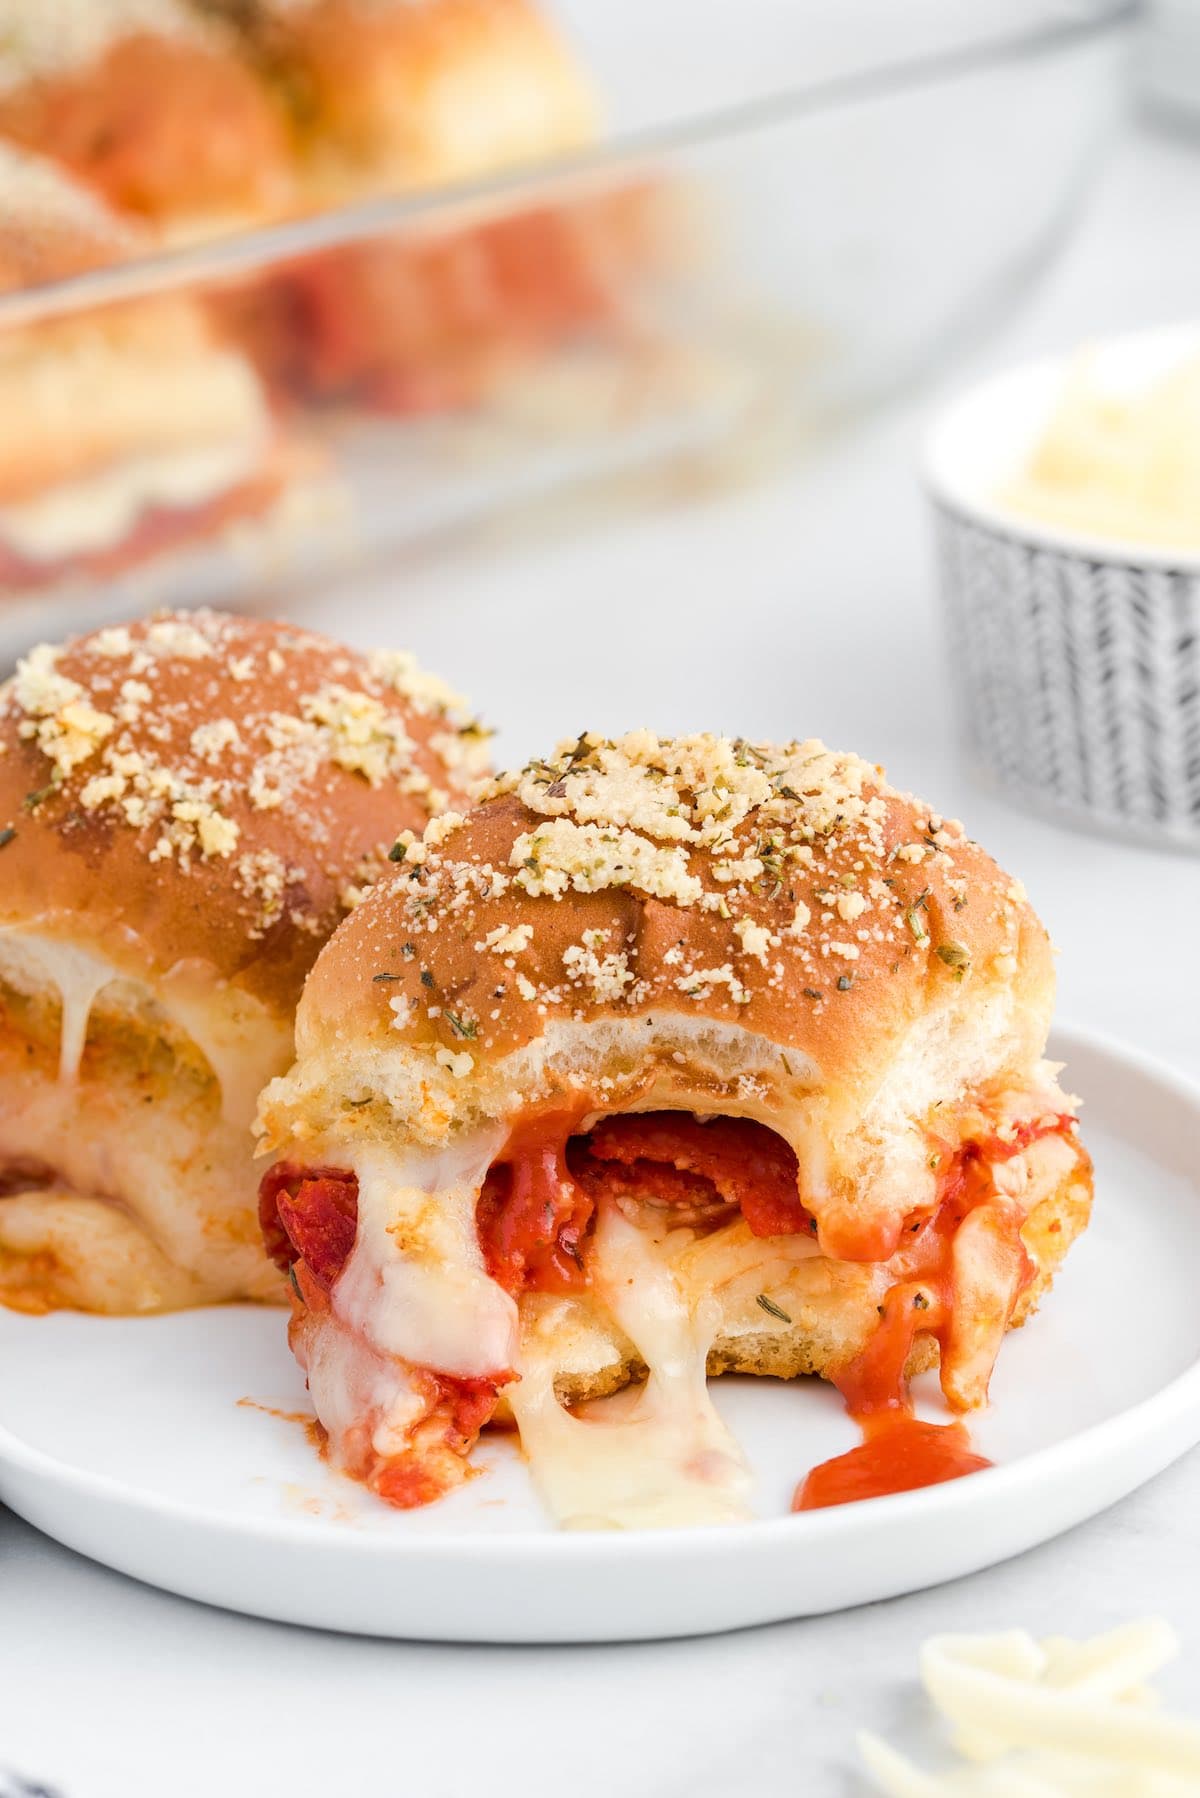
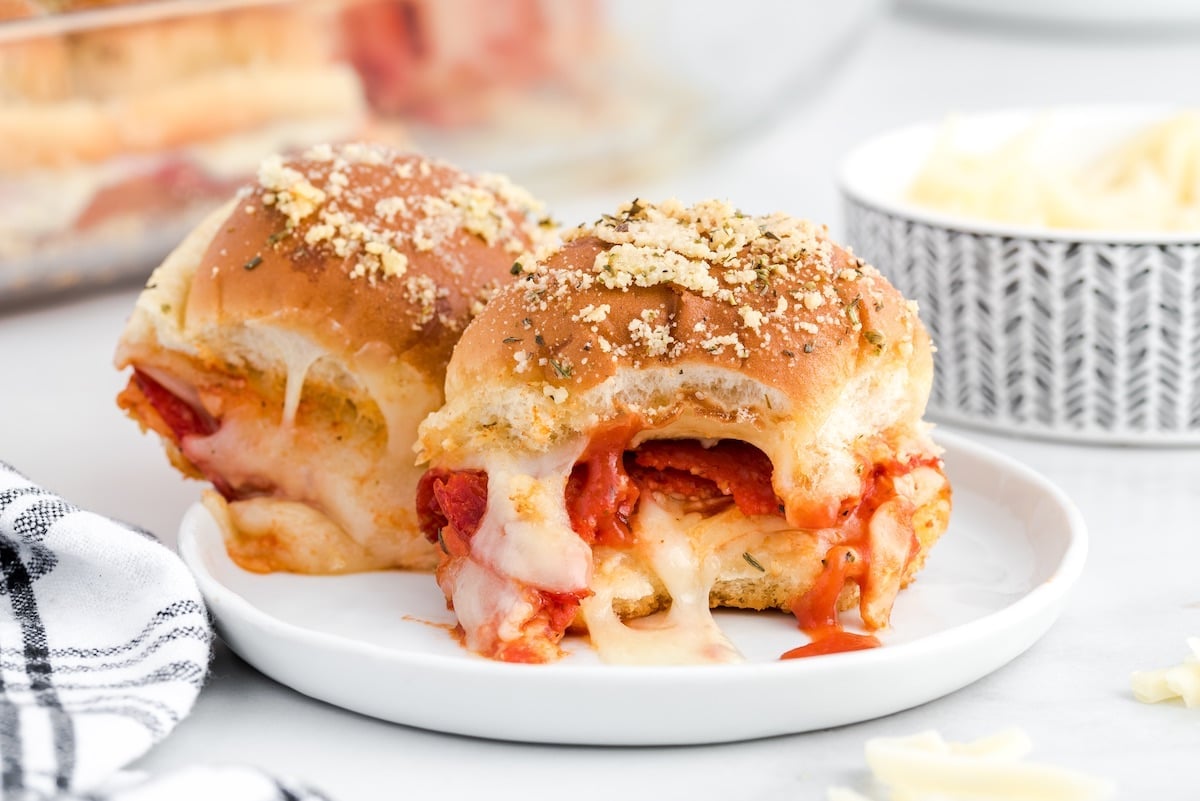
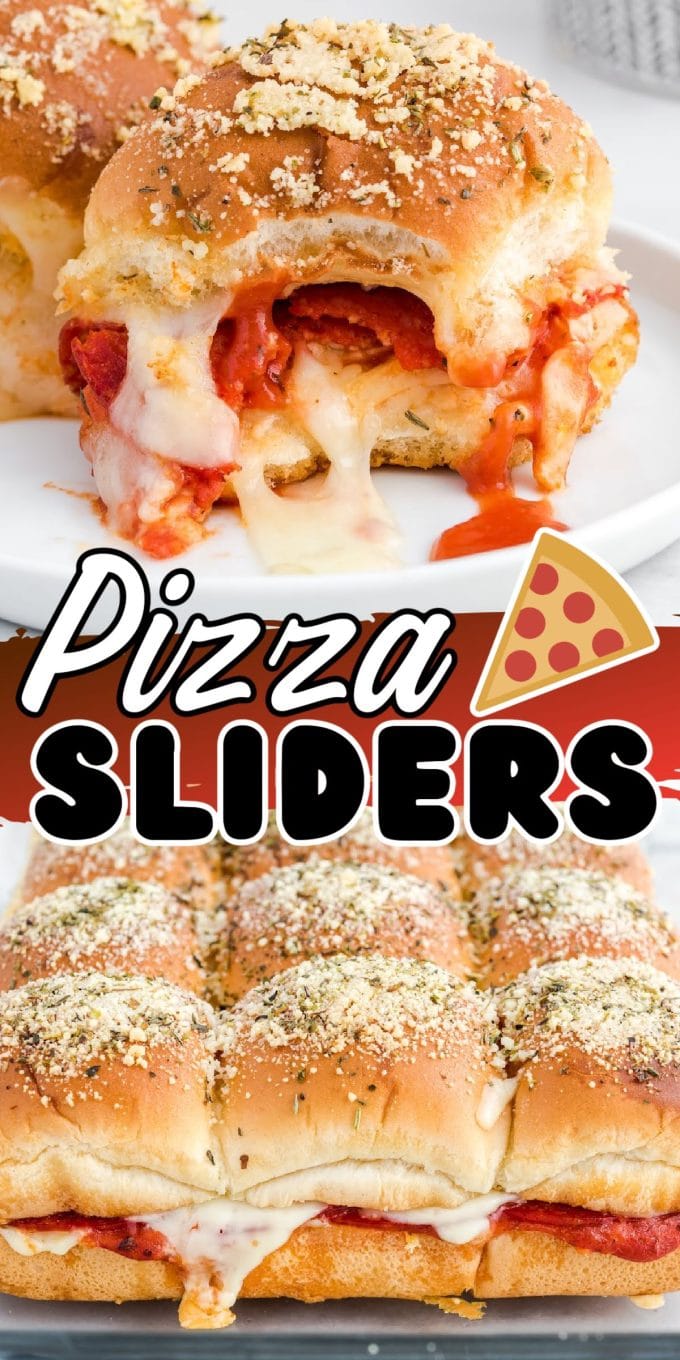
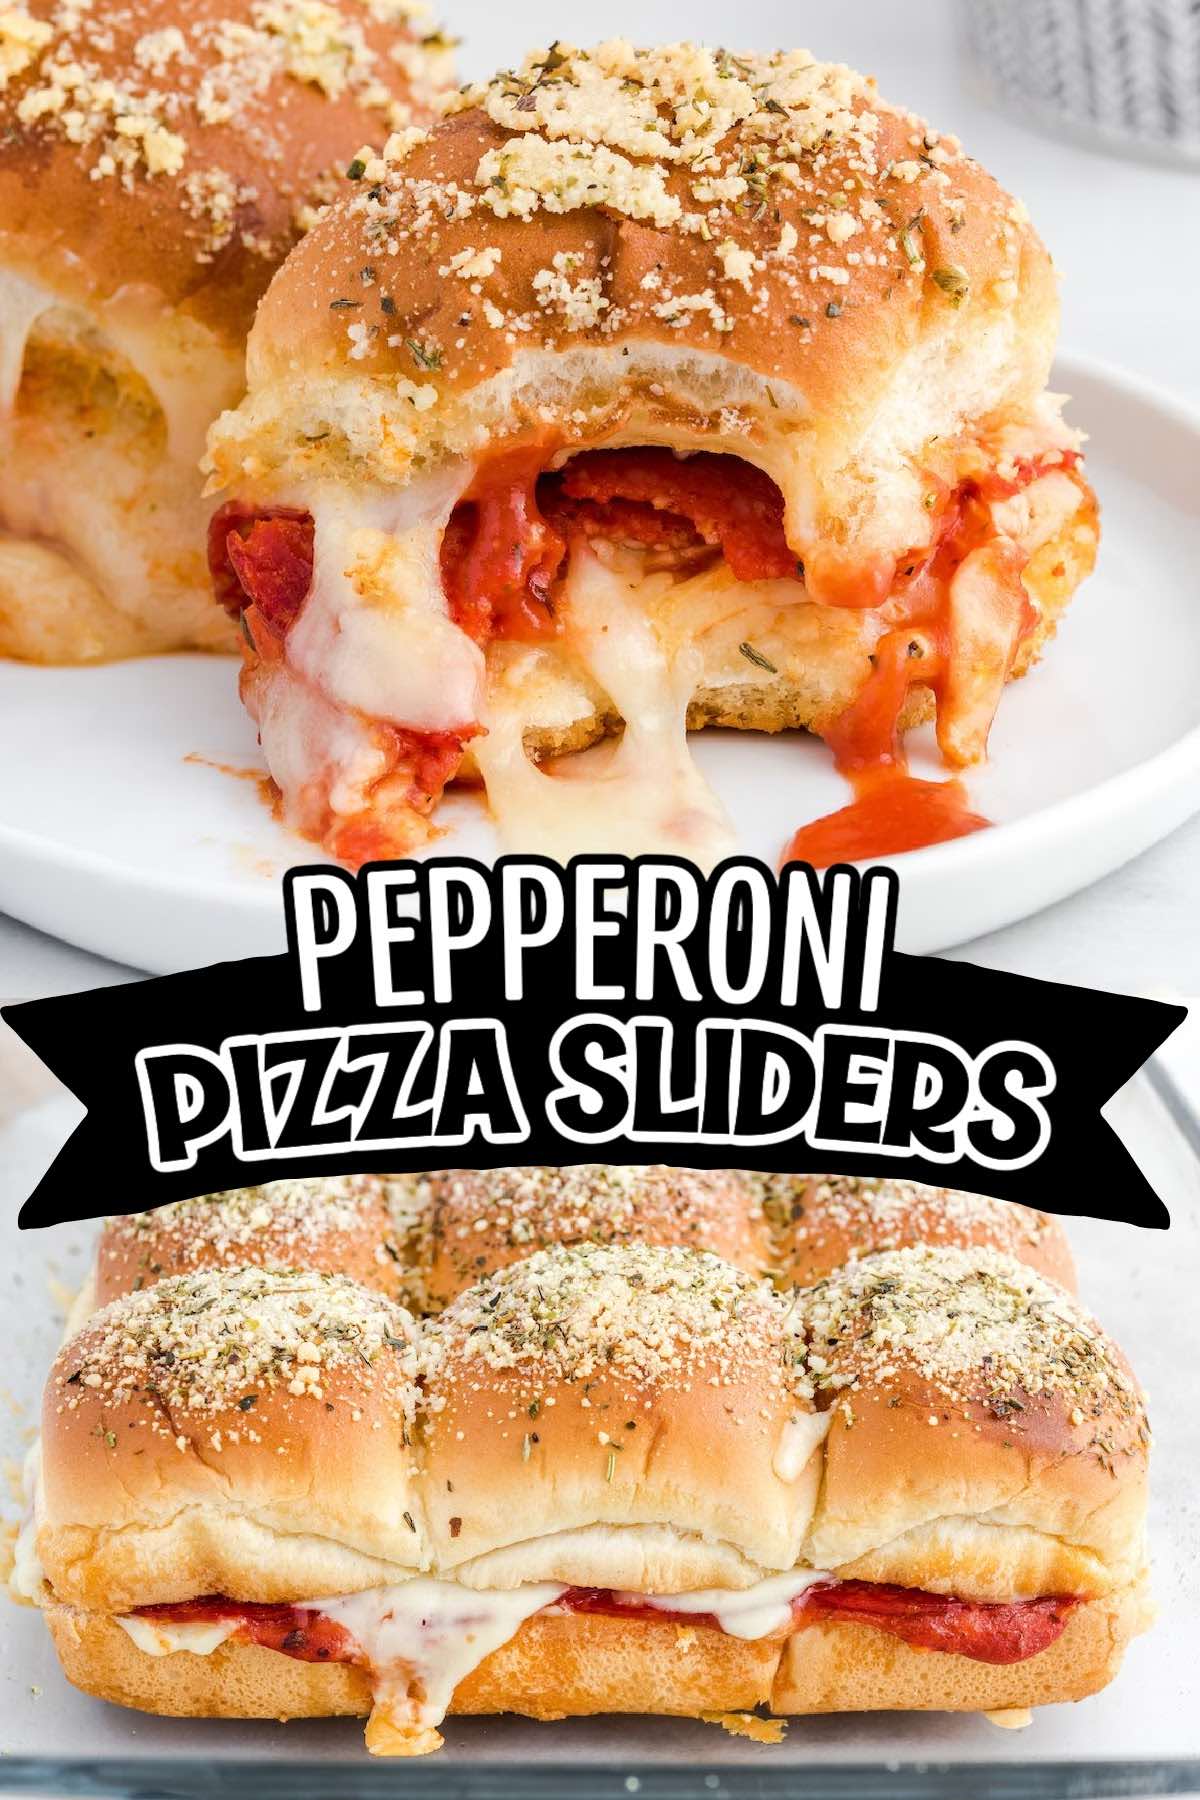
Pepperoni Pizza Sliders are a quick and easy way to make pizza at home in a fun pull-apart form. Simple to assemble in 10 minutes, these soft Hawaiian rolls are stuffed with cheese, sauce, and pepperoni slices, then brushed with a seasoned Parmesan butter glaze on top, and baked into the best bite-sized sandwich slider.
Easy and Simple Pull-Apart Pizza Sliders
Ditch the delivery and avoid the take-out temptation because these Pizza Sliders are so easy to make at home using simple ingredients that you can customize with your favorite pizza fixings.
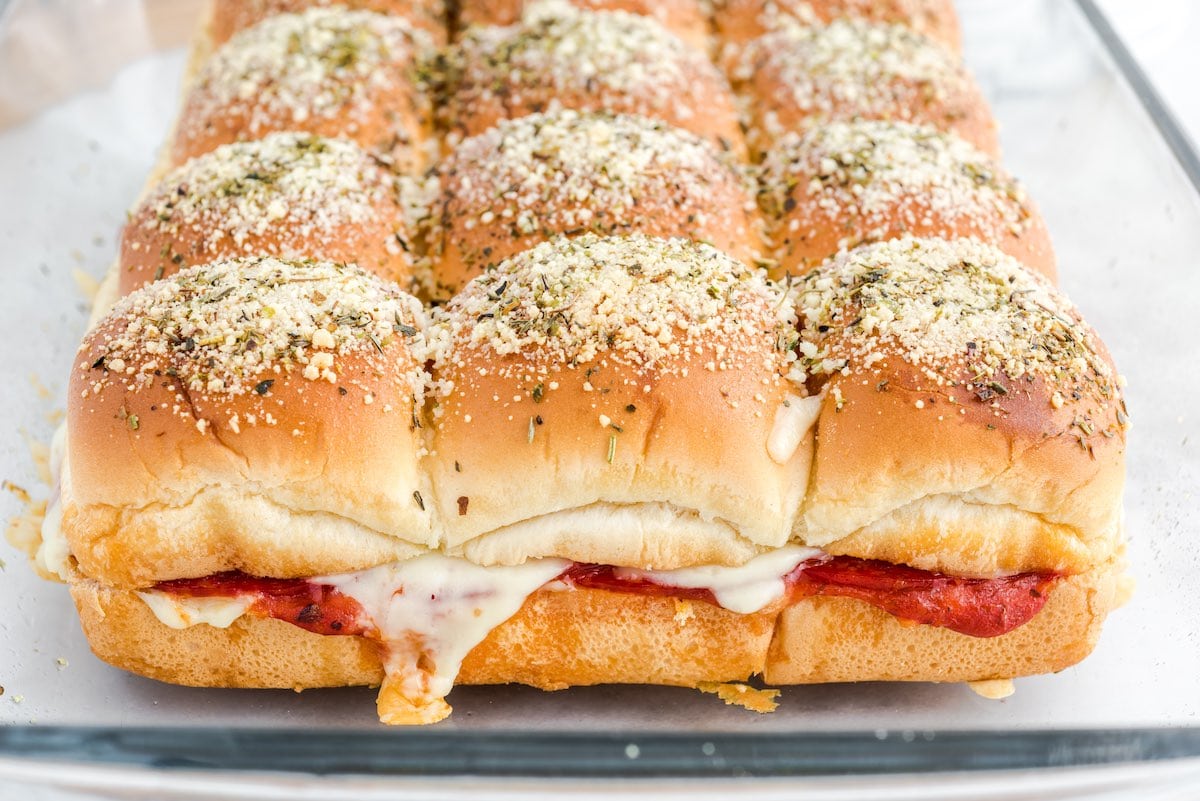
This foolproof recipe starts with a soft Hawaiian bun base that’s layered with mozzarella cheese, sauce, and pepperoni, all sandwiched between the bottom and top layers of the bread. The top is brushed with melted butter spiked with savory Parmesan and Italian seasoning that creates an ever-so-slight crispiness during baking and perfectly compliments the sweet flavor of the dinner rolls.
I love reinventing some of my favorite foods as pull-apart sandwich sliders, like Crack Chicken Sliders Buffalo Chicken Sliders, Philly Cheesecake Sliders, Hot Roast Beef Sliders, and especially these Pizza Sliders.
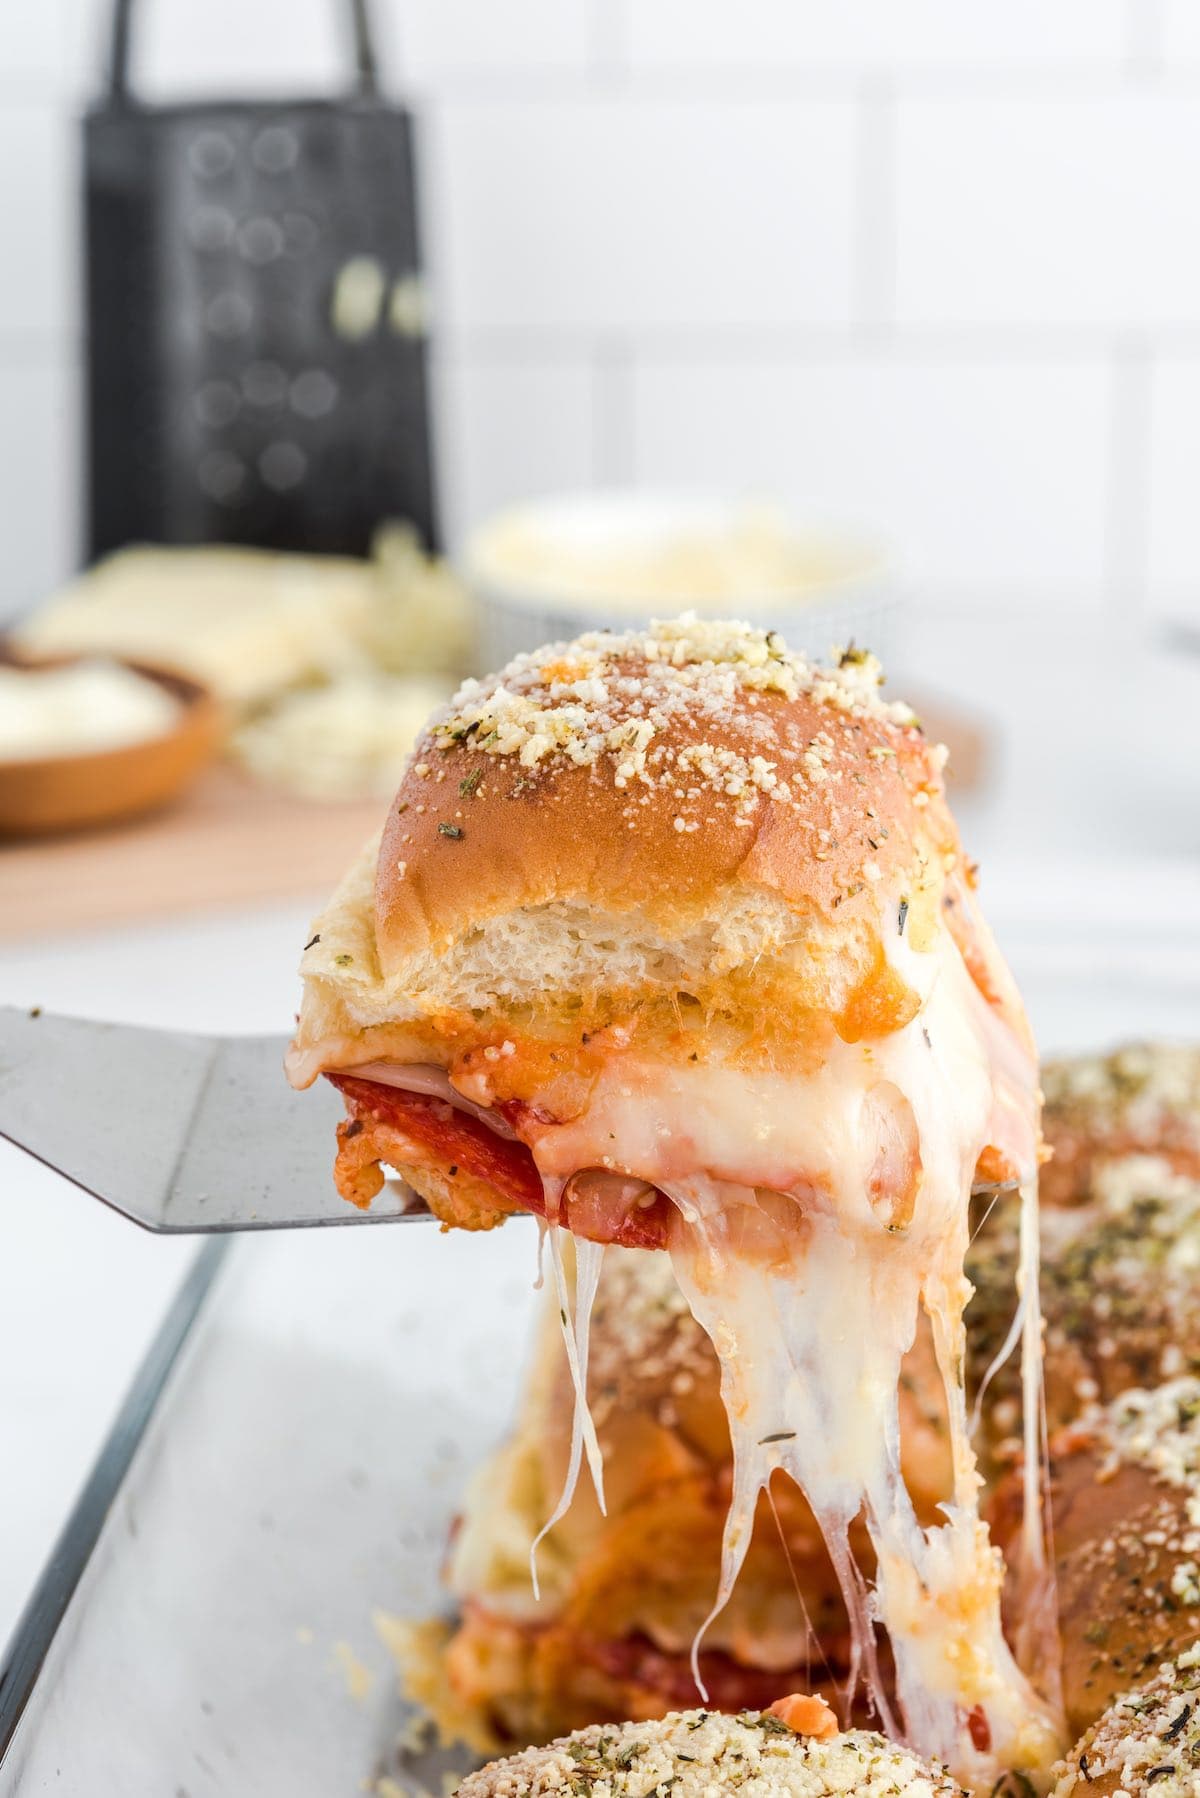
Not only is this a delicious appetizer, tasty tailgate treat, or great game-day fare, but these hand-held pizza portions are the perfect size for snacking and the best way to enjoy each cheesy, buttery bite.
Looking for more homemade pizza-inspired recipes? Check out my Pizza Quesadillas, Pull-Apart Pizza Bread, Homemade Pizza Pockets, Pizza Muffins, Sheet Pan School Pizza and more.
Why We Love This Pepperoni Pizza Sliders Recipe
- Quick and easy to make in about 30 minutes.
- Uses simple ingredients that can be customized according to your pizza preferences.
- Fun for kids to assemble and small enough for little hands to hold.
- Bread stays soft and tender in the interior and the base becomes slightly crispy from baking it with butter.
- Loaded your favorite pizza flavors that pull apart into mini-sized sandwich portions.
- Easy to double or tripple the recipe to feed a crowd.
- Perfect for pizza parties, game day appetizers, snacking, or as an easy weeknight dinner option.
Ingredients
- Hawaiian rolls
- Shredded mozzarella
- Pizza sauce: You can use your favorite store-bought brand or use pasta sauce.
- Deli style dry cured pepperoni: You can use a 1 – 5 ounce package of mini pepperoni’s instead of the full size slices.
- Salted sweet cream butter
- Grated parmesan
- Dried Italian seasoning
Substitutions and Additions
- Tasty Toppings: Feel free to use turkey pepperoni or another pepperoni alternative, or swap the pepperoni for cooked and crumbled sausage, bacon, ground beef, ham or your other favorite pizza fixings.
- Season The Butter Sauce: You can add herbs to your butter topping, like onion powder, dried oregano, crushed red pepper, or garlic powder.
- Choose Your Cheese: I prefer using mozzarella in my pizza sliders because it becomes super stretchy and gooey once melted, but you can use any blend of cheese you’d like. Slices of provolone or cheddar are great substitutes for the bottom layer of shredded mozzarella.
- Bread Base: I like to use Hawaiian rolls for my sliders because they stay soft during baking and add a hint of sweetness, but you can use plain dinner rolls, slider buns, or potato buns.
- Vegetarian Version: Make it meatless and includue your favorite vegetables, like peppers, broccoli, black olives, onions, spinach, or mushrooms.
Recommended Tools to Make this Recipe
- 9×13 baking dish
- Nonstick spary
- Sharp knife
- Pastry brush
- Aluminum foil
SEE FULL PRINTABLE RECIPE CARD BELOW
How to Make the Recipe
Pizza Sliders are quick and easy to make by simply stuffing soft rolls with cheese, sauce, and your favorite pizza fillings. These mini-sized pizza portions are the best way to enjoy a deliciously cheesy, buttery bite of homemade pizza served as a pull-apart sandwich.
- Keep the rolls connected and slice the bread in half, horizontally.
Pro-Tip: When slicing the rolls in half, make sure that you do NOT pull the rolls apart. You want to keep them as a connected slab of top and bottom buns. - Remove the top half of the connected buns and set aside.
- Place the bottom half of the connected buns in the prepared baking dish.
- Sprinkle mozzarella cheese on top of the buns.

- Spread pizza sauce over the mozzarella.
- Layer 5 rows of 4 slices of pepperoni on top of the pizza sauce.

- Sprinkle remaining mozzarella over the pepperoni.
- Place the top row of connected buns on top of the mozzarella.

- Brush the melted buter over the top of the buns with a pastry brush.
- Sprinkle parmesan cheese over the melted butter.
- Sprinkle Italian seasoning on top of the parmesan.

- Cover with aluminum foil and bake at 375 degrees Farenheit for 25 minutes.

- Slice the rows into individual slider sandwiches, serve hot, and enjoy!
Tips
- This recipe is for 12 sliders, but you can easily make a double batch for a large crowd or if you know your guests will eat more than two each.
- These sliders are done when the tops are golden brown and the cheese is melted through.
Storage Tips
- To Store: Wrap your pizza sliders tightly or store them in an airtight container. They will stay fresh in the refrigerator for up to 3 days.
- To Reheat: You can cook your sliders in the microwave for 10-15 second intervals until warmed through for a quick, delicious snack! To keep your bread from becoming soggy, my favorite way to reheat pizza sliders is by popping them in the oven at 350 degrees Fahrenheit for 10-15 minutes. This keeps the bread slightly crispy.
Frequently Asked Questions
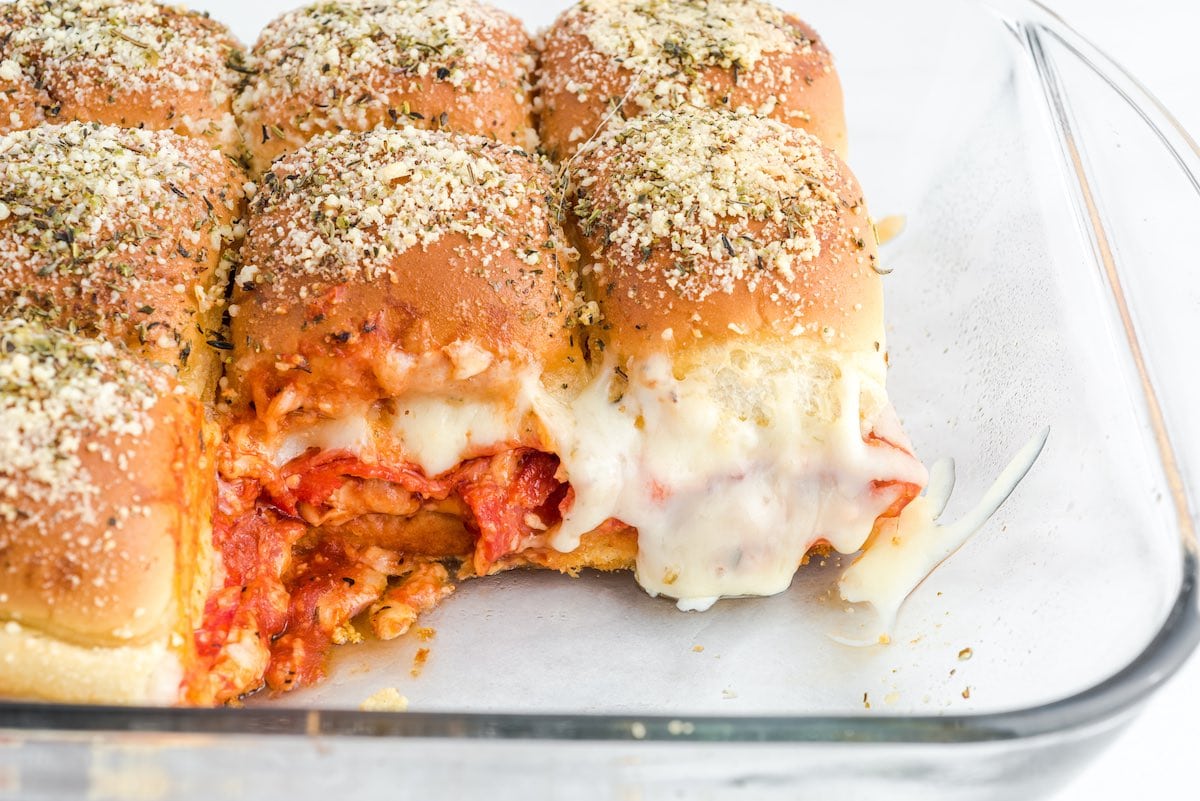
I do not recommend making Pizza Sliders in advance; they are best eaten right away. If you bake these in advance and then reheat them for guests, the rolls will become soggy.
Although these sliders are best served fresh, you can store your pizza sliders for a few days after baking. Keep in mind that the longer the pizza sauce sits on your buns, the higher your risk of having soggy sliders is. You can avoid the bread from becoming too soggy by flipping the slider over so that the top bun is the bottom bun. (The thinner bottoms tend to become soggy if left on the bottom)
Simply add a salad (try my Olive Garden Salad), soup, or veggie to create a meal for your family.
Here are a few fun combinations you can to try:
Hawaiian Pizza Sliders: Stuff your slider with ham and pineapple.
Meat lover Sliders: Add layers of ham, pepperoni, sausage, and bacon.
BBQ Chicken Sliders: Include pieces of chicken and use bbq sauce in place of pizza sauce.
Vegetarian Sliders: Layer your sliders with sun-dried tomatoes, spinach, artichokes, olives, green peppers, and Alfredo sauce.
Other Easy Appetizers
- Cheese Pizza Dip
- Rotel Cheese Dip
- Blooming Quesadilla Ring
- Pull Apart Pigs in a Blanket
- Chicken And Waffle Sliders
Pizza Sliders
Ingredients
- 12 count package Hawaiian rolls
- 2½ cup shredded mozzarella divided 1 cup and 1 ¼ cup
- ¾ cup pizza sauce
- 20 slices deli style dry cured pepperoni
- ⅓ cup salted sweet cream butter melted
- 2 tbsp grated parmesan
- 1 teaspoon dried Italian seasoning
Instructions
- Preheat the oven to 375*. Lightly spray a 9×13 baking dish with nonstick spray. Set it aside.
- Keeping the rolls connected, carefully slice the rolls in ½, horizontally.
- Remove the top row of the connected buns, and carefully set it aside.
- Place the bottom row of connected buns in the bottom of the baking dish.
- Sprinkle 1 cup of the shredded mozzarella on top of the bottom buns.
- Spread the pizza sauce over the mozzarella.
- Layer 5 rows of 4 slices of pepperoni on top of the pizza sauce.
- Sprinkle the remaining shredded mozzarella over the top of the pepperoni.
- Lay the top row of connected buns on top of the shredded mozzarella.
- Using a pastry brush, brush the melted butter on top of the buns.
- Sprinkle the grated parmesan on top of the melted butter.
- Sprinkle the teaspoon of dried Italian seasoning on top of the grated parmesan.
- Cover with aluminum foil and bake for 25 minutes. Remove the pan from the oven and carefully slice the rows to release the individual slider sandwiches . Serve while hot.
Jenn’s Notes
- To Store: Wrap your pizza sliders tightly or store them in an airtight container. They will stay fresh in the refrigerator for up to 3 days.
- To Reheat: You can cook your sliders in the microwave for 10-15 second intervals until warmed through for a quick, delicious snack! To keep your bread from becoming soggy, my favorite way to reheat pizza sliders is by popping them in the oven at 350 degrees Fahrenheit for 10-15 minutes. This keeps the bread slightly crispy.
- This recipe is for 12 sliders, but you can easily make a double batch for a large crowd or if you know your guests will eat more than two each.
- These sliders are done when the tops are golden brown and the cheese is melted through.



OMG this was very simple for a first time 8 year old granddaughter to do. so was so excited!
she is eager to learn more stuff now!
I did this with her older sisters!
tomorrow she wants to do cream puffs.
I also teach the granddaughters homemade cooking is so much better and healthier.
Delicious! Quick and easy to make! I added a little garlic to the butter. 😄 Thanks for sharing the recipe! 💜
It was ok. I think it would have been better if no foil on top. It was soggy. Not a do over for me.
Can these be assembled the night before baking the next day?
made this but the bottom bun was soggy, my little girl suggested that we bake the bottom to toast it then add the stuff and bake again.
The only comment I have is more cheese! This recipe is a keeper. Made it two weeks in a row for playoff parties.
Quantities are wildly incorrect based on 12 rolls. This is for 24 rolls. Once you get that fixed, everything seems to line up correctly.
Nope. this recipe is for 12 rolls. Did you make them? What issues were you having?
We made them. They were delicious, though I stand by the numbers not quite working out. The number listed would make a decent snack for 12 people, but if you know everyone is going to eat more than 2 each, you should make a triple batch. 2 each for 12 people is 24, and most of the ingredients seem like they would work about as well stretched to a double batch (unless you love cheese like my family). They’re delicious, and I wish I could go back and revise it to a 4-star, I just stand by my comment on the quantities. Just maybe less mean, in hindsight.
we used sandwich size pepperoni 2 on each bun.
OMG these are AMAZINGLY DELICIOUS!!! I’m a big fan of the ham & cheese sliders so I wanted to try other ones & came across this recipe today & went out & bought the ingredients. I made them for my friend & I for dinner tonight & OMG I LOVE them!!! I used Prego pizza sauce because I love Prego spaghetti sauce. I added dried onions & some red chili pepper flakes with black pepper & dried parsley to seasoning. I used the standard pepperoni size not the large ones shown in the recipe. I also added the left over mozzarella cheese on top with the Parmesan cheese. I will definitely be making these again! Can’t wait to see how they taste left over. Thank you so much!! ☺️
Five stars
How could a recipe that includes Hawaiian rolls have only 2gm of carbohydrates?
Thank you so much for catching that – my nutritional calculator messed it up – got it fixed now!! Wouldn’t it be great if they only had 2 grams of carbs!! I would eat the whole pan!
Thank you for your swift reply! Before I was diagnosed with Type 2 diabetes I wouldn’t have noticed. I love breads and I am always on the look out for low carb recipes for them.