Celebrate in style with Red, White, and Blue Fudge, a rich and creamy layered dessert perfect for patriotic parties. Its white chocolate base and colorful sprinkles make it a hit at any 4th of July, Memorial Day, or Labor Day celebrations.
4th Of July Fudge
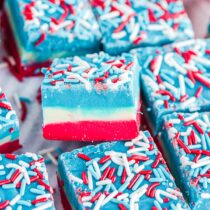
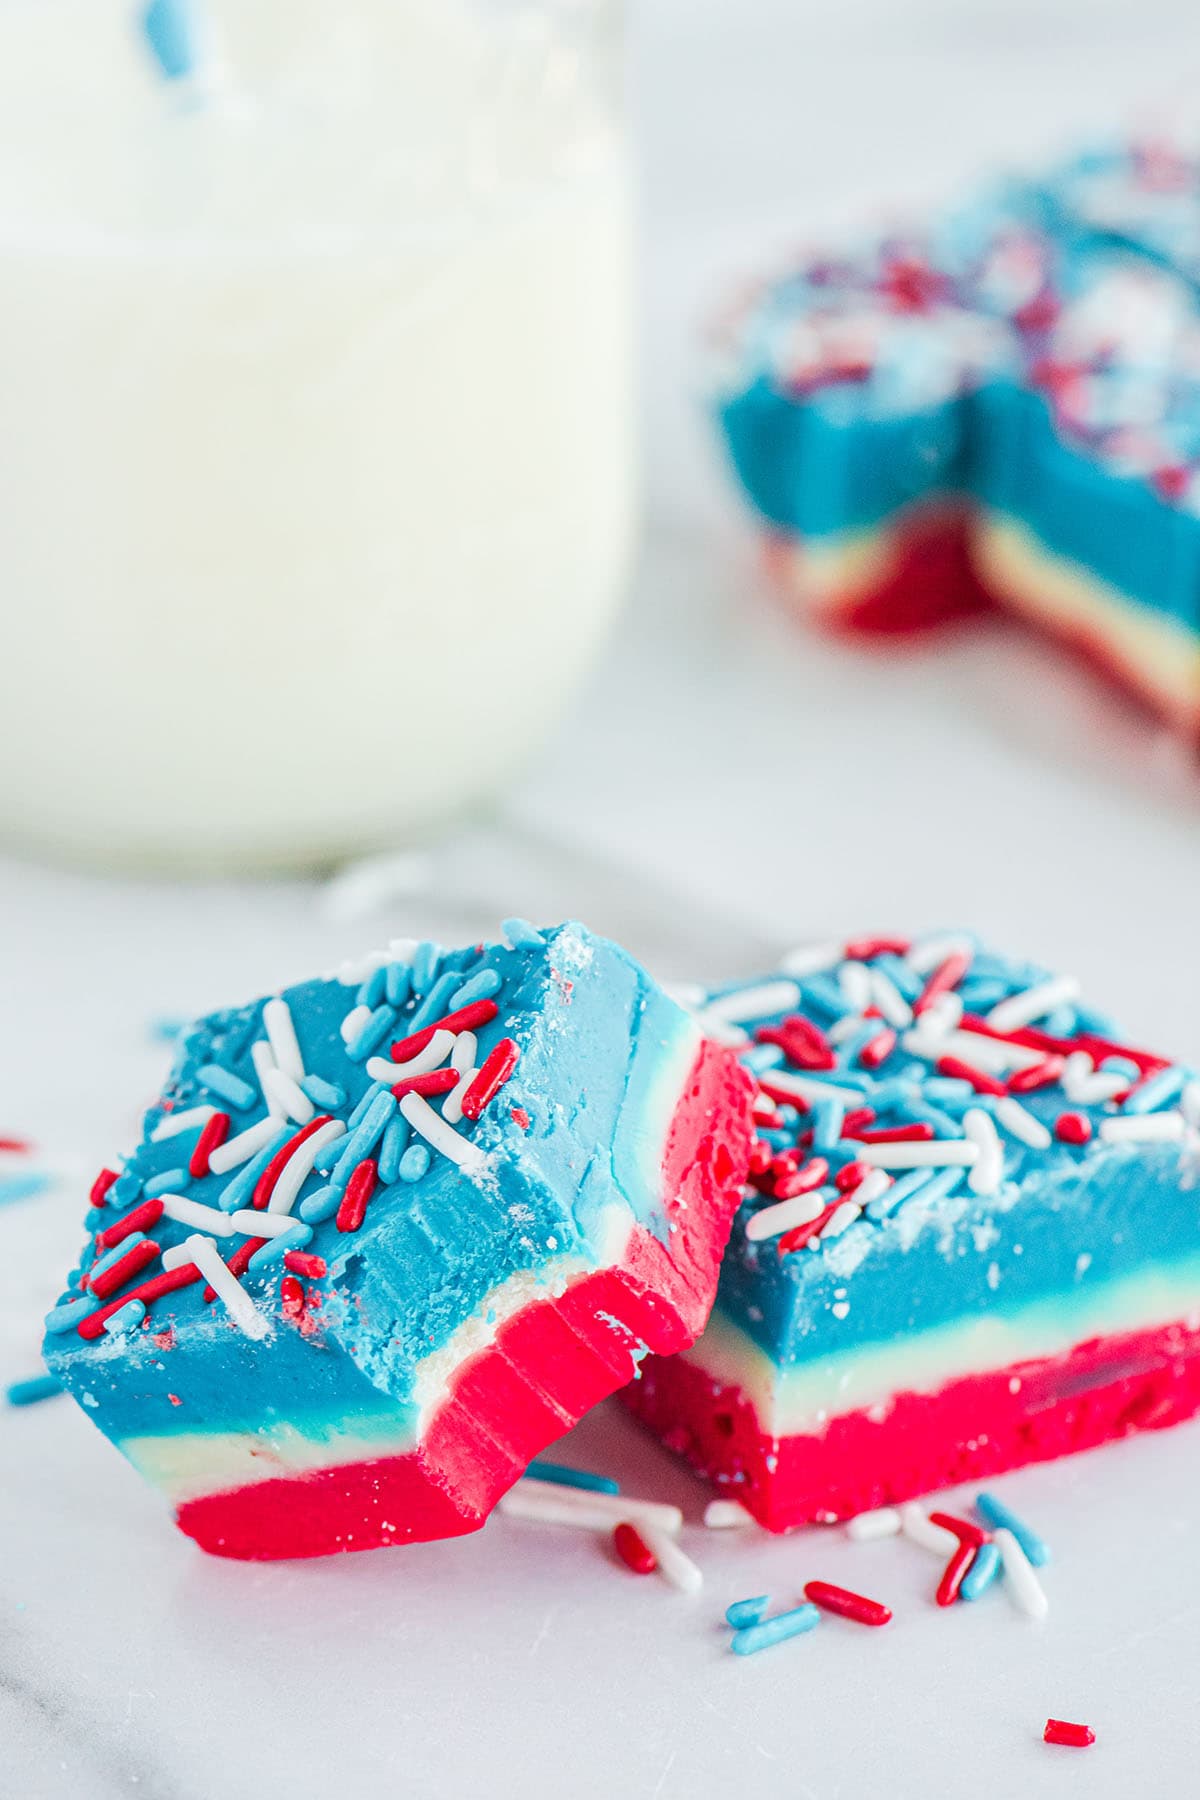
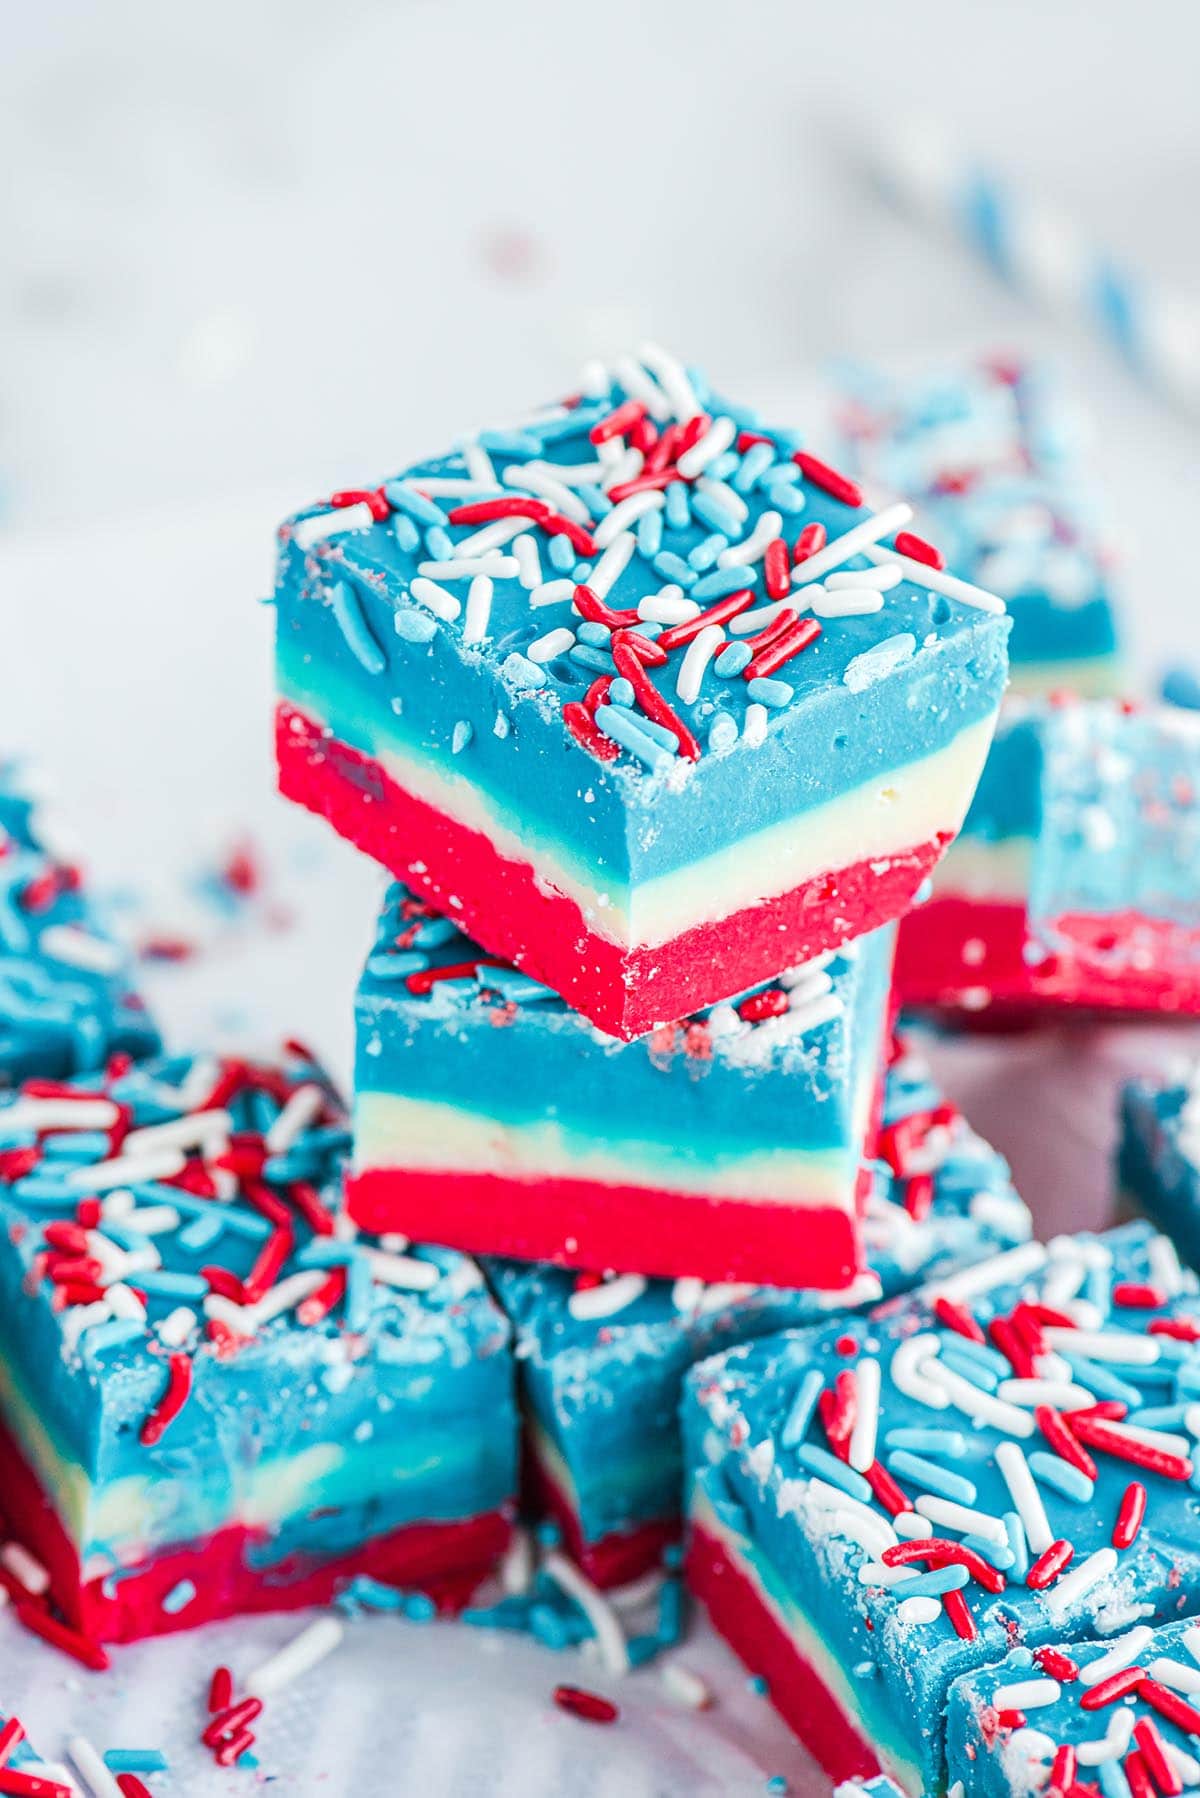
Our easy Red White and Blue Fudge recipe is a fun way to showcase your patriotic pride in a perfectly portioned, portable, square piece of finger food.
Making this 4th of July fudge is just as simple as preparing a single slab of white chocolate fudge, but this vanilla fudge recipe has an added secret ingredients: using heat-treated cake mix in this candy mixture makes it firmer, easier to pick up, and hold in your hand when you need to grab some and get to the festivities and fireworks.
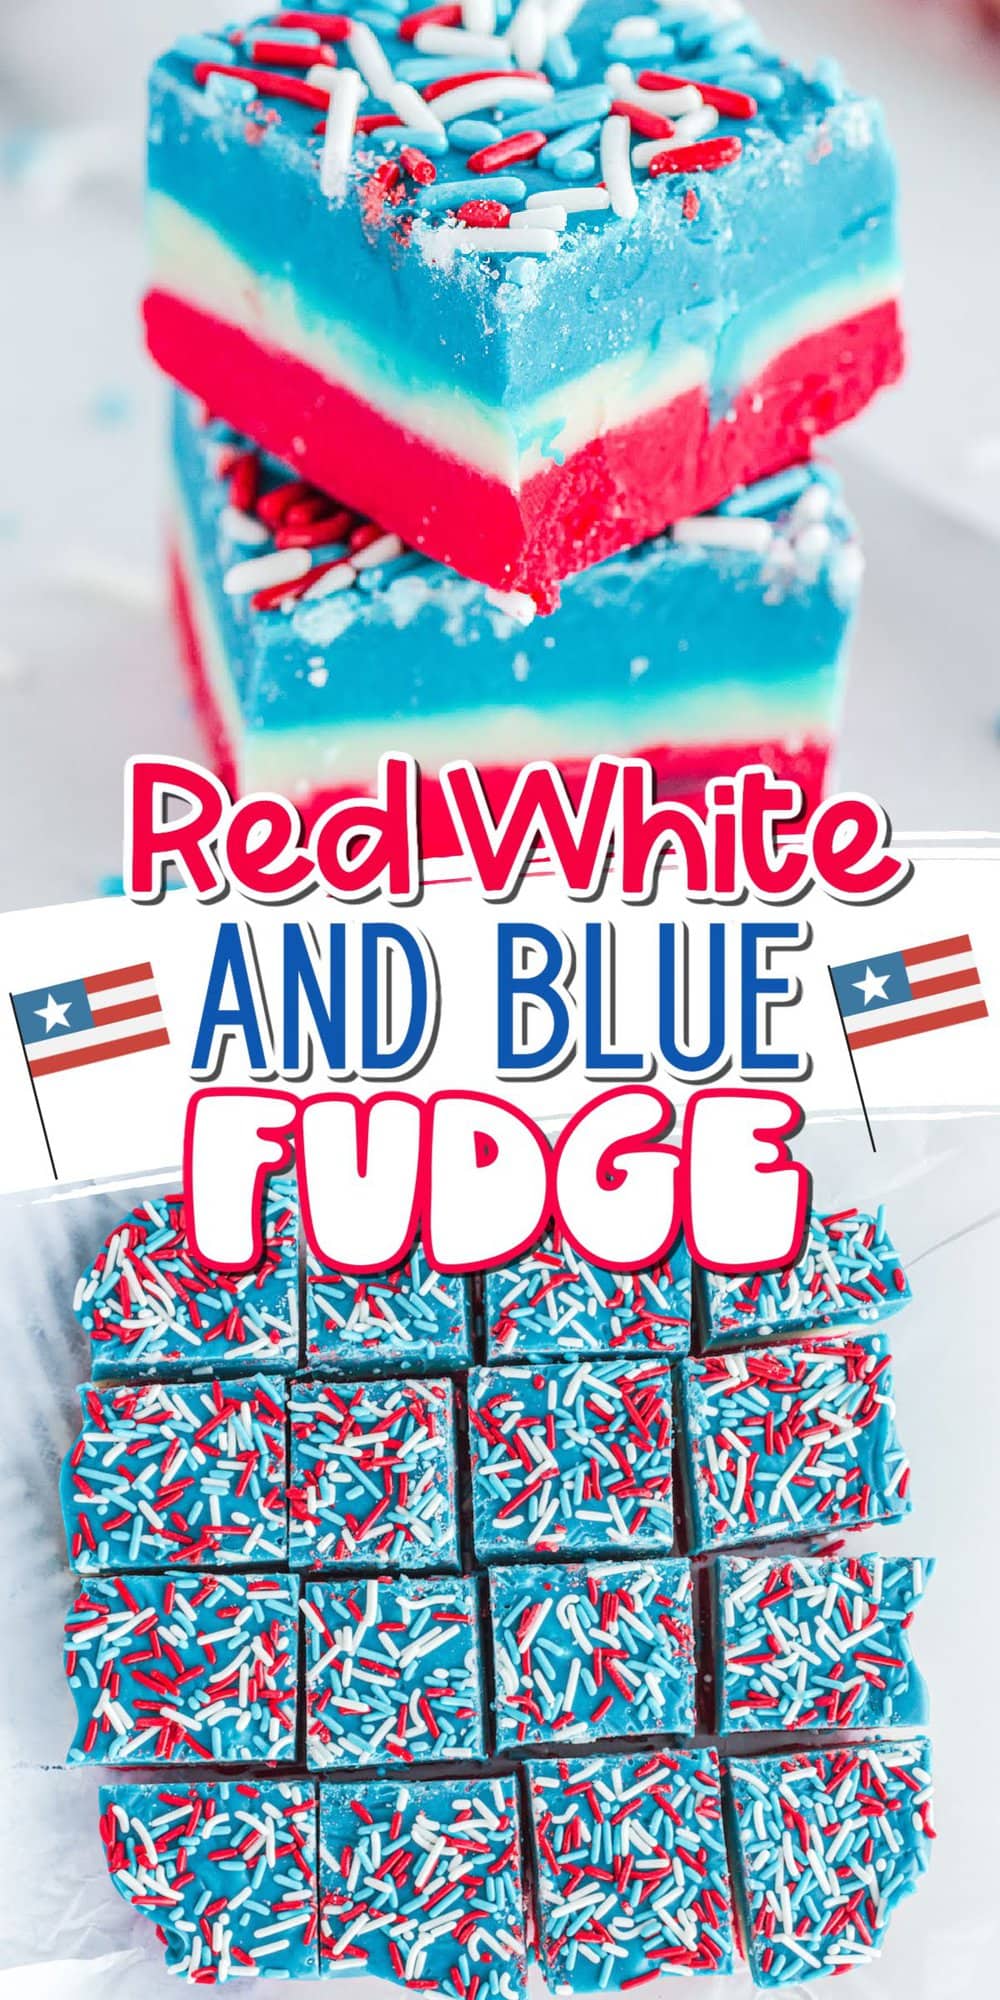
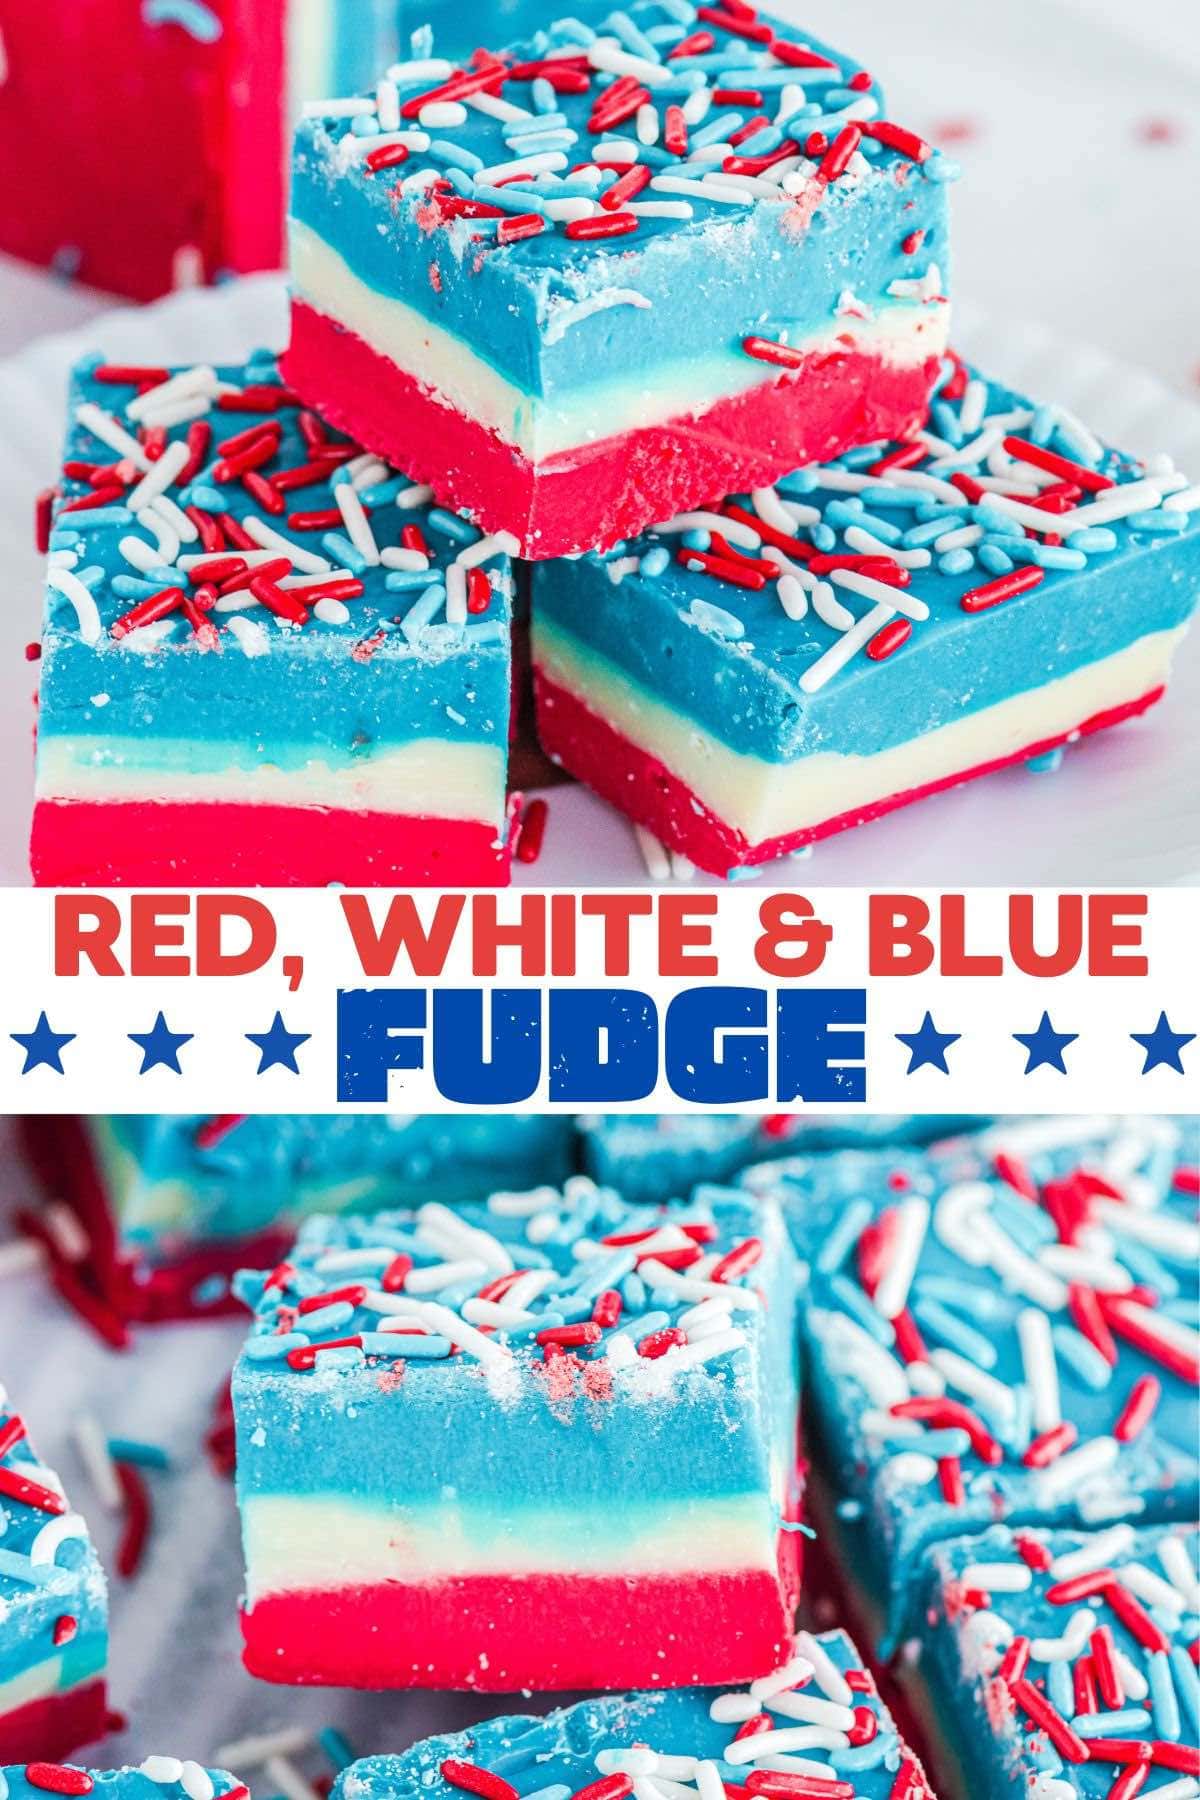
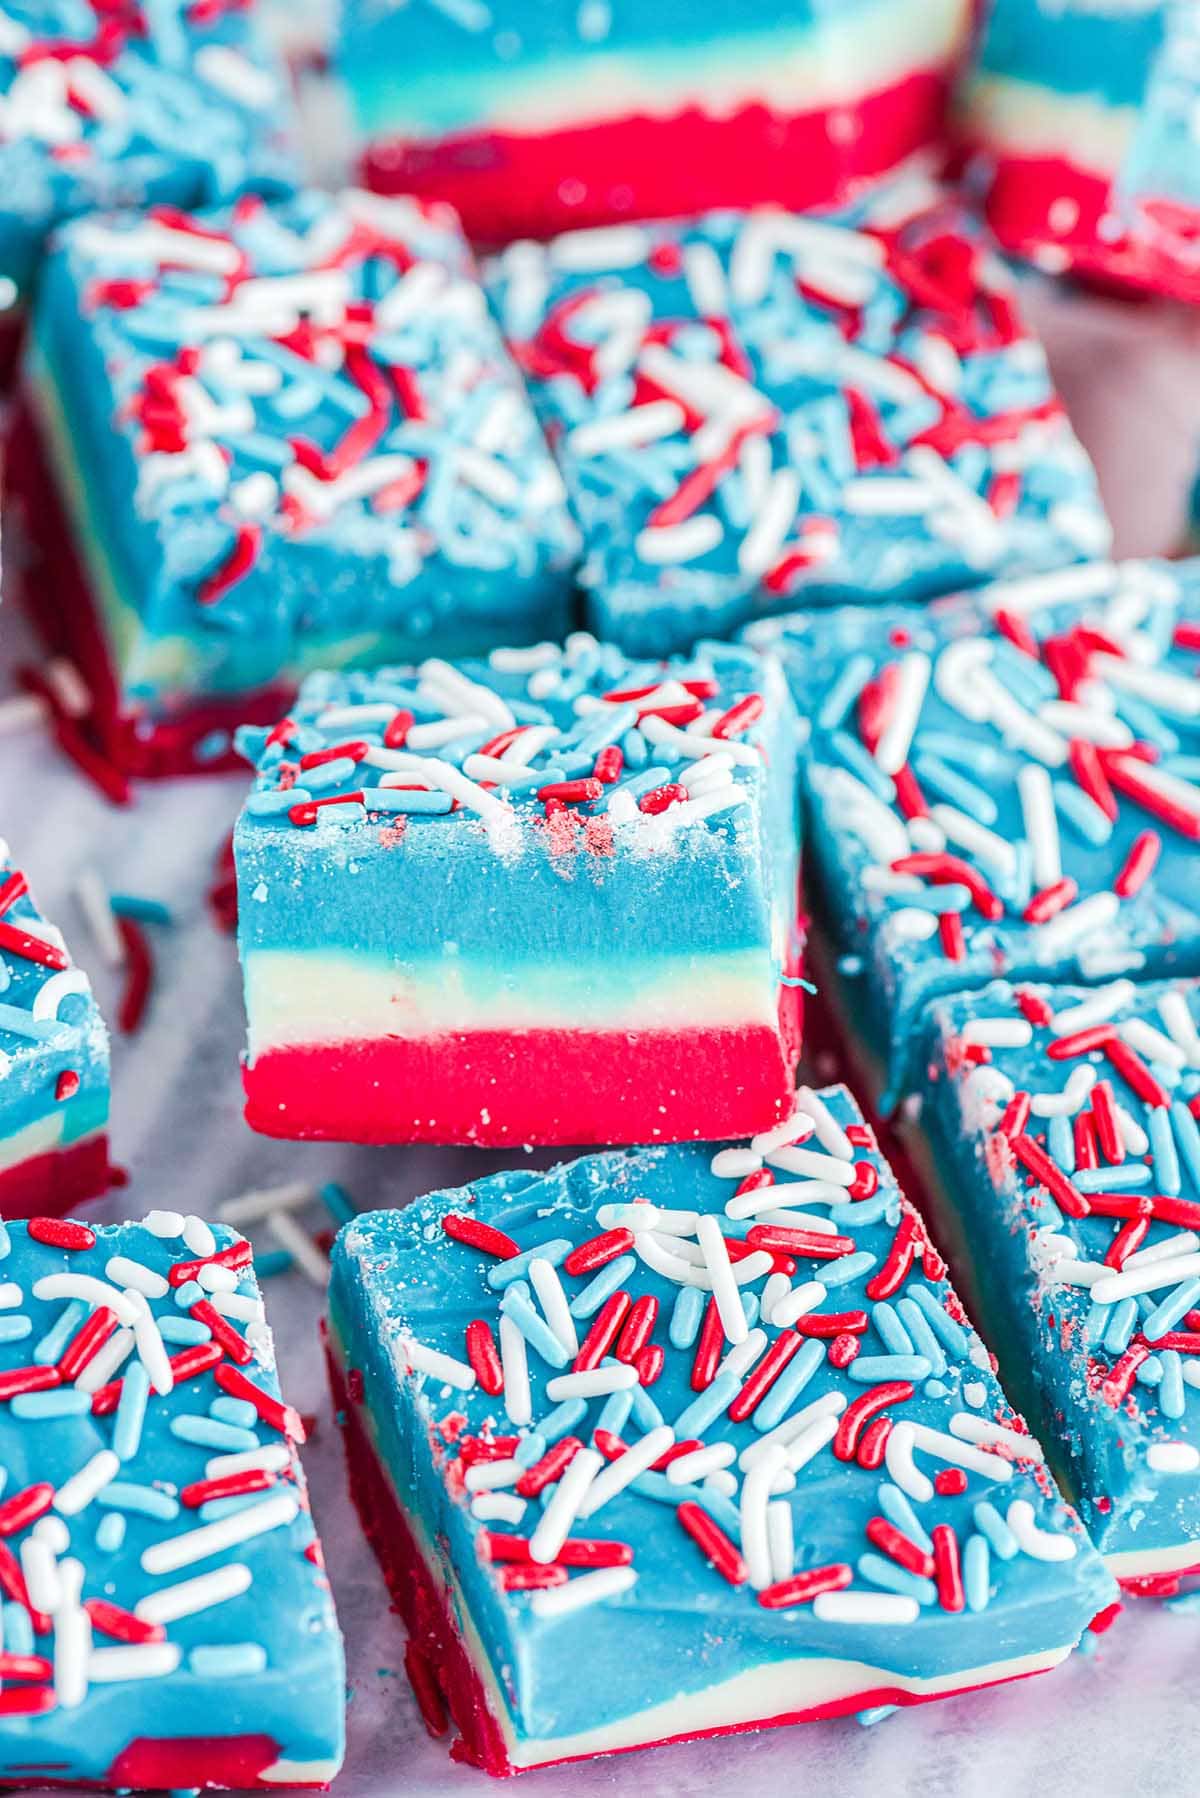
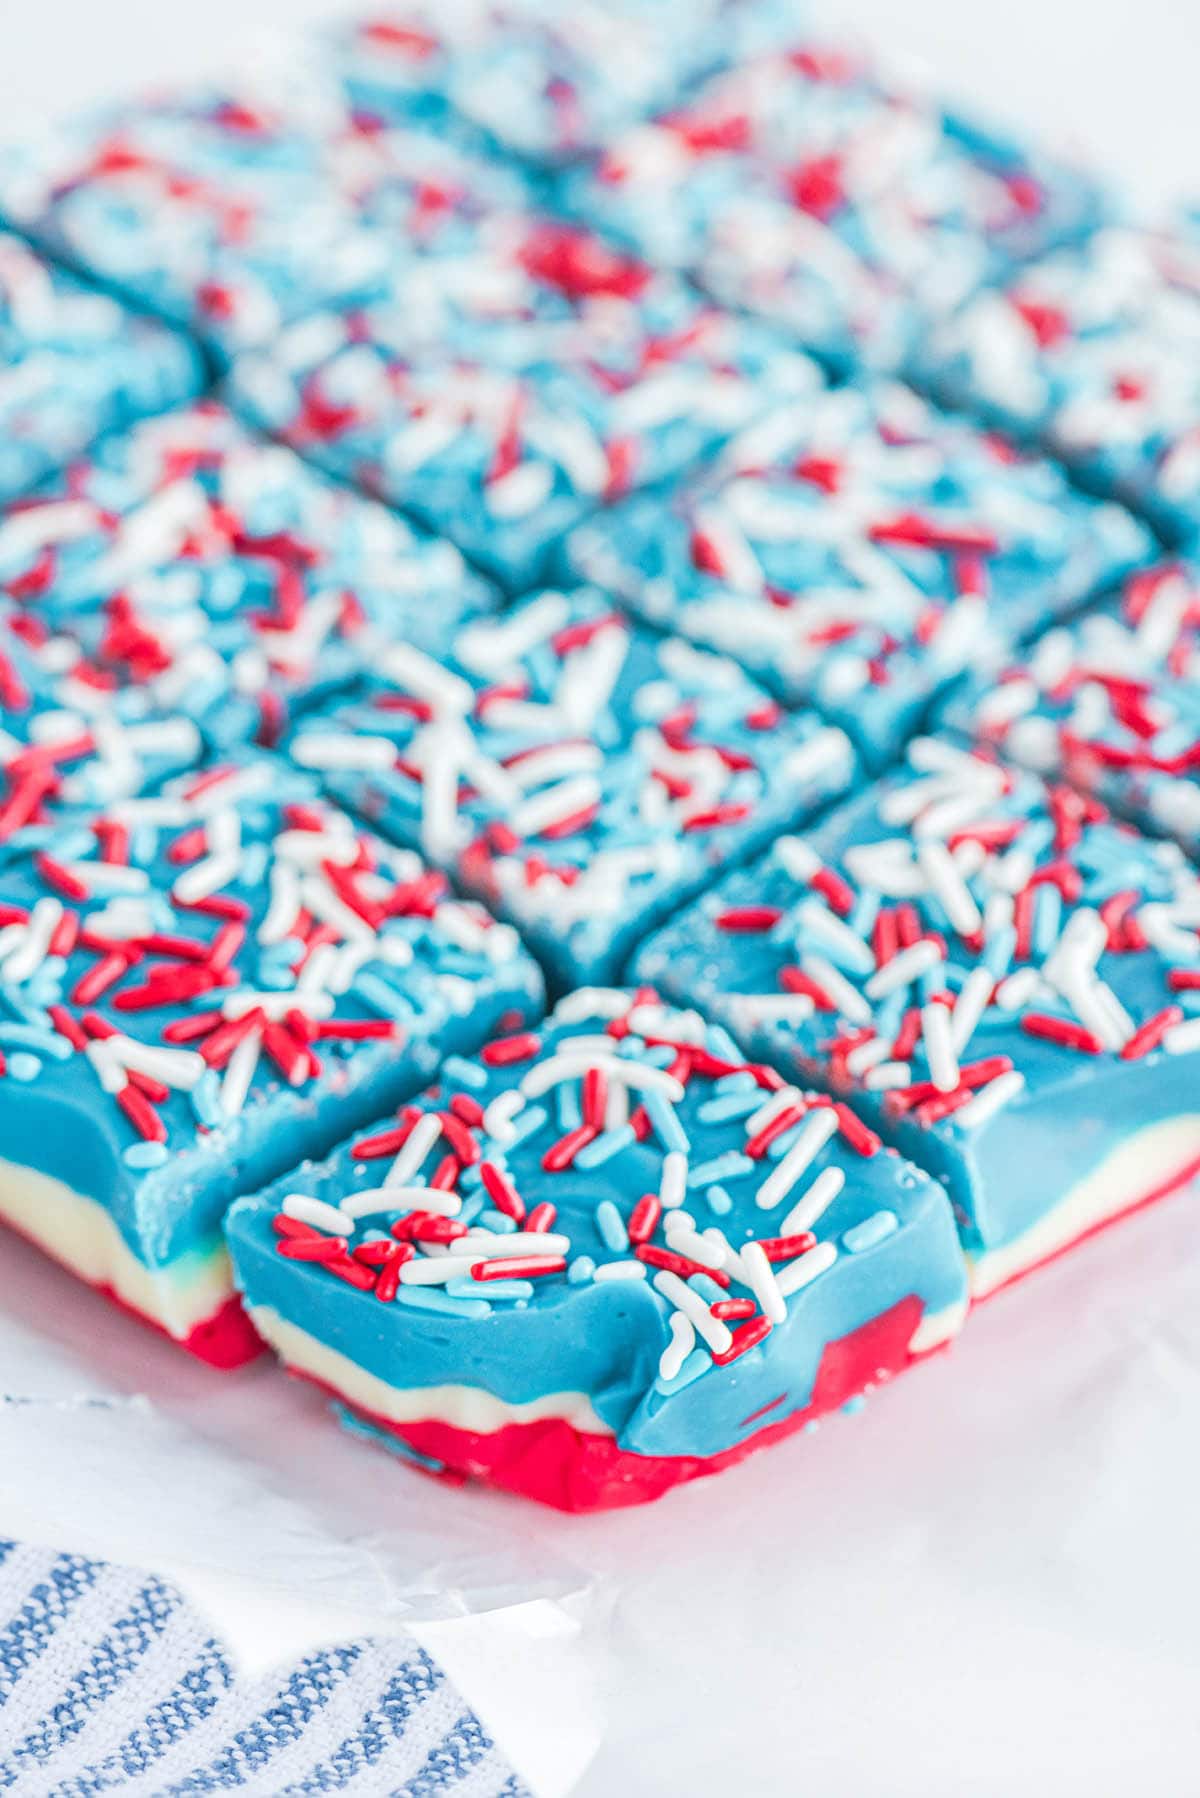
Although there is a short waiting period in between the layers so each can fully set, it will keep the colors separate so you can clearly see the white chocolate sandwiched between the red and blue chocolate when you slice your Fourth of July fudge.
With its smooth and creamy consistency, and soft sprinkle crunch on top, this fuss-free, foolproof layered fudge is just as delicious as any long-cooked candy, but this July 4th fudge dessert is even better (and faster) because there’s no candy thermometer or fancy equipment needed.
Why We Love Red White and Blue Fudge
- Quick and easy to cook in 10 minutes.
- Uses a handful of simple ingredients.
- Delicious no-bake dessert that’s fun to make with kids.
- Soft and creamy with a slight crunch from colorful sprinkles.
- Straight forward way to cook candy because it doesn’t require a thermometer or special equipment.
- Great for Fourth of July barbecues, potlucks, holiday parties, Memorial Day, and Labor Day.
Red White and Blue Fudge Ingredients
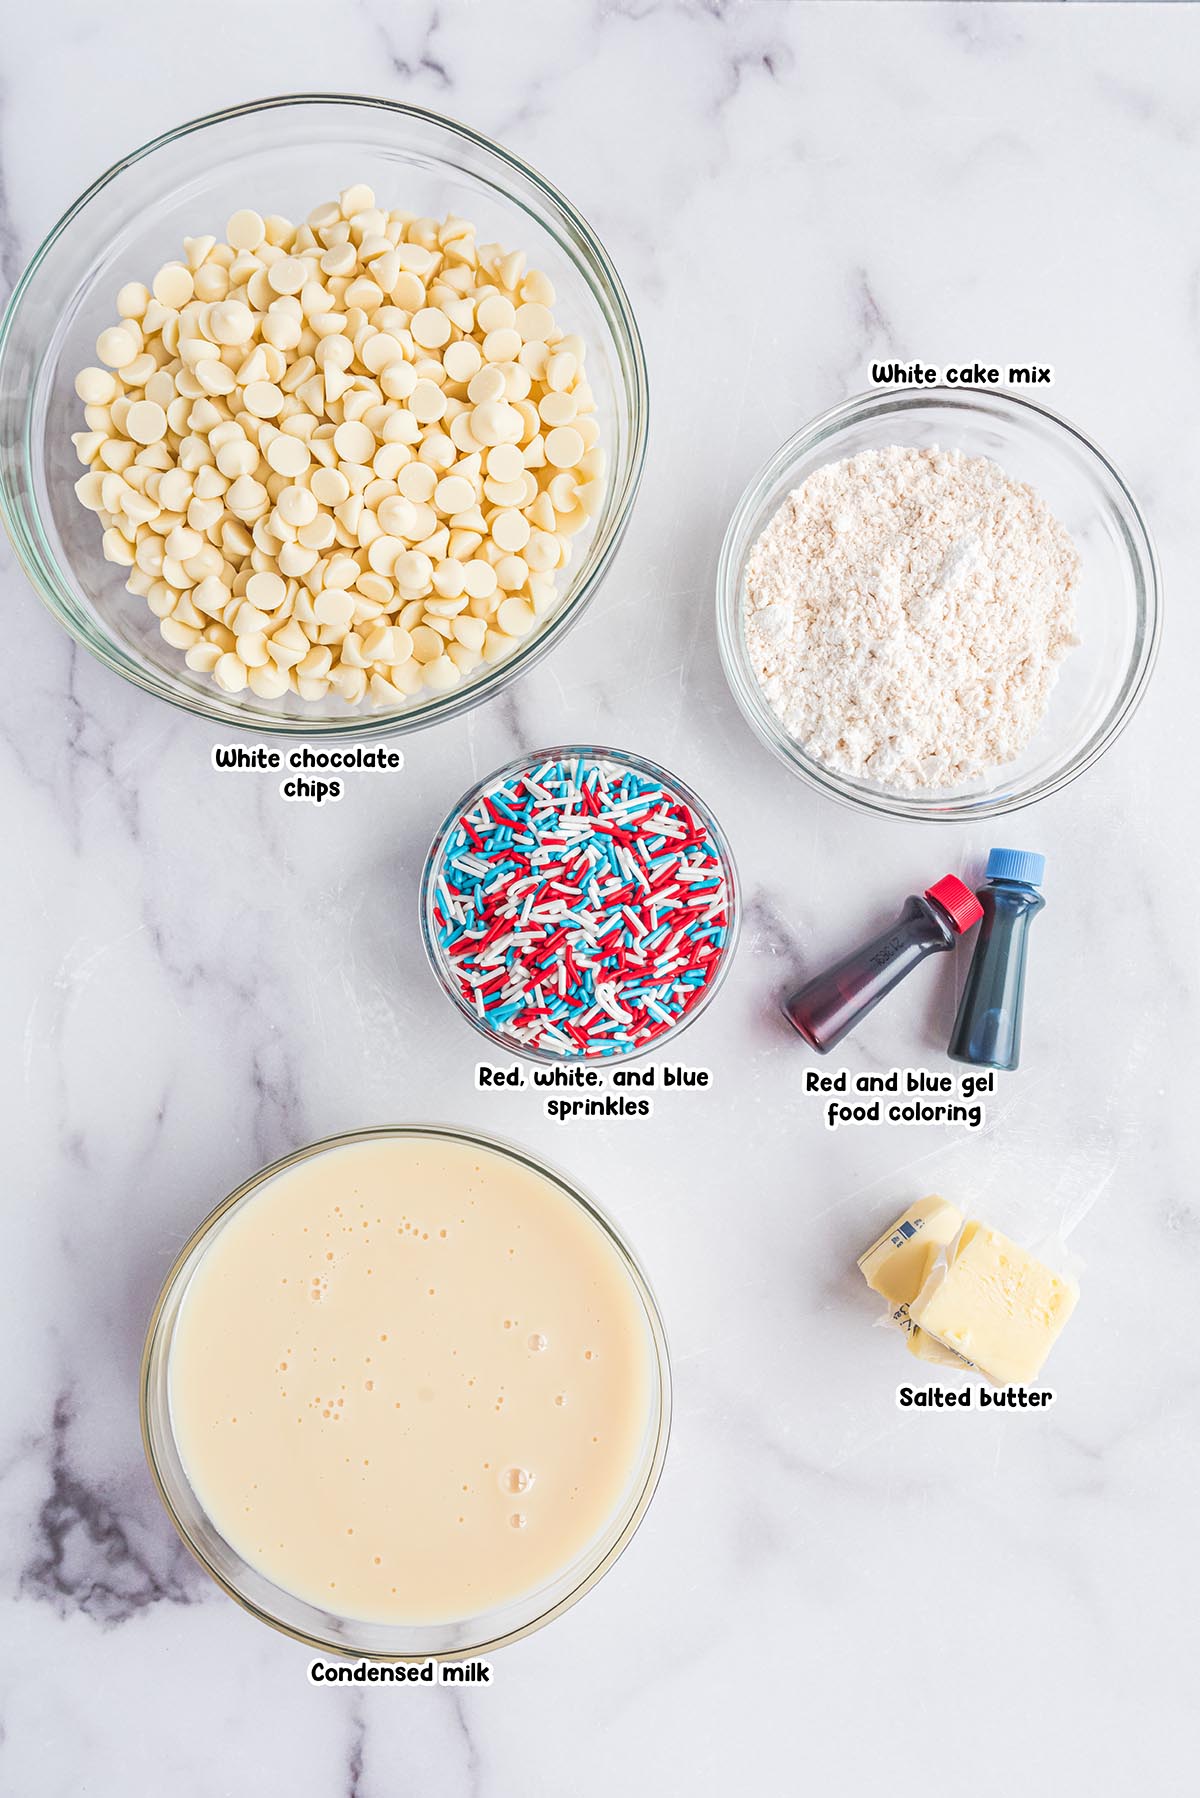
- White chocolate chips
- Sweetened condensed milk
- Salted butter
- White cake mix
- Red and blue gel food coloring
- Red, white, and blue sprinkles
Substitutions and Additions
- Choose Your Chocolate: Feel free to try this recipe with white baking chocolate or almond bark instead of white chocolate chips. I recommend a high-quality chocolate, otherwise the taste and consistency might be off.
- Customize Your Colors: This easy fudge recipe is so simple to customize for any themed party or holiday. Simply switch up the gel food coloring and make your layers match your celebration.
Recommended Tools
- 8×8 pan
- Parchment paper
- Large saucepan
- Rubber spatula
- Knife
How to Make Red White and Blue Fudge
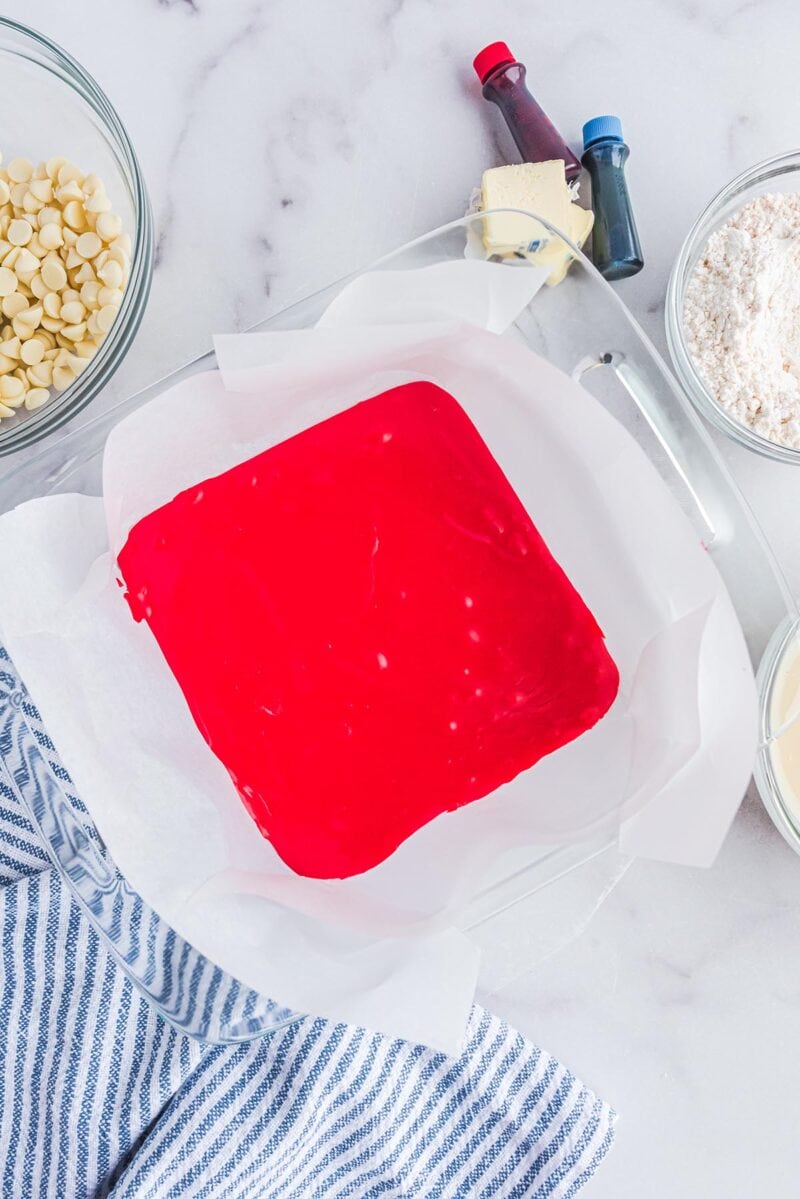
- Cook The Red Candy: Cook the chocolate chips, condensed milk, and butter on the stove top for 8-10 minutes until the mixture breaks down completely. Remove from heat and stir in the cake mix until completely dissolved. Add red food coloring, stirring until the color has completely blended.
- Pour In The Pan: Pour the mixture into the pan and allow the layer to cool and stiffen, slightly before continuing.
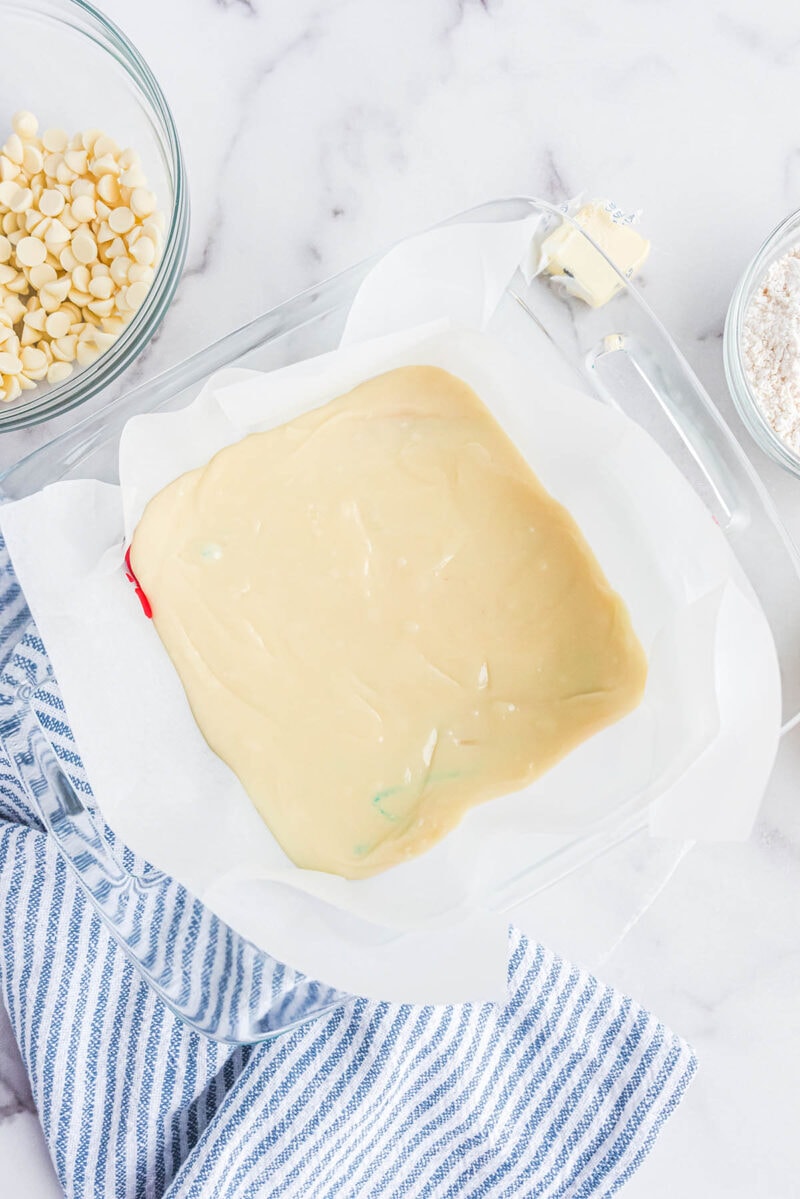
Pro Tip: The fudge should self level well, requiring zero spreading. - Cook The White Candy: Cook the chocolate chips, condensed milk, and butter on the stove top until the mixture breaks down completely. Remove from heat and stir in the cake mix until completely dissolved. Pour this white mixture over the red layer, so it covers the red layer completely. Allow the white layer to cool and stiffen slightly.
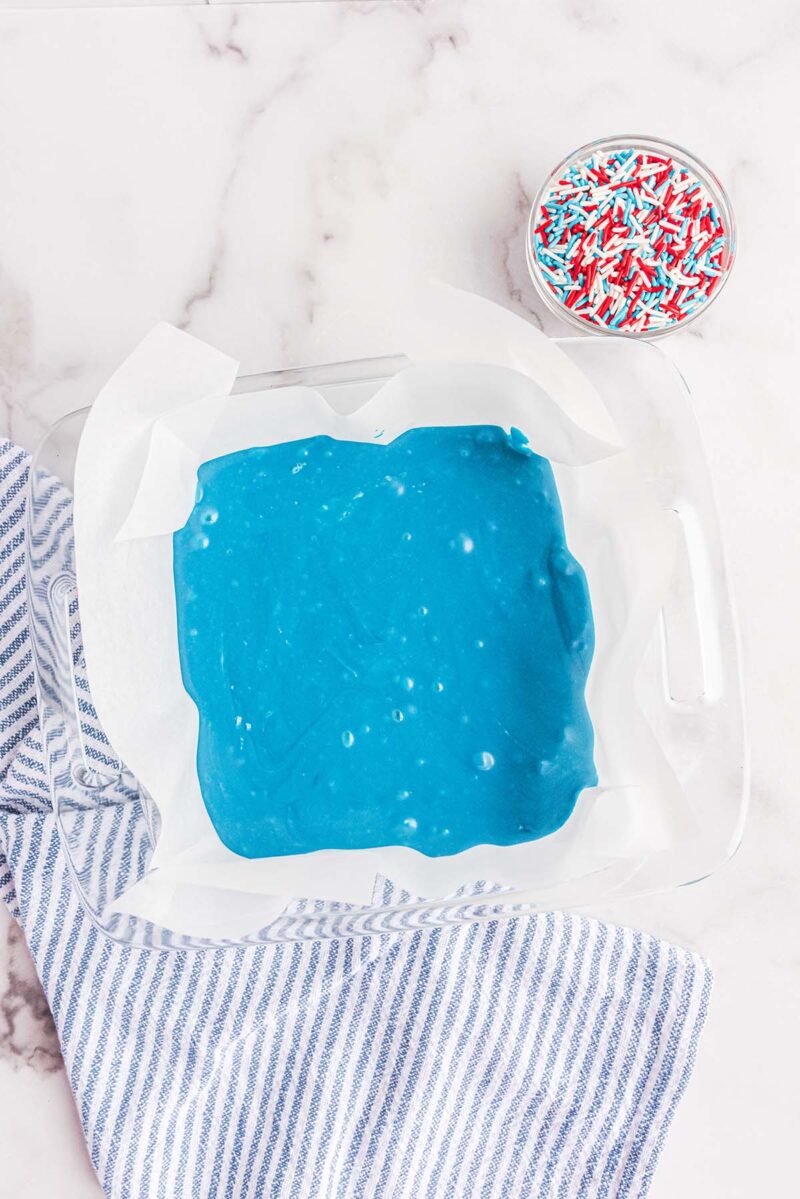
PRO-TIP: Heat treat the cake mix before mixing in with the chocolate (see how below) - Cook The Blue Candy: Cook the chocolate chips, condensed milk, and butter on the stove top until the mixture breaks down completely. Remove from heat and stir in the cake mix until completely dissolved. Add blue food coloring, stirring until the color has completely blended. Pour blue fudge over the white layer, allowing it to spread completely over top.
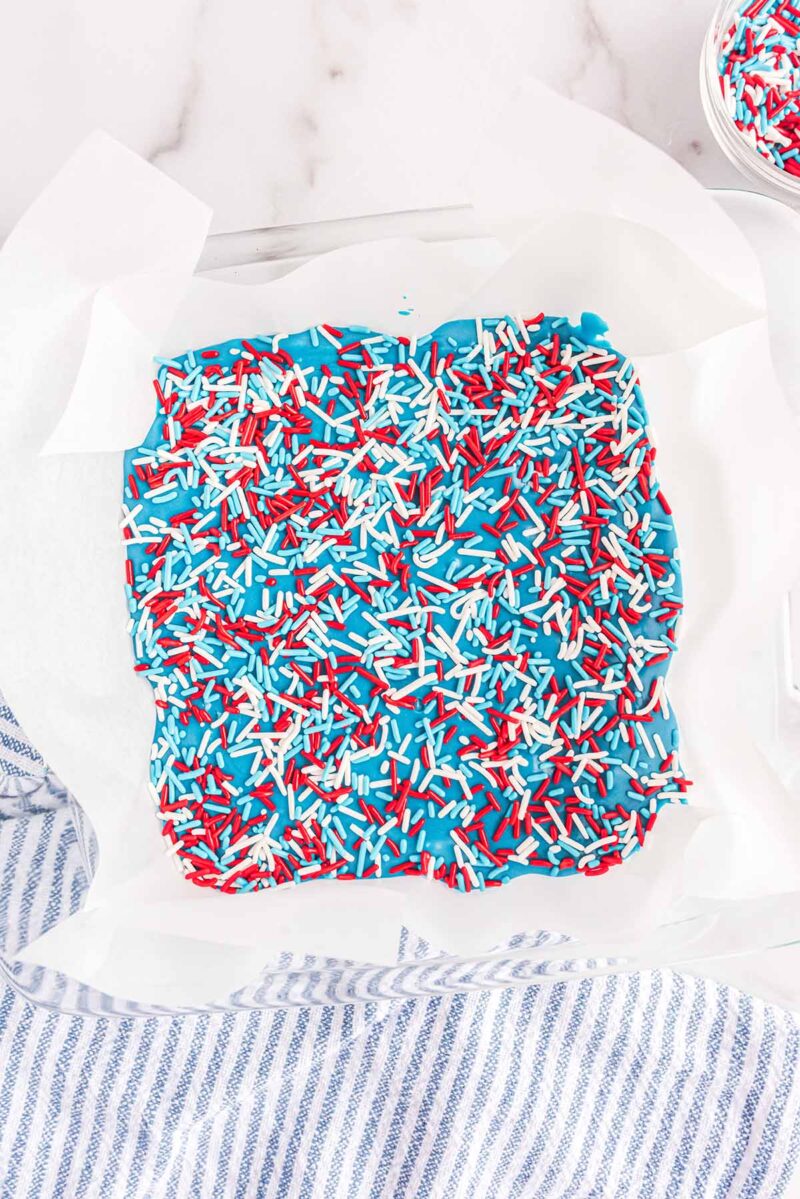
- Chill: Top with sprinkles and place inside the refrigerator to chill overnight before serving.
- Slice and Serve: Cut the fudge into 12 equal squares. Serve and enjoy!
How To Heat Treat Cake Mix
To heat treat your cake mix in the microwave, heat the cake mix in a microwave-safe bowl for (2) 30-second intervals, stirring in between. Allow the cake mix to come to room temperature before using.
To heat treat your cake mix in the oven, place the cake mix on a large cookie sheet prepared with parchment paper. Evenly spread your cake mix out to cover the entire sheet. Cook the cake mix at 350 degrees for 5 minutes and allow it to come to room temperature before use.
How To Prepare The Pan For Your Red White and Blue Fudge
- To best prepare an 8×8 baking dish with parchment paper, first take a sheet of parchment large enough to cover the dish and about 2 inches overhang.
- Using your thumbs and index fingers, press the parchment paper down into the dish, extending your fingers strongly into the corner to make an indention. Remove your fingers and the parchment paper.
- Using a pair of scissors, cut the parchment paper in 8 places; two cuts leading to each indentation from both sides of the paper. You may need to cut an excess amount of parchment paper off from the longer sides depending on the size of your rolled or pre-cut parchment paper.
- There should be about 2 inches from each indentation to the end of the paper. Be sure your cuts do not touch one another.
- When done, place the parchment paper back into the dish, tucking the corners properly behind the parchment sides. Press the paper with your fingers along the edges of the dish to shape it even further. It should hold up nicely.
Tips For Making The Best Red White and Blue Fudge
- As you’re stirring the mixture over the stovetop, use your spatula to break up any pieces of butter that do not melt as easily as others. Do this by gently pressing it with your spatula.
- Be sure to use butter that is softened to room temperature. Butter any cooler will be harder to break down over low heat.
- Make sure to use sweetened condensed milk and not evaporated milk or your fudge will not set up.
- This fudge is best served chilled.
- Be sure not to use food color drops. This recipe works best with gel food coloring.
How to Store Red White and Blue Fudge
- To Store: Store any leftovers in an airtight container in the refrigerator for up to 7 days.
- To Freeze: For longer storage, tightly wrap the fudge with plastic wrap and then place it in an airtight container or freezer-safe plastic bag for up to 3 months.
More Easy Patriotic Recipes
Other Homemade Fudge Recipes
Red White and Blue Fudge
Ingredients
- 1½ bags (11 oz bag) white chocolate chips
- 1½ cans (14 oz cans) condensed milk
- 3 tablespoons salted butter softened at room temperature, divided
- 6 tablespoons white cake mix divided (heat treated, see directions below)
- Red and blue gel food coloring
- ½ cup red, white, and blue sprinkles
Instructions
- Prepare a 8×8 pan with parchment paper. See notes for general tips.
- In a large saucepan, combine ⅓ of the chocolate chips (this is about 1 cup), ⅓ of the condensed milk (this is a little less than one cup; ⅘ cup) and 1 tablespoon of butter over low heat. Cook on low for 8-10 minutes until the mixture breaks down completely. Use a rubber spatula and stir frequently.
- Remove from heat and 2 tablespoons of cake mix. Stir for about 1 minute until the mix has completely dissolved into the mixture.
- Add 2-3 inches of red food coloring, stirring until the color has completely blended. Return to heat if need be. Add food coloring gel until the desired shade of red is met.
- Pour red fudge mixture into the center of the 8×8 dish, scraping any excess fudge mixture from the pan using your spatula. The fudge should self level well, requiring zero spreading. Allow the layer to cool and stiffen, slightly before step 6.
- Repeat steps 2 & 3, using the same amounts of white chocolate chips, condensed milk, butter and cake mix. Do not add food coloring. Pour this white mixture over the red layer, allowing it to spread, covering the layer completely. Allow the white layer to cool and stiffen, slightly before step 7.
- Repeat steps 2 & 3 with the remaining white chocolate chips, condensed milk, butter and cake mix.
- Add 2-3 inches of blue gel food coloring to the final fudge layer, mixing until fully combined. Add food coloring if needed until the desired shade of blue is met.
- Pour blue fudge mixture over the white layer, allowing it to spread completely over top.
- Immediately top with sprinkles and place inside the refrigerator to chill overnight before serving.
- When read to serve, remove the fudge from the 8×8 pan by pulling up on the parchment paper. Use a sharp knife to carefully cut the fudge into 12 equal squares, making three cuts in both directions.
Jenn’s Notes
- To Store: Store any leftovers in an airtight container in the refrigerator for up to 7 days.
- To Freeze: For longer storage, tightly wrap the fudge with plastic wrap and then place it in an airtight container or freezer-safe plastic bag for up to 3 months.
- MICROWAVE INSTRUCTIONS for heat treating cake mix: To heat treat the cake mix, microwave the cake mix in a microwave safe bowl for (2) 30-second intervals stirring in between. Allow the cake mix to come to room temperature before using.
- OVEN INSTRUCTIONS for heat treating cake mix: place cake mix on a large cookie sheet prepared with parchment paper. Evenly spread your cake mix out to cover the entire sheet. Cook cake mix at 350 degrees for 5 minutes and allow it to come to room temperature before use.
- To best prepare an 8×8 baking dish with parchment paper, first take a sheet of parchment large enough to cover the dish and about 2 inches overhang. Using your thumbs and index fingers, press the parchment paper down into the dish, extending your fingers strongly into the corner to make an indention. Remove your fingers and the parchment paper. Using a pair of scissors, cut the parchment paper in 8 places; two cuts leading to each indentation from both sides of the paper. You may need to cut an excess amount of parchment paper off from the longer sides depending on the size of your rolled or pre-cut parchment paper. There should be about 2 inches from each indentation to the end of the paper. Be sure your cuts do not touch one another. When done, place the parchment paper back into the dish, tucking the corners properly behind the parchment sides. Press the paper with your fingers along the edges of the dish to shape it even further. It should hold up nicely.
- As you’re stirring the mixture, use your spatula to break up any pieces of butter that do not melt as easily as others. Do this by gently pressing it with your spatula.
- Be sure to use butter that is softened to room temperature. Butter any cooler will be harder to break down over low heat.
- This fudge is best served chilled.
- Be sure to store this fudge in and air-tight container inside the refrigerator.
- This fudge has a firm shape to it, making it easy to hold, pick up and serve.
- This dish is sweet! The primary flavor of this fudge comes from the white chocolate with the secondary flavors being the condensed milk and cake mix taste.
- Be sure not to use food color drops. This recipe works best with gel food coloring.


cant wait to try ALL of them.
When I printed your recipe for Red White and Blue Fudge – there was a section of the tips which would not print. That section started with the sentence “To best prepare an 8×8 baking dish and ended with “Be sure not to use food color drops.” I tried to print it several times and it never included the missing tips. BUT the recipe sounds wonderful.
It may have to do with your pinter settings or your page settings?