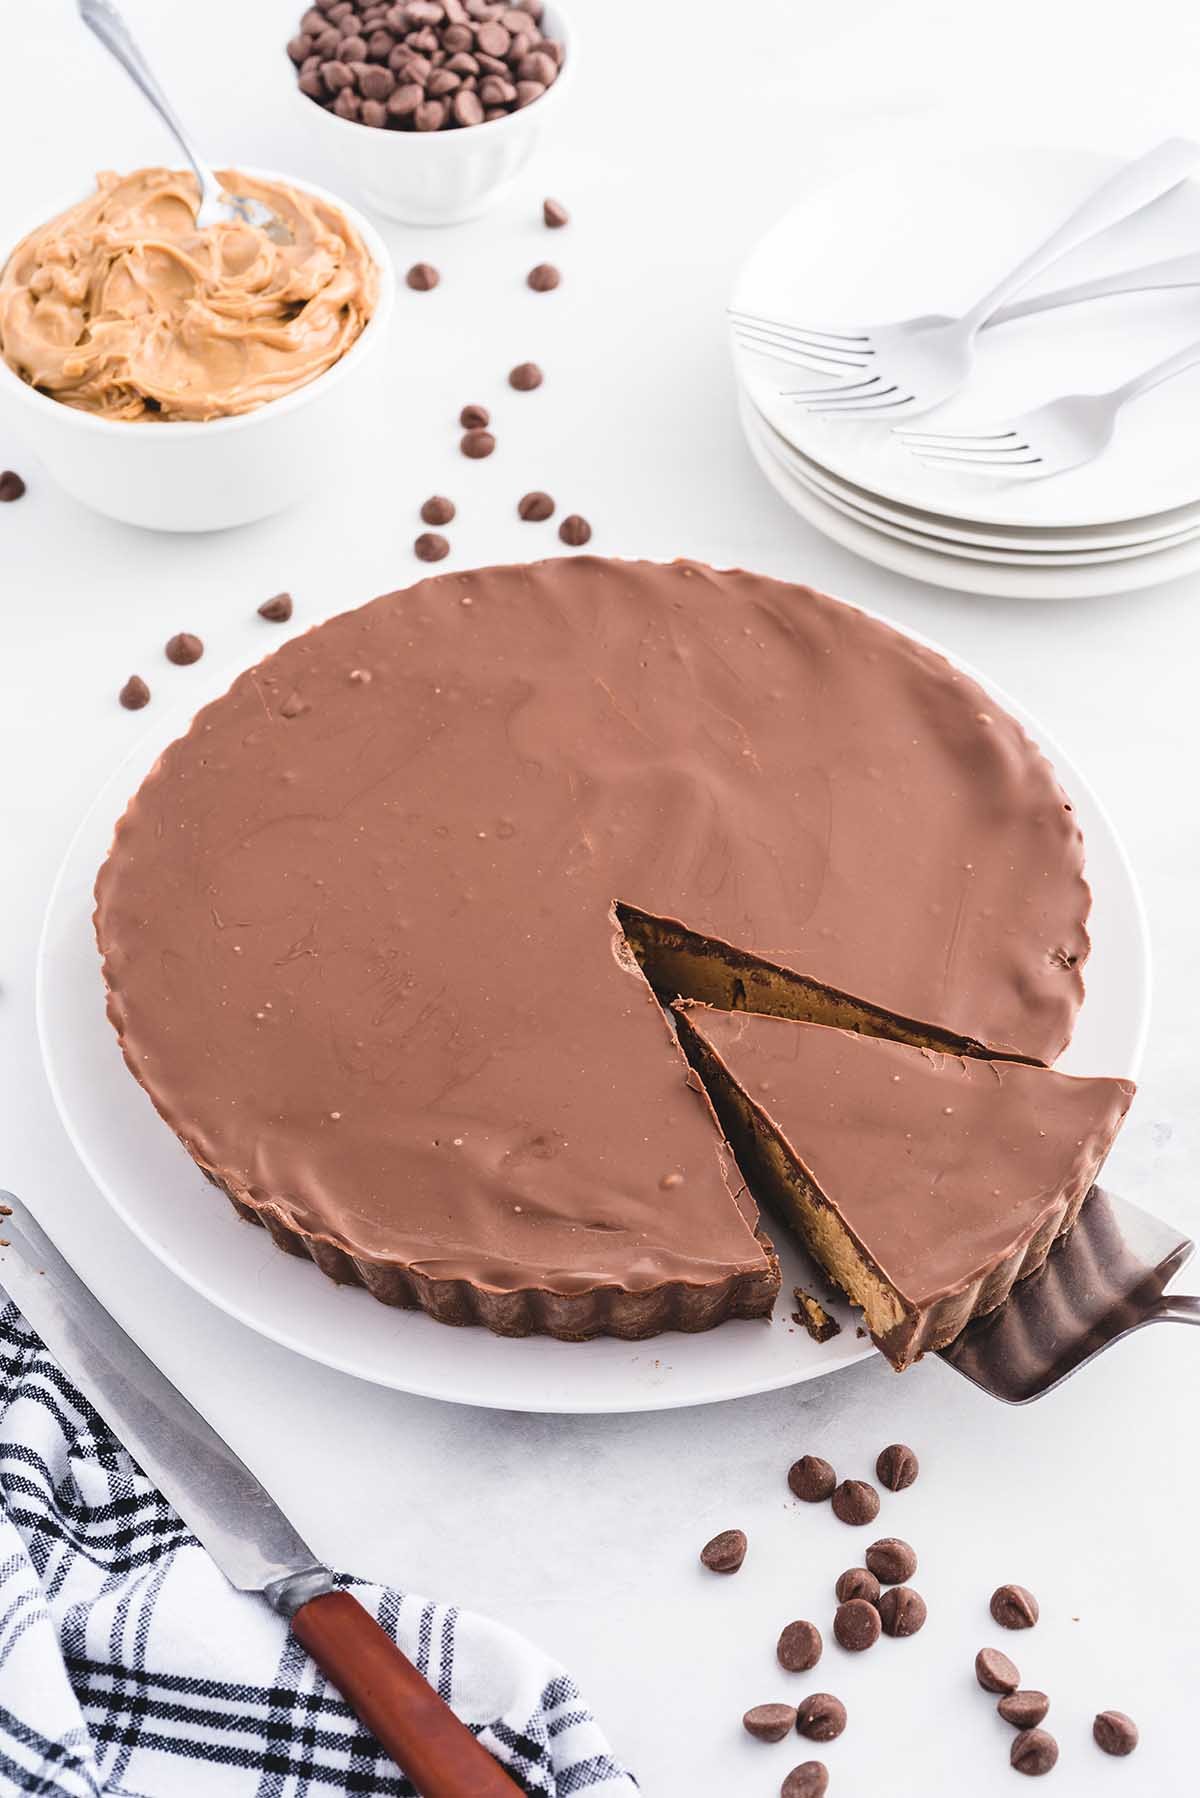
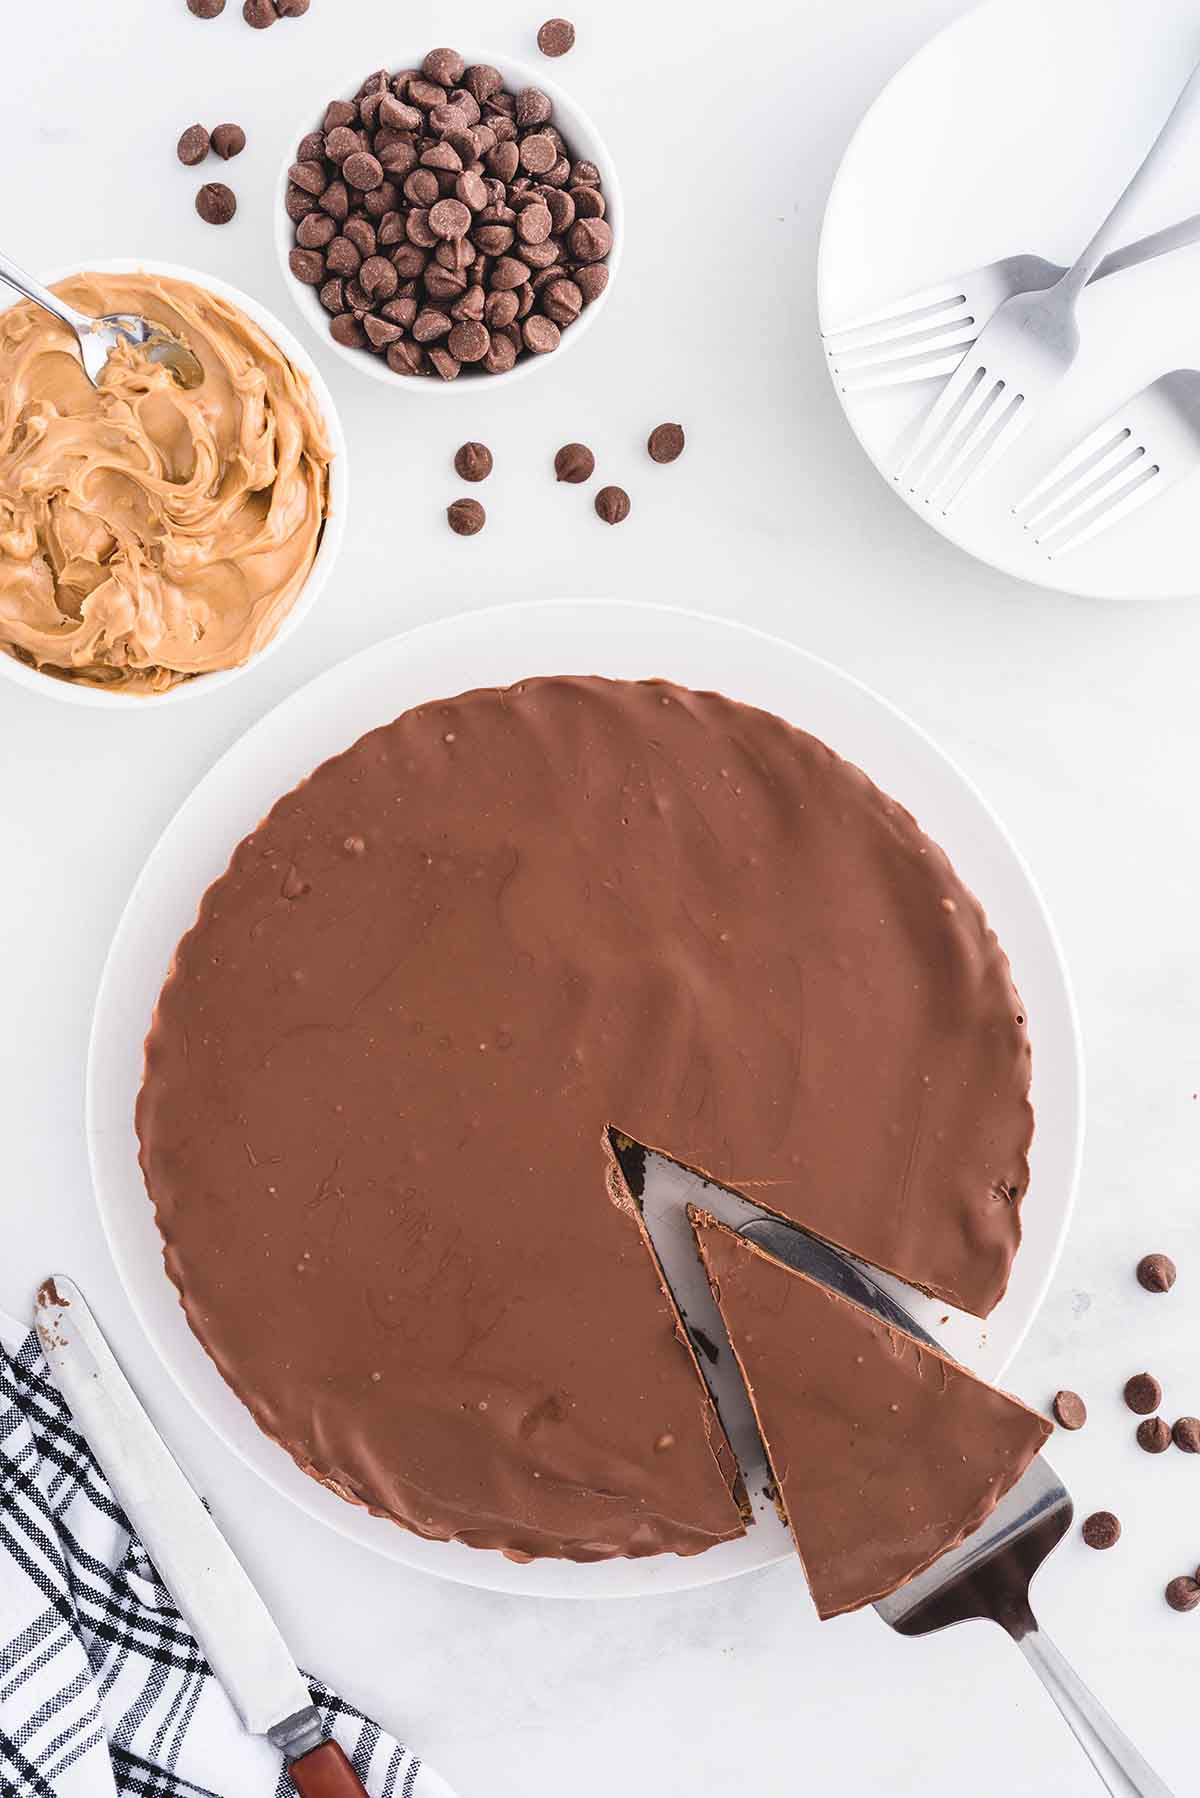
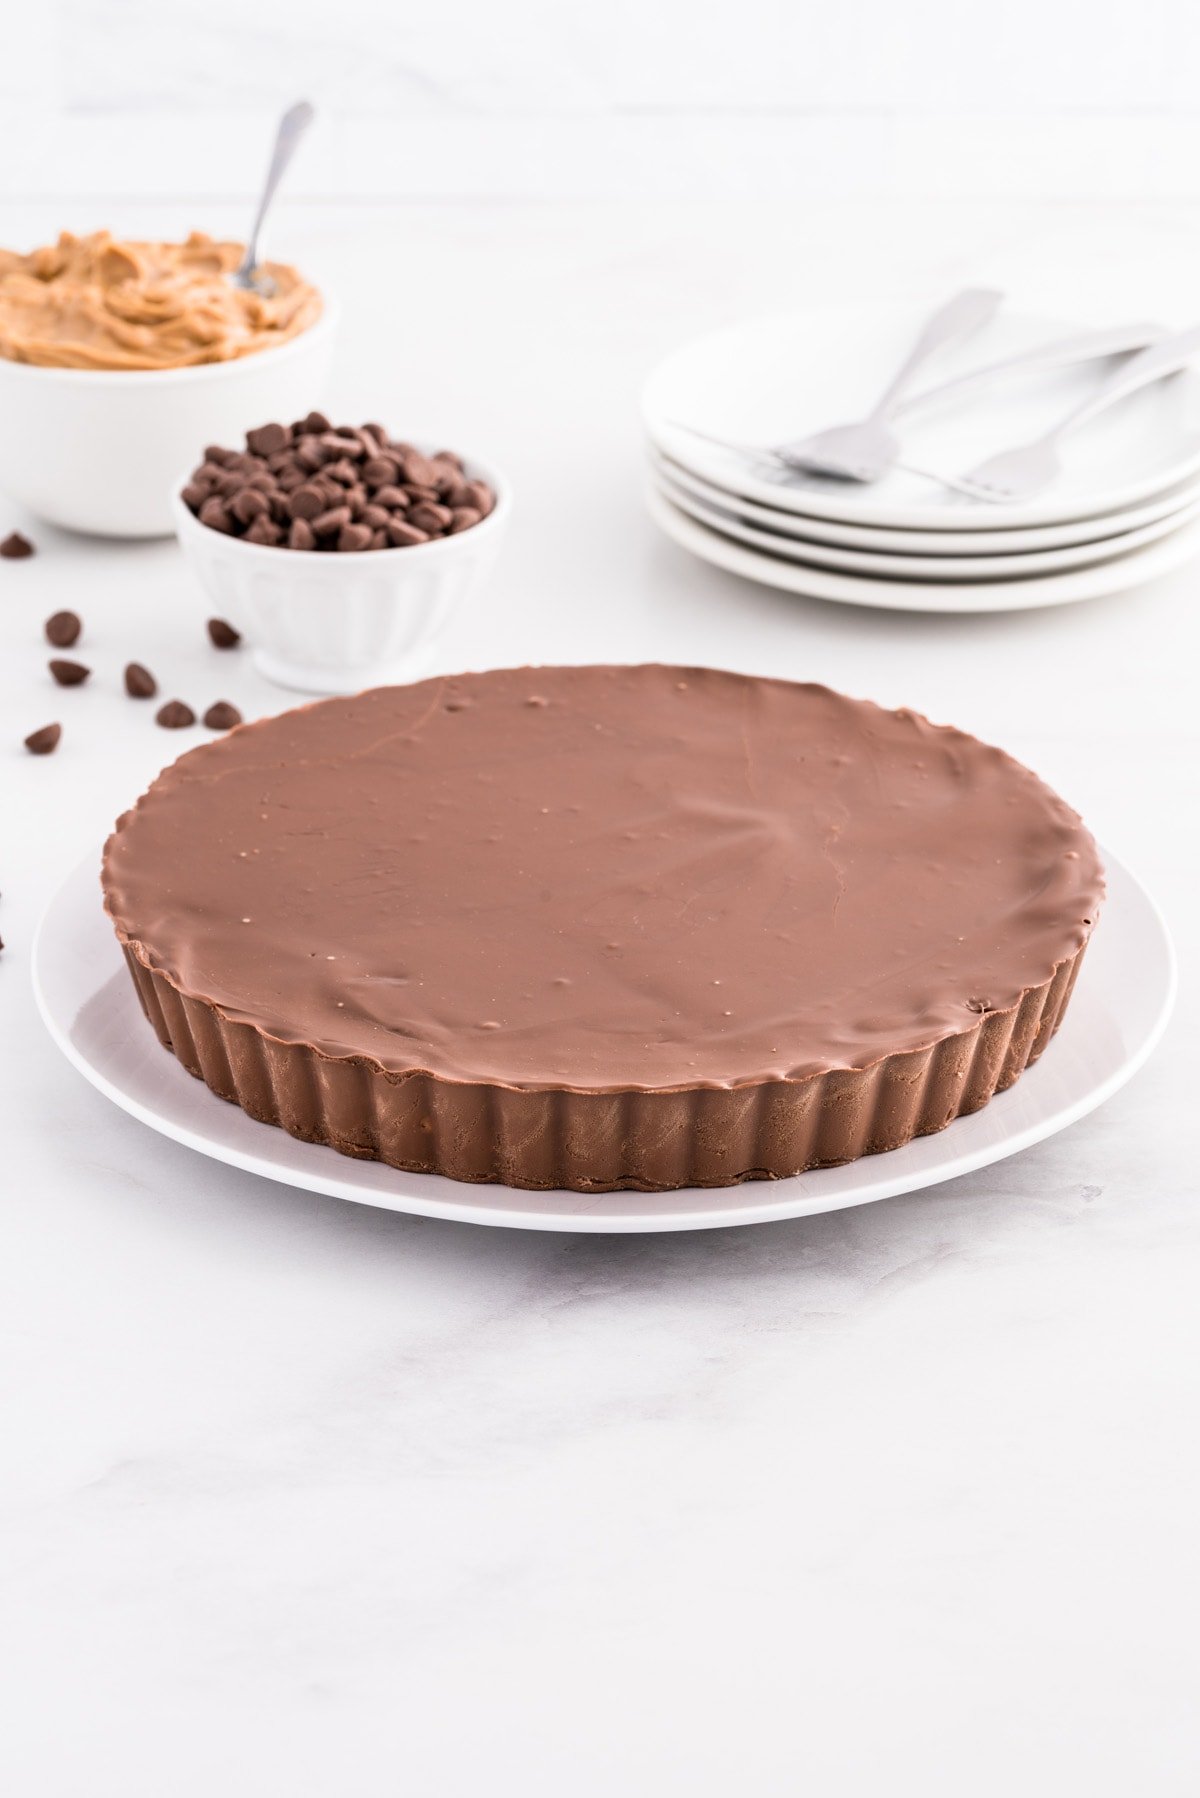
This Giant Reese’s Peanut Butter Cup Pie is a 9-inch in diameter, supersized, no-bake, easy-to-make dessert that combines peanut butter with crushed graham crackers, powdered sugar, and butter to match the filling consistency of the classic candy.
No-Bake Giant Reese’s Peanut Butter Cup Pie
This Giant Reese’s Peanut Butter Cup Pie recipe is the most decadent, delicious, no-bake dessert that’s so easy to make using only 6 basic ingredients; it not only tastes like the classic Reese’s peanut butter cup, but it’s even better because it’s bigger–it’s simply a super-sized version of my favorite food combination, chocolate and peanut butter.
So when Hershey’s revealed its 9-inch, 3.4 pound Reese’s Thanksgiving Pie, I knew I NEEDED to make my own copycat recipe for those of us who missed out on the 3,000 for sale or weren’t willing to spend $45 on a giant candy cup (and mine costs a fraction of the online price).
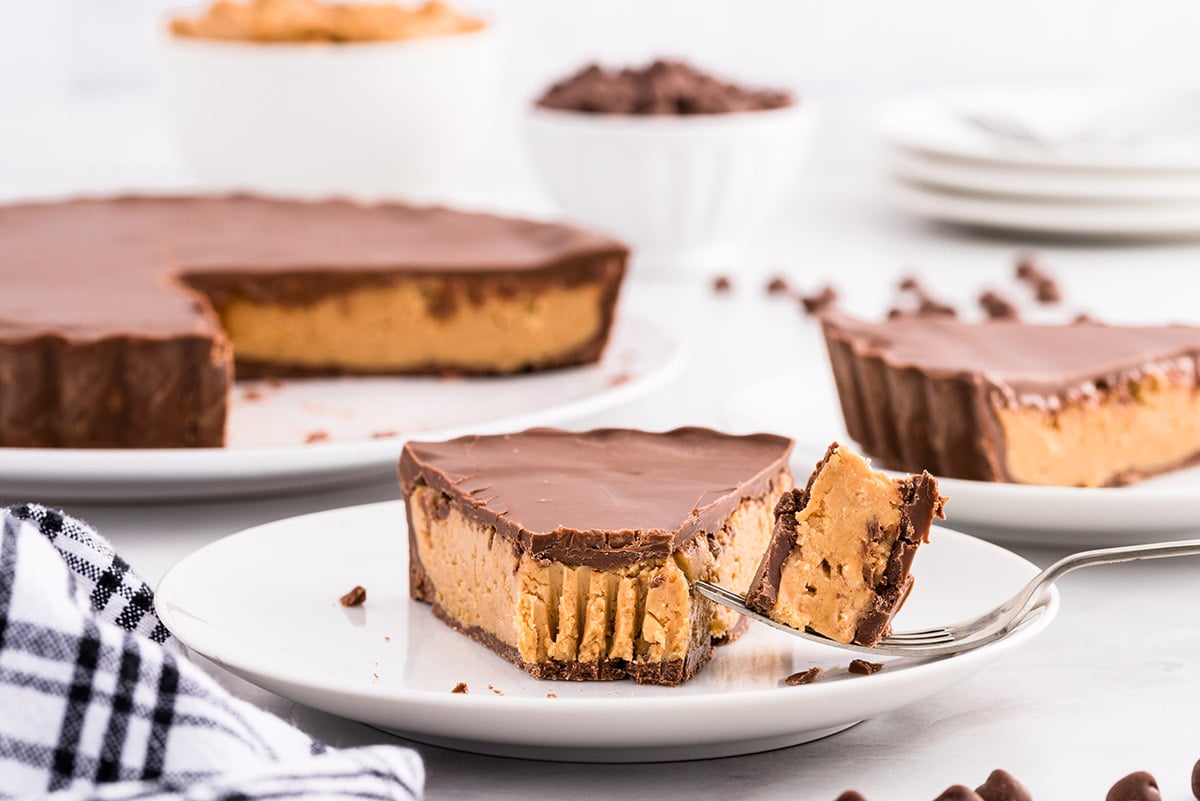
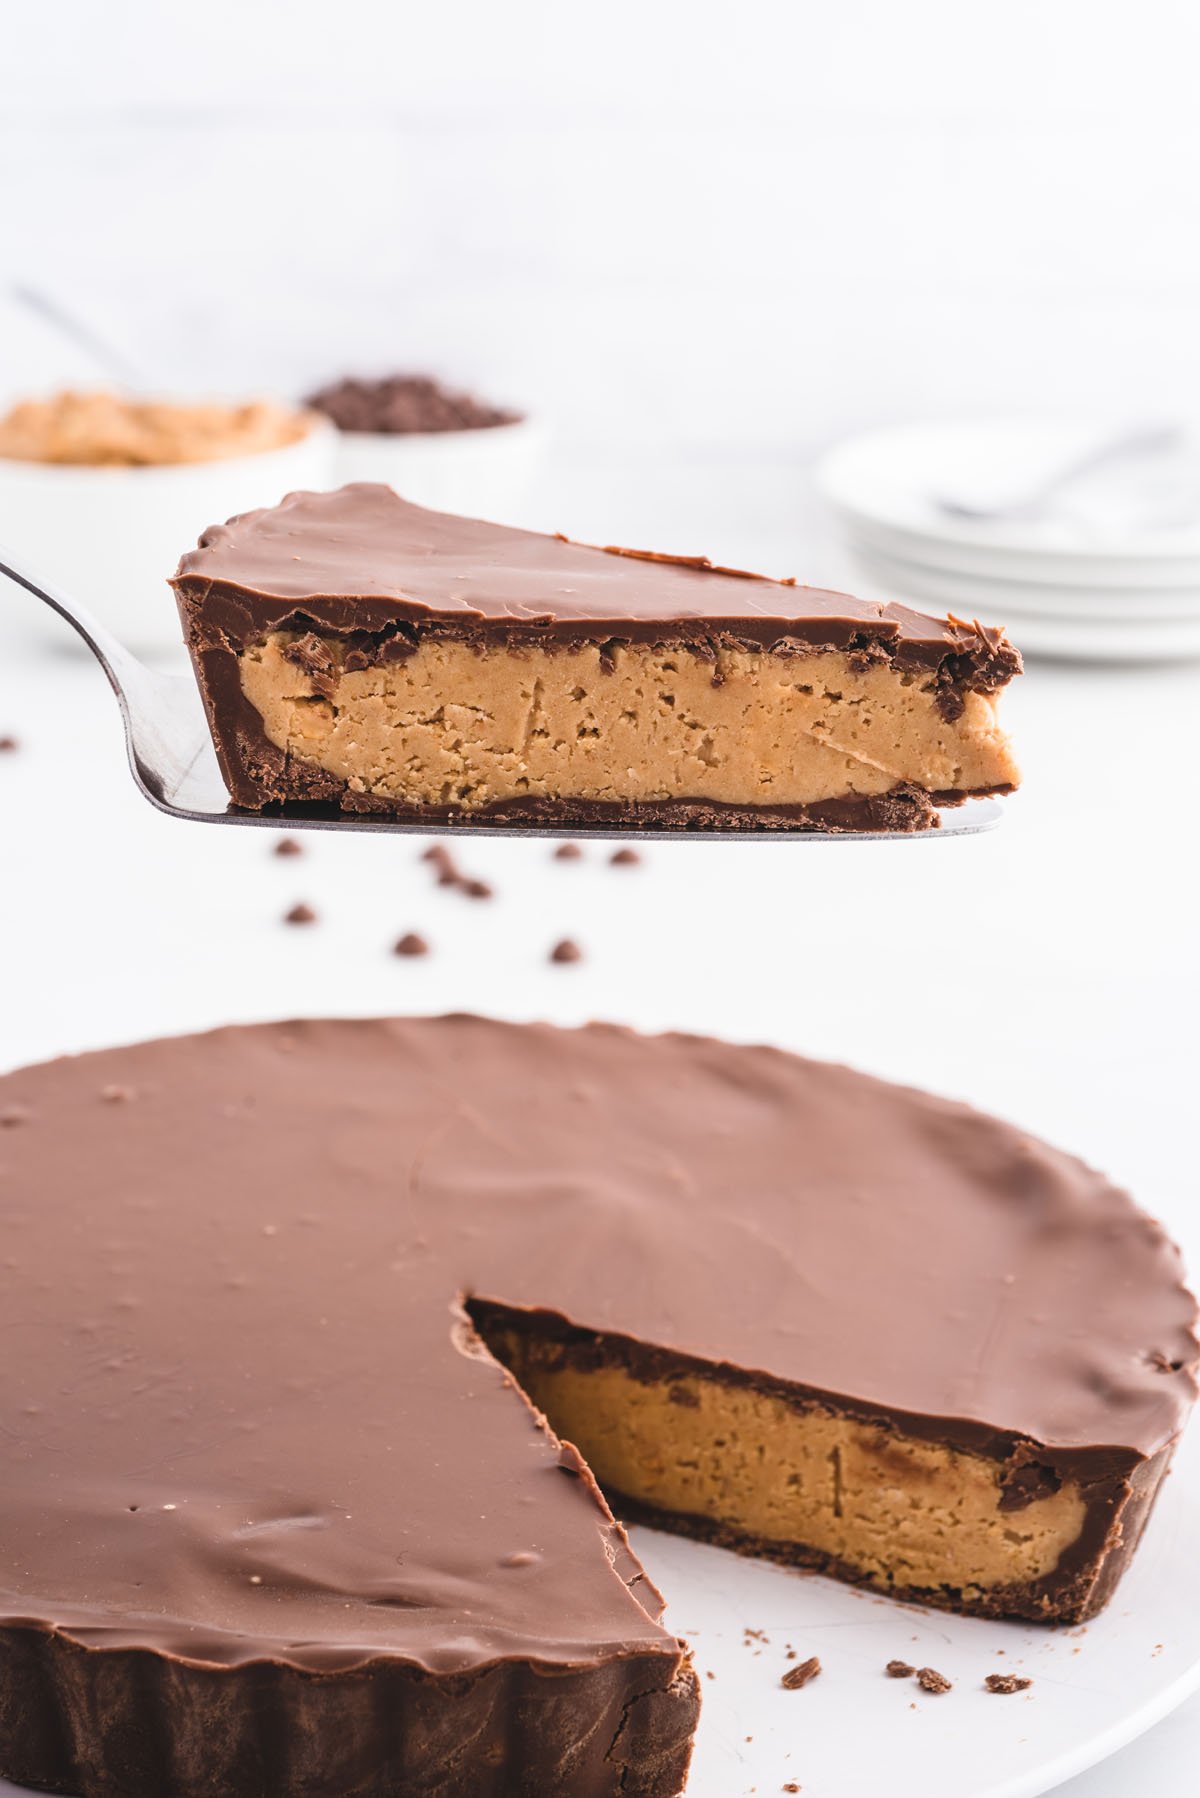
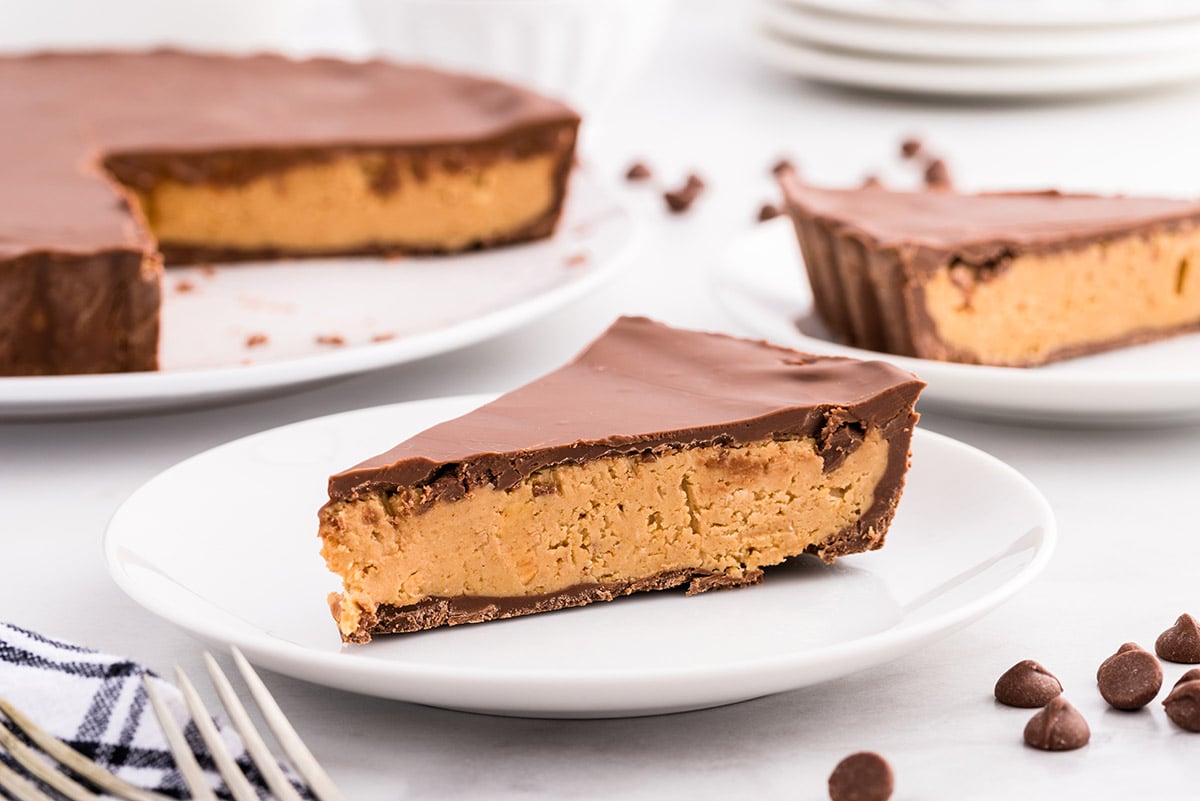
Unlike the other renditions of the oversized peanut butter cup recipe, I think the filling of my pie more closely resembles that of the real Reese’s because I mix graham cracker crumbs into my filling mixture; this way it replicates the grainy texture and taste of the original candy.
My second secret is that I melt the chocolate with a bit of vegetable oil when making the outer shell so that the pie is softer and won’t crack when slicing, and it spreads smoothly and easily into the tart pan (you will love how the tart pan creates the classic Reese’s ridges).
Why We Love This Reese’s Peanut Butter Cup Pie Recipe
- Quick and easy to prepare using simple ingredients.
- No-bake recipe that makes it simple to replicate the popular peanut butter and chocolate confection.
- Copycat version of Reese’s Thanksgiving Pie that is big enough to feed a crowd, and day or holiday.
- Decadent sweet chocolate paired with the salty, nutty flavor of peanut butter is delicious!
- Oversized version of the classic candy is fun to serve as a slice.
- Perfect treat to make in place of a birthday cake or large dessert.
Other Reese's Recipes
Ingredients
- 2½ cups milk chocolate chips
- 1½ tbsp vegetable oil
- 1⅓ cup powdered sugar
- 1 cup graham cracker crumbs
- 1¼ cup crunchy peanut butter
- ½ cup salted sweet cream butter
Substitutions and Additions
- Change The Chocolate: This giant Reese’s Peanut Butter Cup would be equally delicious with semi-sweet or dark chocolate.
- Make Them Mini: Instead of making one super-sized pie, you can create individual candies in muffin pans. Feel free to make them as big or small as you want.
- Fun Fillings: For extra texture and flavor, you can add mini Reese’s pieces, mini chocolate chips, or crushed pieces of peanut brittle to your filling.
Recommended Tools to Make this Recipe
- 9 inch fluted tart pan
- Parchment paper
- Nonstick spray
- Mixing bowls
- Measuring tools
- Large spoon
- Silicone spatula or an offset spatula
How to Make a Giant Reese’s Peanut Butter Cup Pie
If you missed out on Hershey’s huge Reese’s Thanksgiving Pie, you can easily make your own version with the same classic combination of peanut butter and chocolate. This no-bake recipe is so simple and tastes just like the real recipe, you won’t even remember that your pie didn’t come from a package!
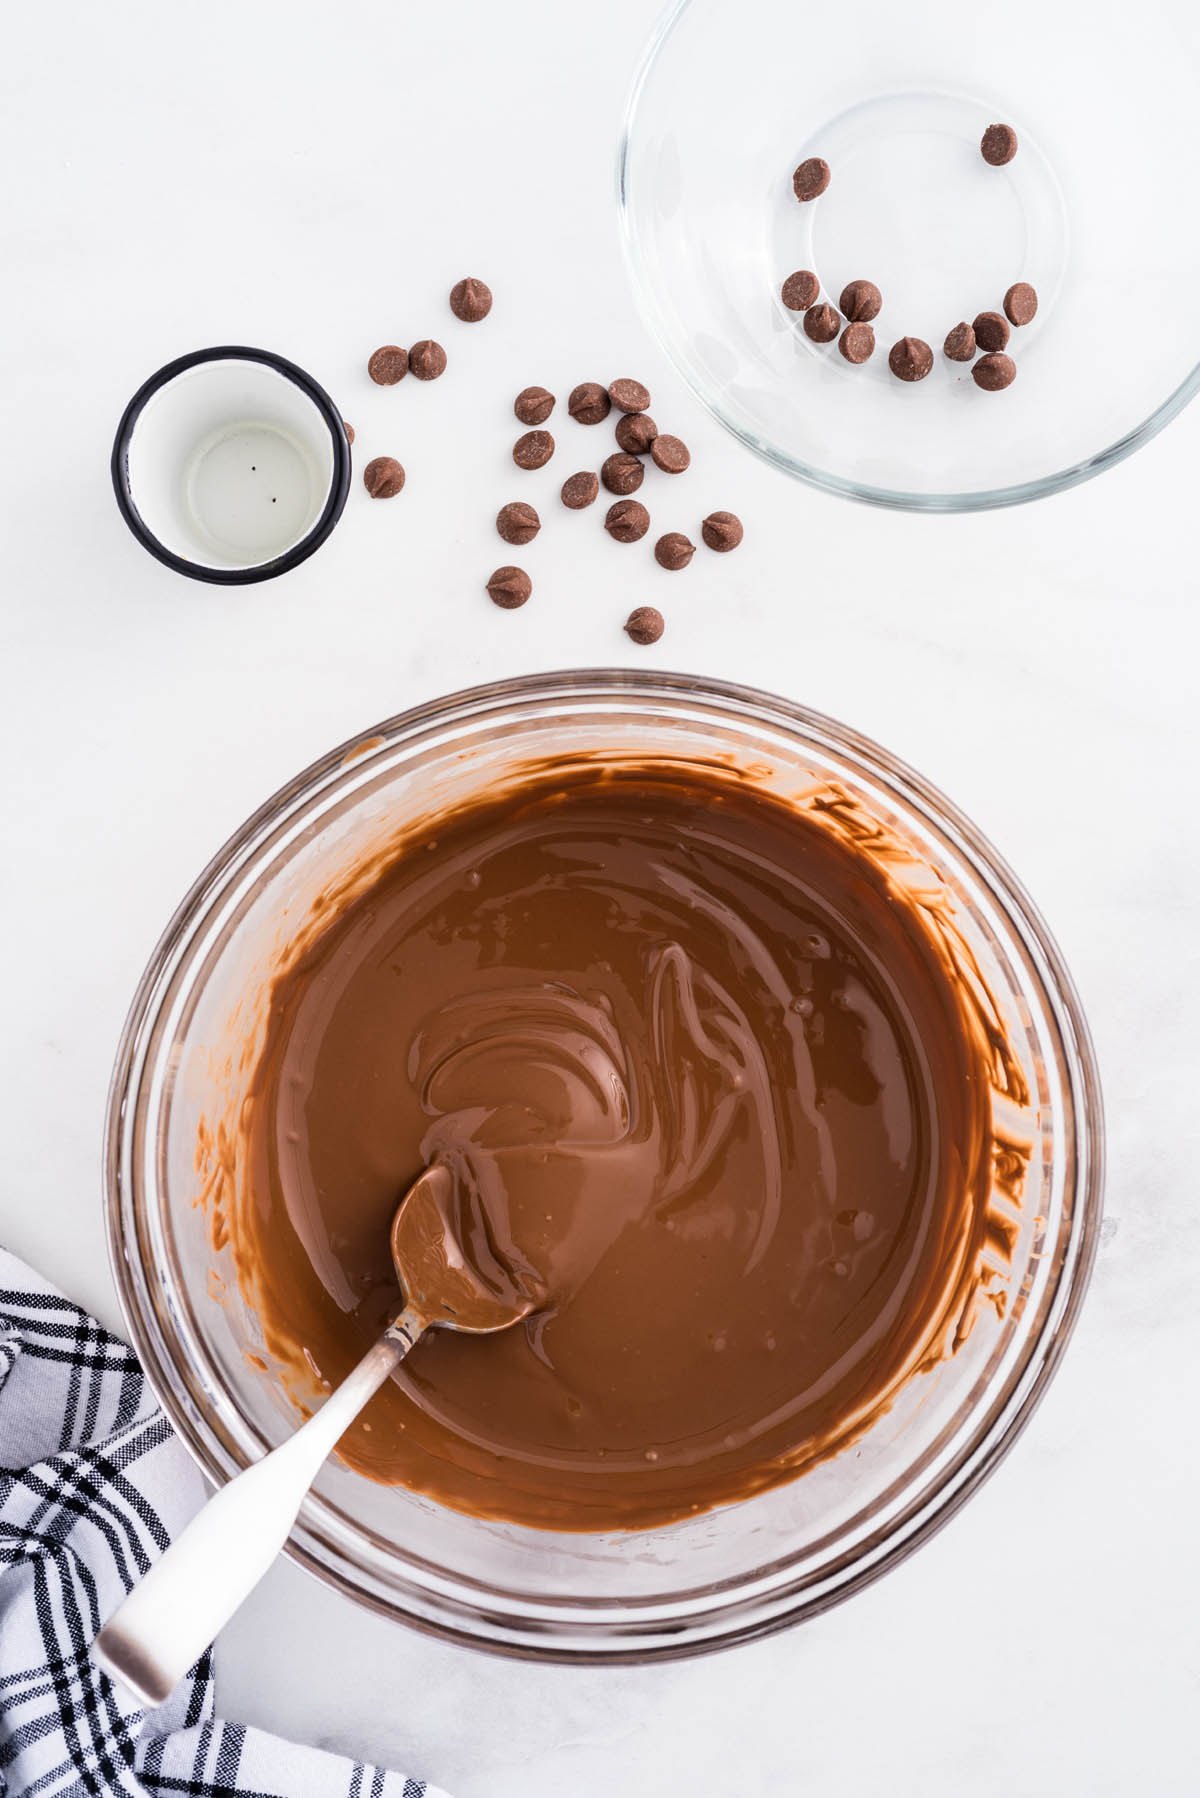
- Heat the chocolate chips and vegetable oil in the microwave for 45 – 55 seconds and stir until the chocolate chips are completely melted and smooth.

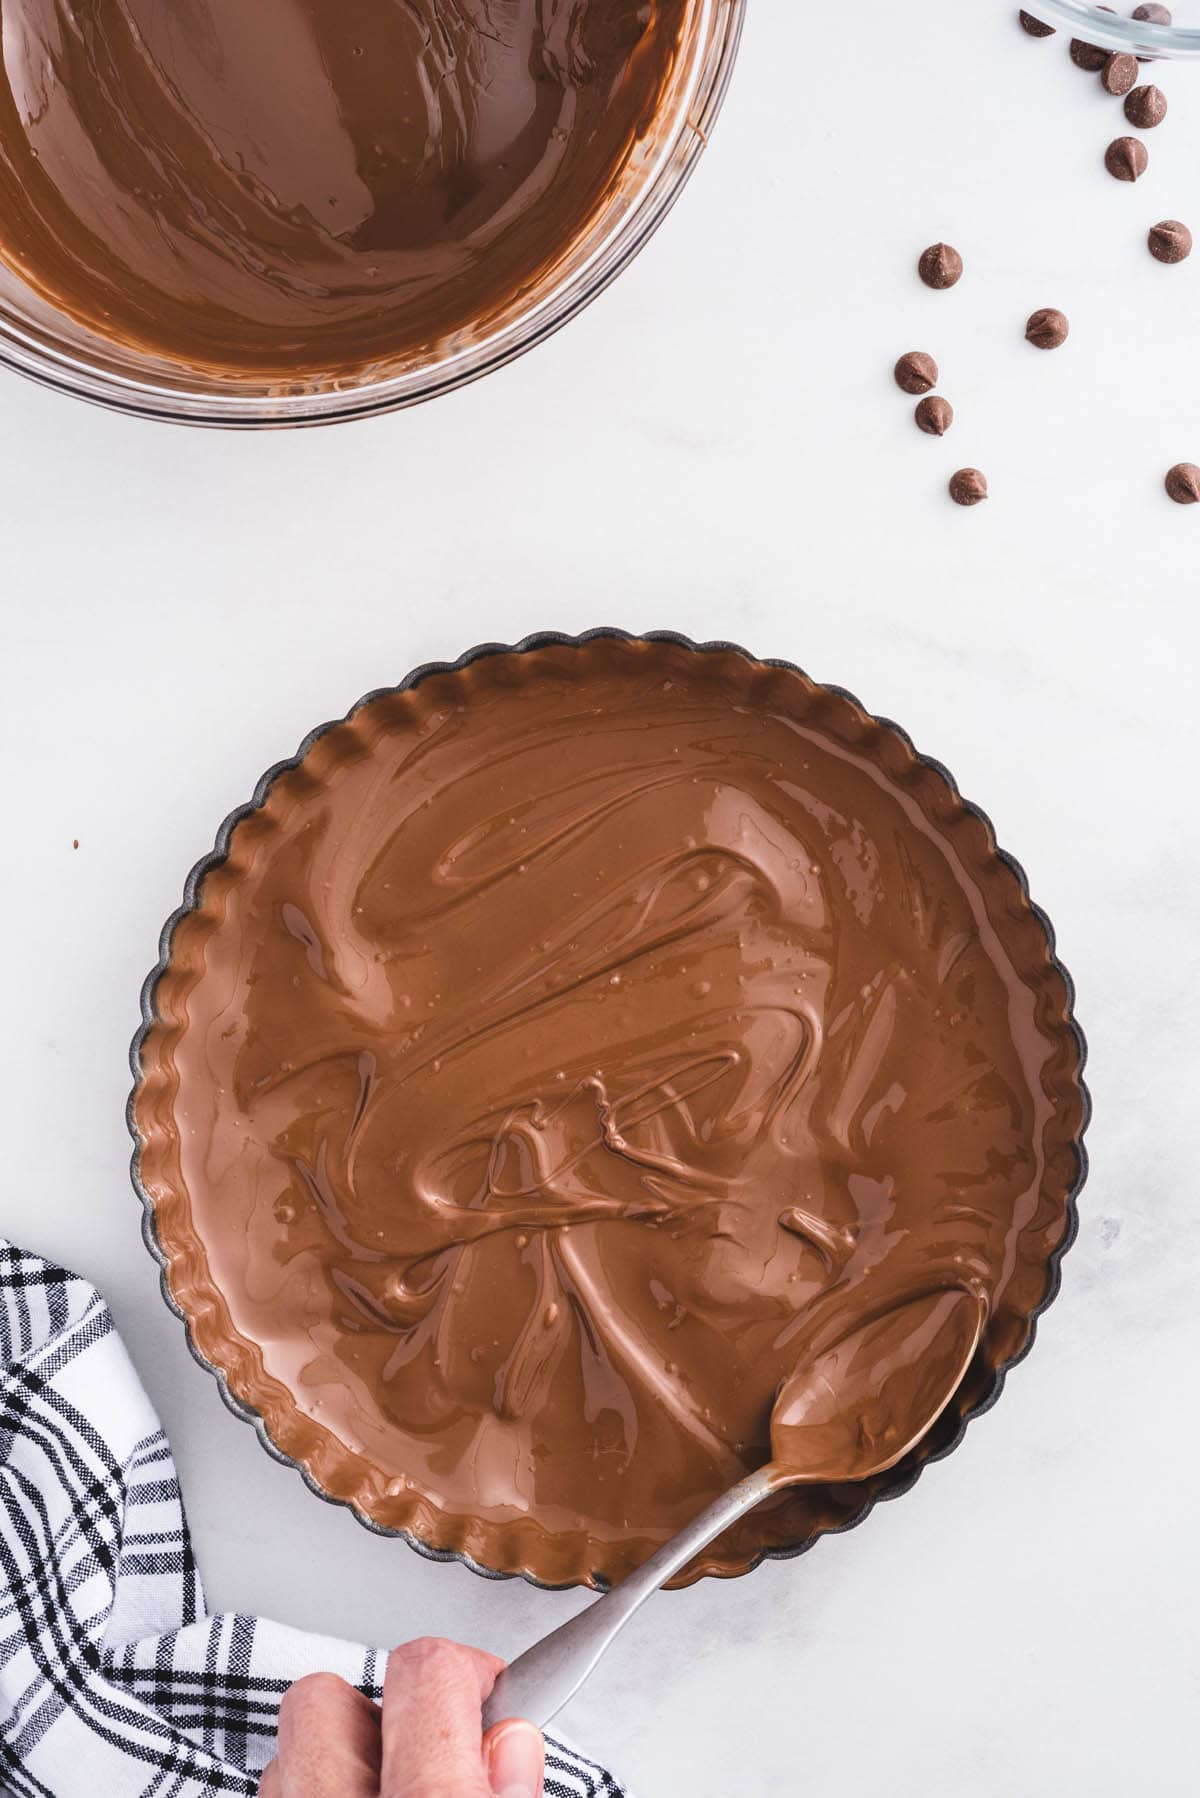
- Spoon ½ of the melted chocolate into the parchment-lined tart pan and evenly spread it over the bottom of the pan and up the sides.
Pro Tip: I find it easiest to spread the chocolate with a large spoon or offset spatula. If you do not have a parchment circle, you can generously spray the removable circle with nonstick spray, or you can lightly butter the removable circle.
- Place the coated tart pan in the refrigerator to chill while you prepare the peanut butter filling.
- Whisk together the powdered sugar and graham cracker crumbs and set it aside.
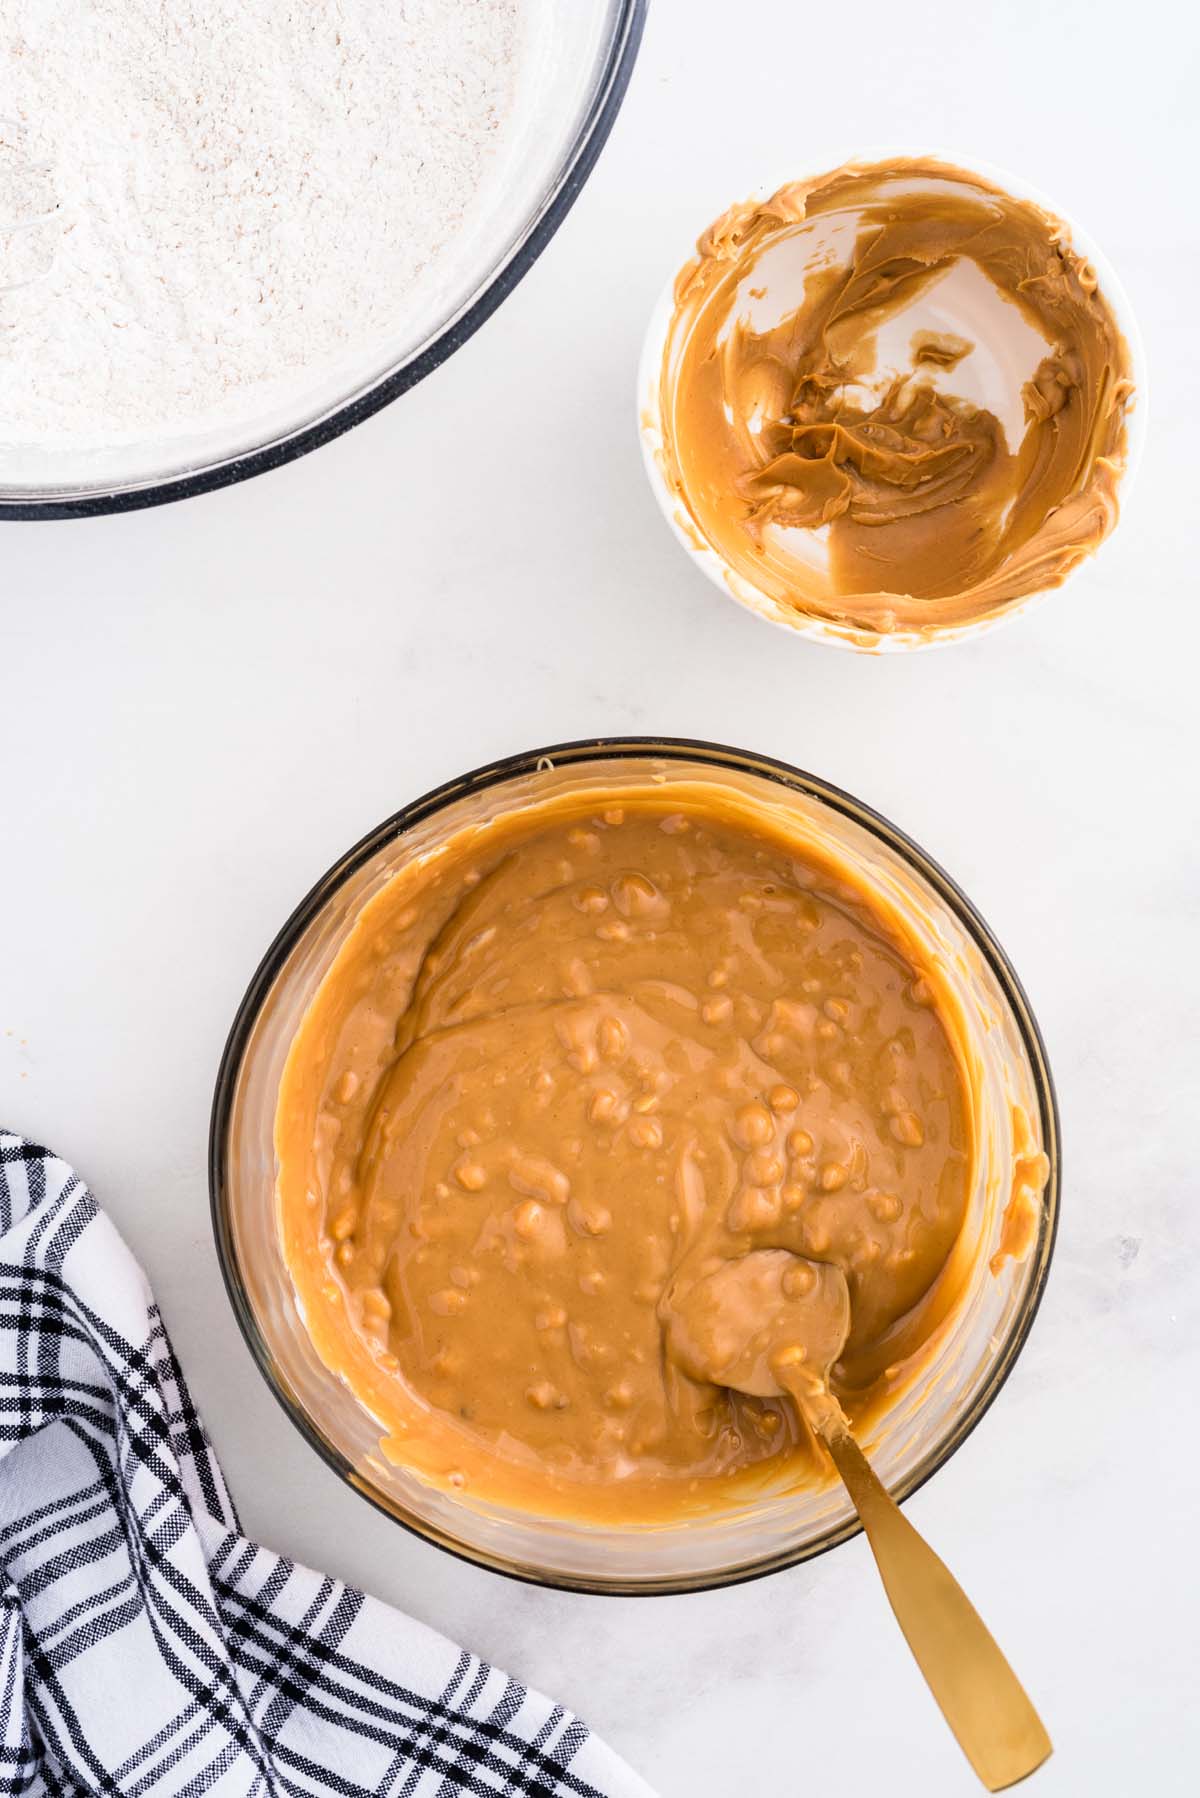
- Add the peanut butter and the butter to a separate bowl, heat in the microwave for 45 seconds, and stir to completely combine.

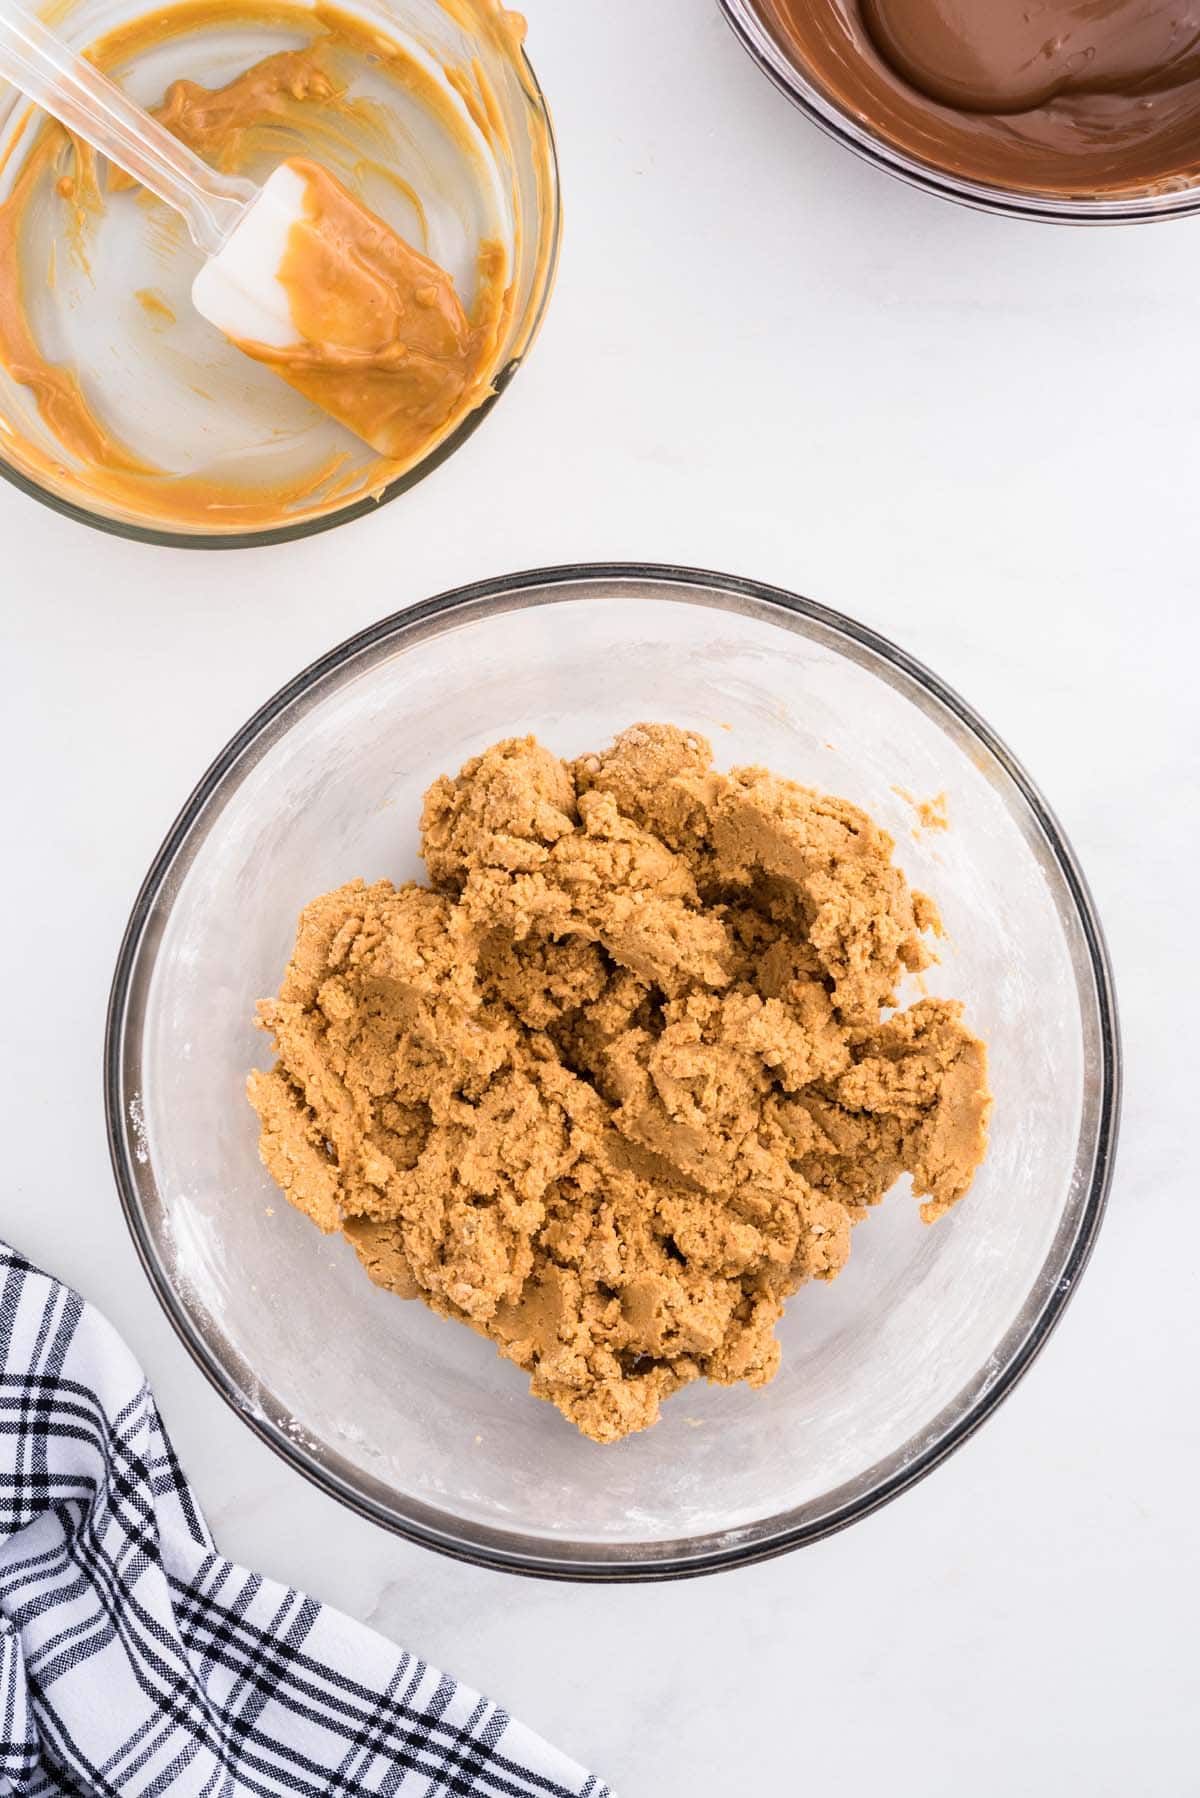
- Pour the peanut butter mixture over the powdered sugar and graham cracker crumbs and stir until the mixture is completely incorporated.

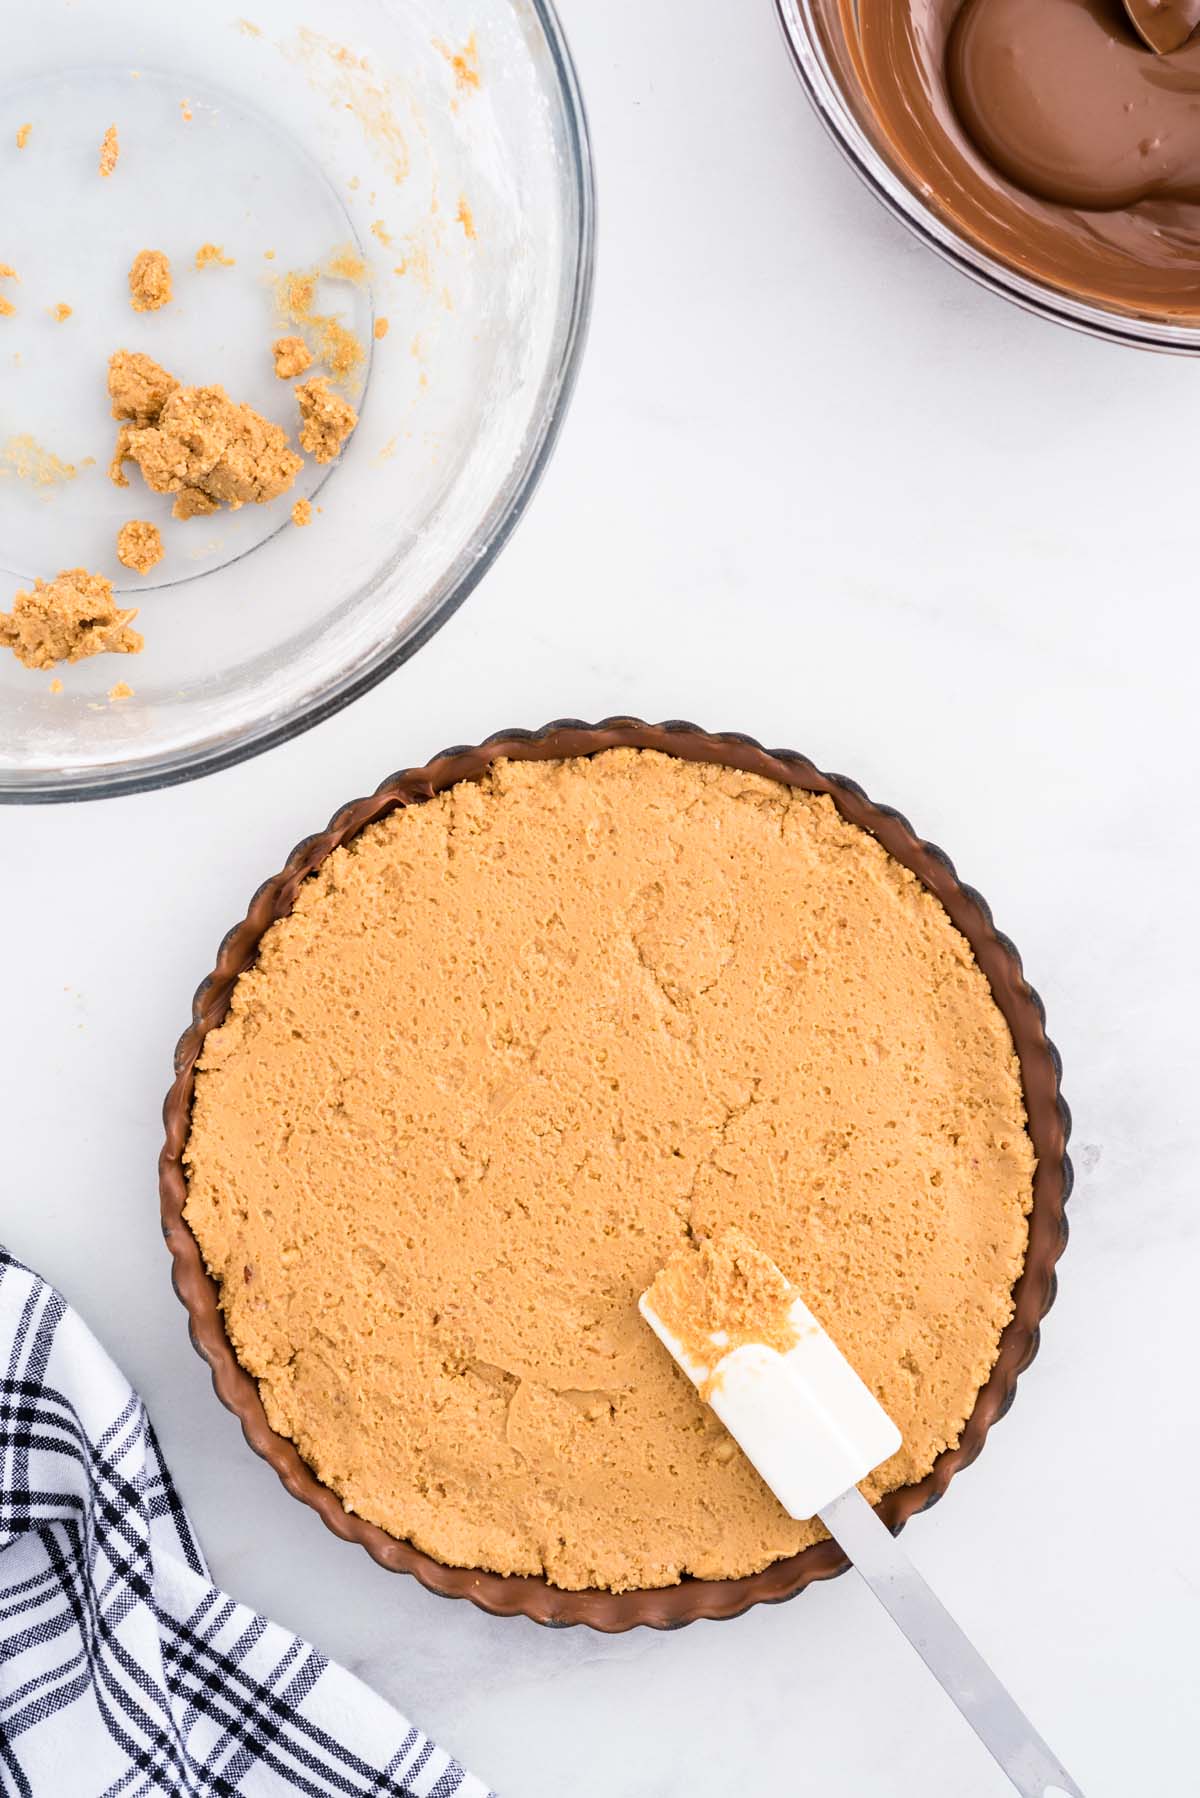
- Once the chocolate coating is chilled and set, spread the peanut butter mixture into the bottom of the tart pan, making sure the mixture is smooth and even.

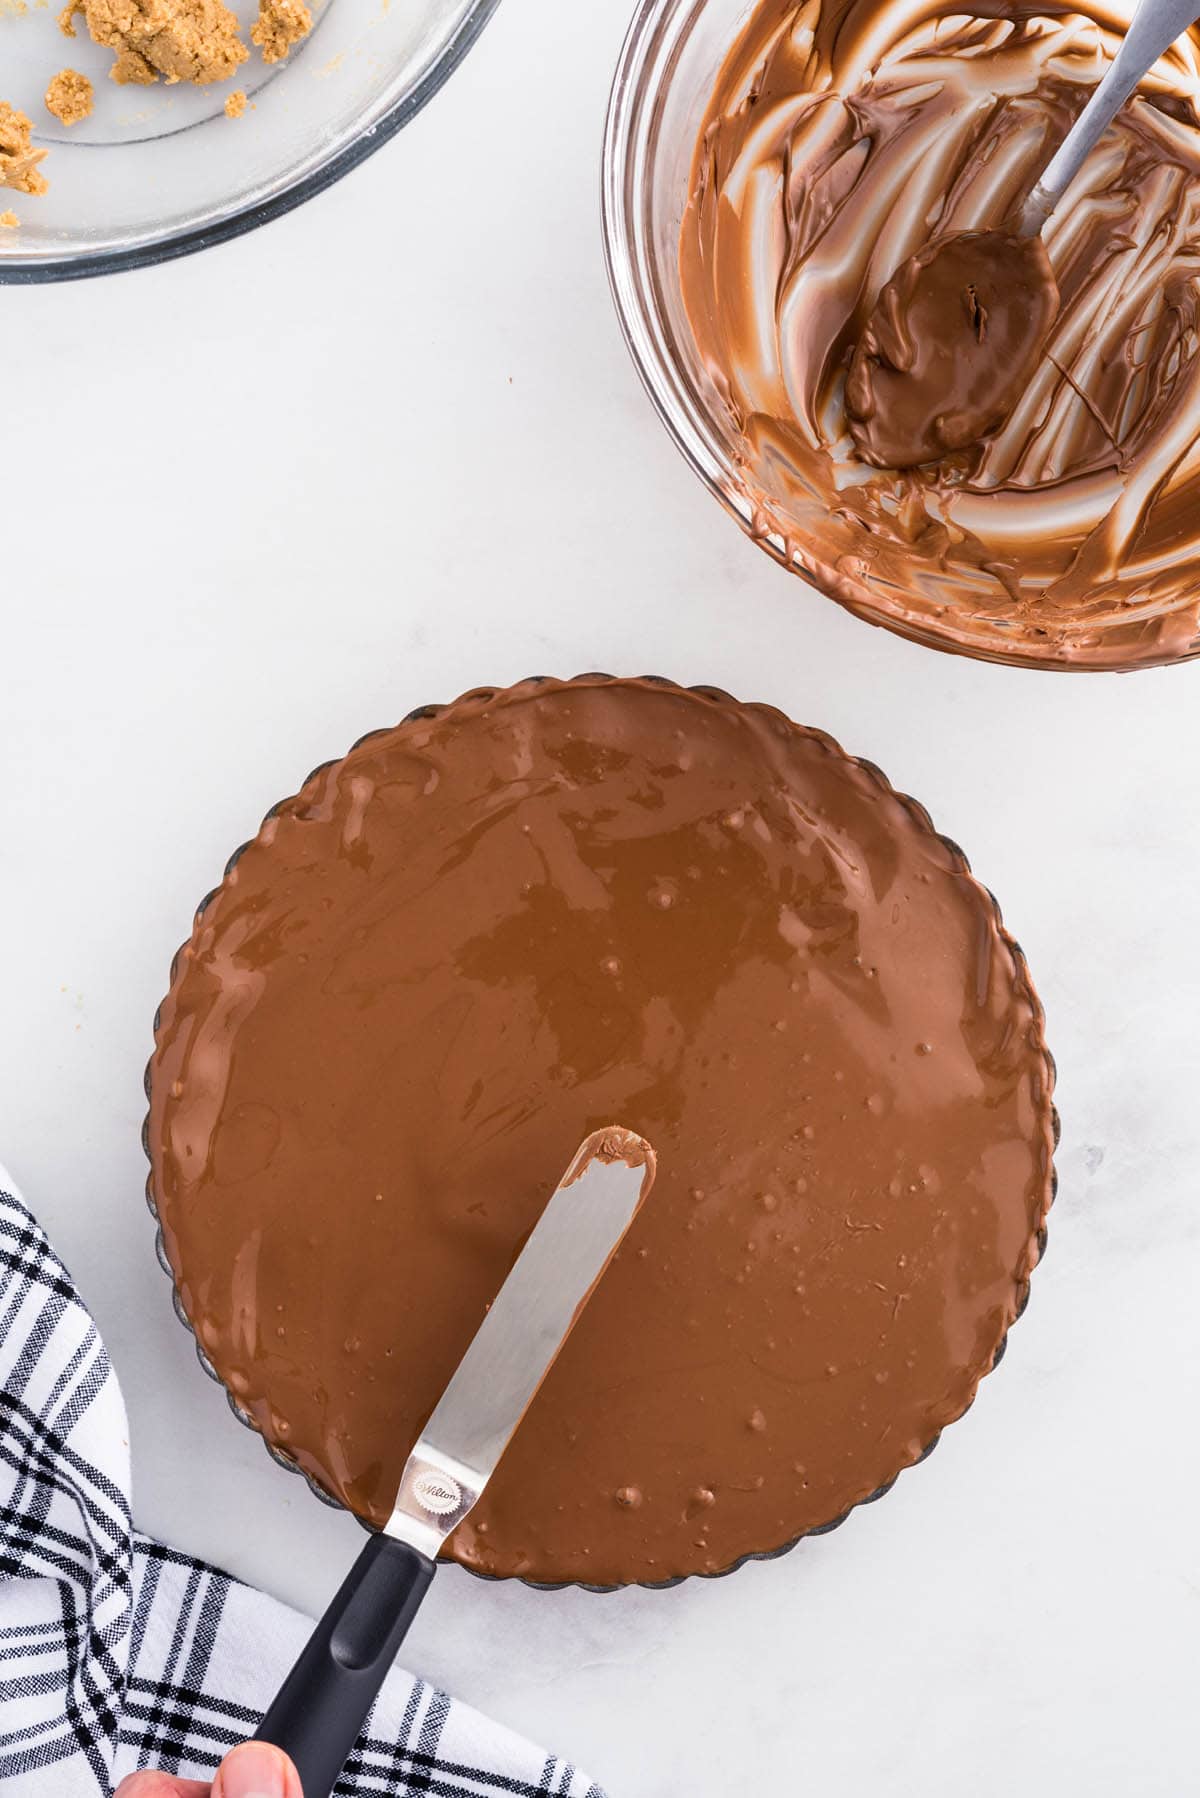
- Spoon the remaining melted chocolate over the peanut butter layer with a spoon or an offset spatula to evenly smooth it all the way to the sides.
Pro-Tip: Once you have spread the peanut butter mixture into the prepared tart pan, you may need to heat the chocolate mixture in the microwave for 15 – 20 seconds before spreading.
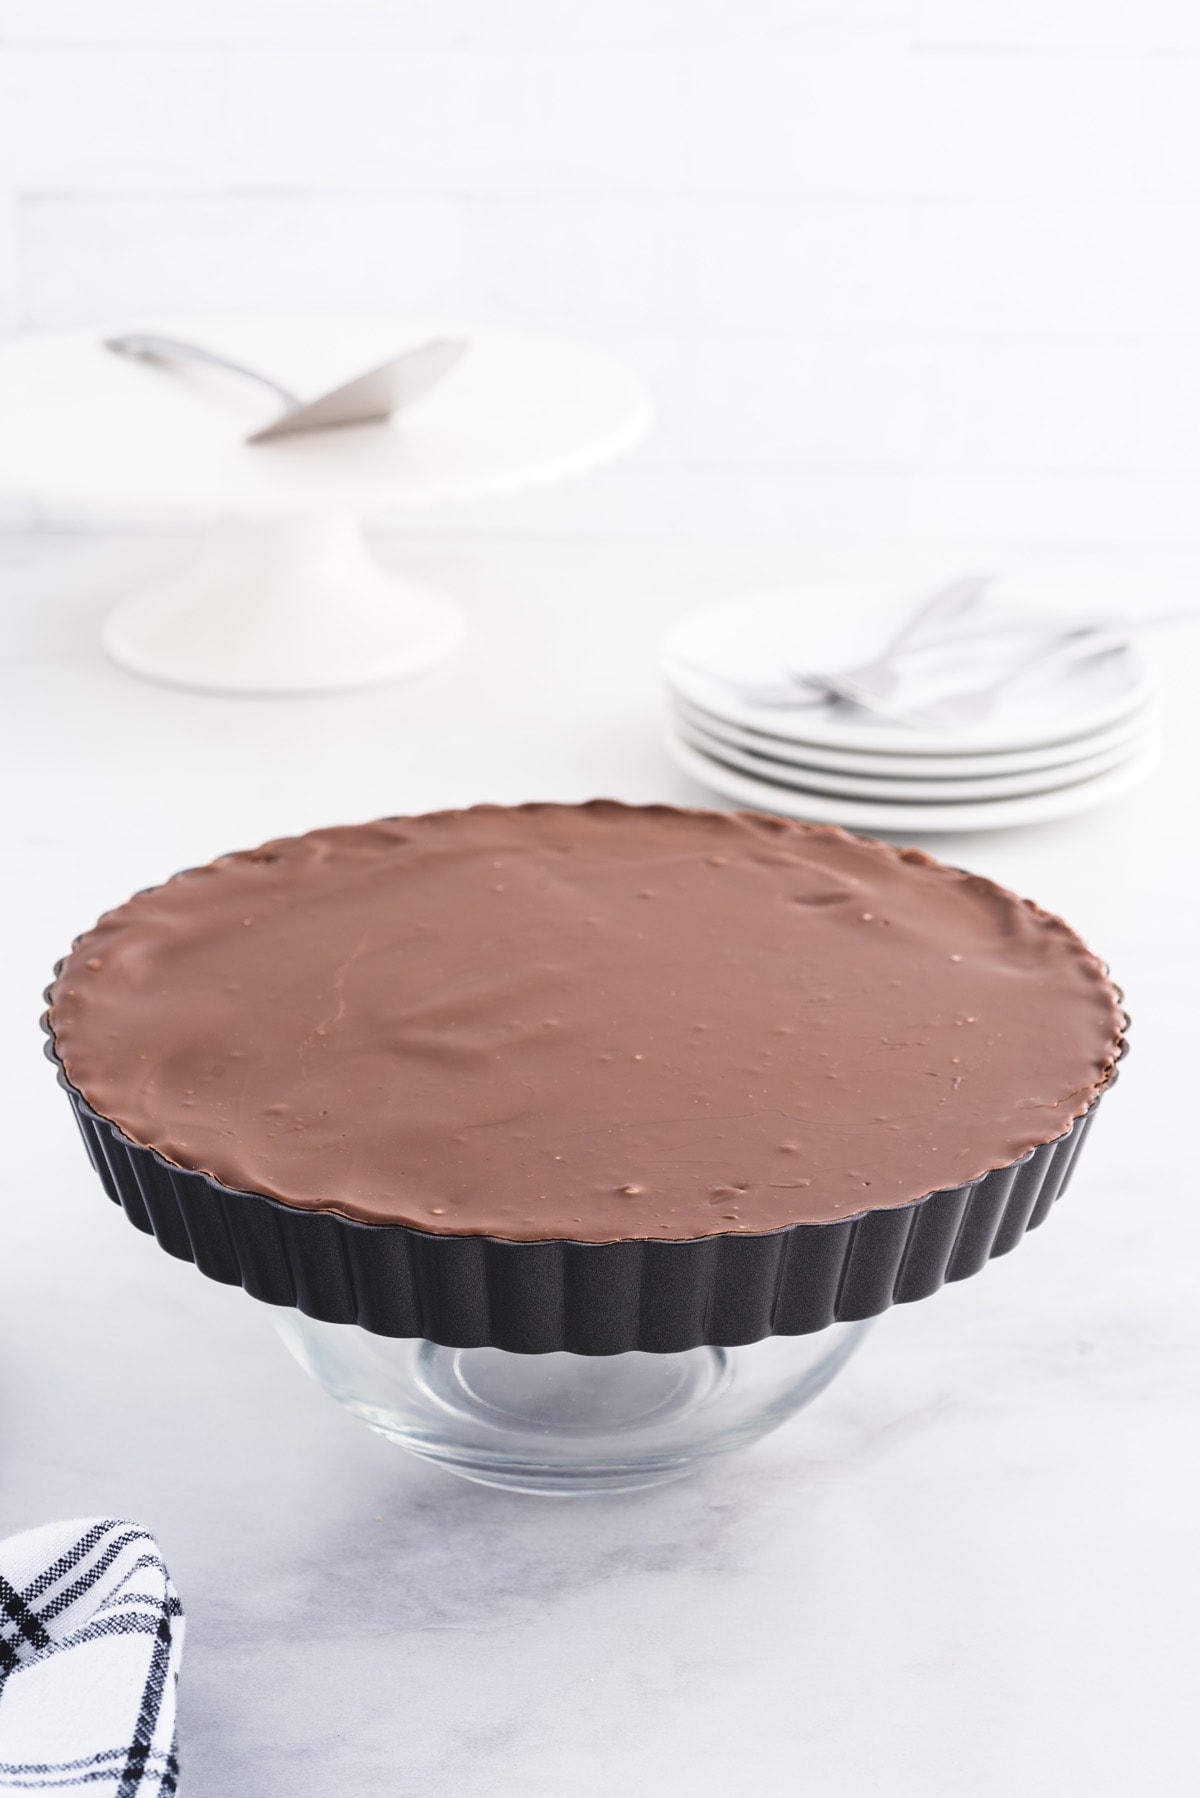
- Gently tap the tart pan to ensure the chocolate settles and chill in the refrigerator for 4 hours to overnight.
Pro Tip: Leave the tart pan in the refrigerator until you are ready to serve.
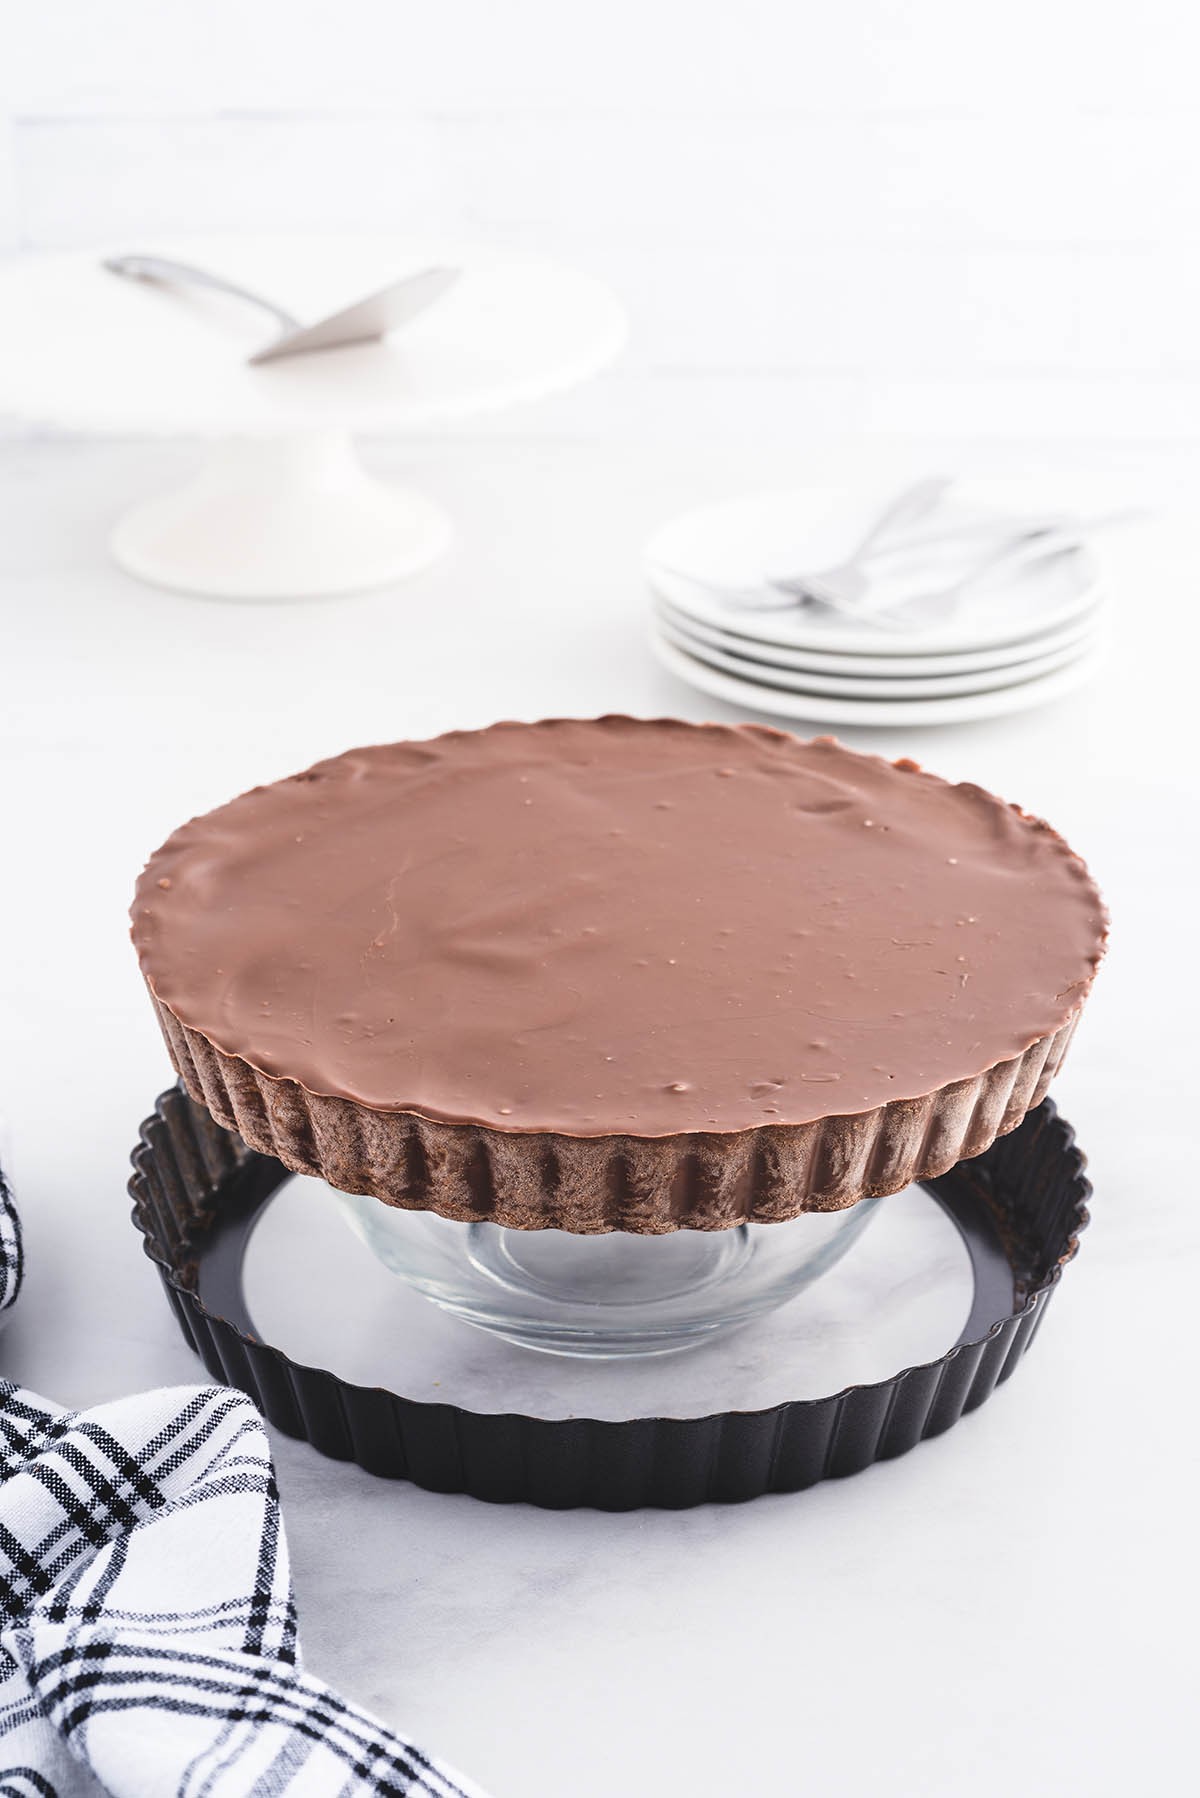
- Remove the peanut butter cup from the tart pan by applying slight pressure to the edge to encourage the sides to come away.
Pro-Tip: When you remove the pie from the tart pan, you will most likely find some perfect imperfections around the edges. If they bother you, simply swipe a sharp knife to get rid of anything sticking out. - Gently flip the pie upside down to remove the removable tart pan bottom and carefully peel off the parchment circle.

- Place a serving plate or cake circle over the bottom of the pie and flip the pie back over.

- Place the pie on a platter or 10 inch cake circle, slice into wedges and serve.
Pro-Tip: Before slicing, allow the pie to sit at room temperature for 20 minutes. I find it easiest to cut the pie with a warm, dry knife so it’ll slice through the thick chocolate. - Enjoy!
Tips from Recipe Developer
- When you remove the pie from the tart pan, you will most likely find some perfect imperfections around the edges. If they bother you, simply swipe a sharp knife to get rid of anything sticking out.
- Once you have spread the peanut butter mixture into the prepared tart pan, you may need to heat the chocolate mixture in the microwave for 15 – 20 seconds before spreading.
- If you do not have a parchment circle, you can generously spray the removable circle with nonstick spray, or you can lightly butter the removable circle.
- Before slicing, allow the pie to sit at room temperature for 20 minutes before slicing.
- I find it easiest to cut the pie with a warm, dry knife so it’ll slice through the thick chocolate.
Storage Tips
- To Store: Store any leftovers in an airtight container for up to 7 days.
- To Freeze: To freeze, wrap the pie in a layer of plastic wrap, then overwrap it in tin foil, and freeze it for up to 3 months. When you are ready to serve it, thaw it overnight in the refrigerator.
Other Peanut Butter Recipes
- Reese’s Peanut Butter Banana Bread
- Peanut Butter & Jelly Energy Balls
- Reese’s Cheesecake
- Peanut Butter Banana Pudding
- Reese’s Peanut Butter Ice Cream
- Chubby Hubby Bars
- Peanut Butter Pretzel Bites
- Scotcheroos Bars
- Butterfinger Pie
- Chocolate Peanut Butter Dessert Cups
Reese’s Peanut Butter Cup Pie
Video
Ingredients
Chocolate Ganache
- 2½ cups milk chocolate chips
- 1½ tbsp vegetable oil
Chunky Peanut Butter Filling
- 1⅓ cup powdered sugar
- 1 cup graham cracker crumbs
- 1¼ cup crunchy peanut butter
- ½ cup salted sweet cream butter
Instructions
- Line the bottom circle of a 9-inch fluted tart pan with a circle of parchment paper. Lightly spray the parchment circle with nonstick spray. Set it aside.
- Using a medium-size heat-safe mixing bowl, combine the chocolate chips and vegetable oil. Heat the chips and oil for 45 – 55 seconds. Stir until the chocolate chips are completely melted and smooth.
- Spoon ½ of the melted chocolate into the prepared tart pan. Using a large spoon or offset spatula, evenly spread the chocolate over the bottom of the tart pan and up the sides of the pan. Chill the coated tart pan in the refrigerator while preparing the chunky peanut butter filling.
- Using a large mixing bowl, whisk together the powdered sugar and graham cracker crumbs. Set it aside.
- Using a medium-size heat-safe mixing bowl, add the chunky peanut butter and the butter. Heat in the microwave for 45 seconds. Remove the bowl and stir to thoroughly combine.
- Pour the chunky peanut butter mixture over the powdered sugar and graham cracker crumbs. Stir until the mixture is completely incorporated.
- Remove the chocolate-coated tart pan from the refrigerator. Using either a silicone spatula or an offset spatula, spread the chunky peanut butter mixture into the bottom of the coated tart pan. Be sure the chunky peanut butter mixture is smooth and even.
- Spoon the remaining melted chocolate mixture on top of the chunky peanut butter layer. Use the spoon or an offset spatula to evenly smooth the chocolate all the way to the sides.
- Once the remaining chocolate has been spread, gently tap the tart pan to ensure the chocolate settles. Chill in the refrigerator for 4 hours to overnight.
- When you are ready to serve, remove the tart pan from the refrigerator. To remove the peanut butter cup from the tart pan, center the pan over a small mixing and apply slight pressure to the edge of the tart pan to encourage the sides to come away. Have a serving platter or 10-inch cake circle ready to place the peanut butter cup pie on.
- Gently flip the pie upside down to remove the removable tart pan bottom, and carefully peel off the parchment circle. Place the serving plate or cake circle over the bottom of the pie and flip the pie back over.
- Slice into wedges and serve.
Jenn’s Notes
- To Store: Store any leftovers in an airtight container for up to 7 days.
- To Freeze: To freeze, wrap the pie in a layer of plastic wrap, then overwrap it in tin foil, and freeze it for up to 3 months. When you are ready to serve it, thaw it overnight in the refrigerator.
- When you remove the pie from the tart pan, you will most likely find some perfect imperfections around the edges. If they bother you, simply swipe a sharp knife to get rid of anything sticking out.
- Once you have spread the peanut butter mixture into the prepared tart pan, you may need to heat the chocolate mixture in the microwave for 15 – 20 seconds before spreading.
- If you do not have a parchment circle, you can generously spray the removable circle with nonstick spray, or you can lightly butter the removable circle.
- Before slicing, allow the pie to sit at room temperature for 20 minutes before slicing.
- I find it easiest to cut the pie with a warm, dry knife so it’ll slice through the thick chocolate.





I made this for church last night. It was a BIG with everyone. I think it was the best desert I have ever made for church! Everyone was impressed with it looking like a peanut butter cup and that it tasted like one. I was impressed with how easy it was to put together. Thanks for a great desert!
So glad you enjoyed it!! Thank you for coming back for the review!
nothing beats a Reese’s
I’m obsessed with reese’s peanut butter cups so I must try this recipe!!!
Can you use creamy peanut butter?
Yes you can!
I would try to using the jar of Reese’s Peanut Butter instead to make it taste even more like a Reese’s peanut butter cup!
I made this yesterday and its a huge hit, absolutely wonderful, exactly like a peanut butter cup. I’m in love!
Could you make this with cashew butter?
I haven’t tried, but I don’t see why not!
What is Salted Sweet Cream Butter as mentioned in the recipe
Basically just salted butter.
Additional TIP: To avoid unsightly fingerprints in the chocolate (big turn-off for your guests), when removing it from the tart pan, wear gloves.
GREAT TIP!! Thank you for sharing!
Made this but I thought a piece of pie would be way too much to eat so I made it in a 9×7 pan and cut into pieces. Absolutely delicious! Only problem I had with it was after cutting into pieces, when I picked one up, sometimes the chocolate on the bottom would fall off. No problem though, I just picked it up and held it on while I ate it. Soooo yummy!!! Also for the amount of pieces I ate I could have made the pie hahaha!
So glad you enjoyed it!