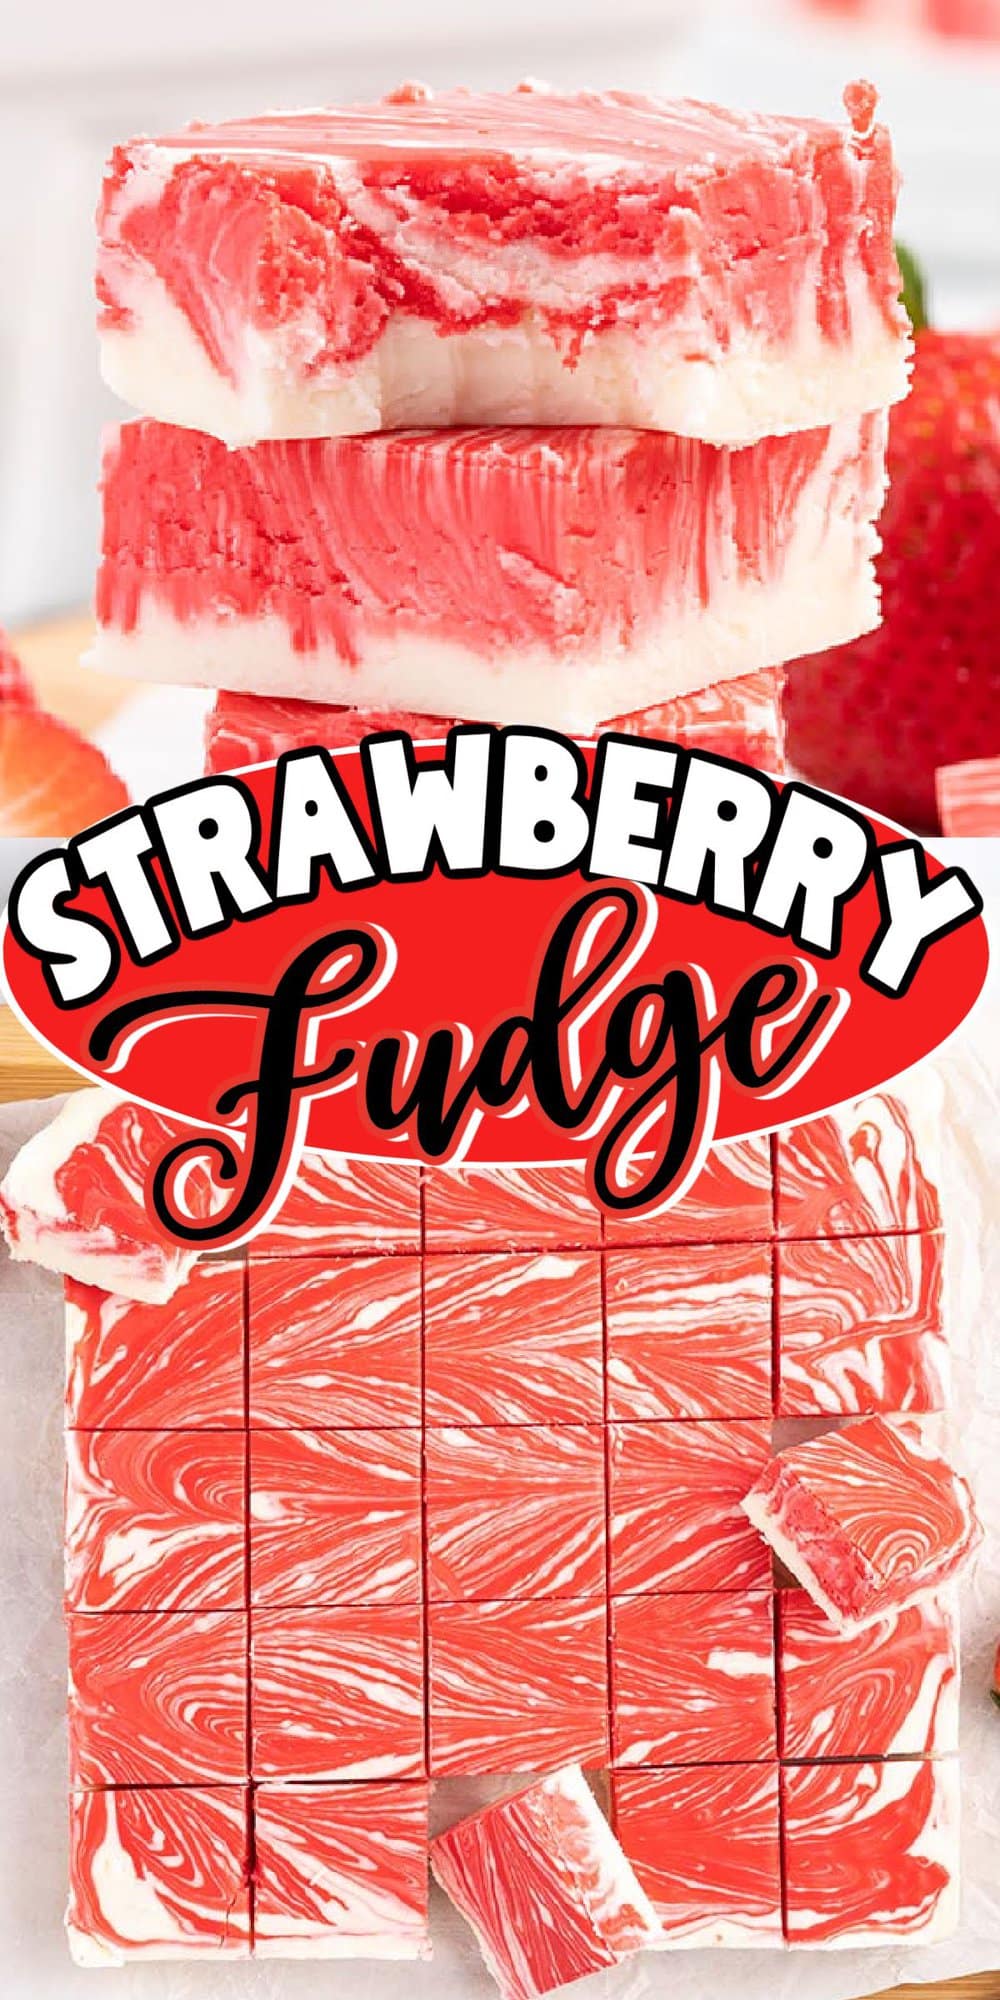
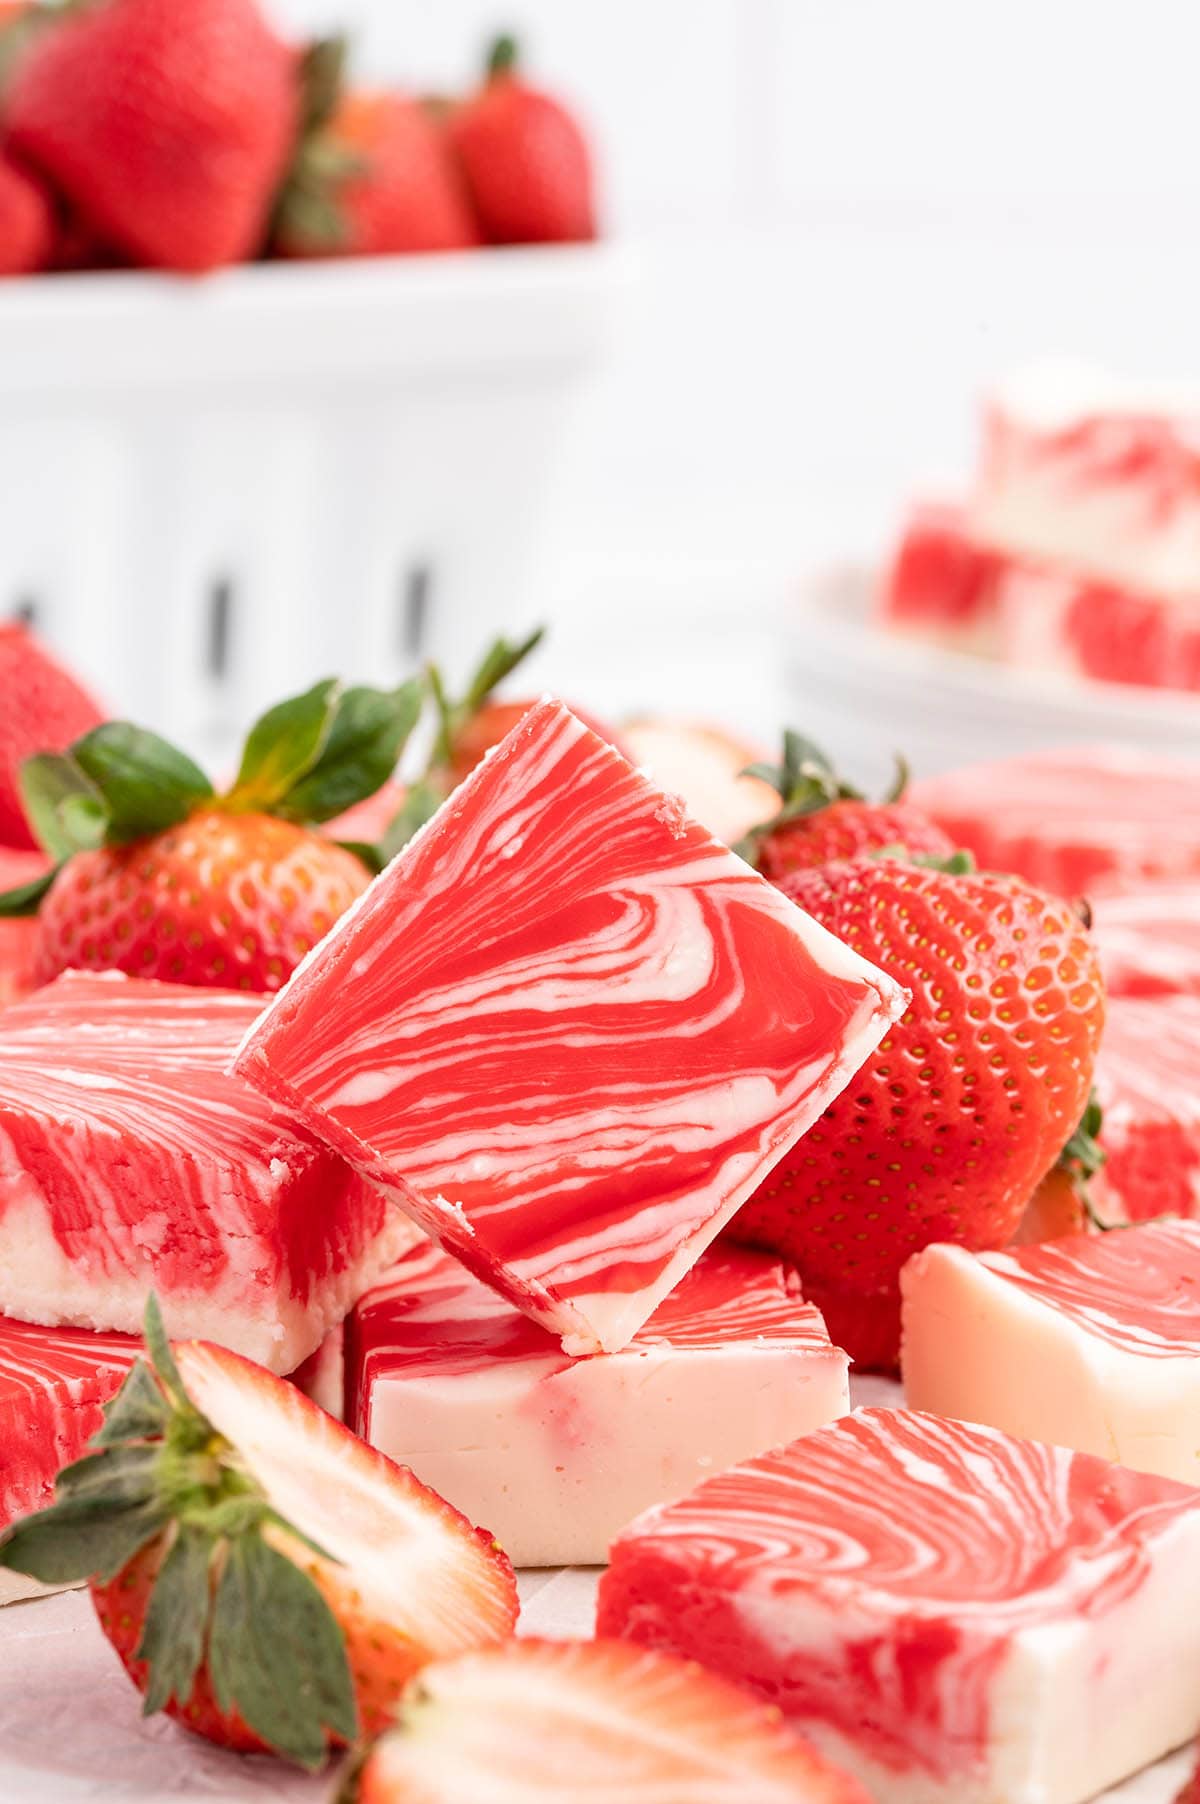
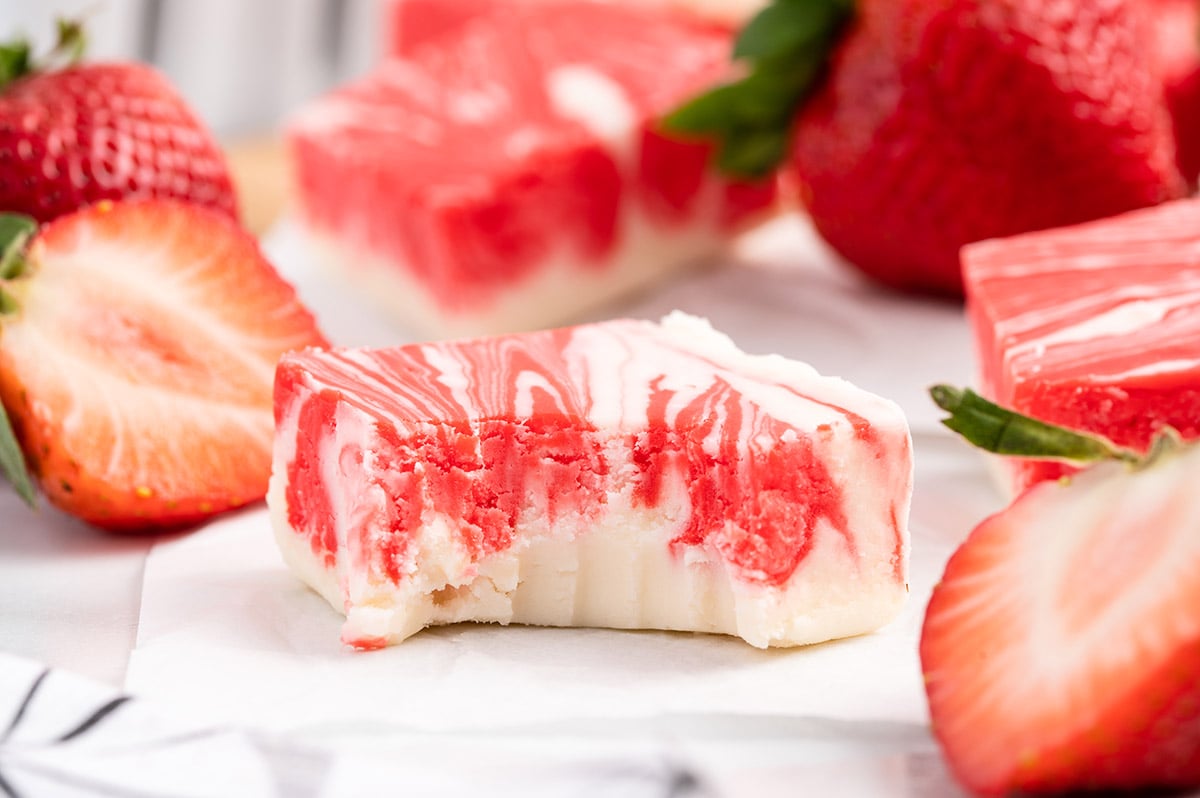
Strawberry Fudge is a creamy, smooth homemade confection that’s perfect for times when you need fudge fast! It takes only 5 minutes to prepare this pretty pink fudge with its sweet strawberry swirl and delicious fruity flavor.
Strawberry Swirl Fudge
Our easy and delicious Strawberry Fudge recipe requires no candy thermometer or candy-making skills; it’s a fuss-free, foolproof way to create homemade candy in minutes any day of the year.
This simple stovetop method melts butter, half and half, cream, white baking chips, sugar, and marshmallow fluff to form a creamy vanilla base, then red food coloring and strawberry extract are added for strawberry flavor, to the remaining candy mixture and poured on top of the fudge in the pan.
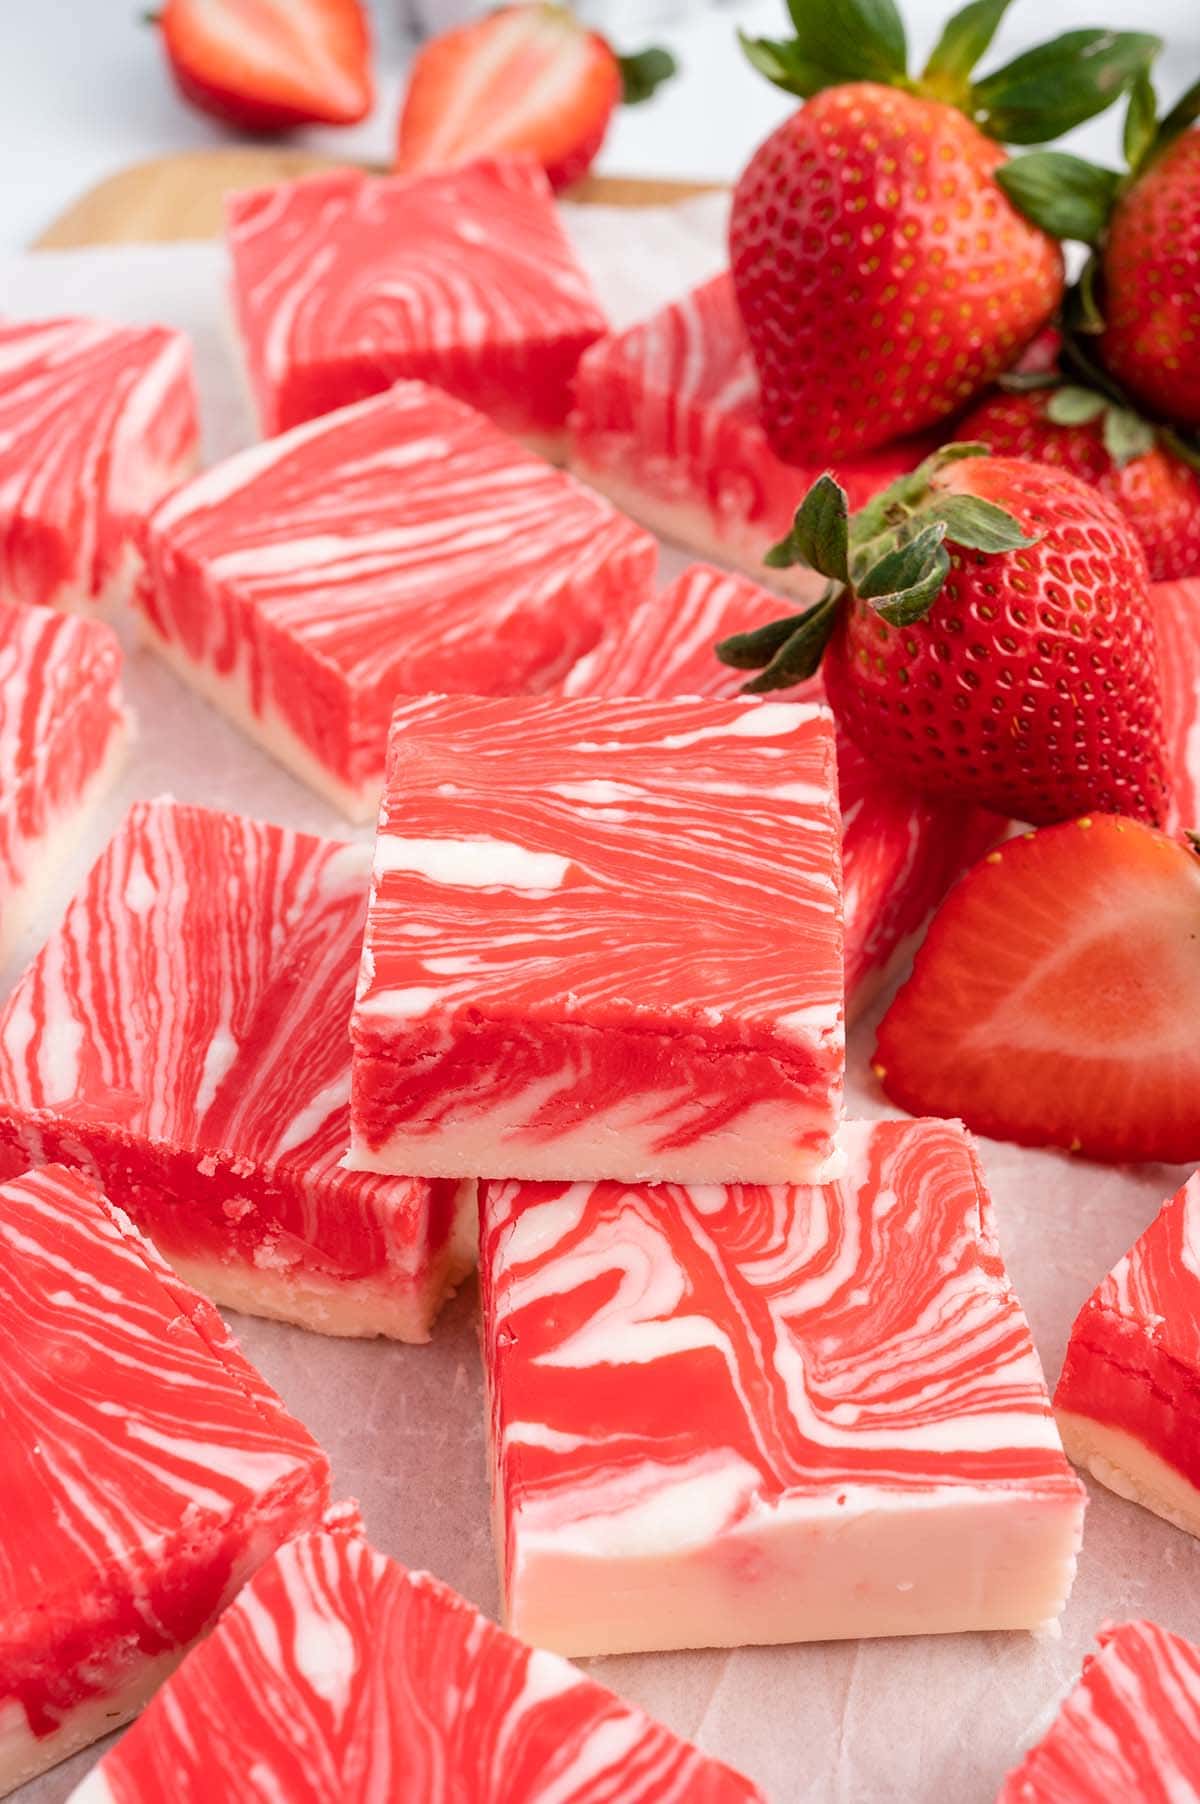
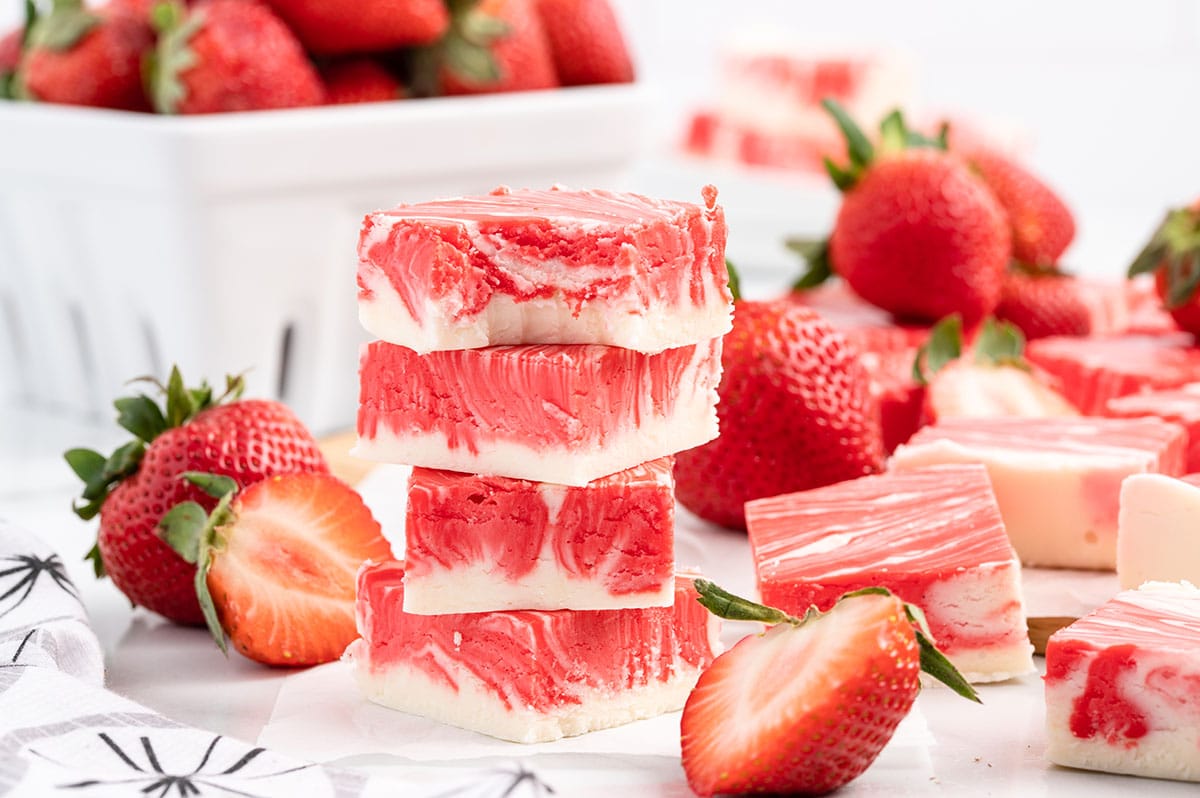
I love the pretty swirl pattern that this strawberries and cream fudge recipe creates; it reminds me of fresh berries and whipped cream flavor in the form of strawberry fudge with marshmallow fluff.
This easy fudge recipe will impress any fudge fan – it’s a perfectly pink strawberry fudge for Valentine’s Day and makes a great gift for loved ones.
Why We Love Strawberry Swirl Fudge
- Quick and easy to make.
- Uses a handful of simple ingredients.
- Fuss free and foolproof fudge is just as delicious as any long-cooked candy.
- No candy thermometer or fancy equipment needed.
- Perfect sweet treat for Valentine’s Day, baby showers, gender reveal parties, gift giving, or placing on dessert platters.
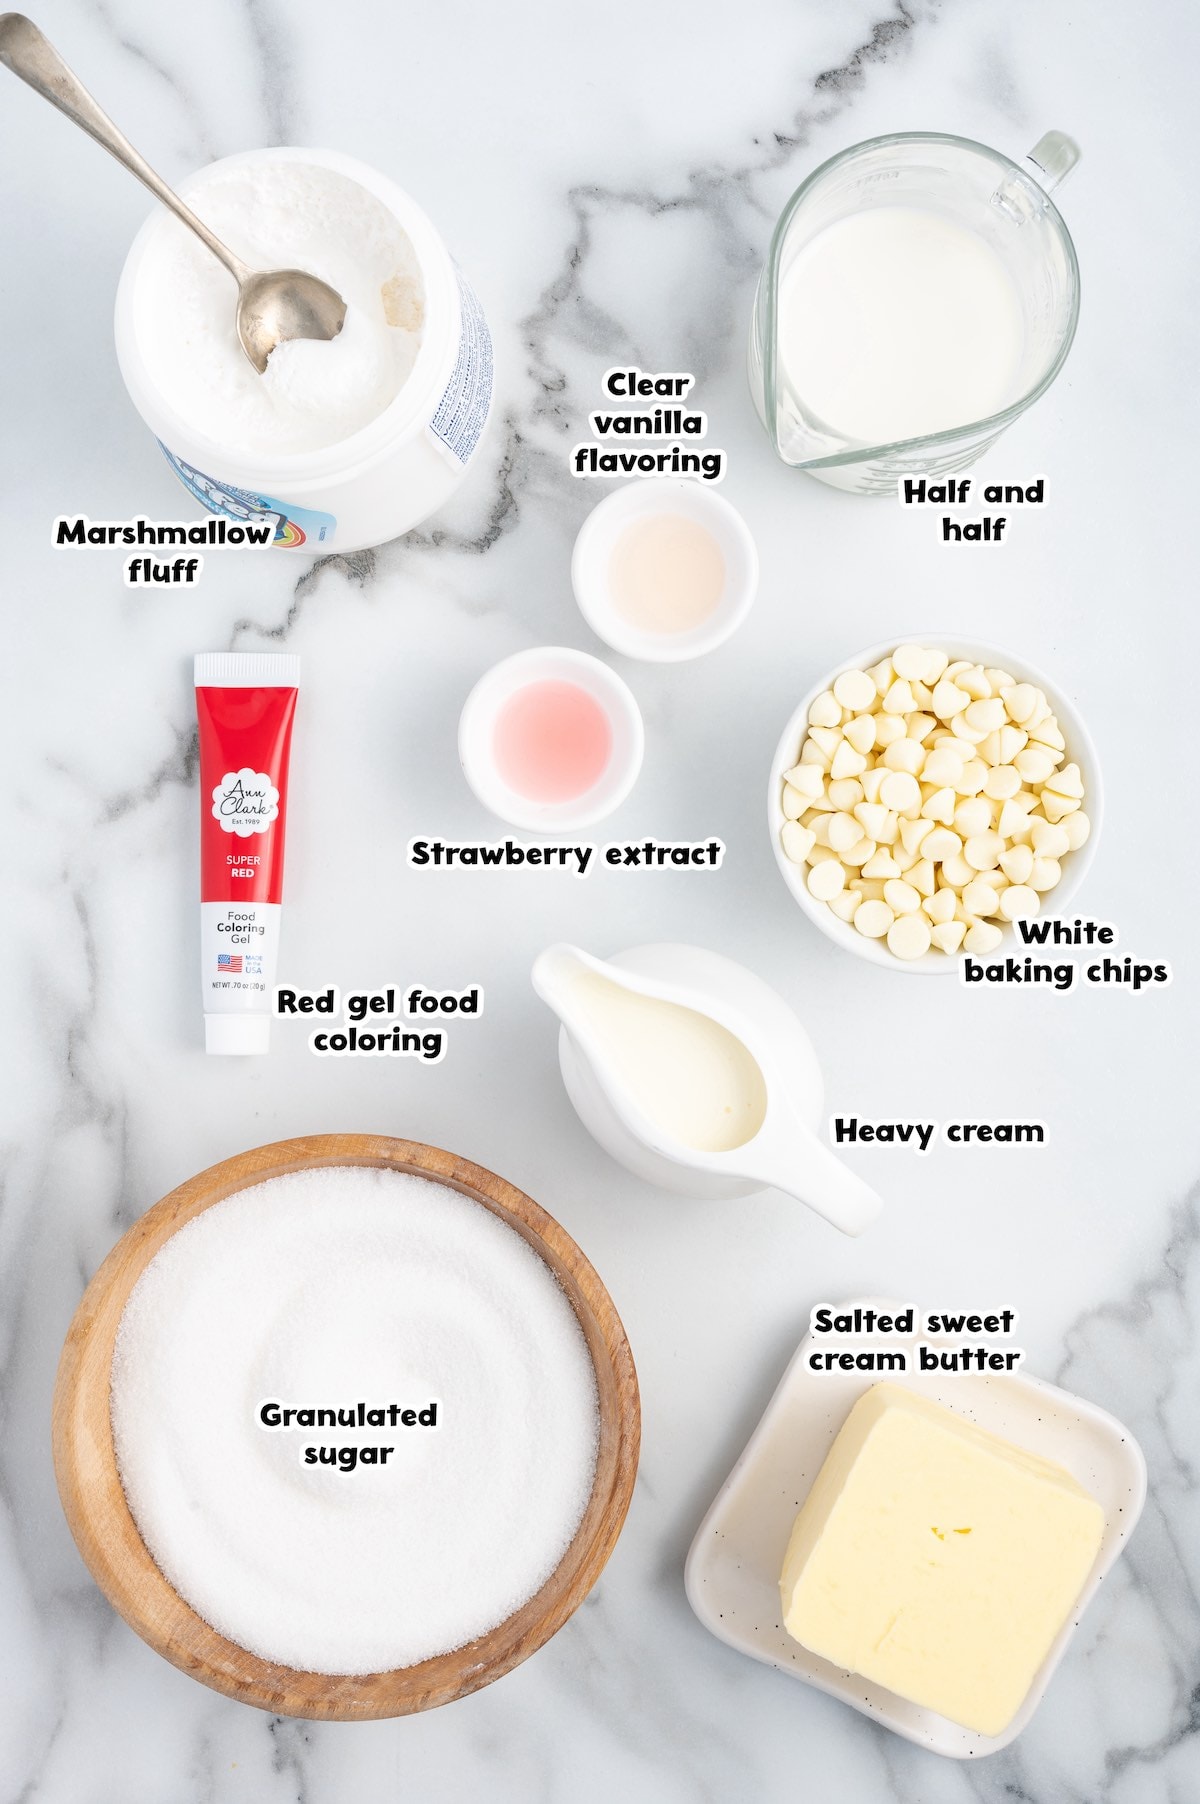
Strawberry Fudge Ingredients
- Strawberry extract: I used Watkins brand but you can use your favorite.
- Red gel food coloring
- Salted sweet cream butter
- Half and half
- Heavy cream
- Clear vanilla flavoring
- Granulated sugar
- White baking chips: I used Ghirardelli but you can use any good quality chips you prefer.
- Marshmallow fluff
Substitutions and Additions
- Fudge Flavors: Feel free to swap the strawberry extract for raspberry or orange extracts to create other fun twists on the fruit and cream flavors. If you make an orange flavored fudge, don’t forget to swap the red food coloring with orange!
- Make With Morsels: If you don’t have white baking chips, you can swap equal amounts of white chocolate chips or morsels. You can also substitute bars of white chocolate, broken into small pieces.
- Festive Fudge: Feel free to make your fudge more festive by topping it with sprinkles or freeze-dried strawberry pieces.
Recommended Tools
- 9×9-inch baking dish
- Parchment paper
- Glass bowl
- 3 to 4-quart heavy-bottomed saucepan
How to Make Strawberry Fudge
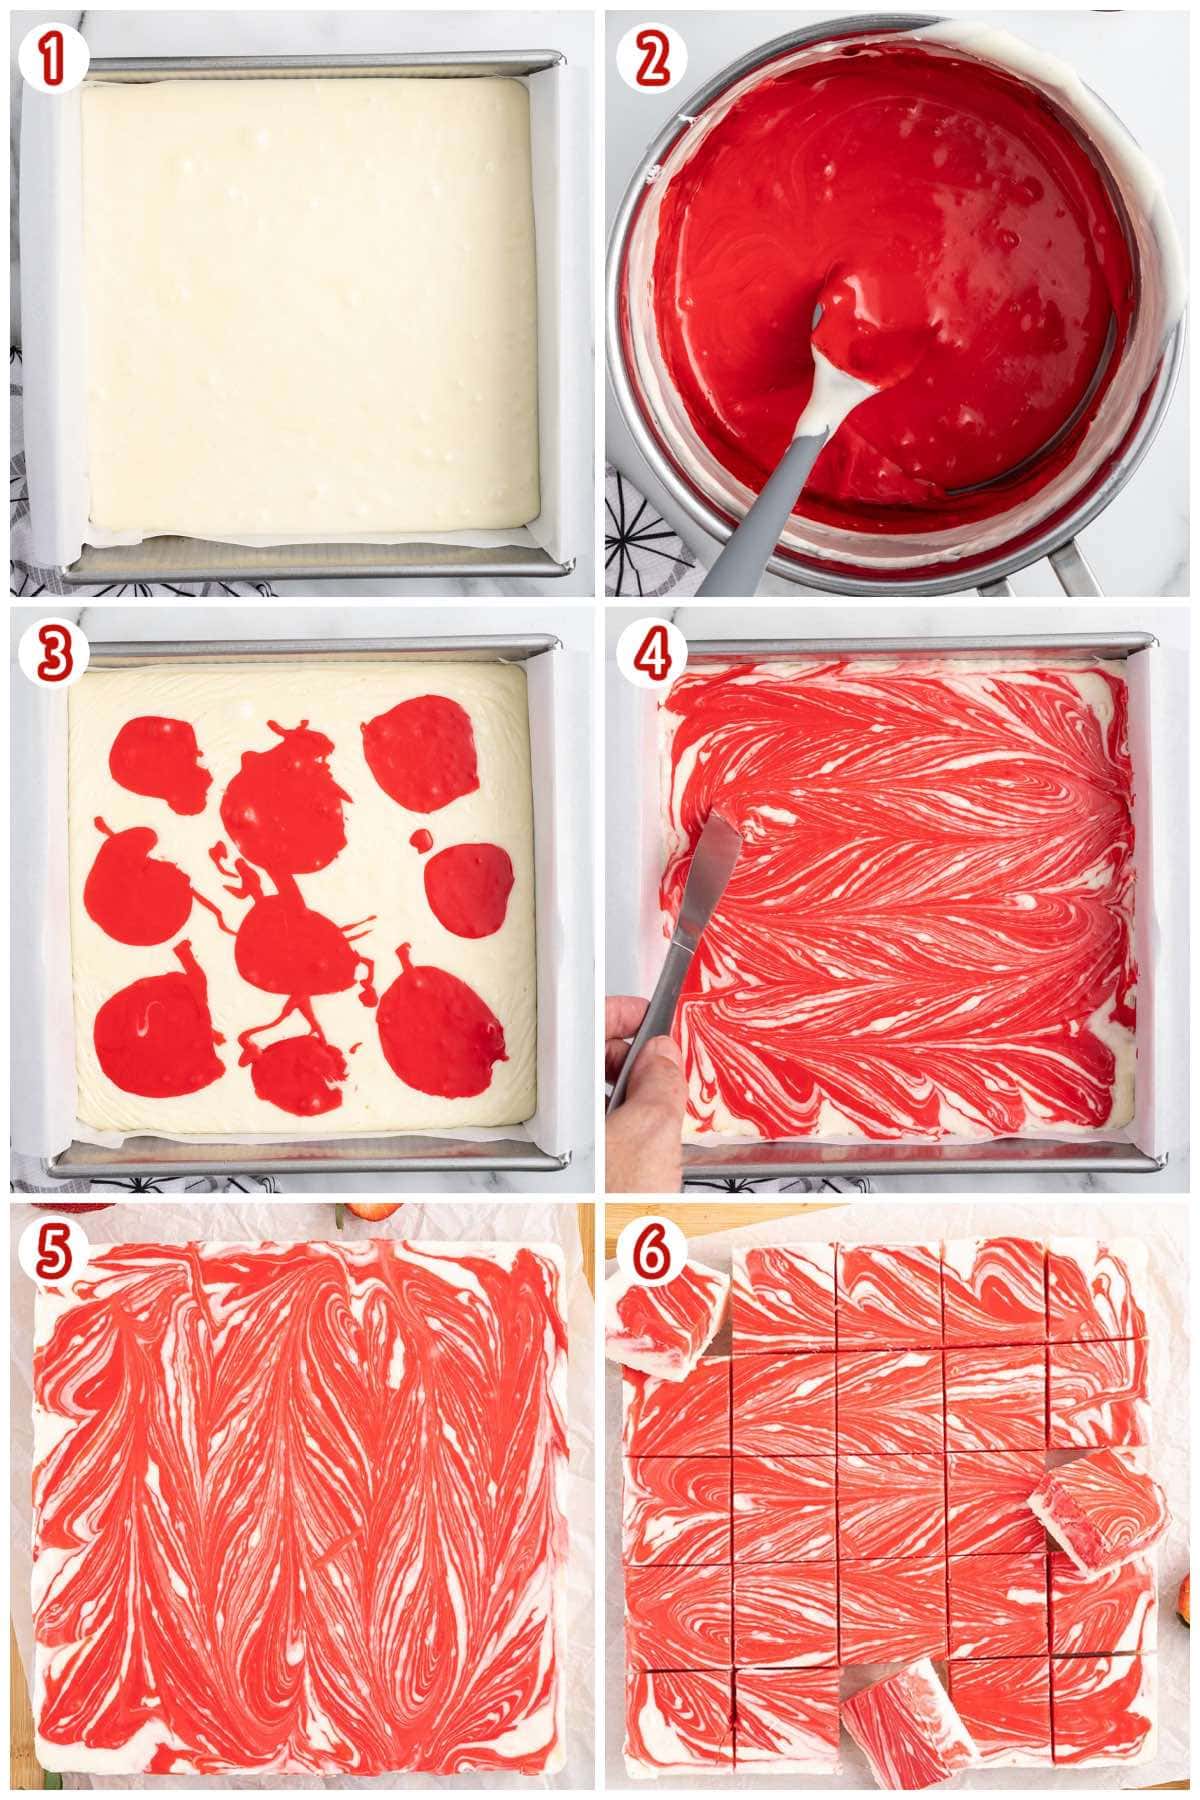
- Make The Red Mixture: Combine the strawberry extract and red food color gel and set the bowl aside.
- Cook: Heat the butter, half and half, heavy cream, and clear vanilla flavoring until melted. Add the sugar and stir constantly as the mixture comes to a simmer. Simmer for another 3 minutes and remove from the heat.
- Make The Fudge Mixture: Add in the white baking chips, cover the saucepan, and let the mixture rest for 3-4 minutes. Stir until the white baking chips are melted. Add the marshmallow fluff and stir until completely incorporated.
- Pour In The Pan: Pour ¾ of the fudge into the prepared pan or baking dish. Stir in the red food gel and strawberry extract mixture into the remaining fudge and then add the strawberry fudge onto the base layer. Make a swirl pattern over the fudge.
- Set and Chill: Allow the fudge to sit at room temperature for 30 minutes before chilling in the refrigerator for at least 4 hours.
- Slice and Serve: Cut the fudge into 5 slices x 5 slices (25 pieces). Keep refrigerated until ready to serve. Enjoy!
Tips For Making Strawberry Fudge
- When lining your baking dish, making sure the parchment paper goes up all 4 sides.
- I like to use a glass bowl to combine the extract with the food color because it will not stain. You can also use a small red bowl or a disposable bowl.
- For a lighter shade of fudge, you can reduce the red food color gel to ¼ teaspoon or 4-6 drops.
- If your kitchen is on the cooler side, you can allow the fudge to cool overnight on the countertop. I still recommend keeping the leftover fudge in the refrigerator. This will extend the life of the fudge.
- You can cut the fudge before freezing. You will need to separate the fudge with waxed paper and wrap the fudge tightly in plastic wrap.
How to Store Strawberry Fudge
- To Store: Store any leftovers in an airtight container in the refrigerator for up to 2 weeks.
- To Freeze: You can freeze the unsliced fudge for up to 2 months. I like to wrap it in plastic wrap or aluminum foil.
More Easy Fudge Recipes
More Easy Strawberry Recipes
- Strawberry Kiss Cookies
- Strawberry Cheesecake Bites
- Strawberry Icebox Cake
- Strawberry Shortcake Trifle
- Strawberry Peanut Butter Bark
- Strawberry Shortcake Poke Cake

Strawberry Fudge
Ingredients
- 2 teaspoons strawberry extract I used Watkins
- ½ teaspoon red food color gel
- ¾ cup salted sweet cream butter
- ½ cup half and half
- ⅓ cup heavy cream
- 1 teaspoon clear vanilla flavoring
- 3 cups + 2 tablespoons granulated sugar
- 1¾ cups good quality white baking chips I used Ghirardelli
- 7 ounce (1 container) marshmallow fluff
Instructions
- Line a 9×9-inch baking dish with parchment paper, making sure the parchment paper goes up all 4 sides of the baking dish. Set it aside.
- Add the strawberry extract and red food color gel to a small glass bowl. (A glass bowl will not stain. You can also use a small red bowl or a disposable bowl) Stir to combine. Set it aside.
- Add the butter, half and half, heavy cream, and clear vanilla flavoring to a 3 to 4-quart heavy-bottomed saucepan over medium heat. Stir continuously until the butter is melted.
- Add the sugar and keep stirring constantly as the mixture comes to a simmer. This should take between 6-7 minutes. Keep stirring and allow the mixture to simmer for another 3 minutes. Remove from the heat.
- Add in the white baking chips. Cover the saucepan and let the mixture rest for 3-4 minutes. Stir until the white baking chips are melted.
- Add the marshmallow fluff and stir until completely incorporated.
- Pour ¾ of the fudge into the prepared baking dish.
- Stir in the red food gel and strawberry extract mixture into the remaining fudge. Continue stirring until the color is uniform.
- Dollop the red food color fudge mixture on top of the base fudge. Use a kitchen knife to swirl the red food color mixture around the fudge. You want a swirl pattern over the fudge. Allow the fudge to sit at room temperature for 30 minutes before chilling in the refrigerator for at least 4 hours. Once the fudge is set, lift the fudge out of the pan with the parchment paper. Use a large sharp knife to cut the fudge into 5 slices x 5 slices, giving you 25 pieces of fudge. Keep refrigerated until ready to serve.
Jenn’s Notes
- To Store: Store any leftovers in an airtight container in the refrigerator for up to 2 weeks.
- To Freeze: You can freeze the unsliced fudge for up to 2 months.
- When lining your baking dish, making sure the parchment paper goes up all 4 sides.
- I like to use a glass bowl to combine the extract with the food color because it will not stain. You can also use a small red bowl or a disposable bowl.
- For a lighter shade of fudge, you can reduce the red food color gel to ¼ teaspoon or 4-6 drops.
- If your kitchen is on the cooler side, you can allow the fudge to cool overnight on the countertop. I still recommend keeping the leftover fudge in the refrigerator. This will extend the life of the fudge.
- You can cut the fudge before freezing. You will need to separate the fudge with waxed paper and wrap the fudge tightly in plastic wrap.

Love the recipe, but it’s very hard to read your recipes because the page jumps to the top every 3 seconds…I’m supposing it’s just a technical issue. I thought I’d bring it to your attention
Hi Derrick – thank you so much! There was in fact some technical issues going on last night. I know my team is working on them. Thank you so much for letting me know and your patience.