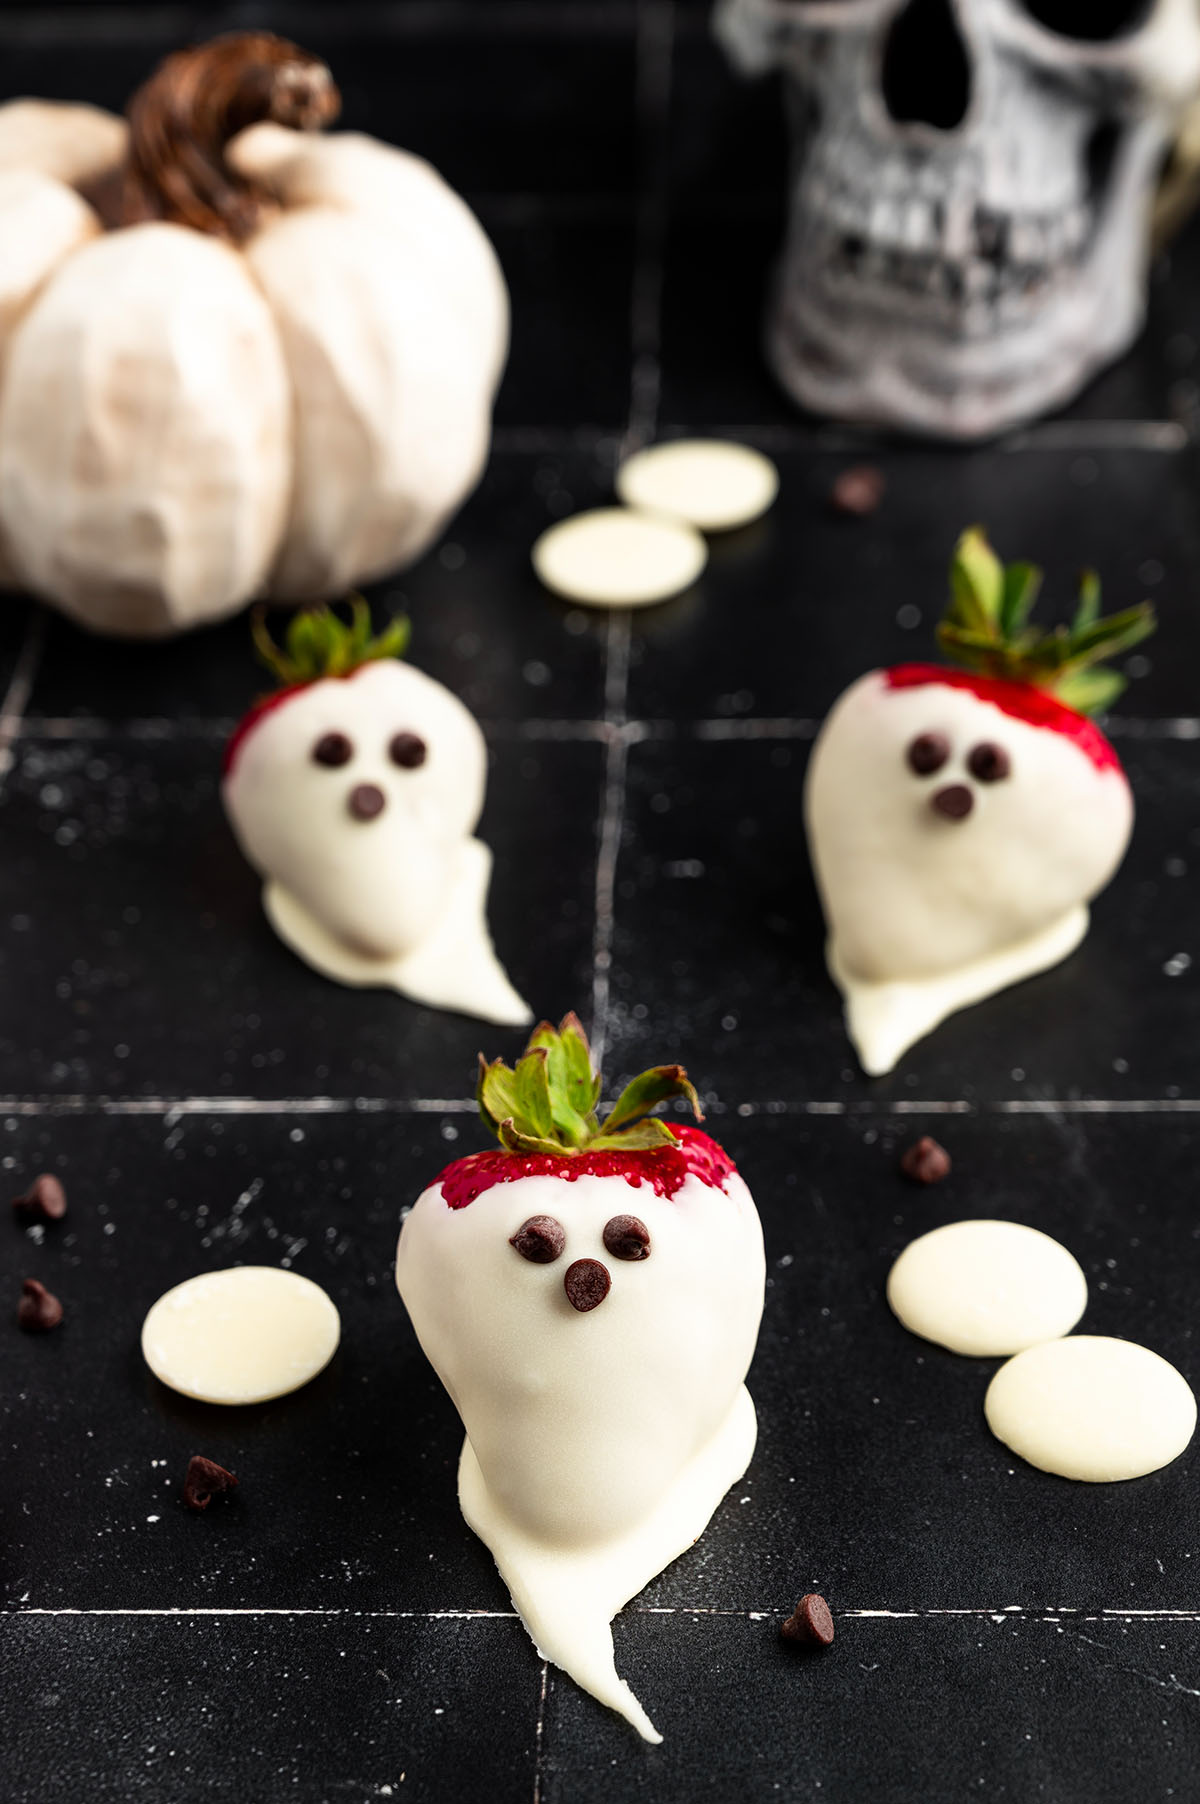
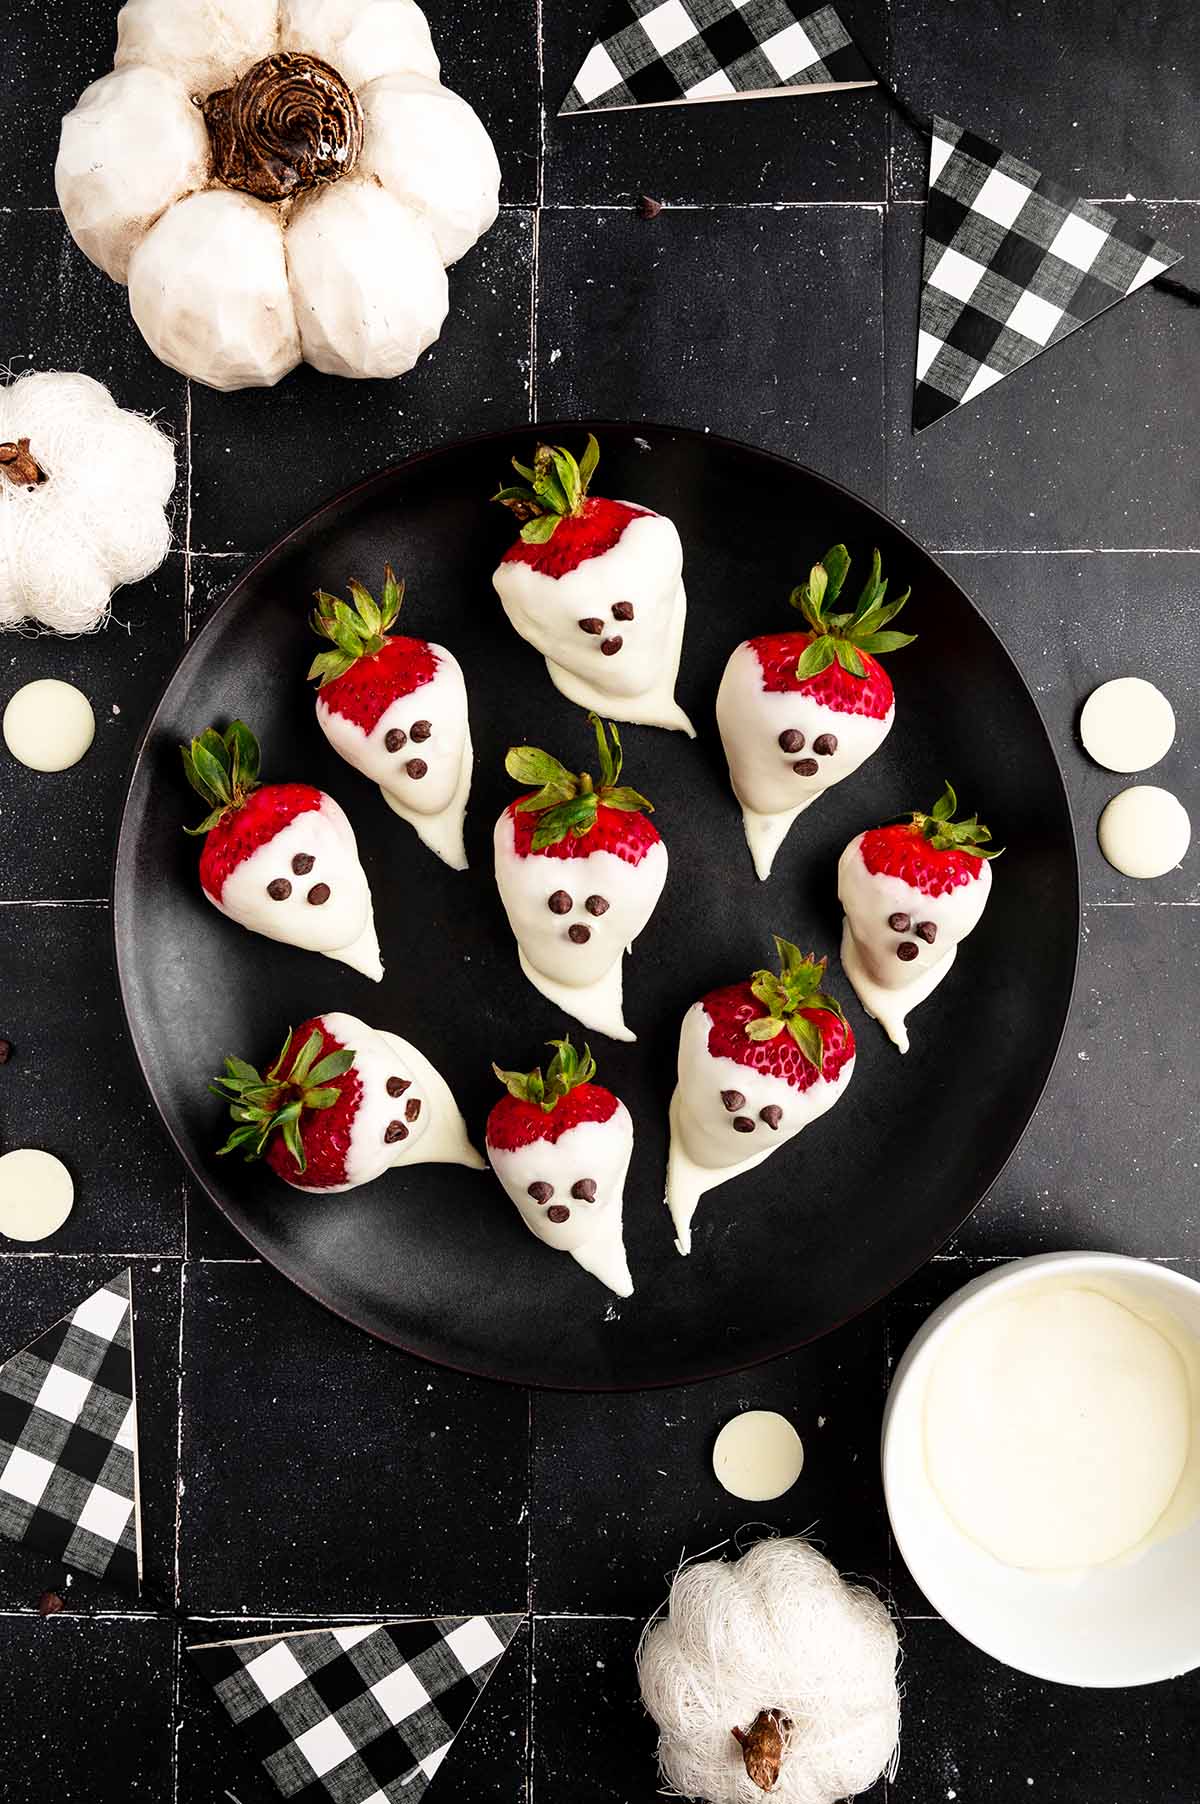
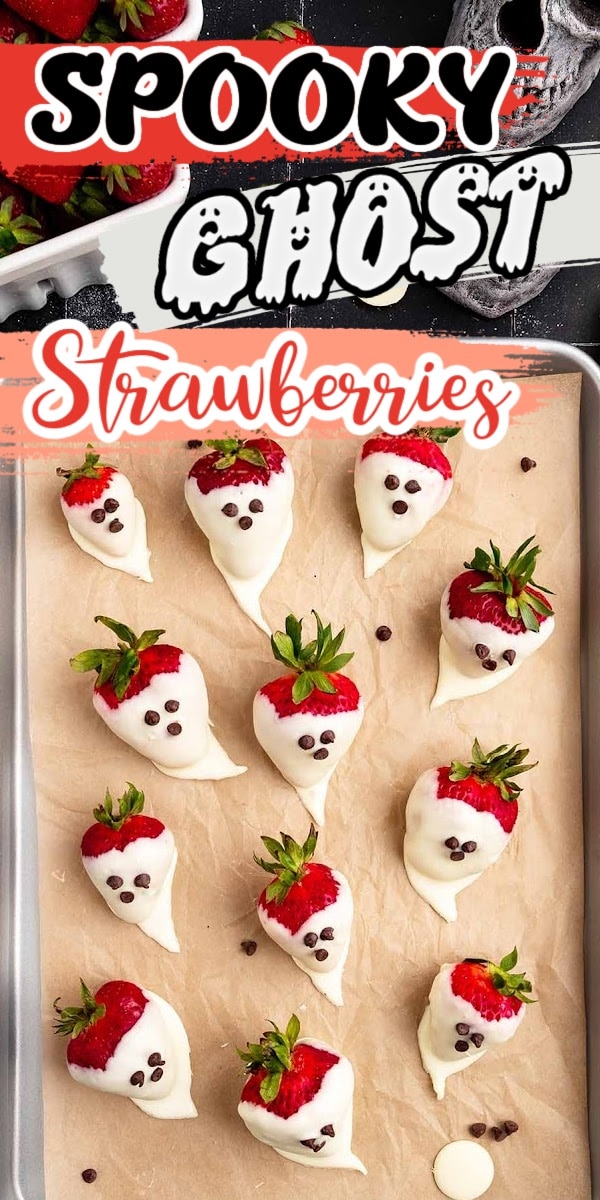
Spooky Strawberry Ghosts are the cutest chocolate-covered Halloween treats that put a healthy spin on the holiday spirit.
Made in minutes using only 3 ingredients, this delicious dessert is an easy and elegant addition to your Halloween party.
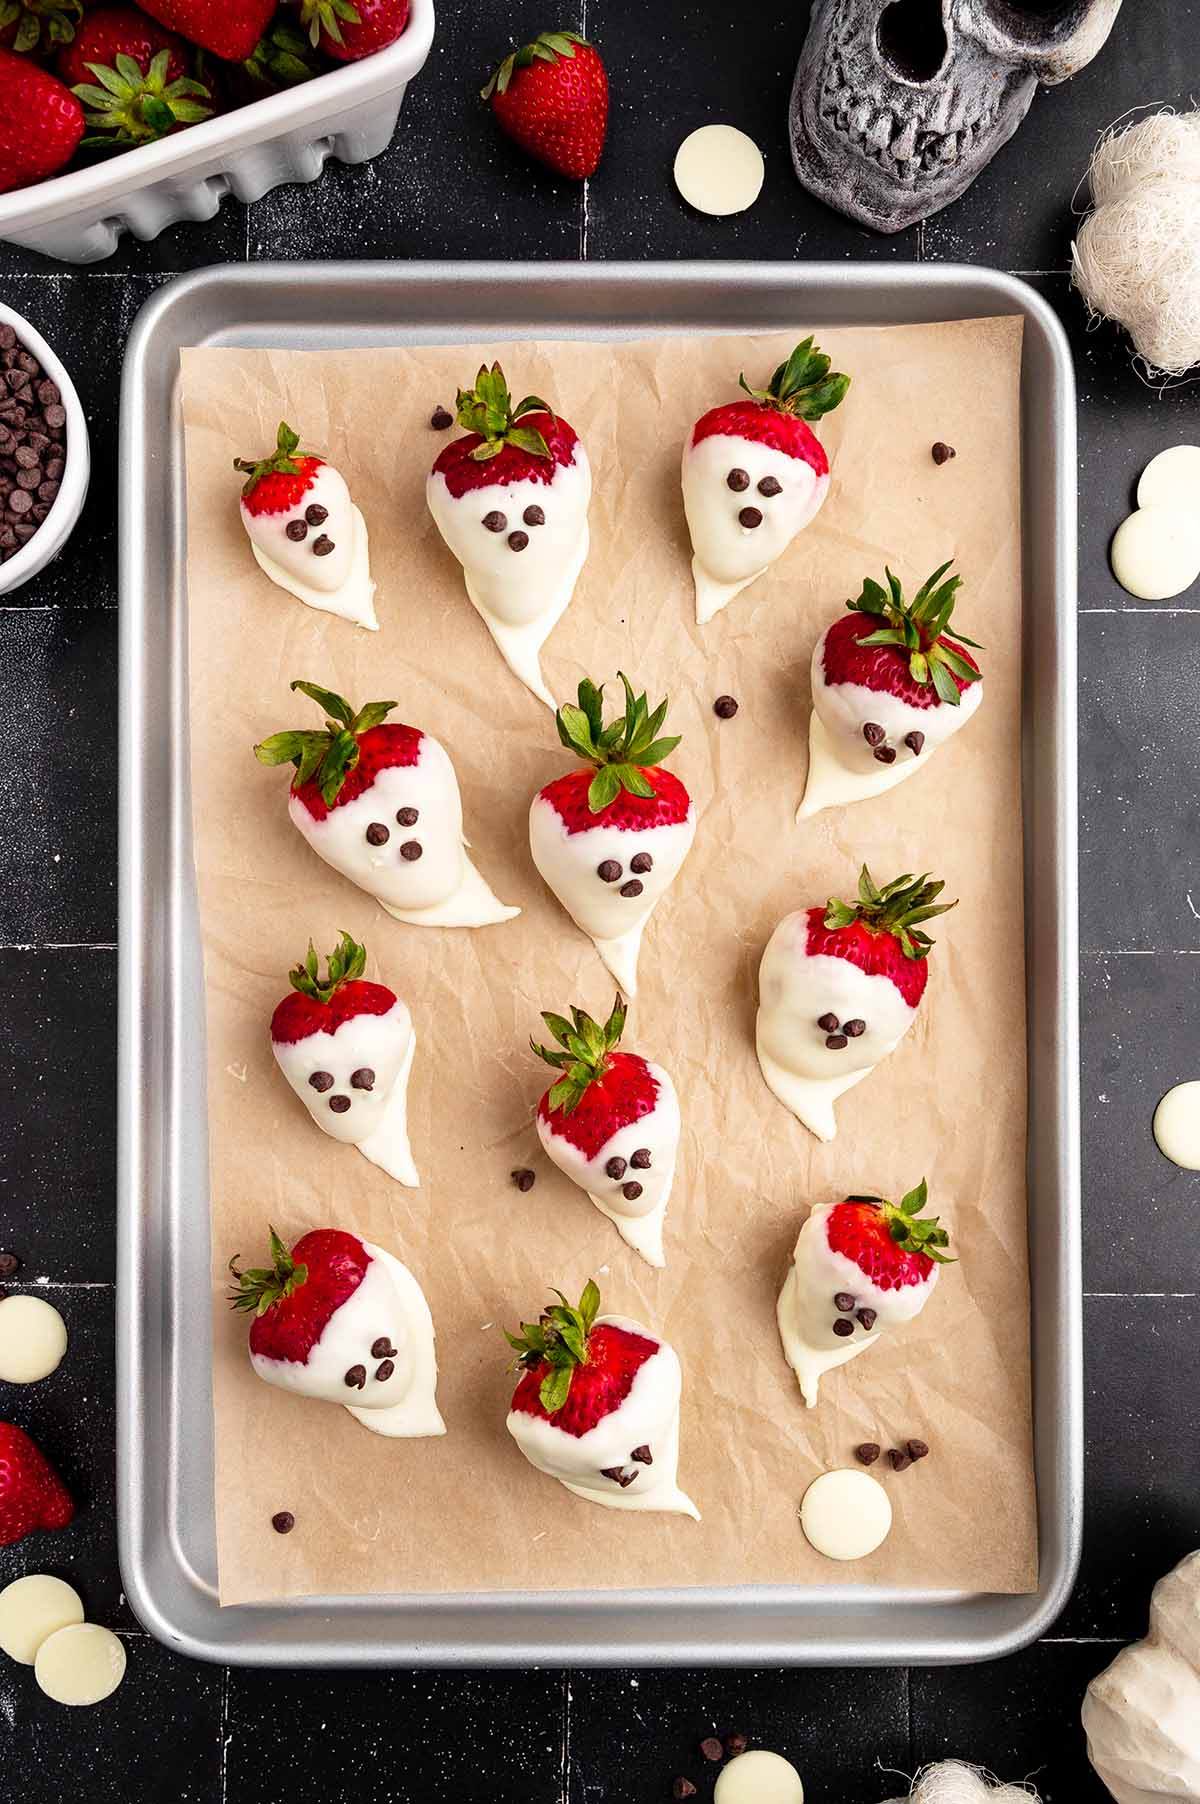
Halloween Strawberry Ghosts
Chocolate-covered Strawberry Ghosts are so quick and easy to make using only fresh fruit, white chocolate, and mini chocolate chips (so simple, it’s kind of scary).
Kids will love to dip strawberries in white chocolate and give them edible eyes and a mouth, and you won’t have to worry about the excess coating that pools into a point on the parchment paper because it is meant to mimic its tiny tail.
Making Halloween chocolate covered strawberries at home is a cheaper alternative to the expensive store-bought treats; they are perfect Halloween party food that adds a fancy flair to a platter of desserts.
These Halloween ghosts may look spooky, but they are lower sugar, healthier option to other scary Halloween recipes for sweets and treats.
Why We Love This Chocolate-Dipped Strawberry Ghost Recipe
- Quick and easy to make in 15 minutes.
- Only uses 3 ingredients.
- Fresh, juicy Halloween strawberries are a healthy sweet treat with a host of vitamins.
- Cute, spooky, and taste delicious, all at the same time.
- Perfect for a Halloween party, dessert platter, or any time you crave a scary snack.
Other Easy Halloween Treats
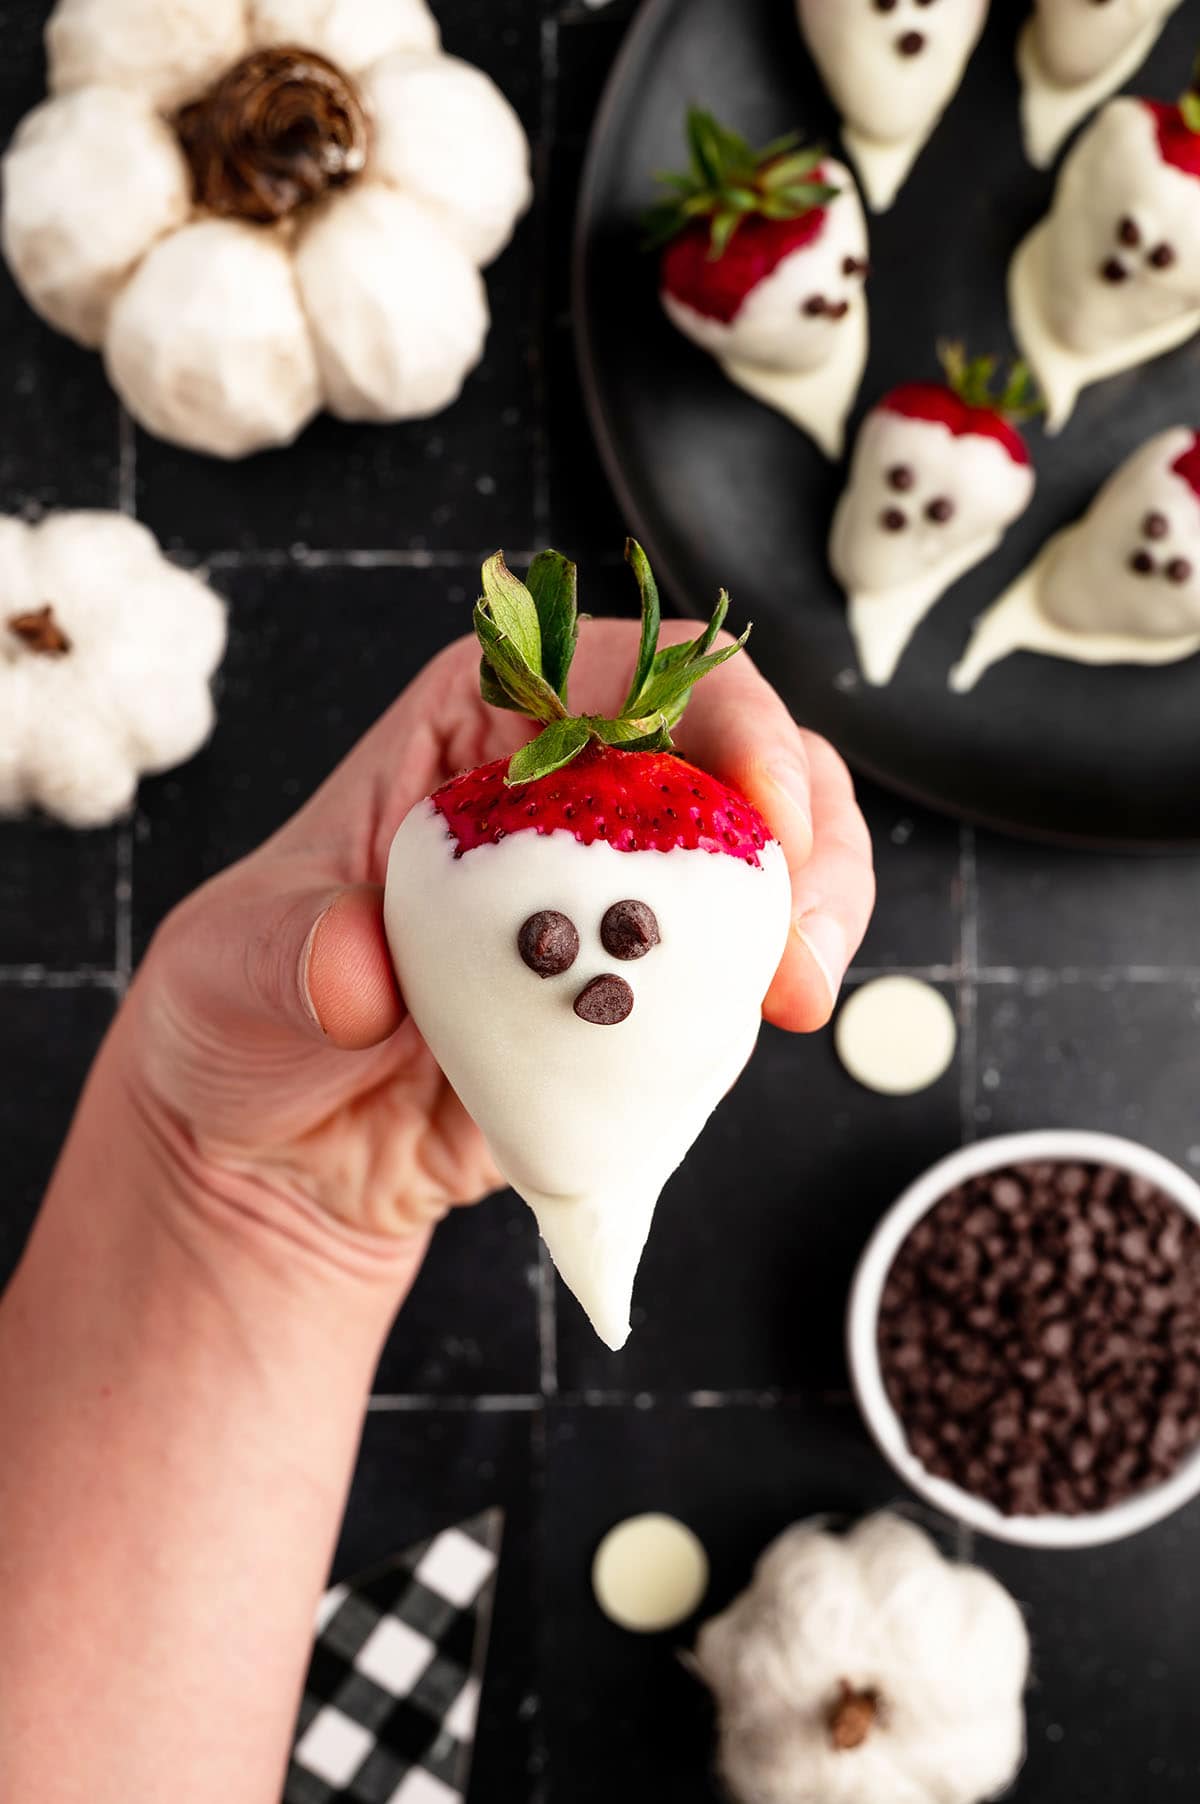
Ingredients
- Strawberries
- White dipping chocolate or candy melts
- Mini chocolate chips
Substitutions and Additions
- Choose Your Chocolate: Instead of white dipping chocolate or candy melts, you can use white chocolate bars or white chocolate chips in this recipe. Keep in mind that you may need to temper the chocolate instead of melting it in the microwave.
- Make Your Own Fun Faces: Feel free to use black gel icing or melted chocolate chips and a piping bag with tip to draw faces on your ghosts. You can also add candy eyes to each face.
Recommended Tools
- Parchment paper
- Large baking sheet
- Microwave safe bowl
How to Make Strawberry Ghosts
- Melt The Chocolate: Microwave the white chocolate for 30 seconds, remove and stir. Continue in 15-second increments, until fully melted, removing each time to stir.
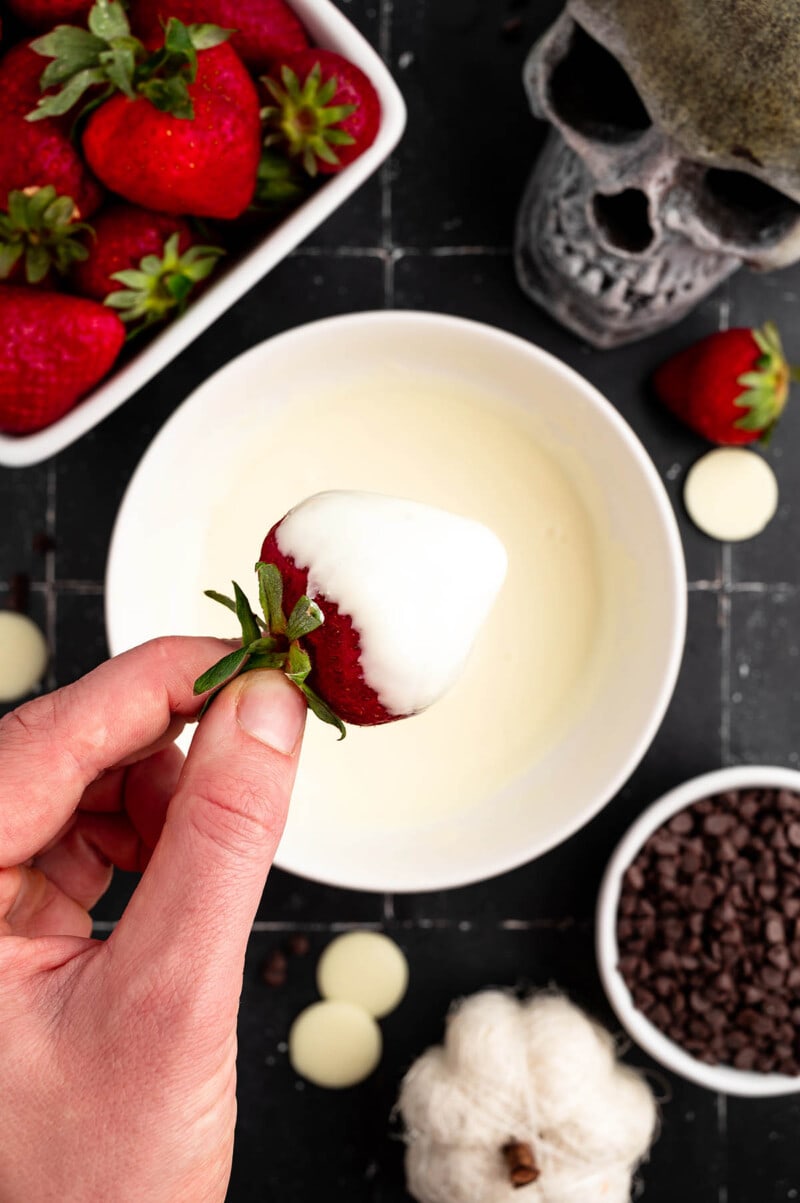
- Dip: Dip ¾ of the strawberry in the melted chocolate and allow some of the excess to drip off. Place on the parchment paper and then lift it to create a ‘ghost tail’ with the excess chocolate.
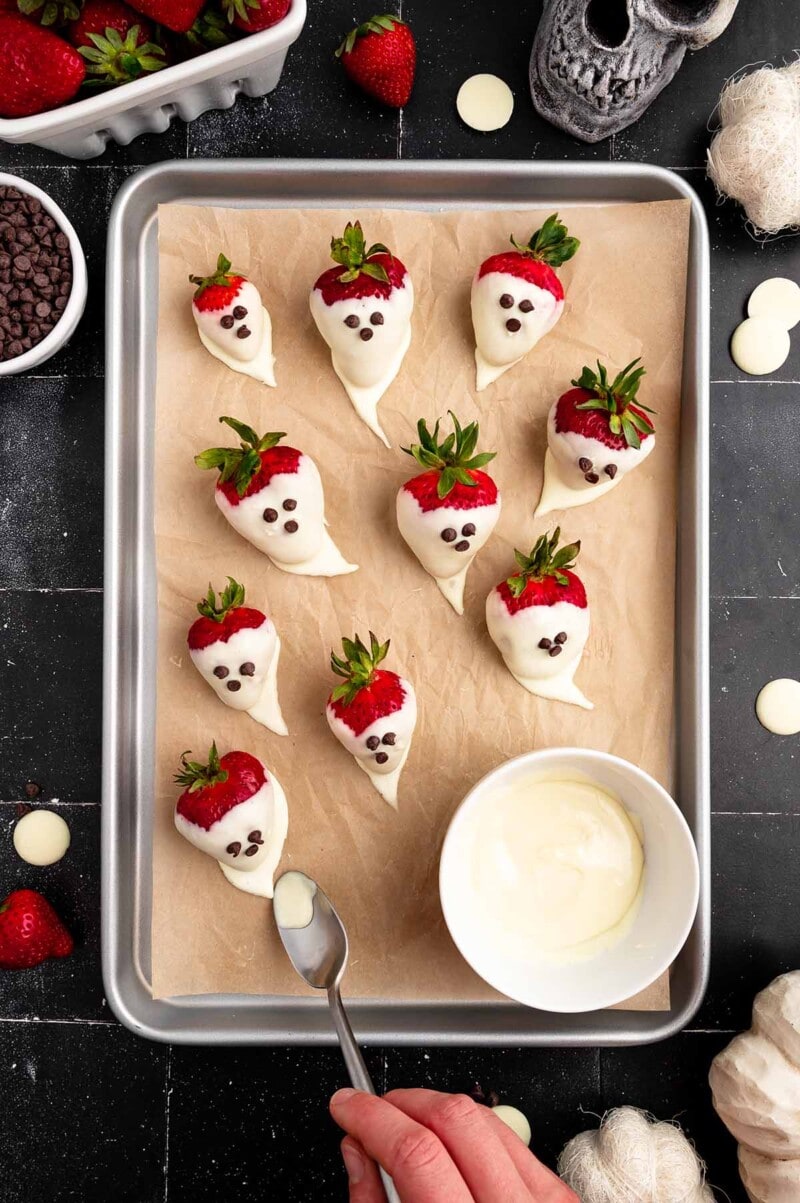
- Make The Ghost: Create a point at the bottom of the ghost to look like a tail. Add the mini chocolate chips for the eyes and mouth.
- Serve: Let the chocolate dry for 10-15 minutes, serve, and enjoy!
Tip From Our Recipe Developer
- Candy melts and dipping chocolate do not require tempering, but be sure to read the instructions on the package before purchasing. Generally, real white chocolate will need to be tempered.
- Dipping chocolate tends to dry quickly. If you are working with kids or are just taking your time you may want to melt half of the chocolate at one time so it doesn’t harden while you work.
- Dry the strawberries completely, otherwise, the chocolate will have trouble sticking to the surface of the berries.
- When dipping the strawberries in chocolate, place the strawberries on the parchment paper on the left side of the baking sheet first so that you can avoid dripping chocolate over the strawberries that have already been dipped and decorated.
- Allow the berries to dry completely before transferring them off of the parchment paper.
Storage
- To Store: Store your strawberry ghosts in an airtight container in the fridge and consume within 1-2 days for best quality.
Other Easy Halloween Recipes
- Halloween Spider Cookies Recipe
- Candy Corn Fudge
- Halloween Candy Bark
- Graveyard Chocolate Cheesecake Dip
- Orange Sherbet
- Candy Corn Hot Chocolate
- Halloween Chocolate Covered Strawberries

Spooky Ghost Strawberries
Ingredients
- 1 lb strawberries (about 14-18 berries)
- 10 oz package of white dipping chocolate or candy melts (about 1 ¼ cups)
- Mini chocolate chips
Instructions
- Line a large baking sheet with parchment paper.
- Rinse the strawberries and dry them completely before dipping.
- Transfer the white chocolate to a microwave-safe bowl. Place the bowl in the microwave and microwave on high for 30 seconds, remove and stir. Microwave for 15-second increments, removing each time to stir before heating for another 15 seconds. Repeat until all the wafers are completely melted.
- Holding the strawberries by the tops, dip ¾ of the strawberry in the melted chocolate. Hold the strawberry over the bowl for several seconds to allow some of the excess chocolate to drip off. Place the strawberry on the parchment paper and then pull the strawberry up slightly to create a ‘ghost tail’ with the excess chocolate.
- While the chocolate is still wet, shape the tail with a spoon or your finger to create a point at the bottom of the tail like a ghost.
- Add the mini chocolate chips before the white chocolate dries. Place the mini chocolate chips with the points up for the eyes and the point down for the mouth.
- Let the chocolate dry for about 10-15 minutes. Once fully dry, store in an airtight container in the fridge and consume within 1-2 days for best quality.
Jenn’s Notes
- To Store: Store your strawberry ghosts in an airtight container in the fridge and consume within 1-2 days for best quality.
- Candy melts and dipping chocolate do not require tempering, but be sure to read the instructions on the package before purchasing. Generally, real white chocolate will need to be tempered.
- Dipping chocolate tends to dry quickly. If you are working with kids or are just taking your time you may want to melt half of the chocolate at one time so it doesn’t harden while you work.
- Dry the strawberries completely, otherwise the chocolate will have trouble sticking to the surface of the berries.
- When dipping the strawberries in chocolate, place the strawberries on the parchment paper on the left side of the baking sheet first so that you can avoid dripping chocolate over the strawberries that have already been dipped and decorated.
- Allow the berries to dry completely before transferring them off of the parchment paper.



I haven’t made any of the recipes yet, but I will let you know how a few of the recipes are
I am going on looks for now, so I give 5 stars
I am new to this site, but I really want to try the recipes, they look very good, and easy for kids to help
Thank you