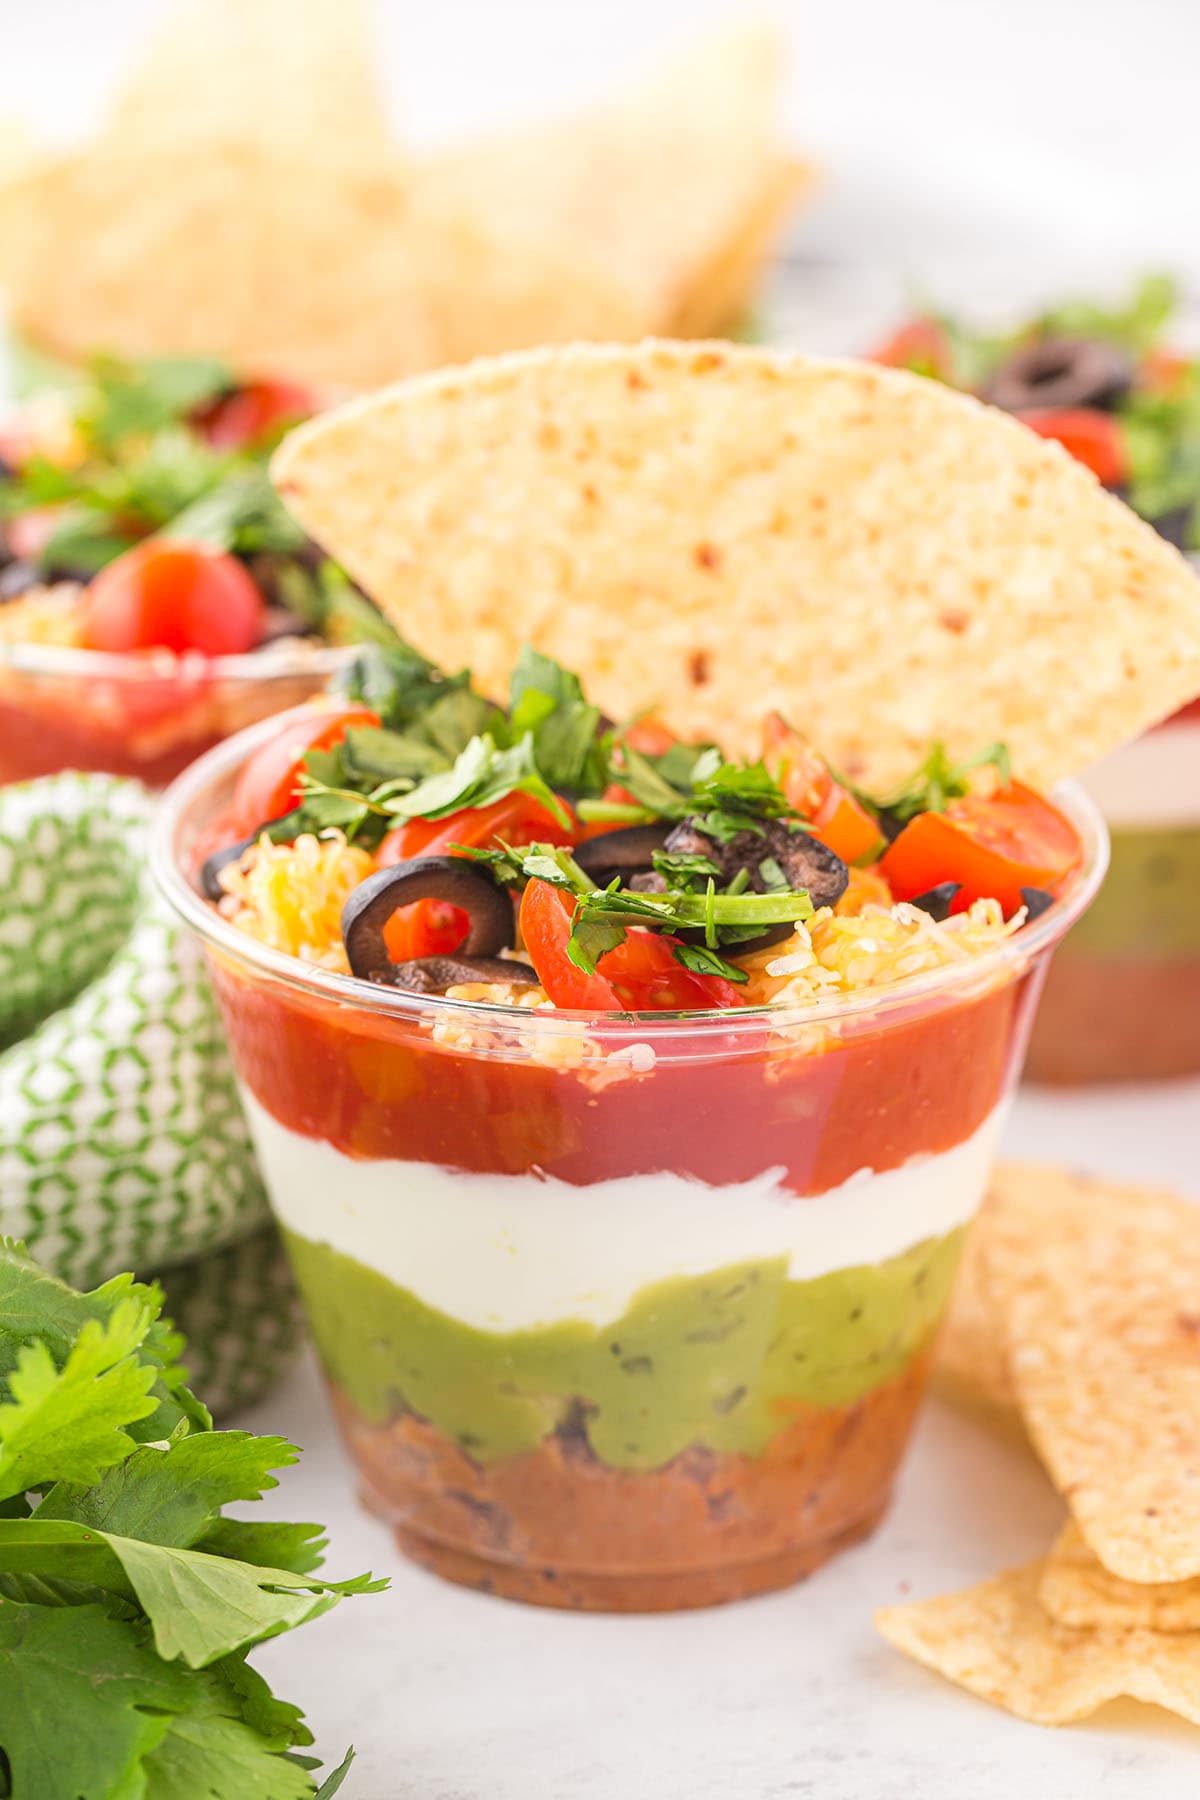
Dive into the ultimate snacking experience with our individually portioned 7-Layer Dip Cups, perfect for serving at gatherings or enjoying at home. Our recipe delivers all the classic flavors, ensuring every bite is a fiesta of taste while eliminating the mess and double-dipping that comes with a shared platter.
Individual Seven Layer Dip Cups
Our Individual 7 Layer Dip Cups recipe requires no cooking or baking of any kind; if you can mix, microwave, scoop, pipe, pour, and sprinkle, then you can easily make these Mexican dip cups.
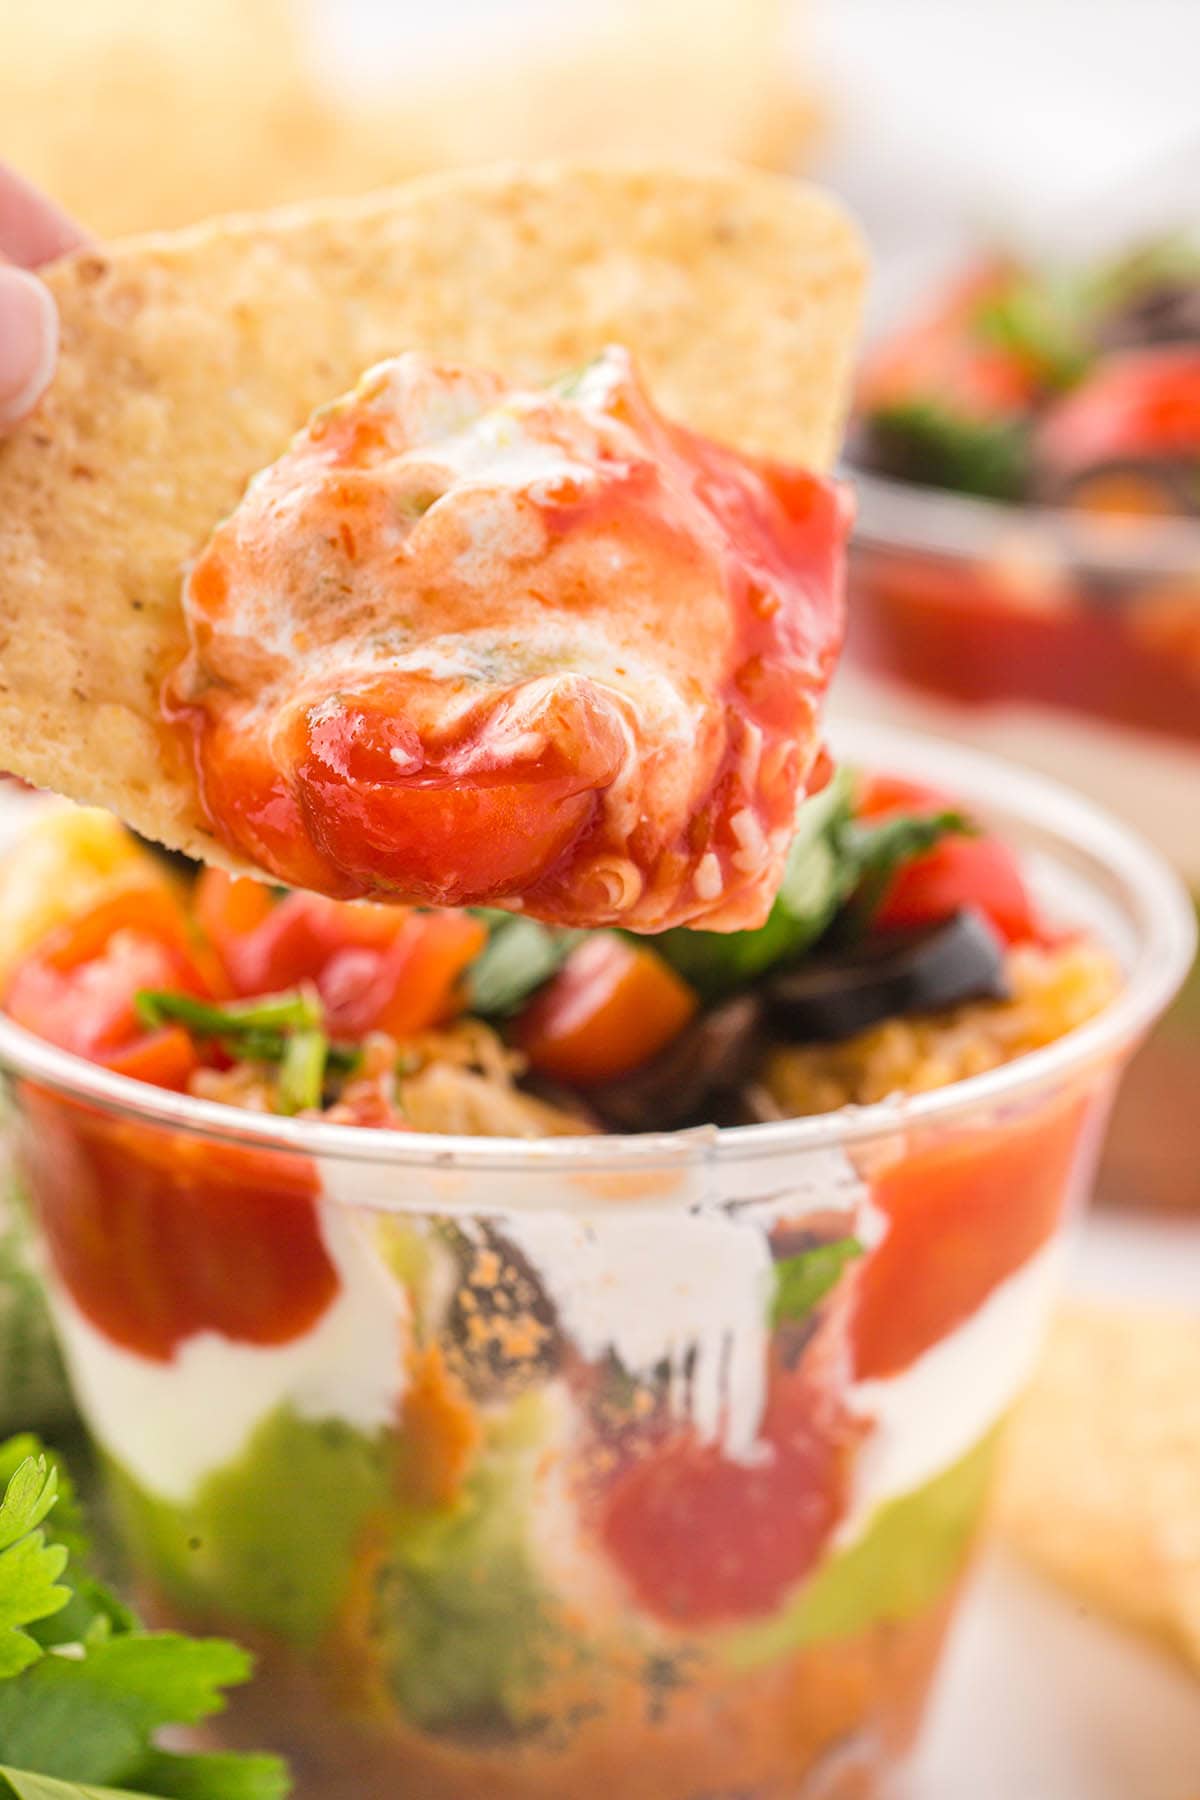
Individual dip cups recipes are such a smart solution to reduce the spread of germs; when you prepare individual portions of the traditional 7 layer bean dip, everyone has their own container so no one will double dip.
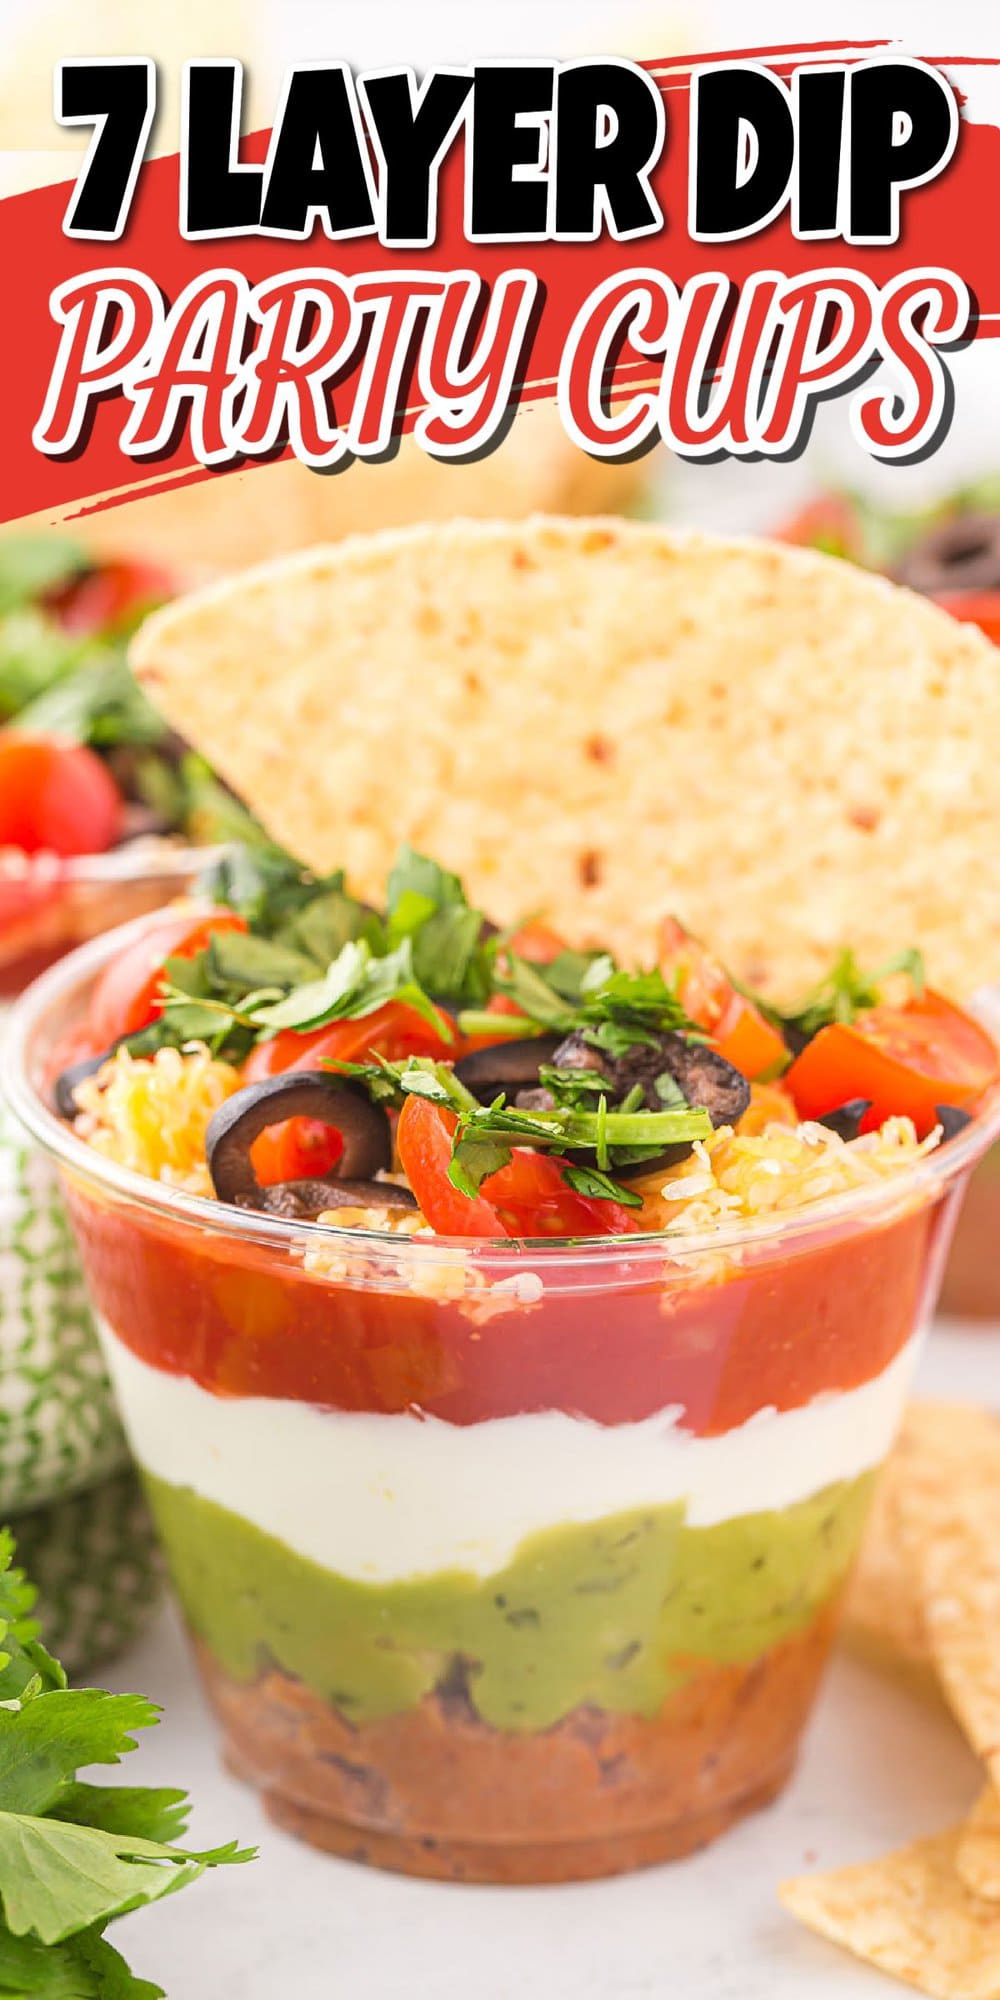
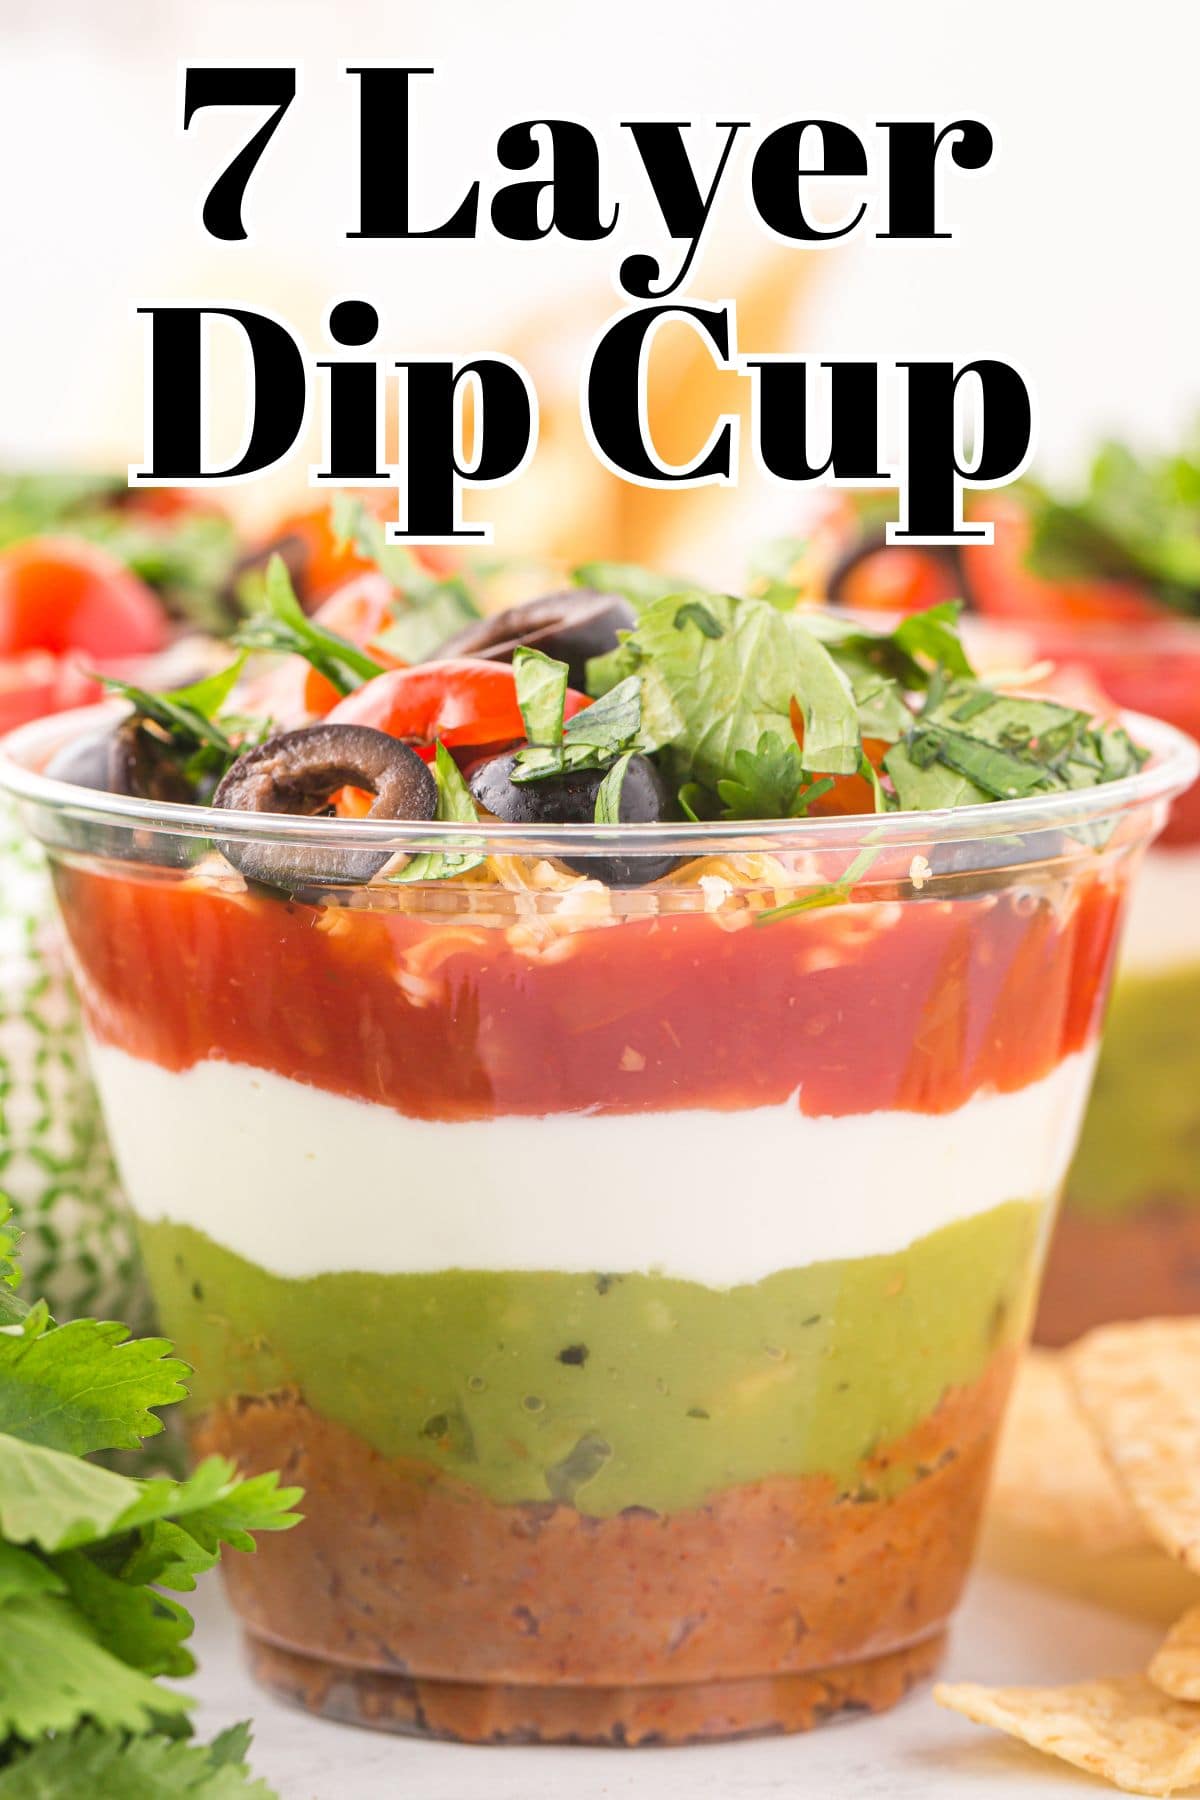
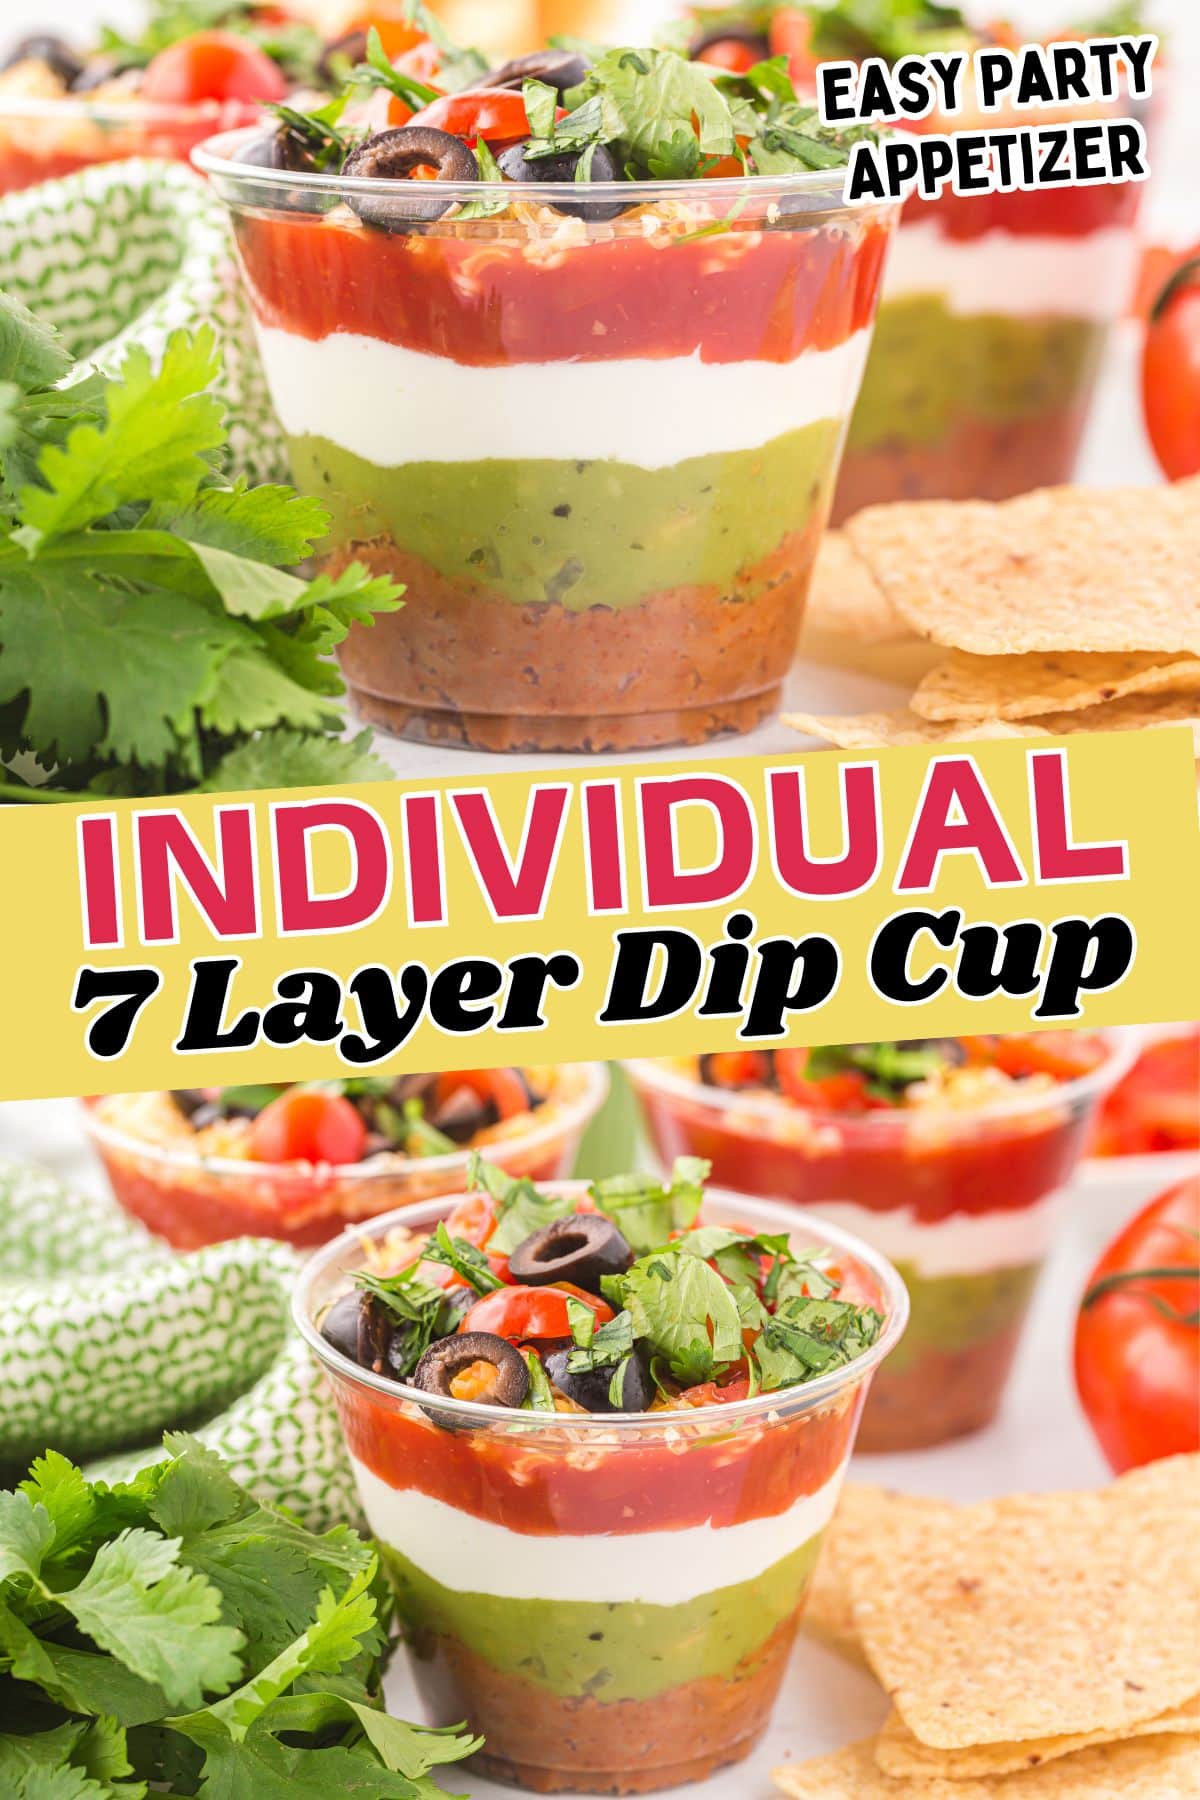
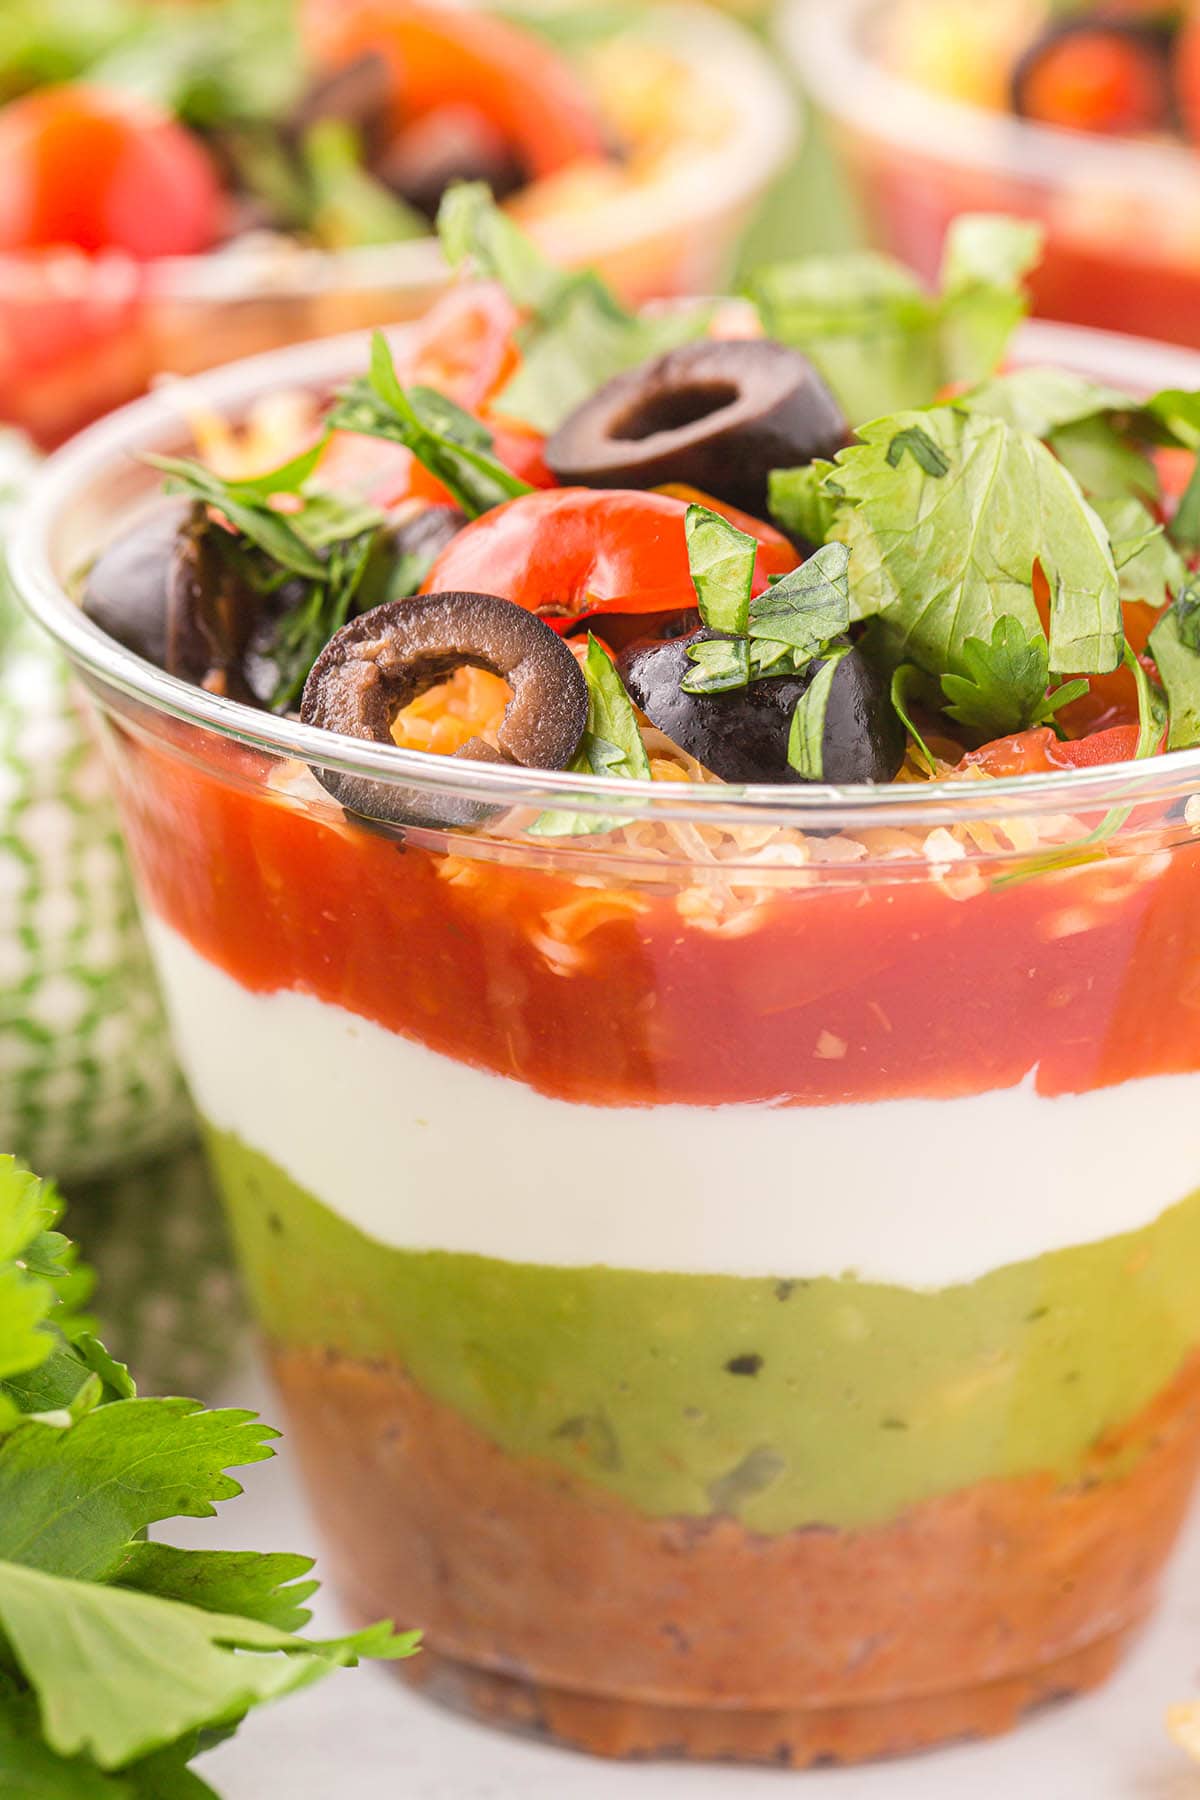
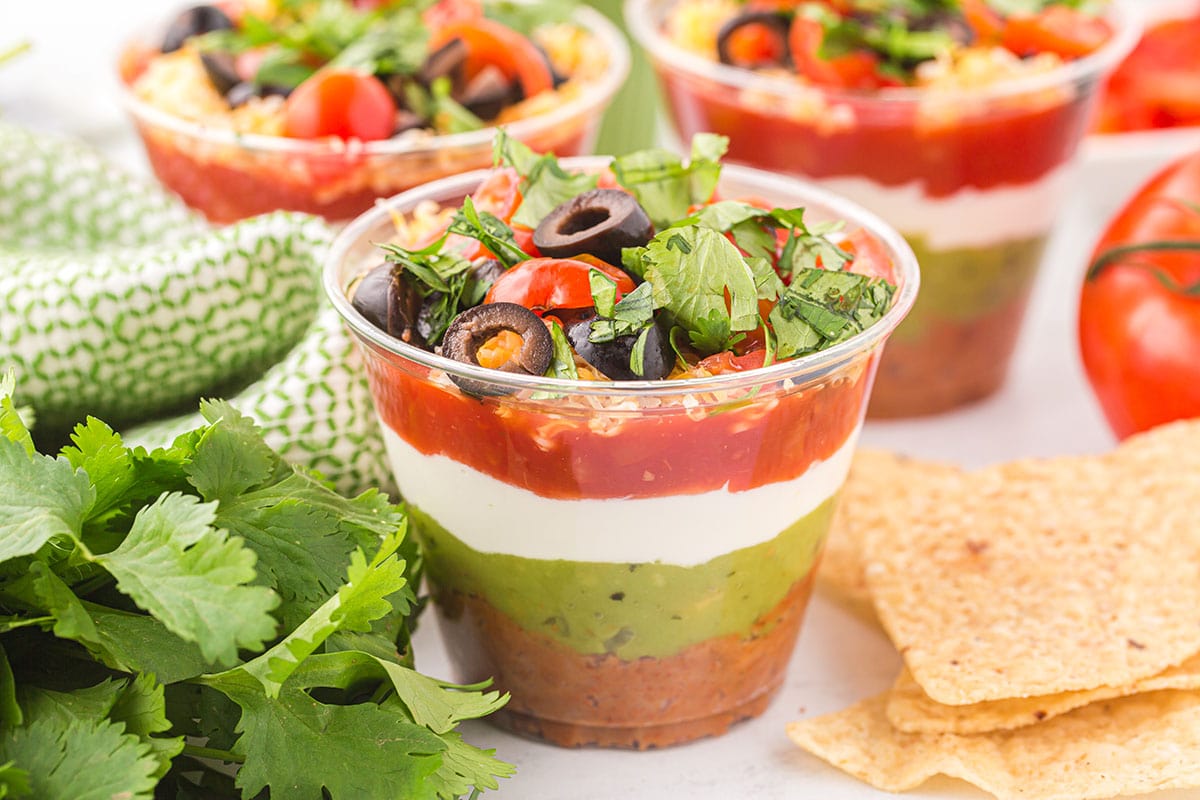
Individual taco dip cups begin with a bottom layer of beans (it’s the thickest so it won’t buckle beneath the other layers), and is topped with spoonfuls of guacamole, sour cream, salsa, shredded cheese, black olives, tomatoes and cilantro, and a tortilla chip for scooping.
Making these individual Mexican dip cups is a fun and creative way to serve 7 layer dip for a crowd, plus there’s a lot less mess when you don’t have to pile it on a plate!
Why We Love 7 Layer Bean Dip Cups
- Quick and easy to assemble in 15 minutes.
- Uses a handful of simple ingredients.
- Flexible recipe that can be customized with your favorite fillings.
- Adorable appetizer in pre-portioned, portable, small-size servings.
- Perfect for parties, potlucks, BBQs, and game day get-togethers.
7 Layer Dip Cups Ingredients
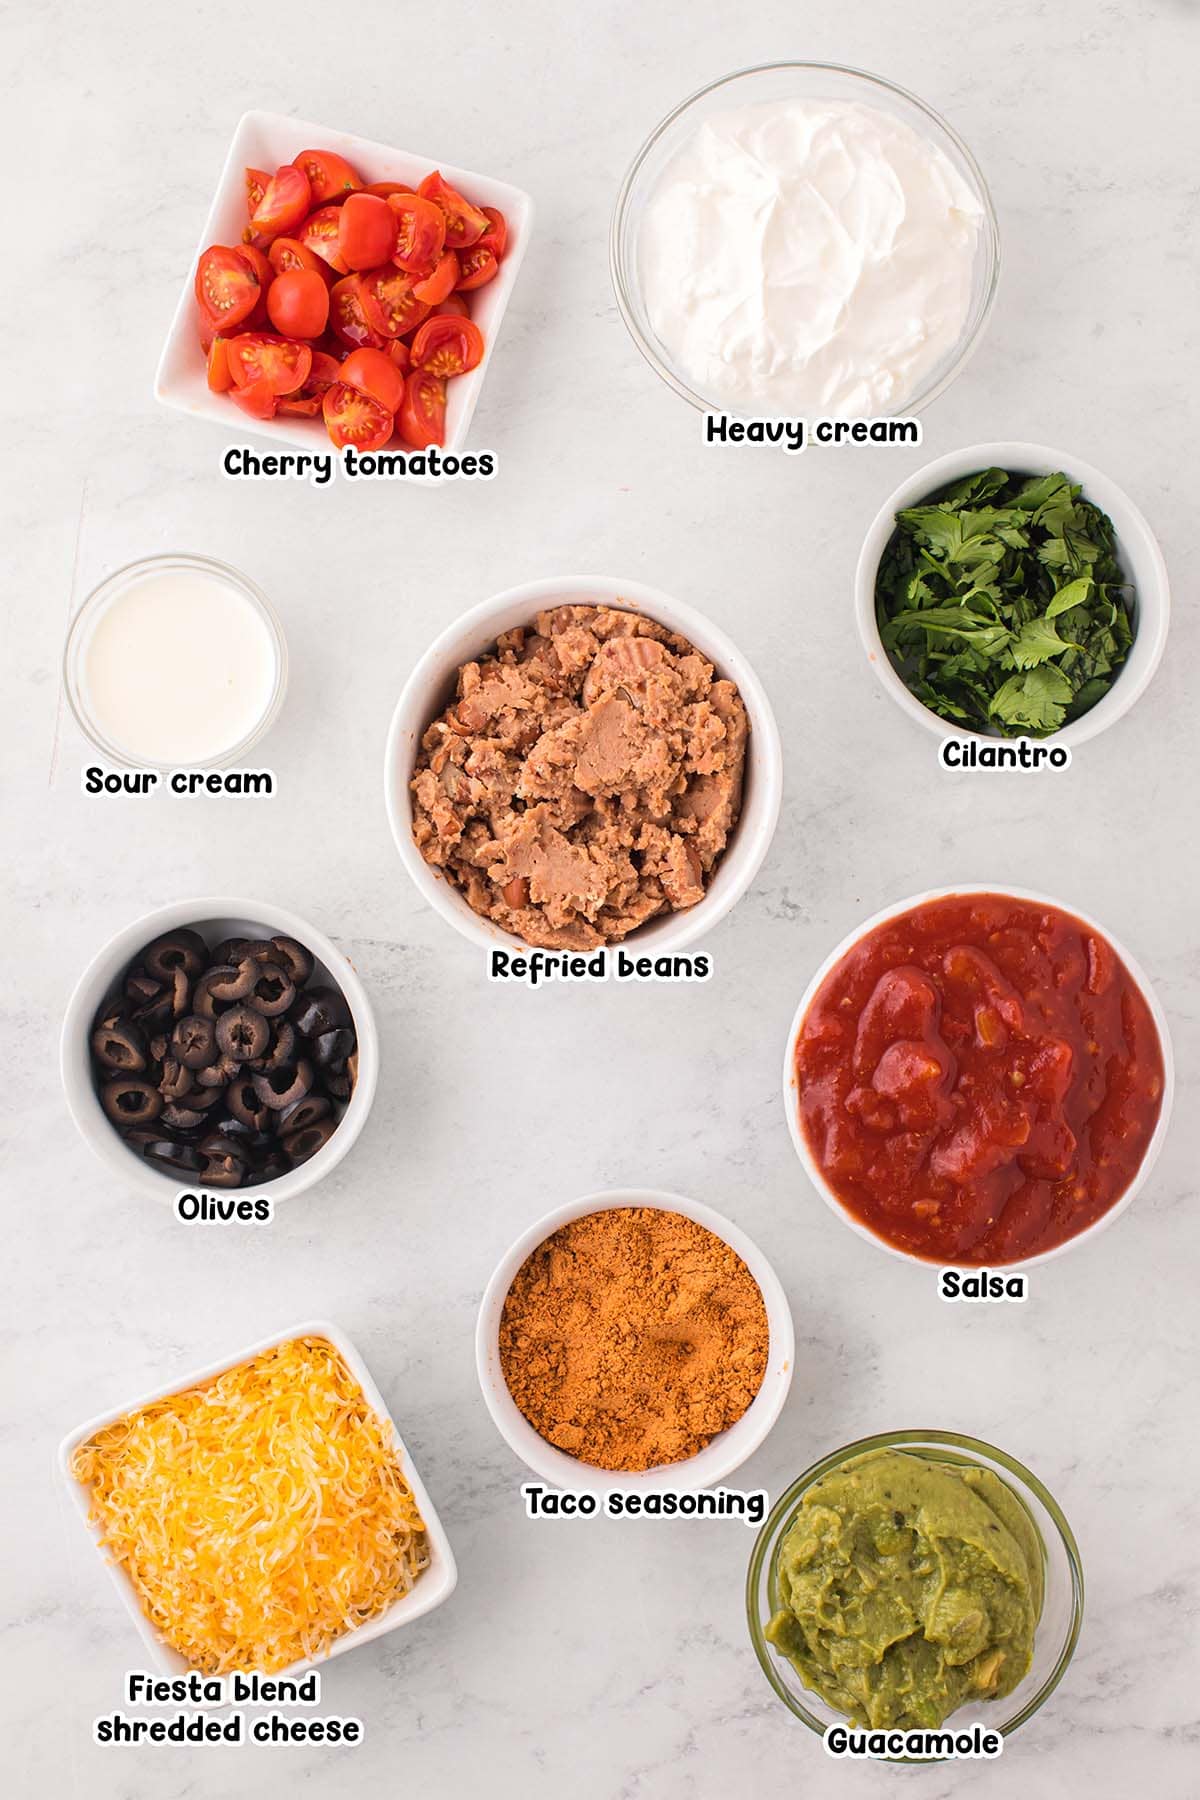
- Refried beans: I used a simple original can of refried beans but you can use your favorite brand or flavor or even use homemade refried beans if you have some.
- Taco seasoning: You can use a packet of store-bought seasoning or try my homemade taco seasoning.
- Heavy cream
- Fiesta blend shredded cheese
- Guacamole: You can use your favorite brand and spice level for this recipe. You can also use homemade guacamole if you wish.
- Sour cream: In a pinch you can substitute plain greek yogurt. It will taste similar but not exactly the same.
- Chunky salsa
- Olives
- Cherry tomatoes: You can substitute your favorite fresh tomatoes and chop them.
- Cilantro
- Tortilla chips (optional garnish)
Substitutions and Additions
- Create Without Heavy Cream: You can substitute milk or half and half for the heavy cream but they are thinner so you may not want to use as much. Start with 1 Tablespoon and see if you need more after that.
- Choose Your Cheese: You can use a combination of cheeses if you don’t want to get a pre-blended bag. A few cheeses that go well in this dip are shredded cheddar, mozzarella, colby jack and monterey. You can also use a pepper jack for a bit more spice.
- Serve It Spicy: Change up the spice level to match your preferences. If you like things hot and spicy use a hot salsa, hot guacamole and add a bit more chili powder to your beans. If you like a nice dip without heat, use mild ones and omit the taco seasoning from the beans. Or play around with something in the middle until you get just the right heat level for you and your guests.
- Tasty Toppings: You can add even more toppings, such as green onions, scallions, jalapeños, pico de gallo, crushed corn chips, or any of your favorites. No need to stop at 7 layers!
Recommended Tools
- 8 (9 ounce) clear disposable cups
- Piping bags or sealable plastic bags
How to Make 7 Layer Dip Cups
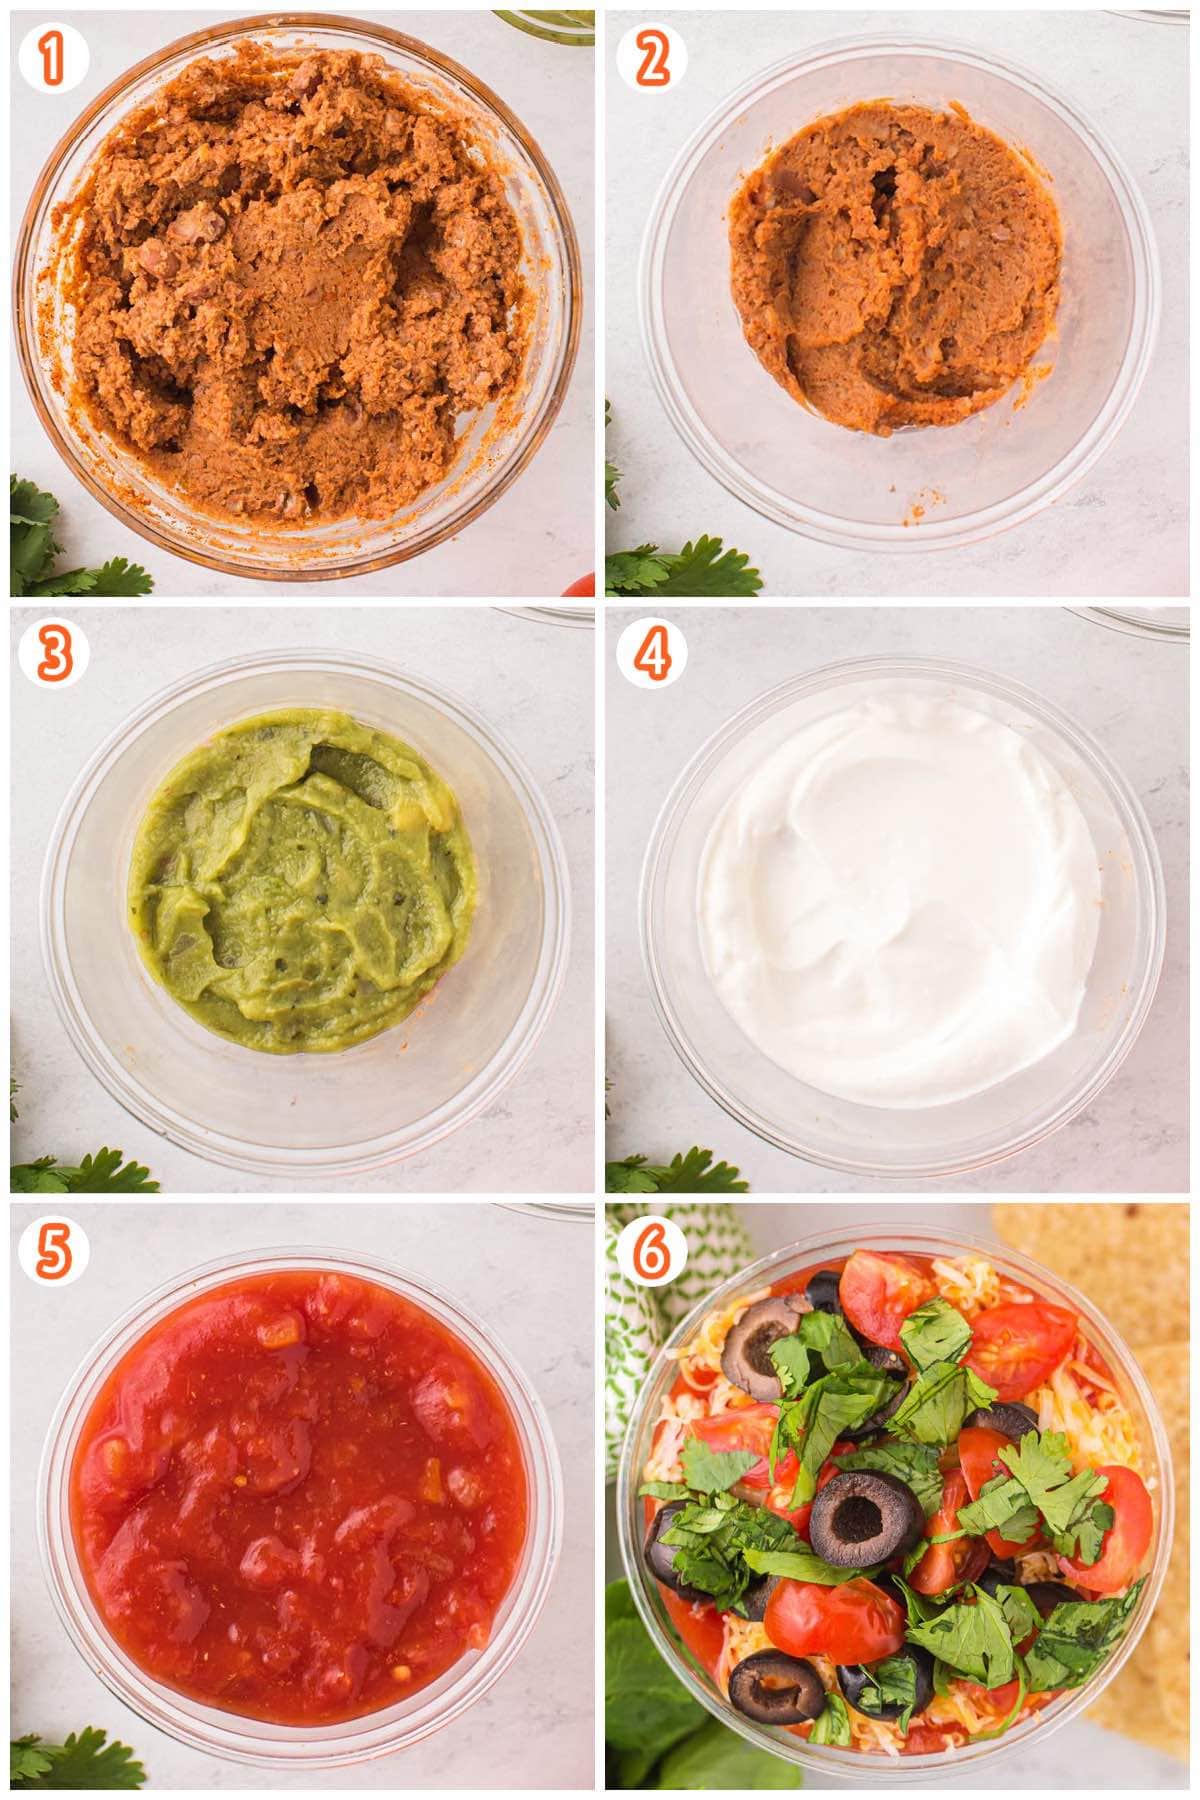
- Make The Bean Mixture: Microwave the refried beans until heated through. Mix in the taco seasoning, heavy cream, and cheese until melted.
Pro Tip: You want a thick but easily spreadable consistency. If necessary, stir in more heavy cream, 1 Tablespoon at a time. - Assemble: Assemble each cup accordingly: add the beans to the bottom of each cup, then layer with guacamole, sour cream, salsa, cheese, olives, tomatoes and cilantro.
- Serve: Garnish with a tortilla chip and serve. Enjoy!
Tips For Making The Best 7 Layer Dip Cups
- Be sure to use wide-mouth cups when assembling these dip cups. Tall, skinny cups will be difficult to assemble and difficult to eat from!
- Use a piping bag during assembly for the cleanest layers. If you use a spoon or measuring cup you will probably end up with a bit of a mess but it will be delicious anyways!
- Start with less and add more. You don’t want to run out of any ingredients before all the cups have some so don’t assemble one cup at a time. Do each layer in each cup and add slightly less than you think you need. You can always come back and add more afterwards if you have extra. It is easy to overload the first few cups and then not have enough for the last ones or even to overfill the first few cups and not have enough room for the last layers!
How to Store 7 Layer Dip Cups
- To Store: You can store your dip cups covered in the refrigerator for 5-7 days.
More Easy Appetizer Recipes
Other Easy Appetizers
- Crack Chicken Sliders
- Cheeseburger Egg Roll
- Sloppy Joe Dip
- Air Fryer Chips
- Easy Veggie Dip
- Cranberry Meatballs
- Soft Pretzel Bites
7 Layer Dip Cups
Ingredients
- 16 ounce can refried beans
- 1 ounce packet taco seasoning
- 2-4 tablespoons heavy cream
- 8 ounce bag Fiesta blend shredded cheese divided
- 16 ounce container guacamole
- 16 ounce tub sour cream
- 1 cup chunky salsa
- 2.25 ounce can sliced olives
- ½ cup cherry tomatoes quartered
- 3 tablespoons cilantro chopped
- Tortilla chips optional garnish
Instructions
- Set out eight 9 ounce clear, disposable cups.
- Place the refried beans in a large microwave safe bowl and heat in the microwave for 1-2 minutes, stirring frequently, until heated through.
- Mix in the taco seasoning packet, 2 Tablespoons of heavy cream and ¼ cup of the cheese mix until melted and combined.
- Stir several times until the beans have cooled enough to touch. You want a thick but easily spreadable consistency, if necessary stir in more heavy cream, 1 Tablespoon at a time.
- Place ¼ cup of the prepared refried beans in each cup.
- Scoop all of the guacamole into a piping bag or sealable plastic baggie and cut off the corner with scissors.
- Pipe a circle of guacamole on top of the beans, against the edge of the cup in each cup and then fill the centers evenly with the remaining guacamole.
- Use a spoon to even out the guacamole into an even layer in each cup.
- Repeat the process with the sour cream in a new bag until each cup has an even layer of sour cream.
- Pour ¼ cup of salsa on each sour cream layer and gently even out with a spoon.
- Sprinkle ¼ cup shredded cheese on the top of each cup, on top of the salsa.
- Top each cup with 1 Tablespoon sliced olives, 1 Tablespoon cherry tomatoes and 1 teaspoon of cilantro.
- Garnish with a tortilla chip, optional and serve.
Jenn’s Notes
- To Store: You can store your dip cups covered in the refrigerator for 5-7 days.
- Be sure to use wide-mouth cups when assembling these dip cups. Tall, skinny cups will be difficult to assemble and difficult to eat from!
- Use a piping bag during assembly for the cleanest layers. If you use a spoon or measuring cup you will probably end up with a bit of a mess but it will be delicious anyways!
- Start with less and add more. You don’t want to run out of any ingredients before all the cups have some so don’t assemble one cup at a time. Do each layer in each cup and add slightly less than you think you need. You can always come back and add more afterwards if you have extra. It is easy to overload the first few cups and then not have enough for the last ones or even to overfill the first few cups and not have enough room for the last layers!






Love the layered mexican dishes!! In a dish or a cup are great for chip dipping meals!
perfect for house party. thank you.
I’ve been making your recipes and everyone is loving the fun I’ve been putting out here!! thank you for everything you’re doing here! God bless you, truly!
Can it be made like a casserole?
It can for sure be made in one big dish. Here is our version https://princesspinkygirlcom.bigscoots-staging.com/7-layer-dip/